
Lets get the new carbs ready to install, shall we?
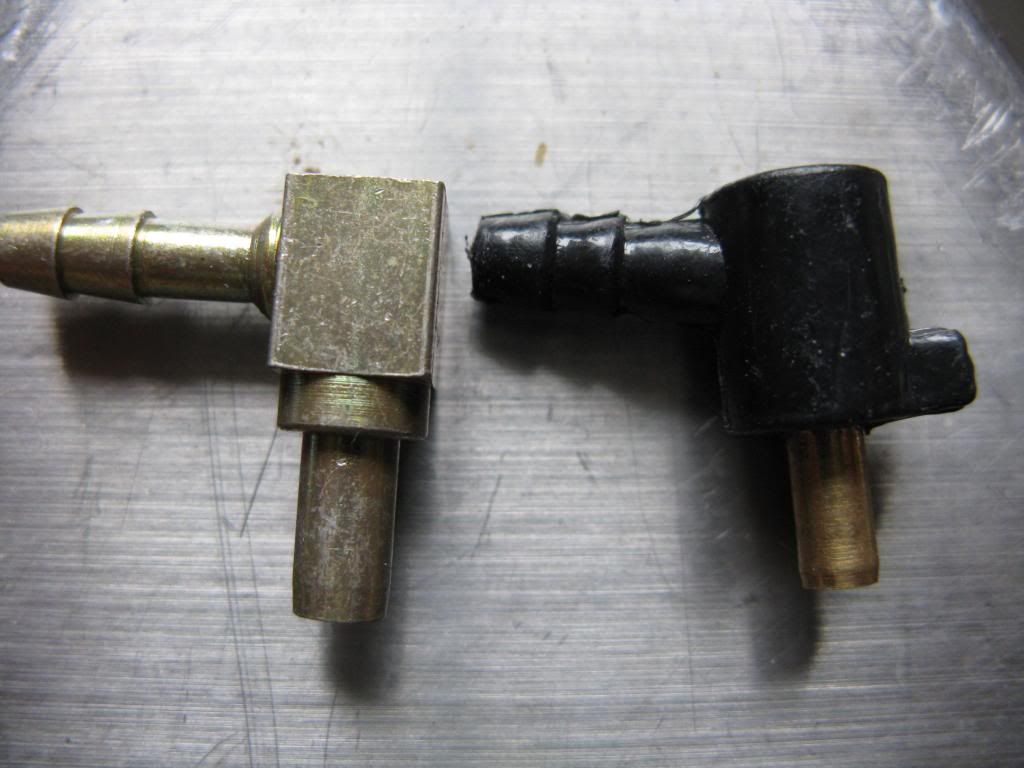
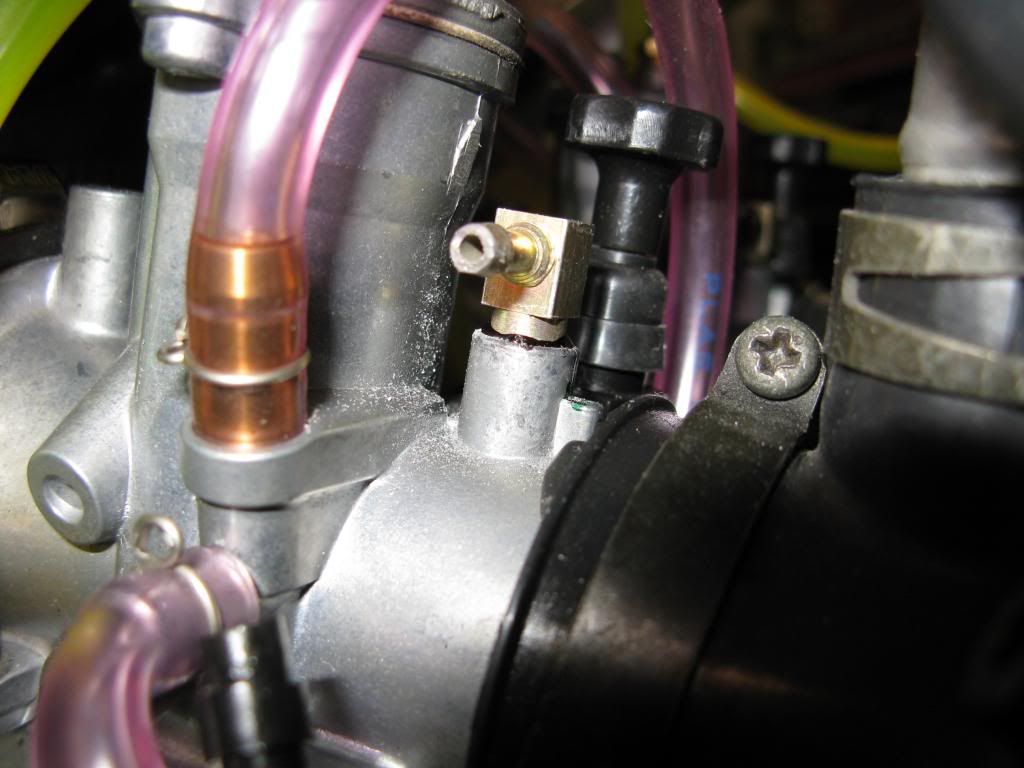
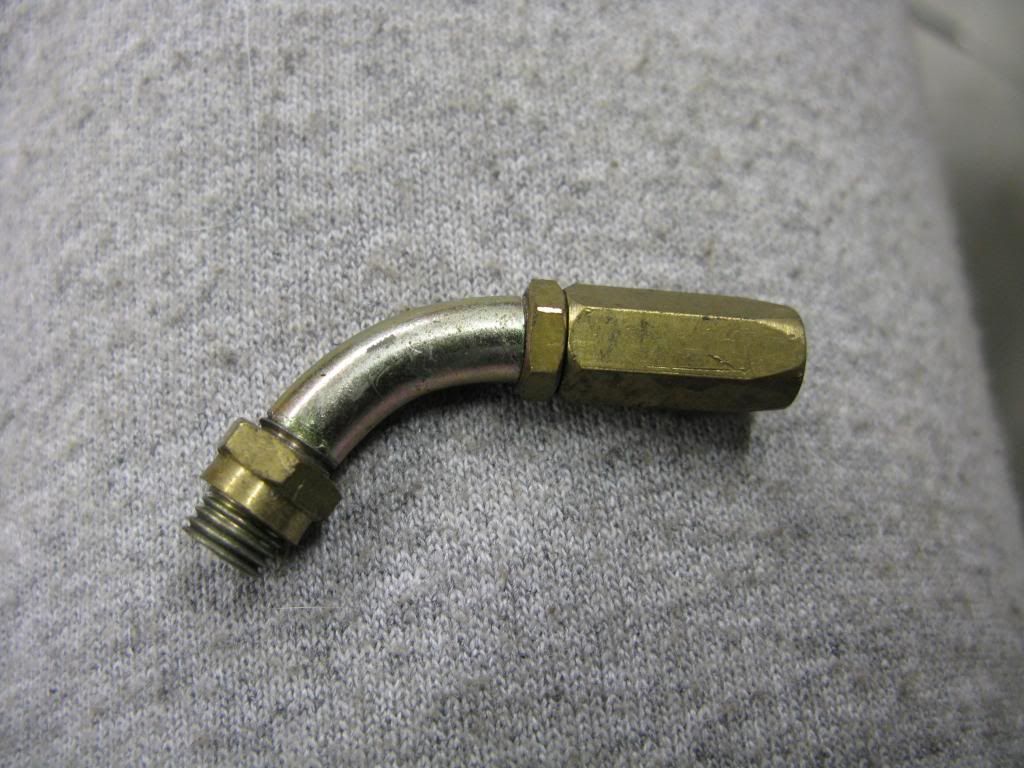
I used the all metal 90 degree fittings. Measure the length of the fitting that goes into the carb. Drill a 9/64" hole to that depth. Drill no further. You do not want to go all the way through. Then drill with a 4 mm bit. Again drill no further than the depth of the fitting. Finish up by drilling all the way through with a #60 (.040") bit. (to me VERY IMPORTANT, maybe not to others, see footnotes)
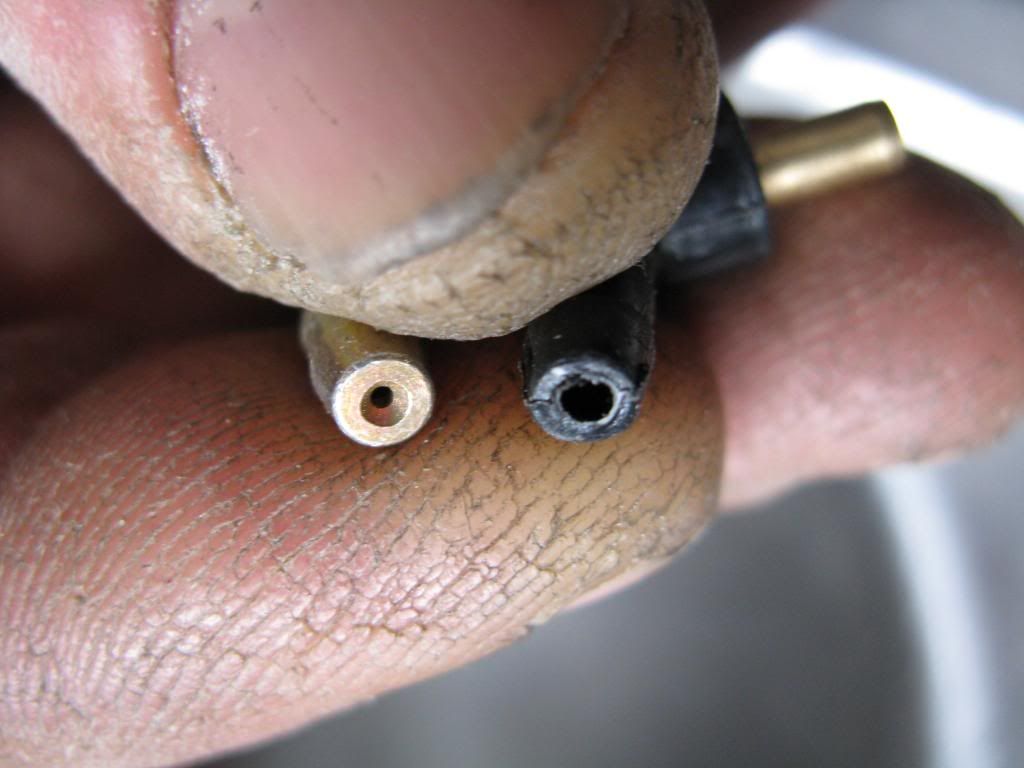
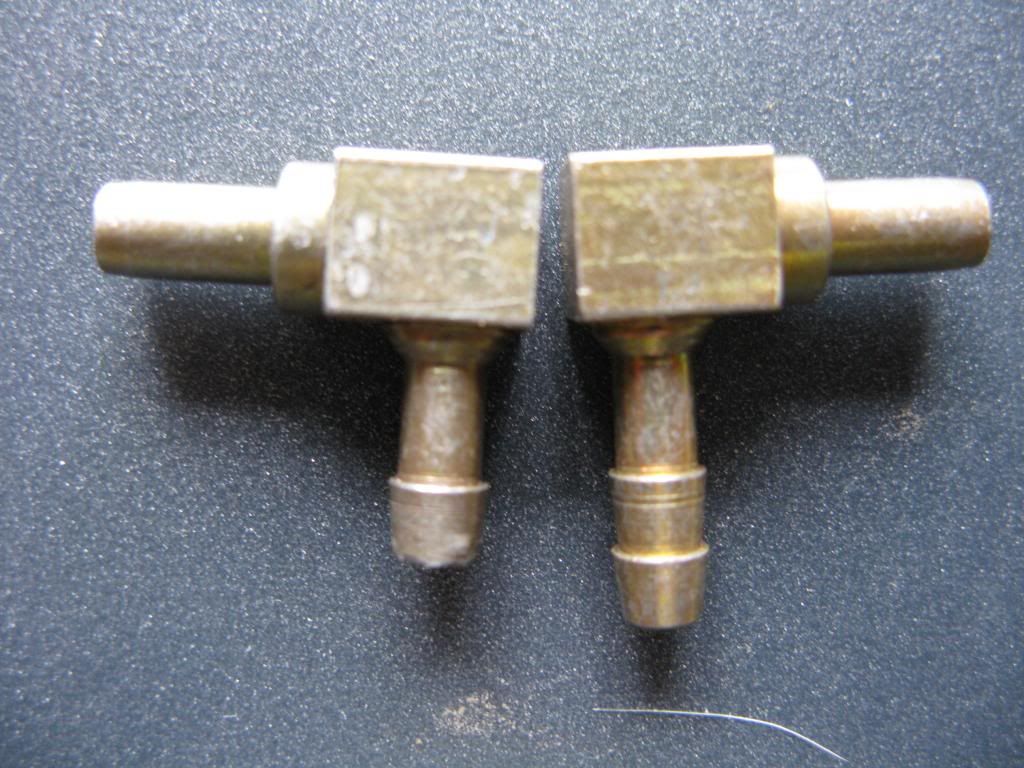
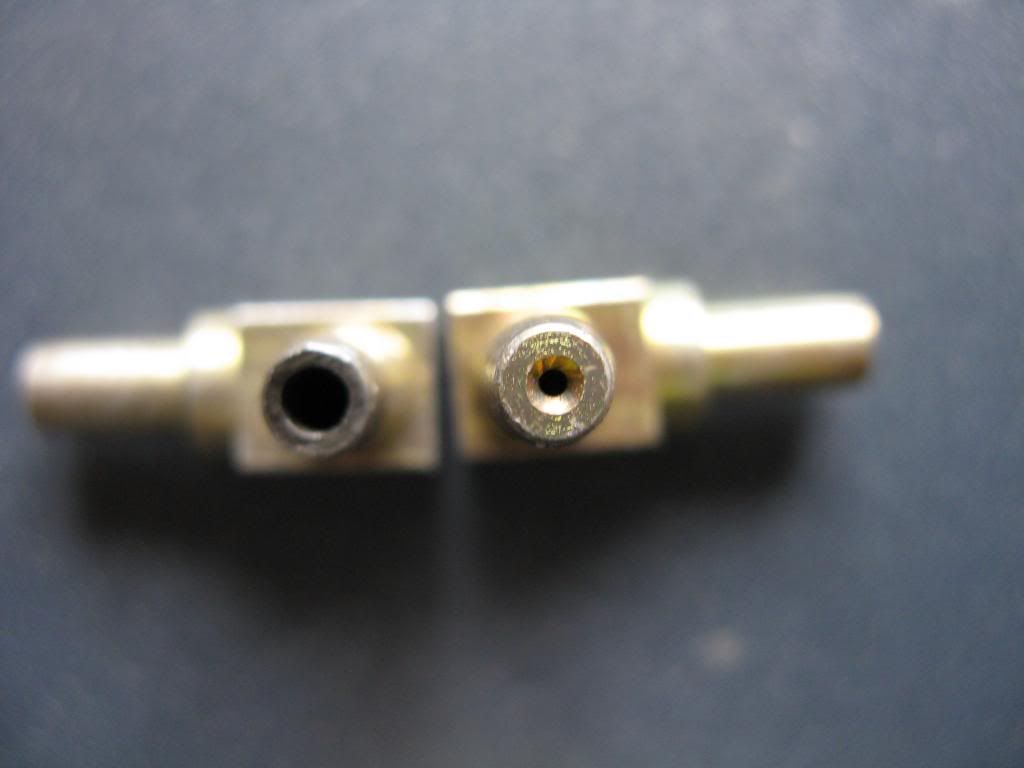
I also modified the fitting to suite me. The fitting has 2 barbs on the input side (where your line hooks on). If you look that hole is SMALL. I felt that it would restrict oil at a place where there should be no restriction. I ground that 1st barb off & it opened up the barb's hole. I am a happy camper now.
I used Permatex #98H High Tack Gasket sealant. Just a little bit around the length of the fitting only, where it is going to be pressed in the carb. Careful not to clog up your .040 hole. Fit the fitting into the 4mm hole, taking care to make sure the input of the fitting is facing right. Tap lightly with a drift punch & hammer. That is is the hardest part of the whole install. Sit back & admire your work!
Lets move on to the cable.
Take your stock cable apart. You will reuse the injection cable & the pull cable ( leads into the splitter from the twist throttle) Take the cable you bought from Yamabits & take it apart. You will reuse the 2 carb cables, the splitter & the white plastic disk that comes apart with the pull cable (splitter side).
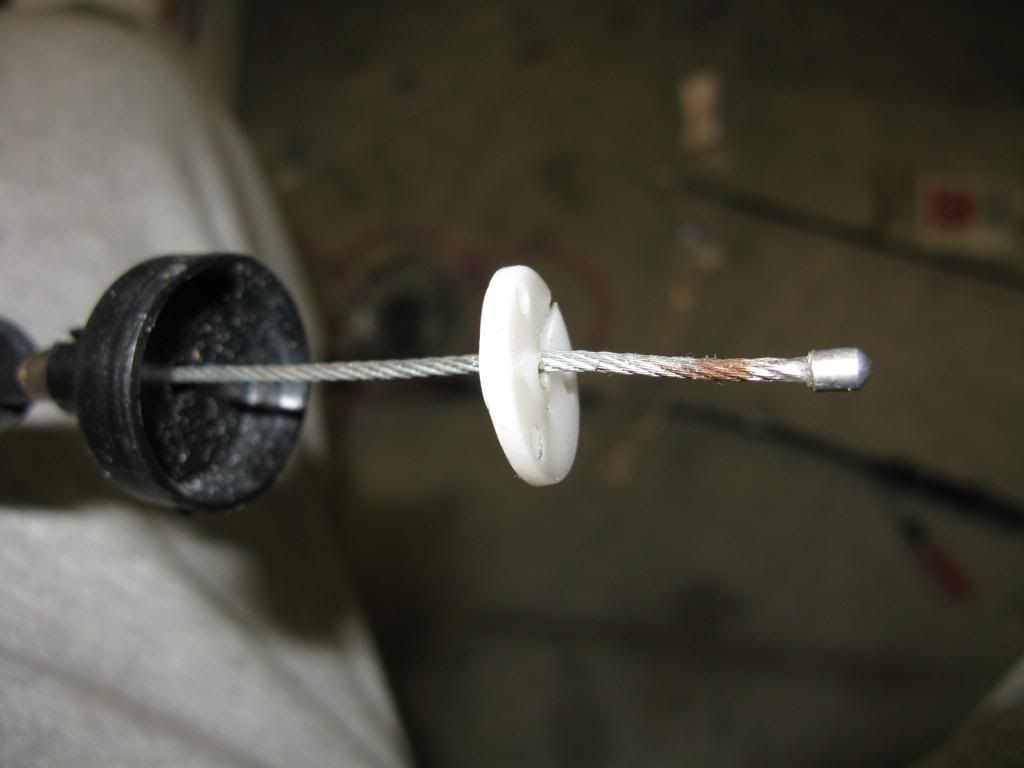
I used a Dremel & a cut-off wheel to make a slit in the little white plastic disc to remove it from the pull cable.
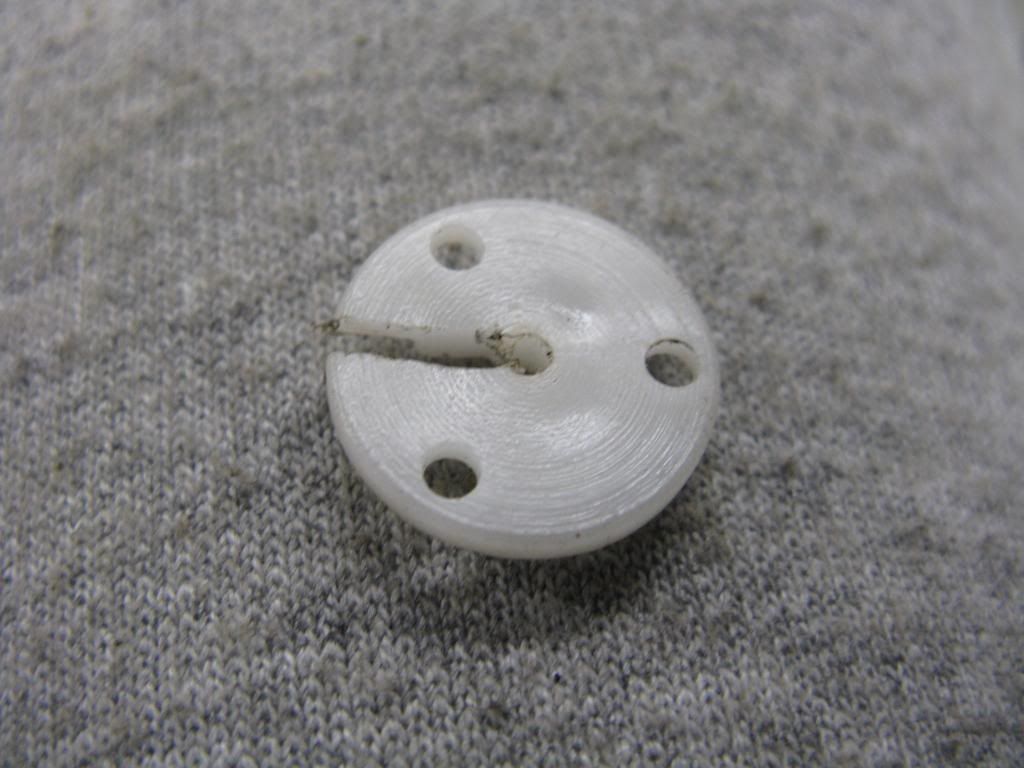
Attach the stock oil pump cable to the 3 way splitter in place of the one provided. I feel the stock one is of better fit & quality. Take the stock pull cable & attach it to the 1UA splitter. Don't forget to replace the white plastic disk. This keeps the bottom 3 cables in place. Re-assemble splitter and your cable is ready to install. This is the second hardest step. Have a cold one & congratulate yourself on a job well done.
Time to show some real progress.
Take the stock carbs off. Insert the right carb (as sitting on bike), then insert the left carb in the manifold. You probably will notice that there is a unused vent boss on the bottom of the carb bowl that is hitting the clutch arm. Grind that boss off about 1/8" or so. Just so the hole in the middle of said vent is barely visible. Do not grind to far. Your carby will leak! We do not want that.
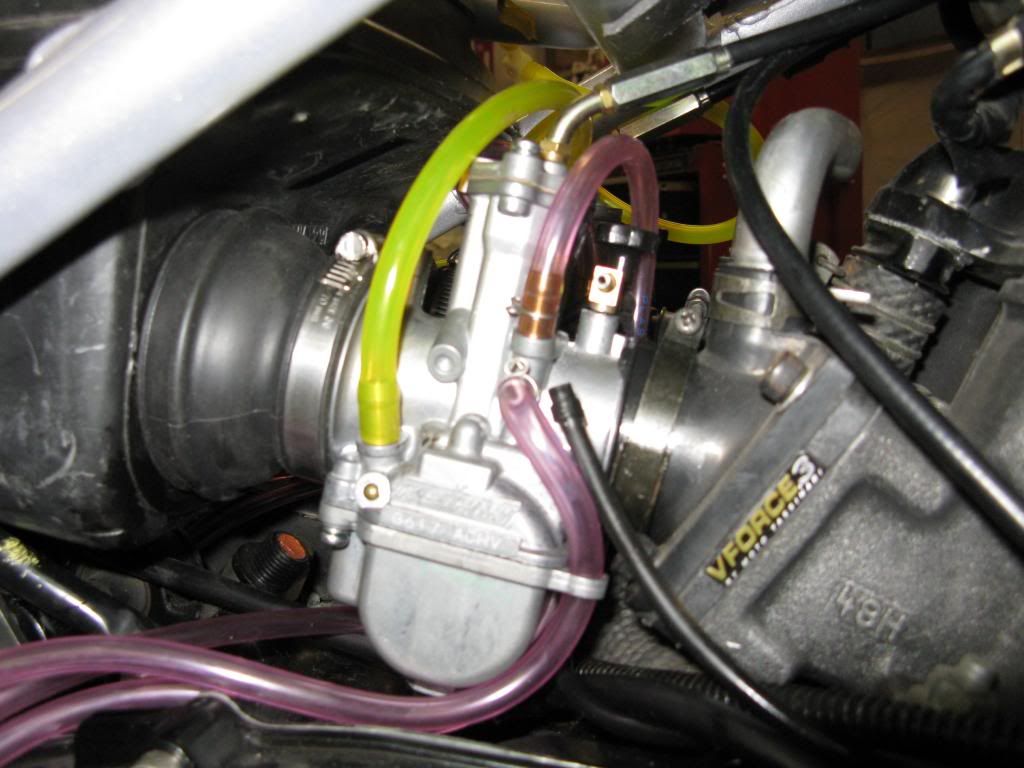
After test fitting the carbs, pull them off. Install the cable into the carb tops. I used a 45 degree fitting on top of the carb. If you are using the cable from CPW with no injection, the cable has its own 45 degree fitting on the end. Install the pull cable into the stock throttle housing. Install the banshee airbox boots onto the back of the carbs. Clamp with the thin hose clamps. Take this boot & curl it back to the carb. It will stay there. Insert carb into manifold. Uncurl boot & it will fit around the airbox & clamp it. Do not forget to tighten up any clamps that you loosened during this install.
Oil lines.
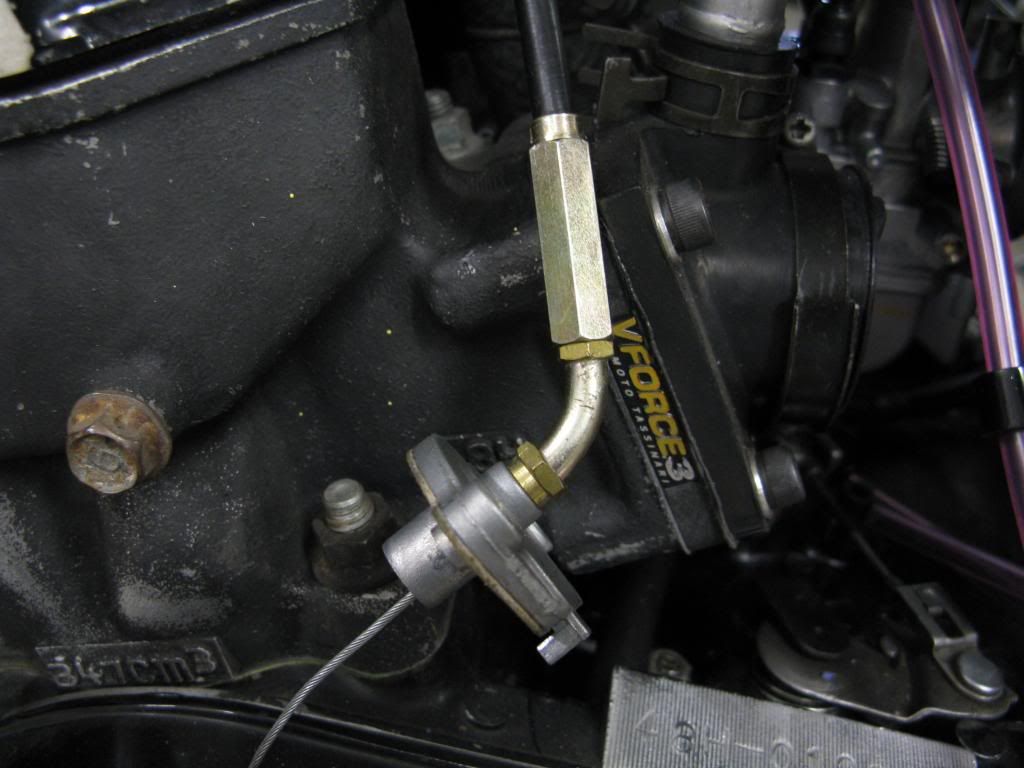
The left oil line is long enough to reuse. The right one is not. ( yours may work). I have some spare stock oil line that I will replace it with. Some peeps use clear line so they can see the oil in the line. Not a bad idea. Re-adjust oil pump and adjust the play out of the cables.
Petcock.
I plan on retaining the stock petcock. I also plan on TIG welding an aluminum bung on the crossover tubes & inserting a fitting to pull vacuum from. I hear some peeps are using a tap from a RGV250 http://www.ebay.com/itm/400347333154?ss ... 1423.l2649" onclick="window.open(this.href);return false; I cannot vouch for this.
Jetting.
Everyone's jetting will differ to some degree. Some are running the stock air box & some are using pods. Consult the forum to see what other peeps are using. I am starting out with what CPW sent. Main 155, Pilot 50, Needle JJH, Slide 3.5, Clip (middle) 3 from top. More on this as I jet it in. (will be awhile as its winter here still) From what I have read I will probably end up with something like 145,45, JJH.
Go back over & re-check your install. Oil lines hooked up? Clamps tight? Carb slide closing all the way with no binding? Throttle housing tight?
I would like to thank the following peeps for their input on this install. KR-RZ350, actmobmar, tobster, & RuZty. These users provided tips or made me aware of some of the items in the bill of materials. If I forgot someone, please let me know & I will correct this oversight.
There you go. I will freely admit to purchasing many parts for this install that I did not use. Its a trial & error thing. I made the errors for you. I feel you cannot go wrong with the parts I used. Your locale may dictate other parts being used in place of what I used.
If I need to clarify any part of this process let me know & I shall do so.
Regards,
Stan
Bill of Materials
1--28 mm PWK ----------291.02-----Includes spare brass 216-635-1099 http://www.carbparts.com/" onclick="window.open(this.href);return false;
1--28 mm PWK "kit"-----331.00-----Includes brass, throttle assy and cable (premix)
2--45 deg carb adjuster ----- http://www.powersportsplace.com/parts/m ... /overview/" onclick="window.open(this.href);return false;
http://www.allensperformance.co.uk/prod ... sters.html" onclick="window.open(this.href);return false;
2--Injection fitting----- 12.44----- http://www.boats.net/parts/detail/merc/M-822715.html" onclick="window.open(this.href);return false;
or http://cgi.ebay.com/ws/eBayISAPI.dll?Vi ... 1240085219" onclick="window.open(this.href);return false;
Economy cycle http://www.economycycle.com/servlet/the ... 400/Detail" onclick="window.open(this.href);return false;
1-- throttle cable-----37.50----- http://yambits.co.uk/rd350-ypvs-throttl ... -1829.html" onclick="window.open(this.href);return false;
2-- Banshee boots-----16.98-----29L-14453-01-00 JOINT, AIR CLEANER Yamaha Dealer
4-- Thin Hose Clamps -----19.00---#36 thin stainless TDR Racing http://www.tdrracing.com/" onclick="window.open(this.href);return false; 941-505-0080
1-- 4mm Drill bit----- 5.62 for 2 bits-- http://www.ebay.com/itm/280991321899?ss ... 1439.l2649" onclick="window.open(this.href);return false;
* Footnotes*
I have seen others post about drilling all the way through the carb when installing the oil pump fitting. They either drilled a 1.5mm hole at the end or drilled all the way through whatever size the fitting needed. In my mind both ways are wrong. The stock orifice at the carb throat is around .040 (1.016mm) of an inch. Not 1.5mm as stated in other posts I have seen. There are 2 holes close together in the stock USA carbs. One may very well be 1.5mm, I did not measure, but it is considerably bigger than the oil hole in the throat of the carb. I replicated this .040" hole in the PWK's because I believe the pressure of the pump would "squirt" the oil in the airstream & give better lubrication. I feel that with a bigger hole the oil would just "dribble" in & not give good lubrication downstream of some pretty important parts. This is just one mans opinion though. YMMV (your mileage may vary)
EDIT BEFORE POSTING: I admit that I could not measure the size of the hole in the carb accurately. I did have some safety wire that was .035 & it was just a little loose in the opening. That is why I chose .040. Now doing the conversion of .040 (1.016mm) to metric I see that 1.50mm is not that far from what I did. Originally In my mind, it was a huge difference. I am not up to speed on the metric system. And never will be. Now I wonder if I am wrong on my .040 hole. If so this would make the hole .0590". 1/16"=.0625 If the above is true, then I would have bought this http://www.ebay.com/itm/13pc-Piece-HSS- ... 484a0936b4" onclick="window.open(this.href);return false; Can someone positively confirm the stock hole size?
EDIT 11-14-2013 I am redrilling the hole to .061, closest drill I have to .059.
If you are not retaining the injection, just get the kit from CPW. Carbs, cable & throttle housing. The cable is a tad long though. You might need pods, depending if you are retaining the airbox.
If you order carbs from CPW you have choices. They do have 28's with the injection (and the vacuum I think) fittings already installed. At the time I was going injection-less so I did not order those. In hindsight I should have. I bet they are not 90 degree though.
Who would have thought that finding a 4mm drill bit would be hard. I checked on the net looking for one locally. Was not going to happen. same with the thin hose clamps (worm clamps elsewhere?). For the readers in countries that are based on the metric system this should not be an issue. For me it was. Good old eBay on the drills. TDR Racing on the hose clamps.
EDIT 12-28-2019 I am doing this again on another RZ.
1. I have found the Banshee & RZ airbox boots to be the same part number. I used a freshie set because mine were a little hard.
2. I found thin hose clamps for the boot to airbox junction here also: https://www.ebay.com/itm/191809845744
3. This time around I am taking more care of measuring the oil orifice on the stock carbs. I used a .059 bit (1.5mm)
4. Ed Toomey worked his magic on this engine. His suggested jetting is 155, 45, A00 needle and 3.5 slide for the PWK28's. The A00 needle is hard to find. I believe this needle is also called N68A. What I have found out that it is very close to the JJH needle. ( https://jetsrus.com/a_jets_by_carbureto ... 27-68.html ) I mailed ED to confirm if this was with the Toomey Filter setup or a stock gutted box. He said try it either way & jet from there. :(
5. This time around when installing the injection fitting, when I drilled the 4mm hole, I ended up with a loose fit. Either my drill bit is off or the fitting shrunk. A little JB Weld is in order.


