100% finished - thanks all for the help along the way!

Got a customizing or restoration project? Post your progress pictures and updates here

Moderator: rztom

Message
Author
User avatar
1601pete
Posts: 470
Joined: Fri Mar 10, 2006 5:37 pm
Location: Bristol, UK

100% finished - thanks all for the help along the way!

#1 Post by 1601pete » Thu Sep 24, 2009 7:36 pm

Well I thought it would be a good idea to start taking some pics of my re-build stage by stage. So my son and I took the frame etc into the house to get some photo's

Image

All was going well until we had a minor disaster whist carrying it back to the garage. My son to a bit of a sharp turn and decided it would be a good idea to scrape the frame across the corner of the garage wall.

I tried not to shout at him........................ but I couldn't help it :-x

Image

So I have taken it apart again and I'm off to my painting chap tomorrow to see what he can do.

Not a good start! :smt022
Last edited by 1601pete on Sun Jul 22, 2012 6:30 pm, edited 7 times in total.

cbn70
Posts: 127
Joined: Sat Dec 10, 2005 1:25 pm
Location: Edmoton,Alberta Canada

#2 Post by cbn70 » Thu Sep 24, 2009 8:24 pm

Looks good, keep the pics coming. It gives me a bit of incentive to get off my butt and get mine restoration going!!!!

User avatar
jackson.40
*****
*****
Posts: 2328
Joined: Fri Dec 30, 2005 7:01 pm
Location: Cambridge,UK

#3 Post by jackson.40 » Tue Sep 29, 2009 3:03 pm

Any more news on the frame yet? :sad:

MC
Posts: 317
Joined: Wed Nov 16, 2005 9:18 pm
Location: Southern Plains USA

#4 Post by MC » Wed Sep 30, 2009 1:47 am

If it's not powder coated the painter should be able to make the repair pretty easy........it looks like you have a great start for your 500....... It could be worse...

when I first got mine ,had it in my shop , told the kids to keep away from it , yup you guessed it one tried to climb on from the right hand side on the kick stand , found the bike on its side, dented pipe & cracked fairing and the carbs unloading all the contents from the gas tank :mad: knocked the "new to me" right off it ... yelled at em' ..... felt bad .... then it really sunk in that it's not that big of a deal, it's in all reality just a motorcycle a cool one but just a bike and stuff happens.........

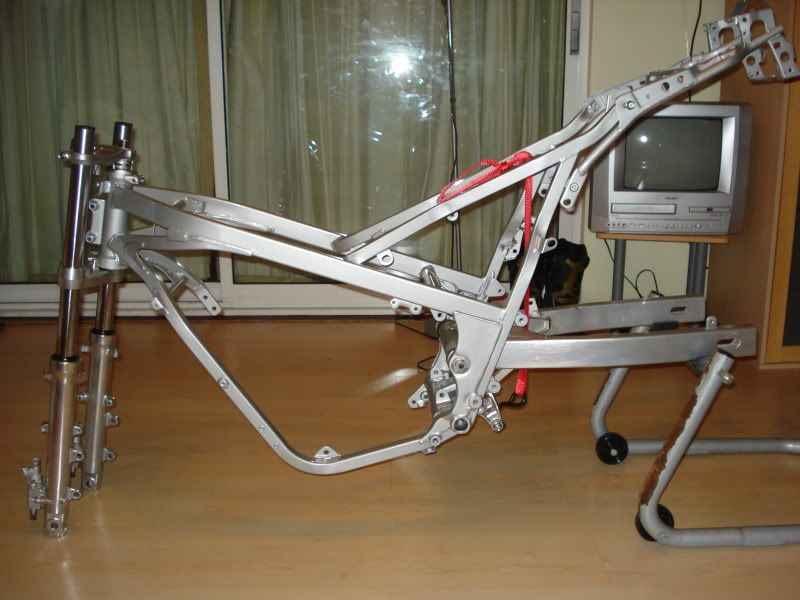
Can you tell me what you guys are doing when you strip the finish from the frame and remove the ID decal from the top right hand frame rail (Canadian model ) ? Do you buy another ID decal or save / remove it or mask the original ?

User avatar
aaronmvrider
Posts: 1401
Joined: Fri Nov 21, 2008 7:43 pm
Location: Central Coast New South Wales

#5 Post by aaronmvrider » Wed Sep 30, 2009 2:11 am

it is riveted on drill out rivet center and place directly back onto same holes, new rivets
my rides
rz 500 1984
2 x rz 350 1984
mv agusta f4 1000 2004

User avatar
rzatch
- - - - -
- - - - -
Posts: 762
Joined: Wed Oct 25, 2006 11:23 am
Location: Illinois

#6 Post by rzatch » Wed Sep 30, 2009 10:47 am

Canadian model is a sticker.

User avatar
1601pete
Posts: 470
Joined: Fri Mar 10, 2006 5:37 pm
Location: Bristol, UK

#7 Post by 1601pete » Thu Oct 01, 2009 6:38 pm

Well. Got my frame back today. He tried to mask and redo the marked tube but it wasn't perfect so he's keyed back the frame and re-did it.

He's also re-done the removable frame down tube and other silver bits to ensure a perfect colour match.

Went to put it back together tonight only to find that I have mislaid the collar that sits under the head of the long bolt that holds the shock linkage to the frame! :-x

Got pi~@~d off looking for it so I have decide to bolt down my crankcases instead............... Nothing went wrong with that. :razz:

User avatar
jackson.40
*****
*****
Posts: 2328
Joined: Fri Dec 30, 2005 7:01 pm
Location: Cambridge,UK

#8 Post by jackson.40 » Fri Oct 02, 2009 2:19 am

Let me know if you need a collar as they are nla.

User avatar
1601pete
Posts: 470
Joined: Fri Mar 10, 2006 5:37 pm
Location: Bristol, UK

#9 Post by 1601pete » Fri Oct 02, 2009 12:27 pm

No probs, I made one at work today! :cool:

User avatar
1601pete
Posts: 470
Joined: Fri Mar 10, 2006 5:37 pm
Location: Bristol, UK

#10 Post by 1601pete » Fri Oct 16, 2009 12:19 pm

Now managed to get the rolling chassis - rolling

Image

User avatar
haddless
Posts: 67
Joined: Sat Aug 15, 2009 10:04 pm

looks great

#11 Post by haddless » Fri Oct 16, 2009 3:43 pm

Its looking good! I think its time to start one of mine off before taking on any more bikes. Keep the pics coming you're doing a great job
My Ride
1989 RD500 Marlboro
1985 RG500 Blue/White
1986 RG500 Blue/White
1985 GSXR 750 Blue/White
1986 GSXR 1100 Blue/White

YPVS KIWI
Posts: 368
Joined: Thu Apr 03, 2008 4:42 am
Location: New Zealand

#12 Post by YPVS KIWI » Sat Oct 17, 2009 4:28 am

Hi Pete - looking good - what tyres did you go with?.

Cheers
Mark.
Experience is that marvelous thing that enables you to recognize a mistake when you make it again.--Franklin P. Jones

User avatar
1601pete
Posts: 470
Joined: Fri Mar 10, 2006 5:37 pm
Location: Bristol, UK

#13 Post by 1601pete » Sat Oct 17, 2009 3:16 pm

Mark.

I'm using the tyres that were on the bike when I got it.

Bridgestone BT045's. I think the sizes are

Rear 140/70
Front 120/80.

Cheers

Pete

User avatar
1601pete
Posts: 470
Joined: Fri Mar 10, 2006 5:37 pm
Location: Bristol, UK

#14 Post by 1601pete » Mon Nov 08, 2010 4:05 pm

The story so far
Last edited by 1601pete on Sun Jul 22, 2012 7:01 pm, edited 1 time in total.

User avatar
aaronmvrider
Posts: 1401
Joined: Fri Nov 21, 2008 7:43 pm
Location: Central Coast New South Wales

#15 Post by aaronmvrider » Mon Nov 08, 2010 7:37 pm

pete... amazing photo slideshow... excellent work

when will she be running ????
my rides
rz 500 1984
2 x rz 350 1984
mv agusta f4 1000 2004

Post Reply