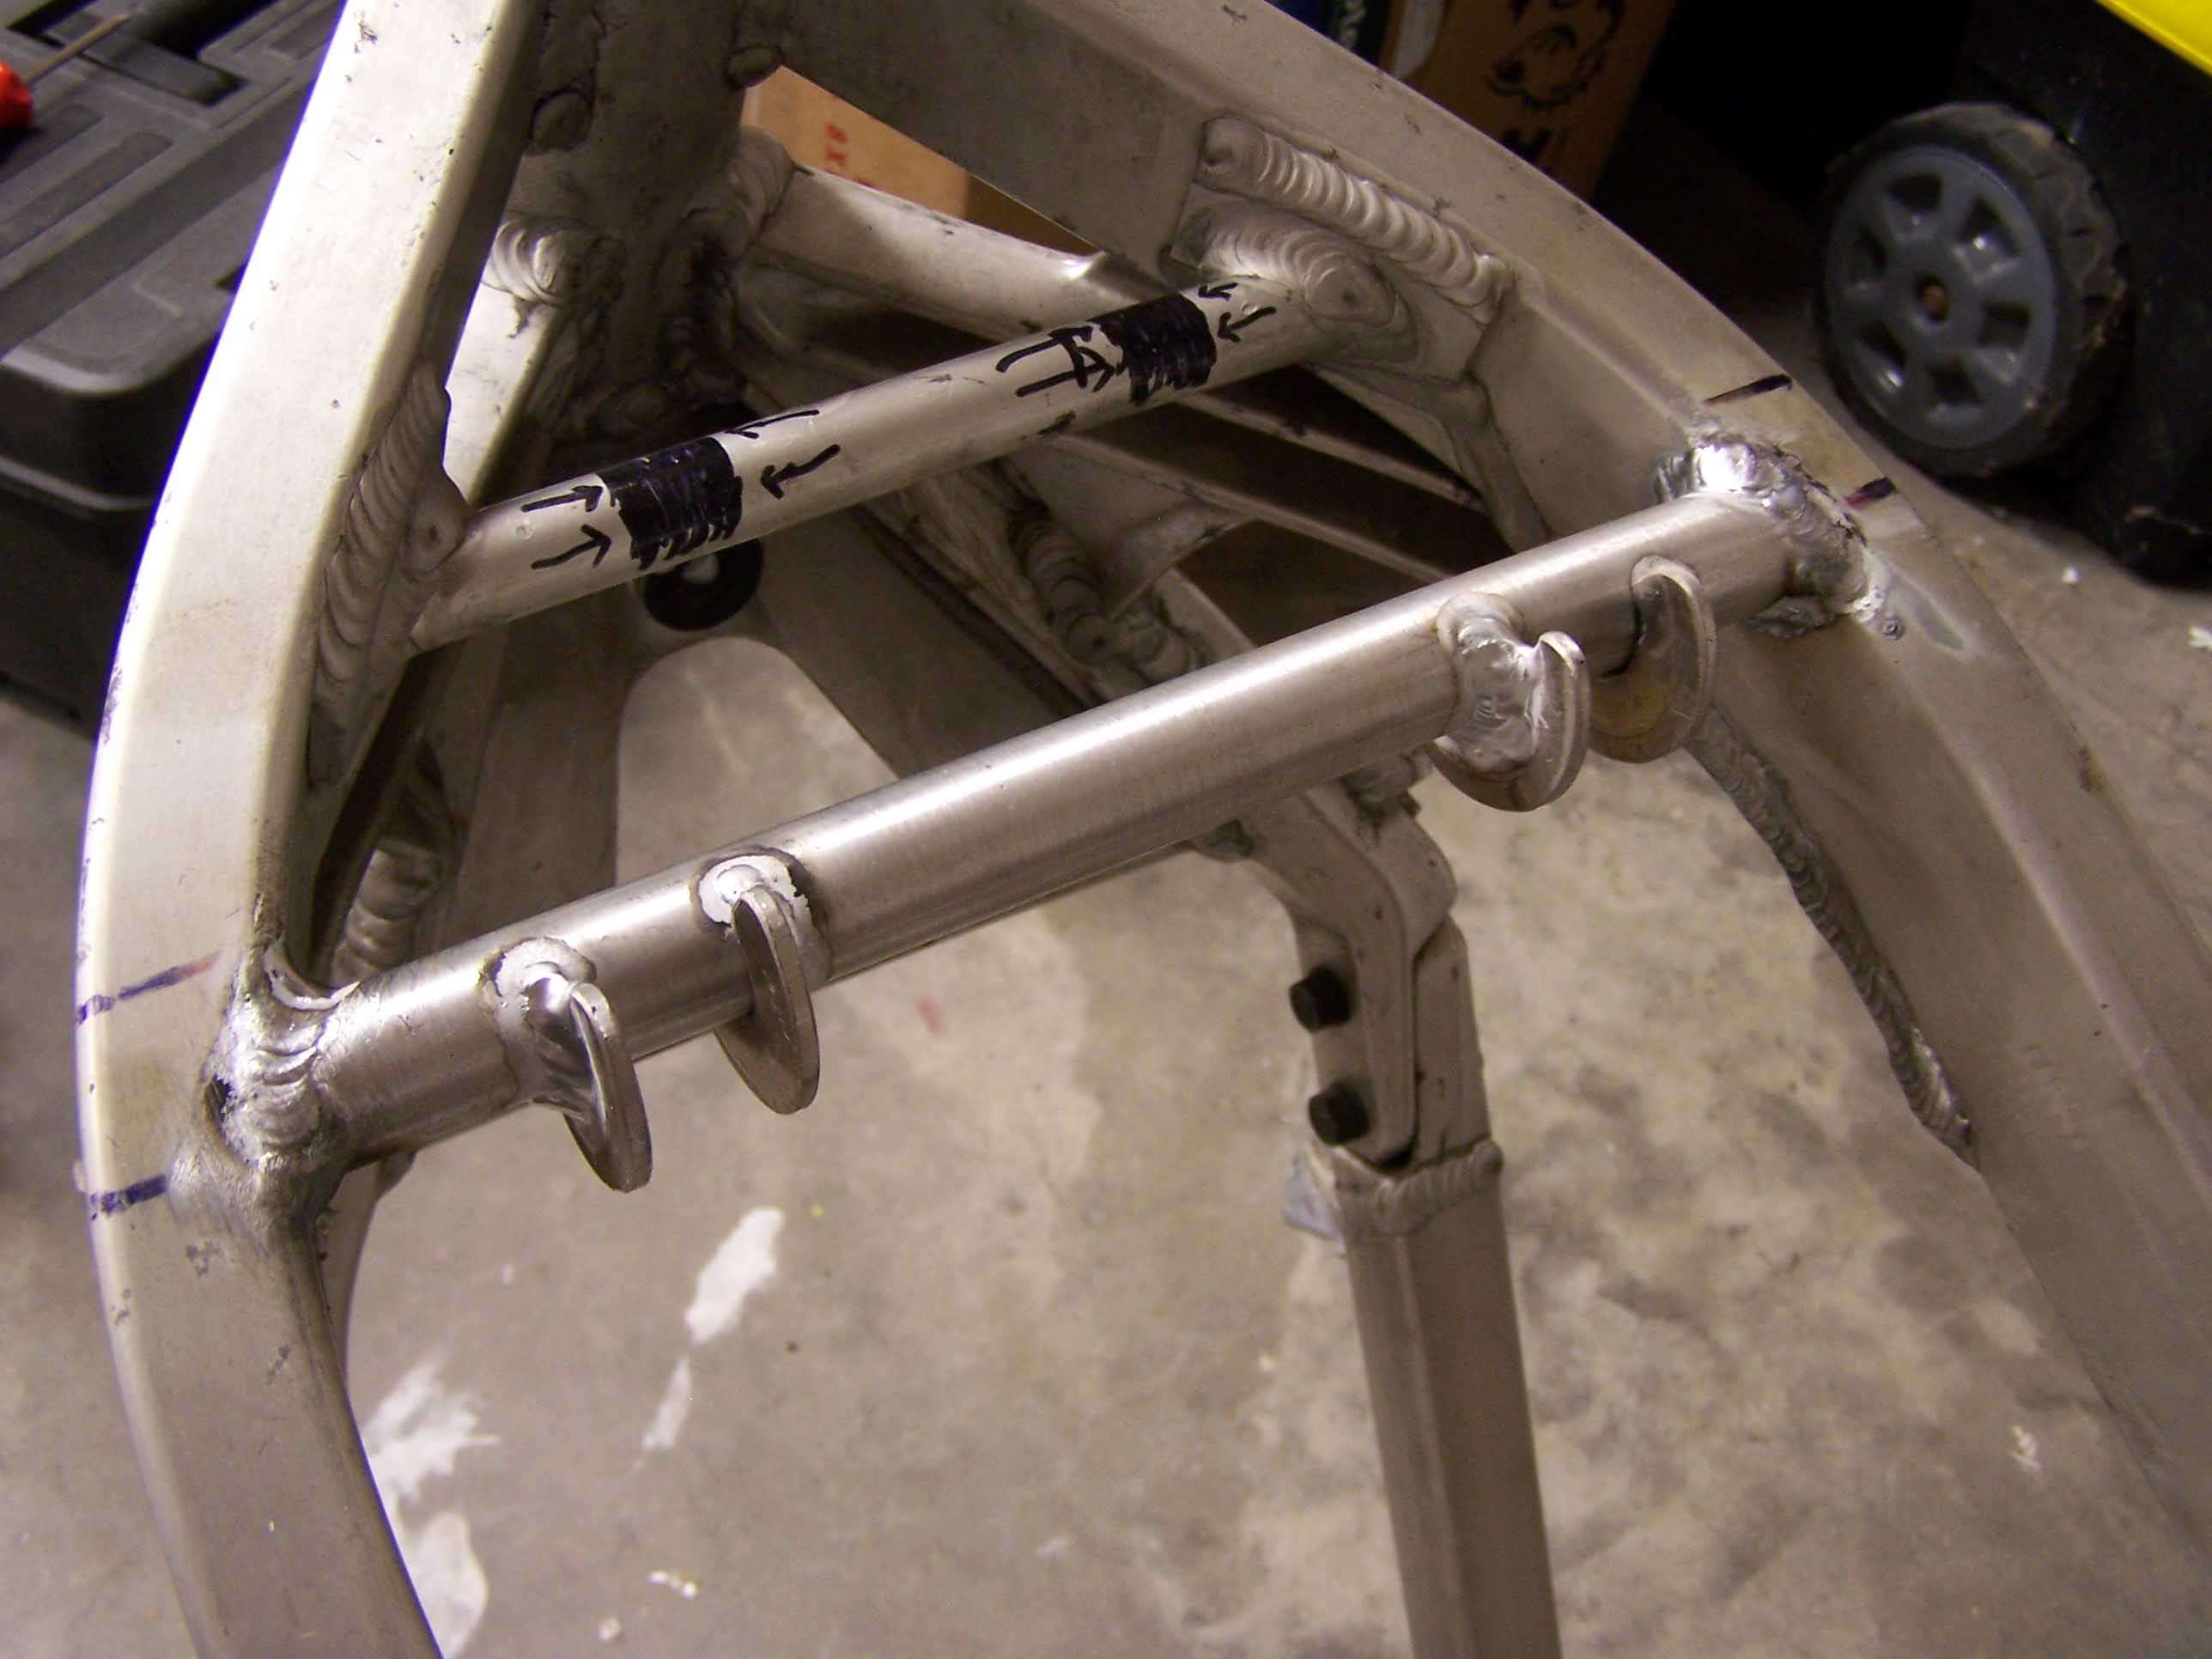
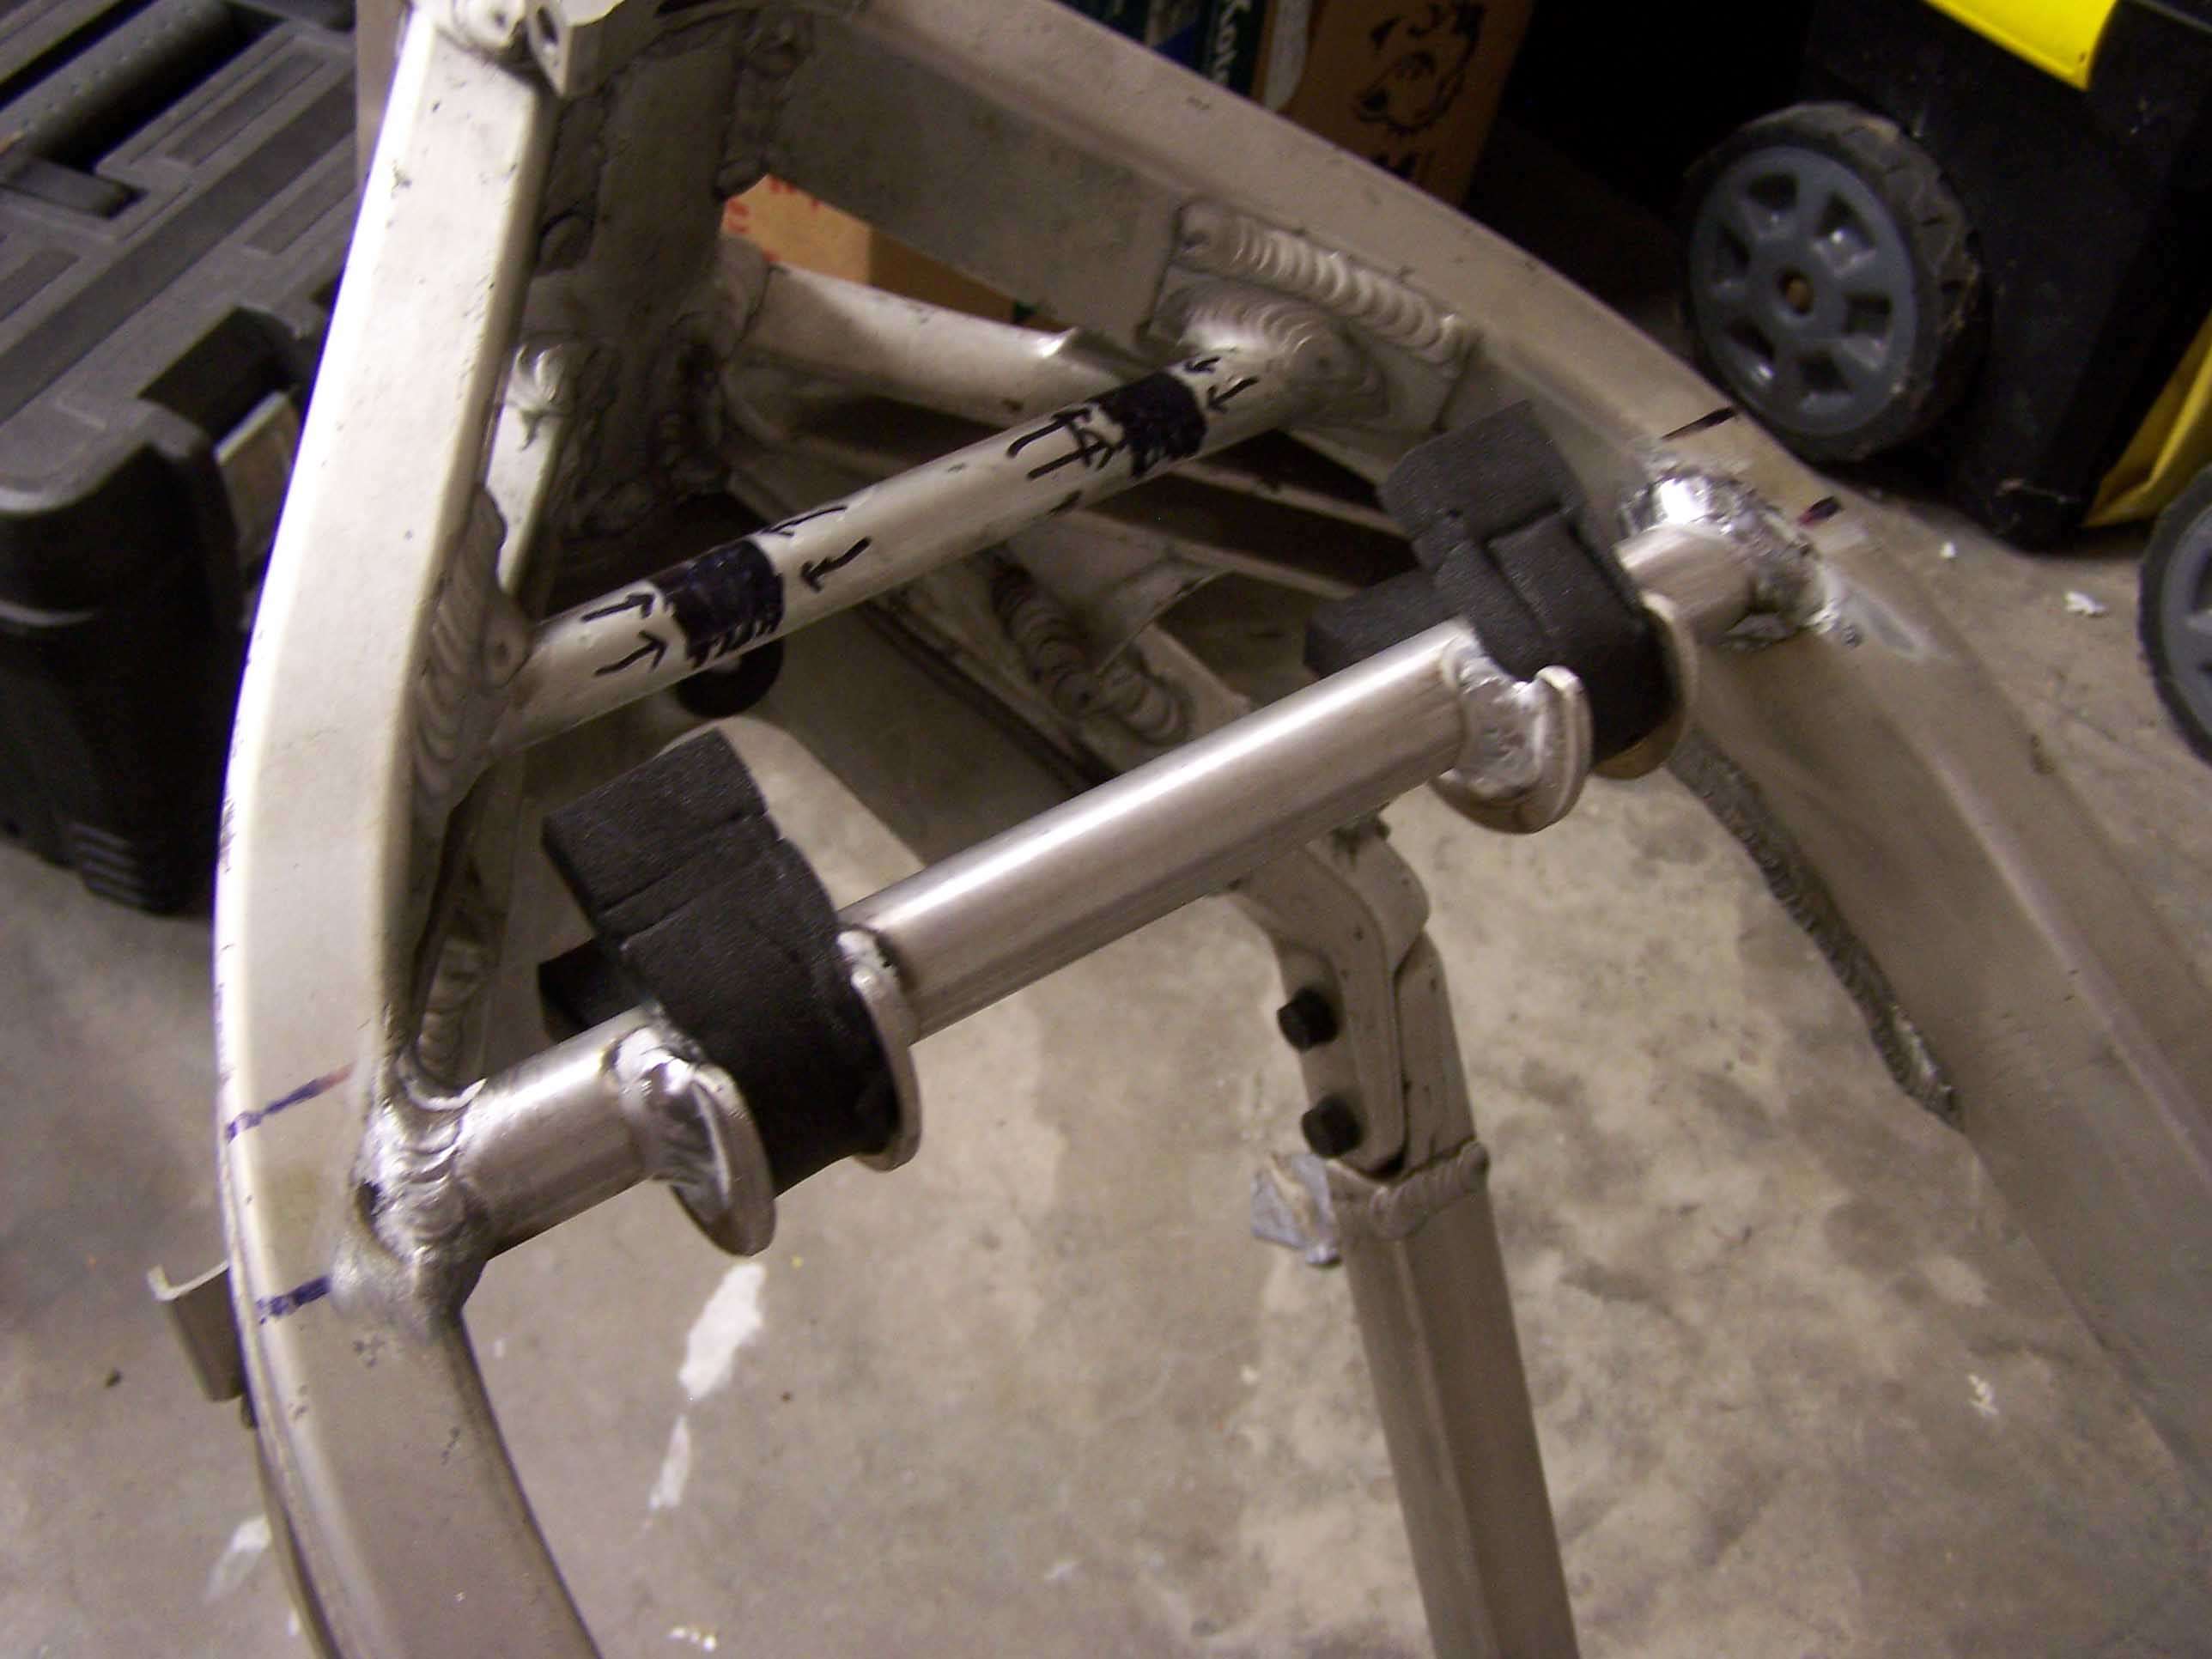
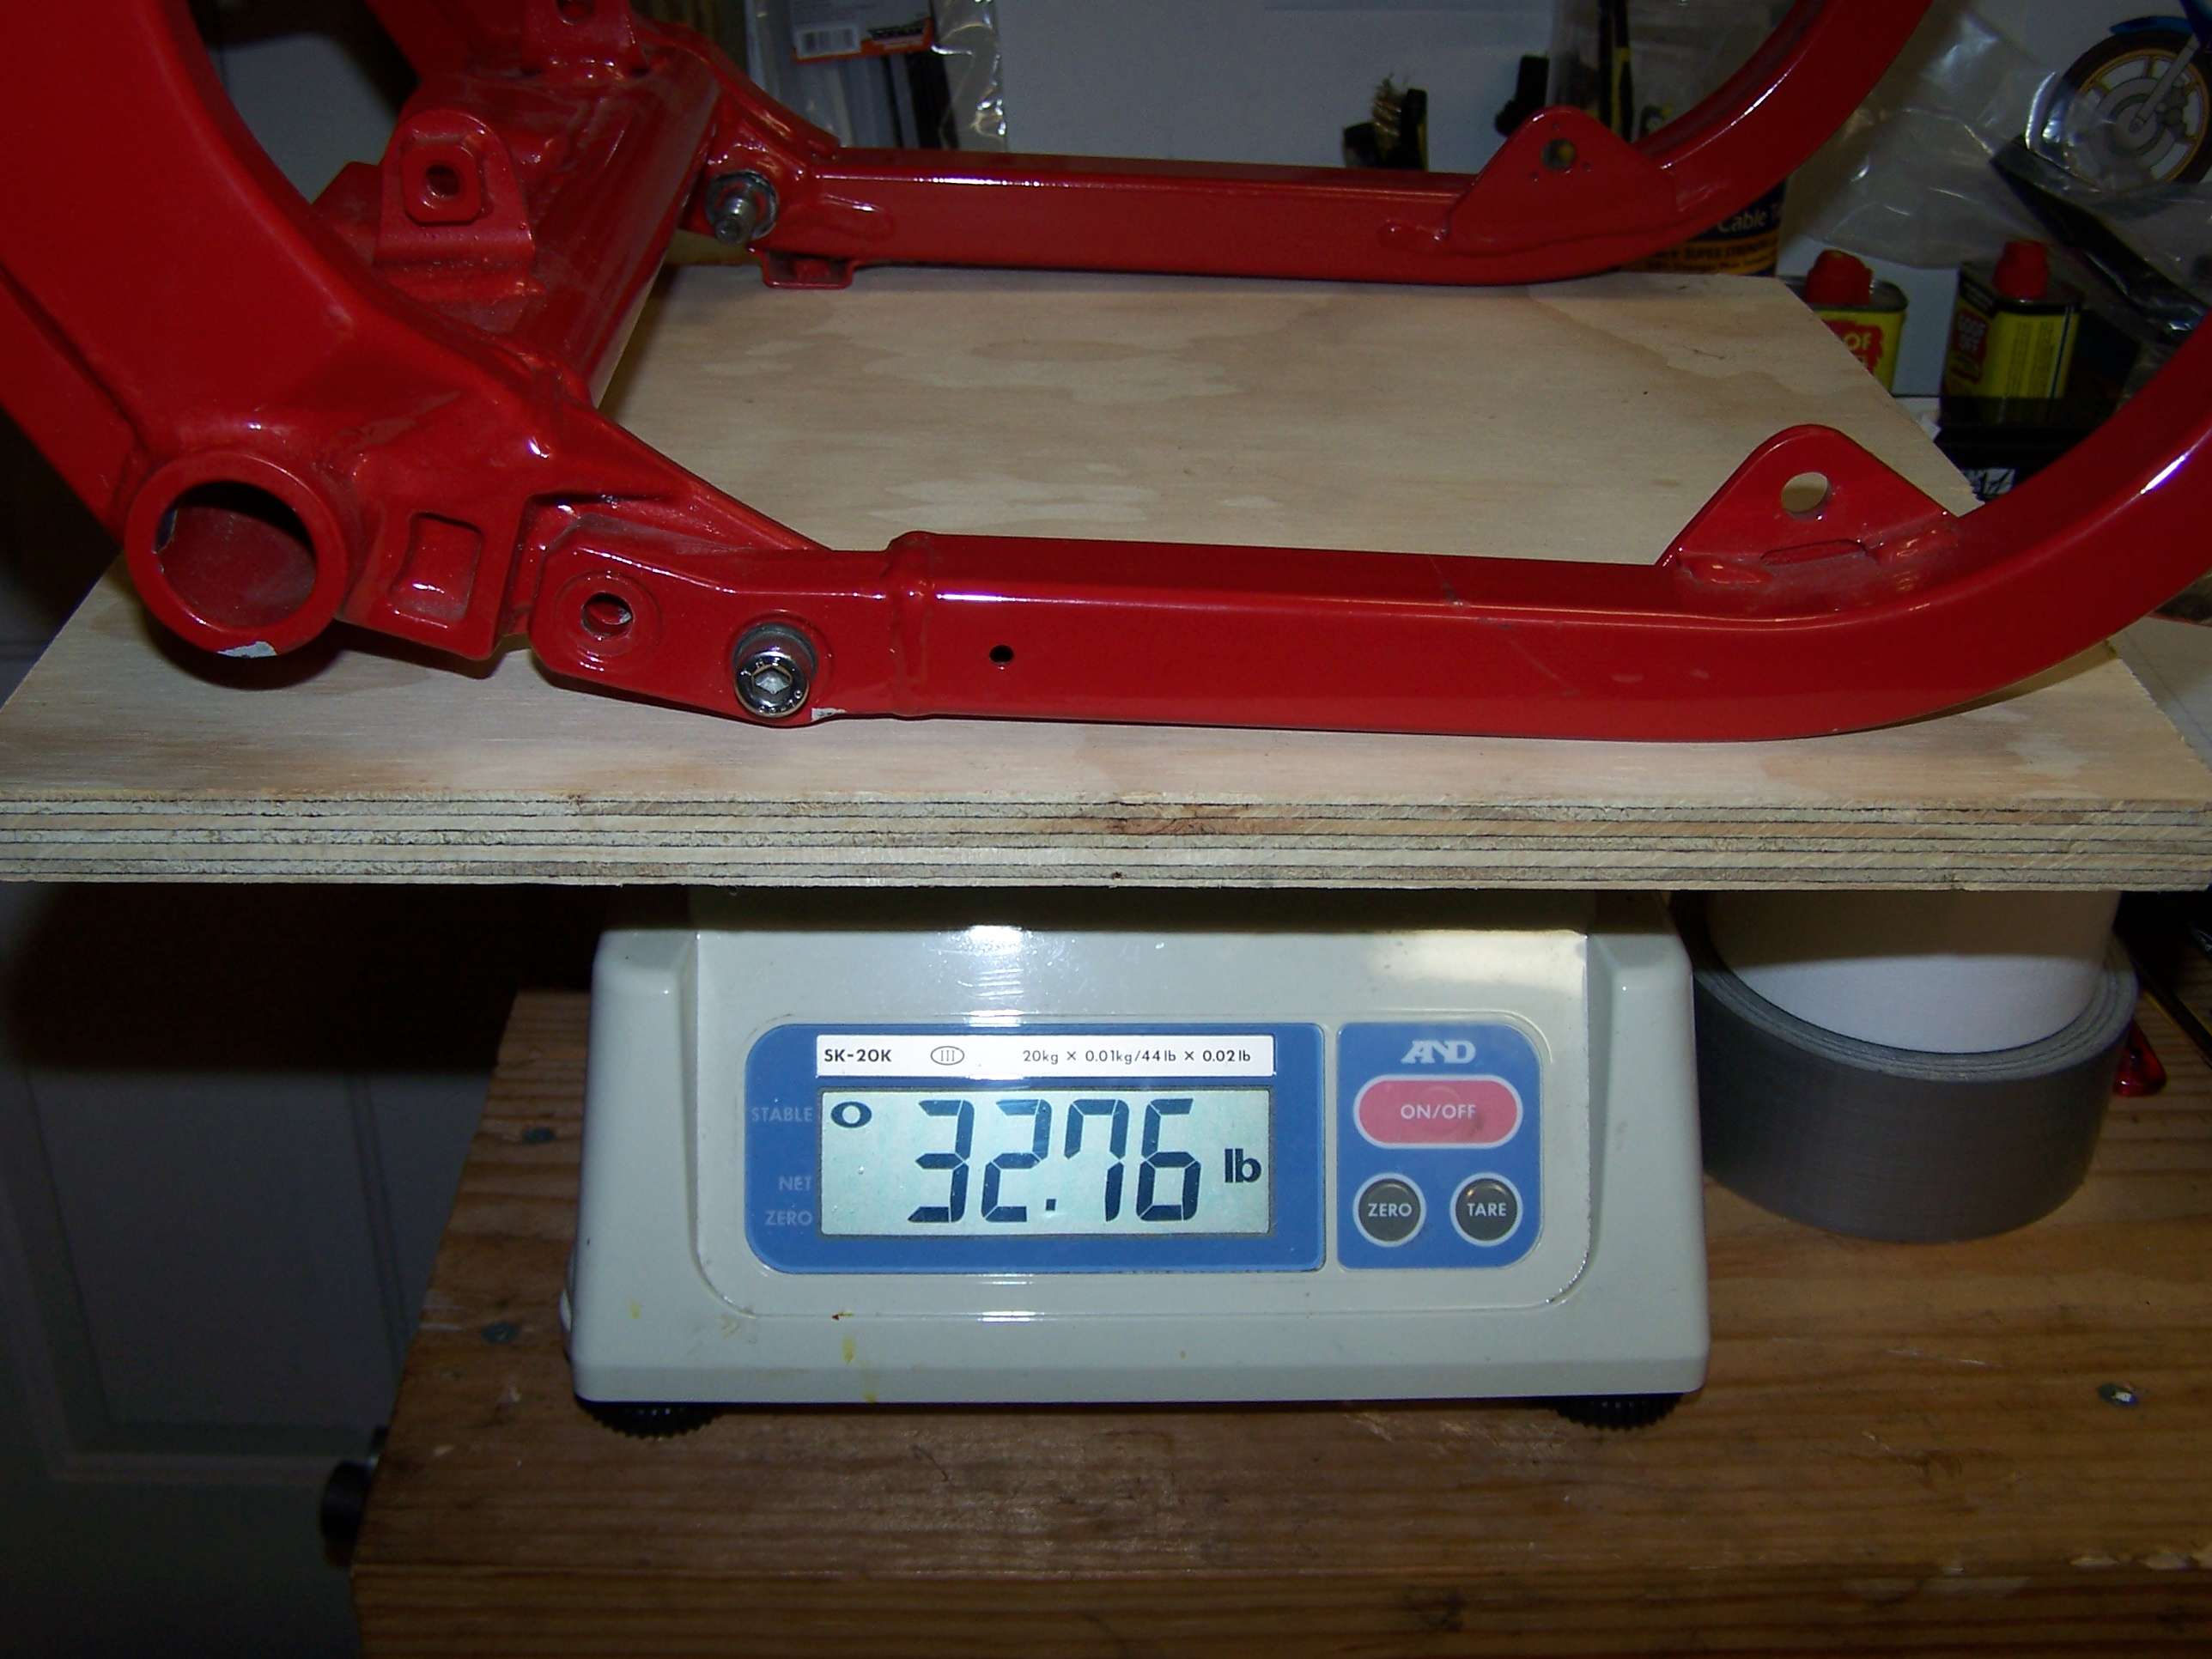
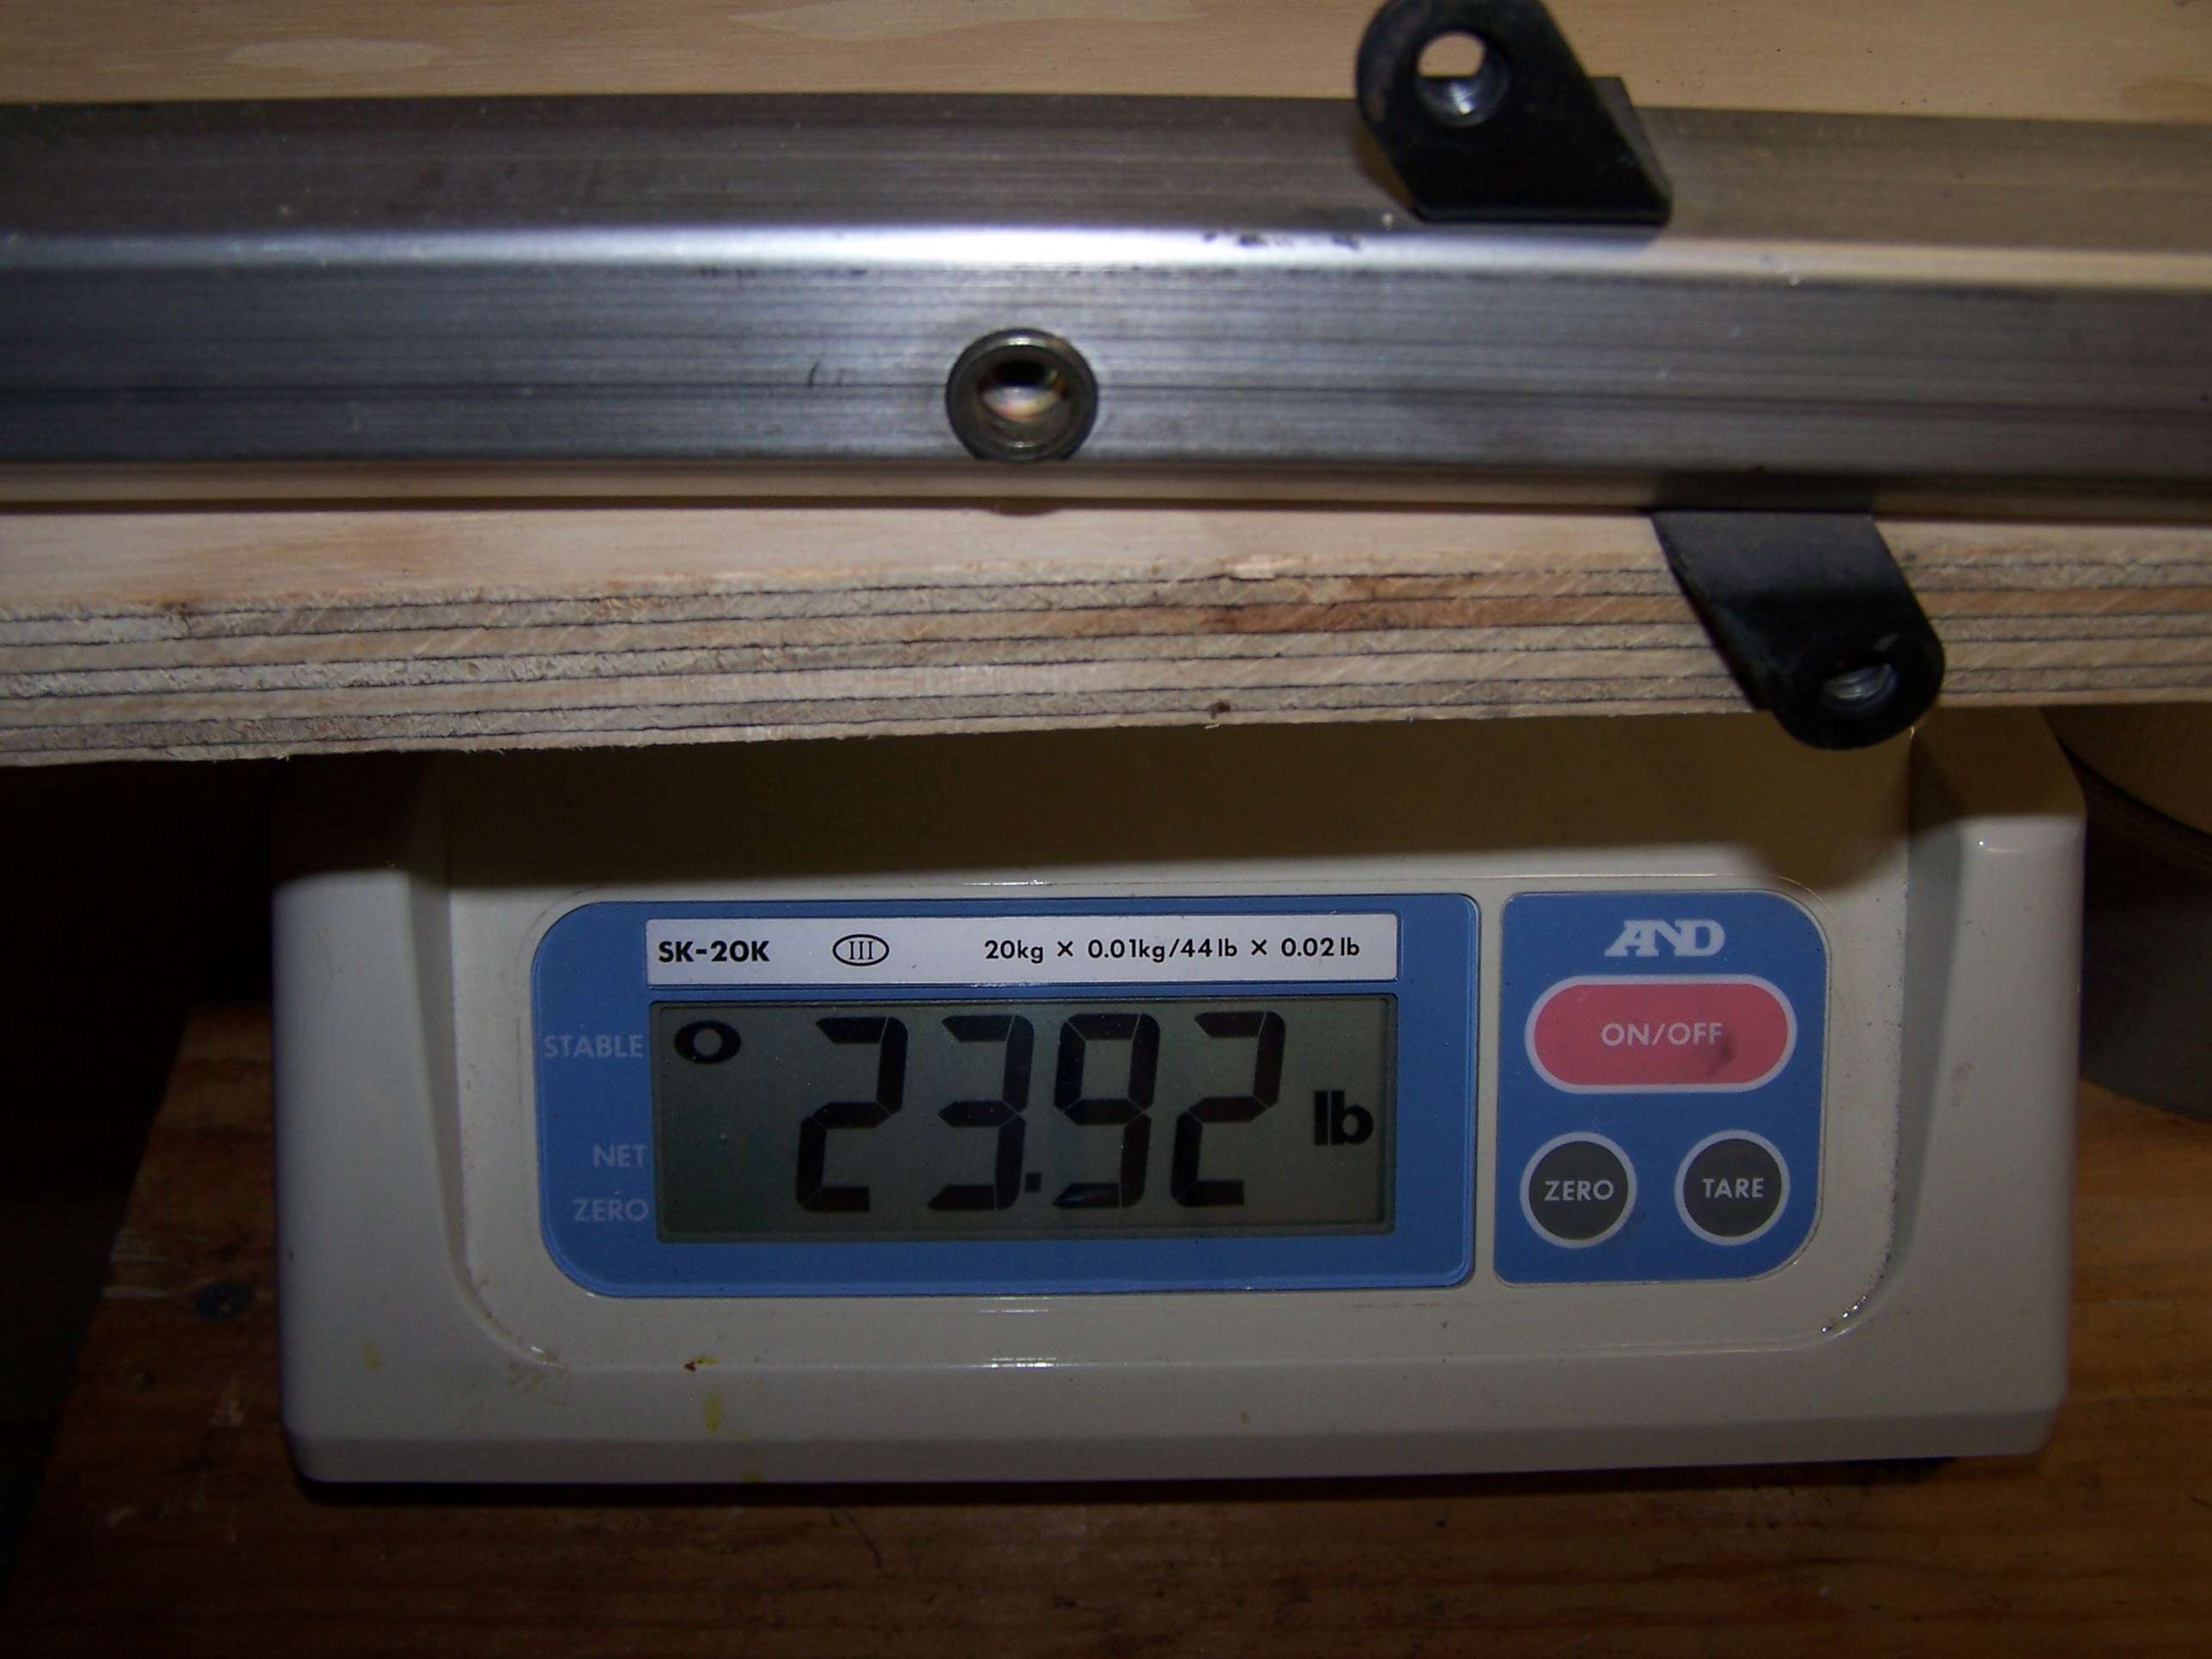
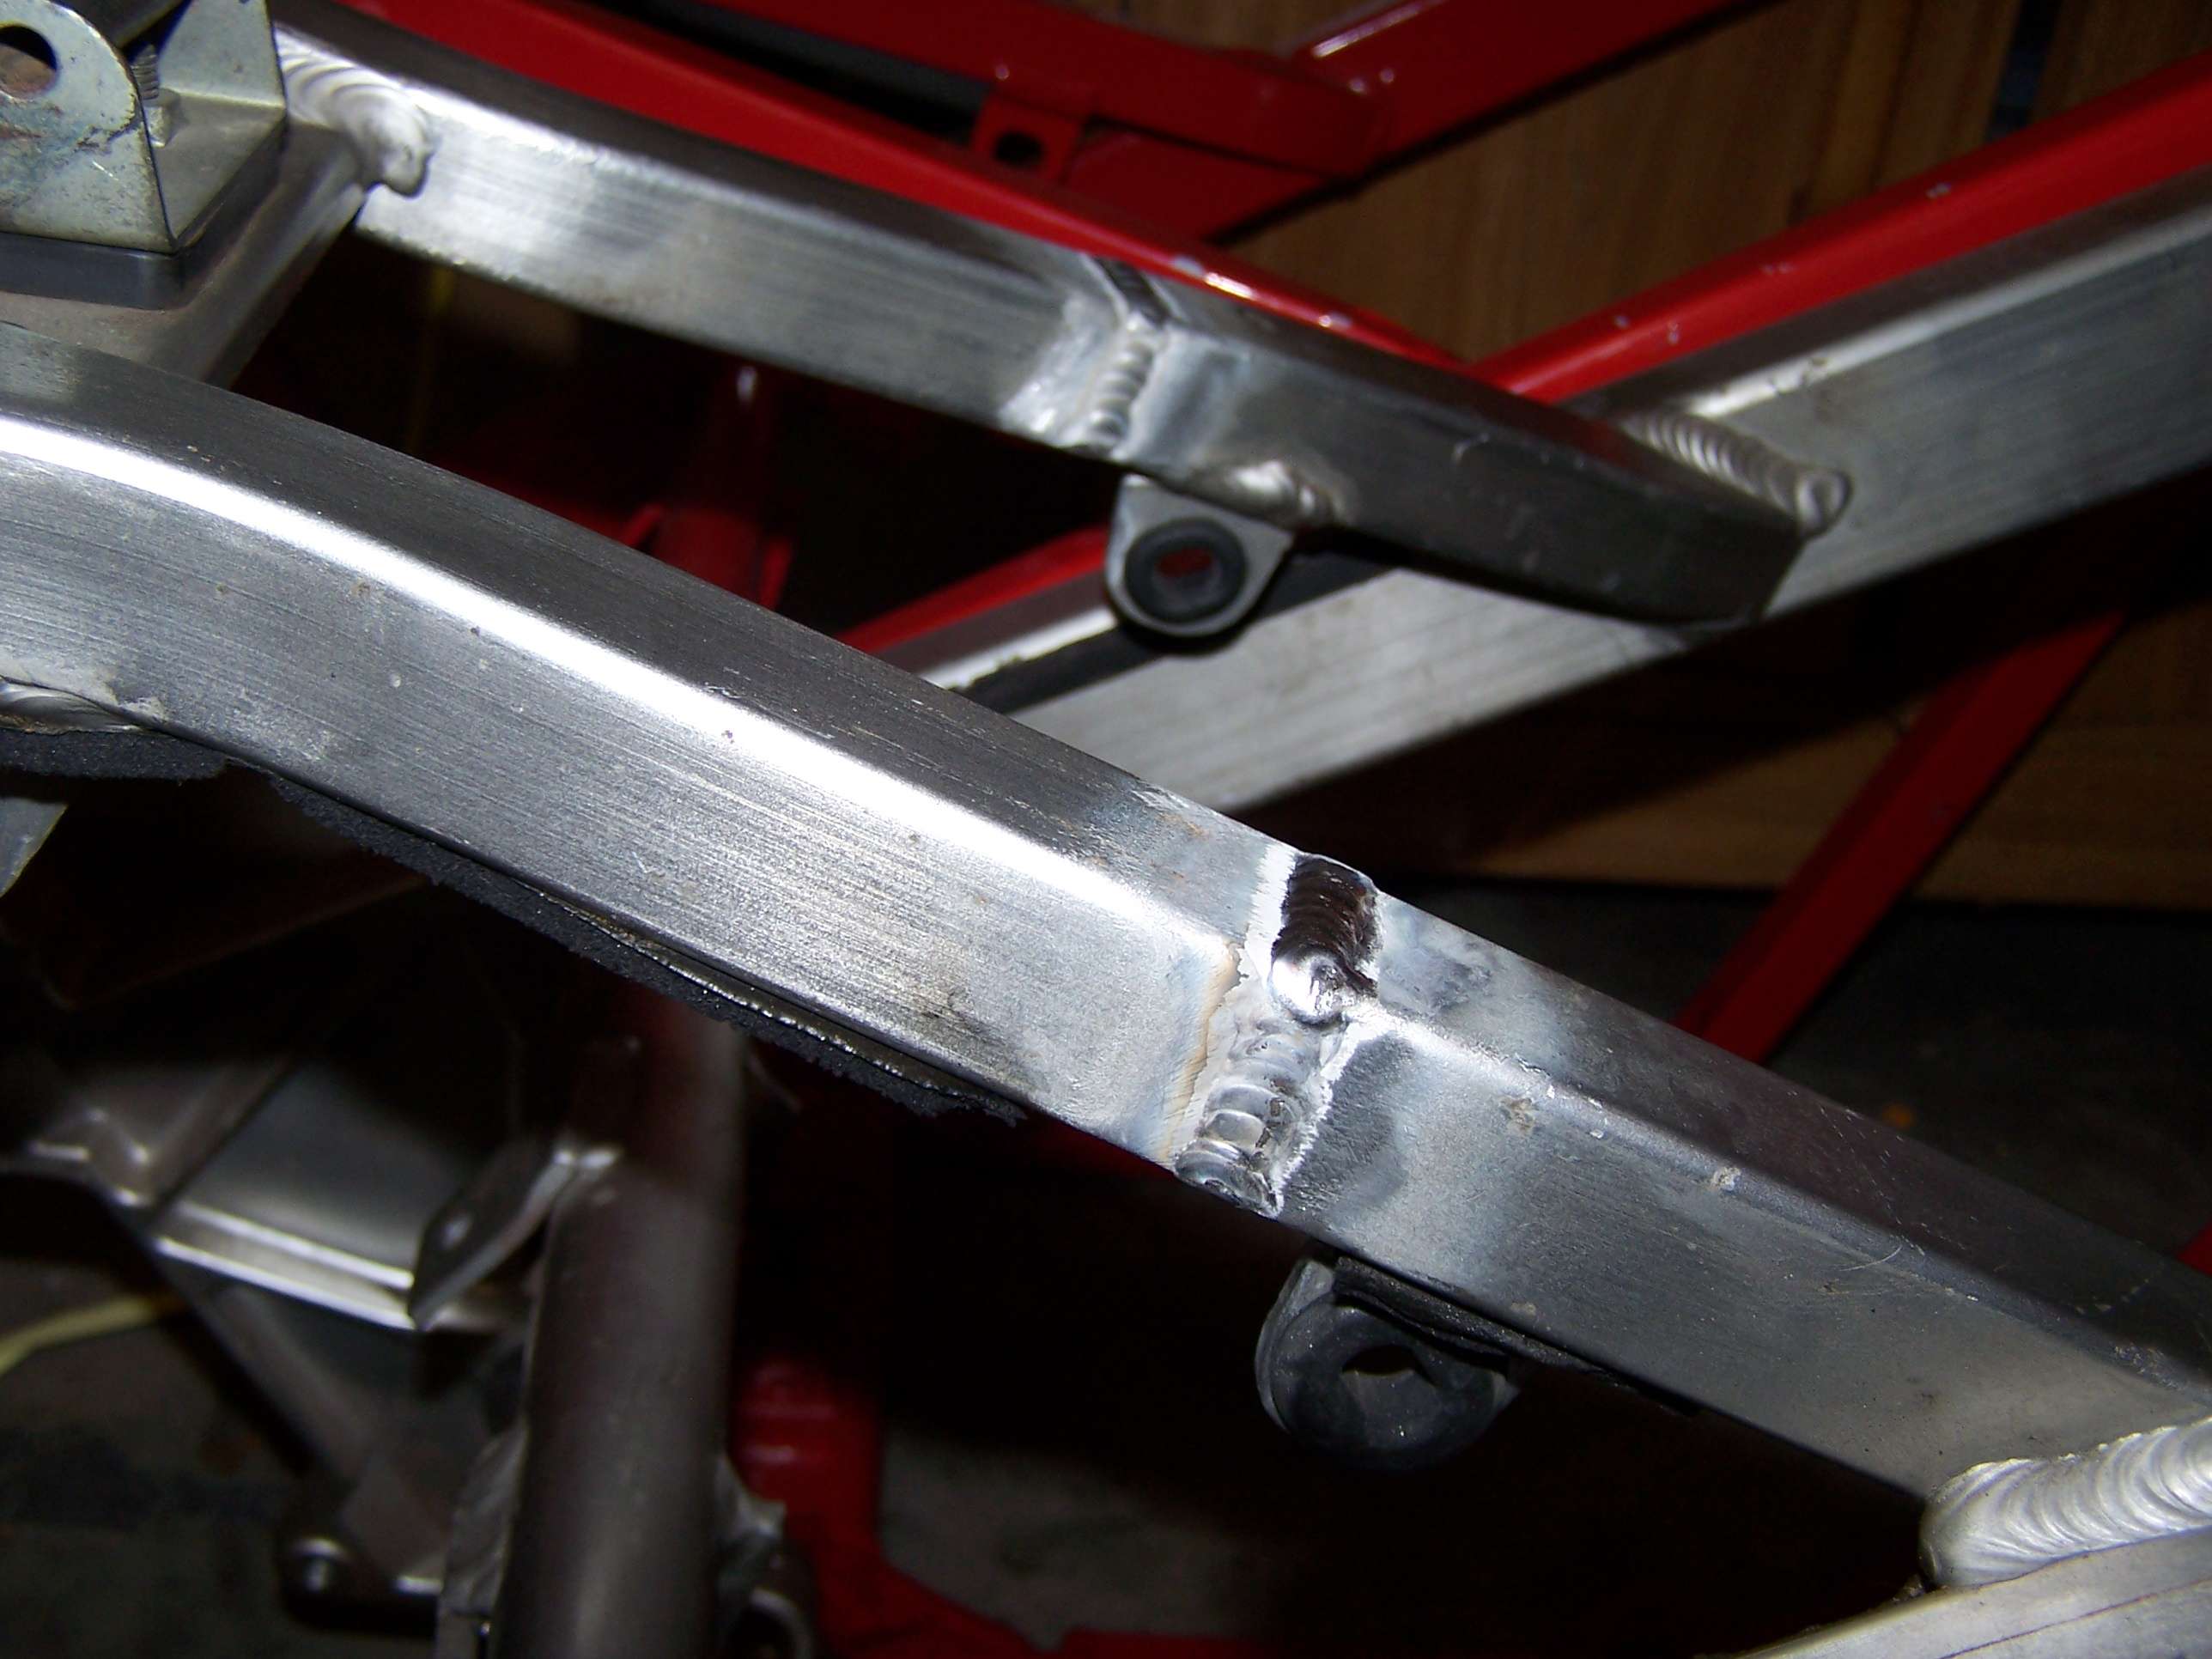
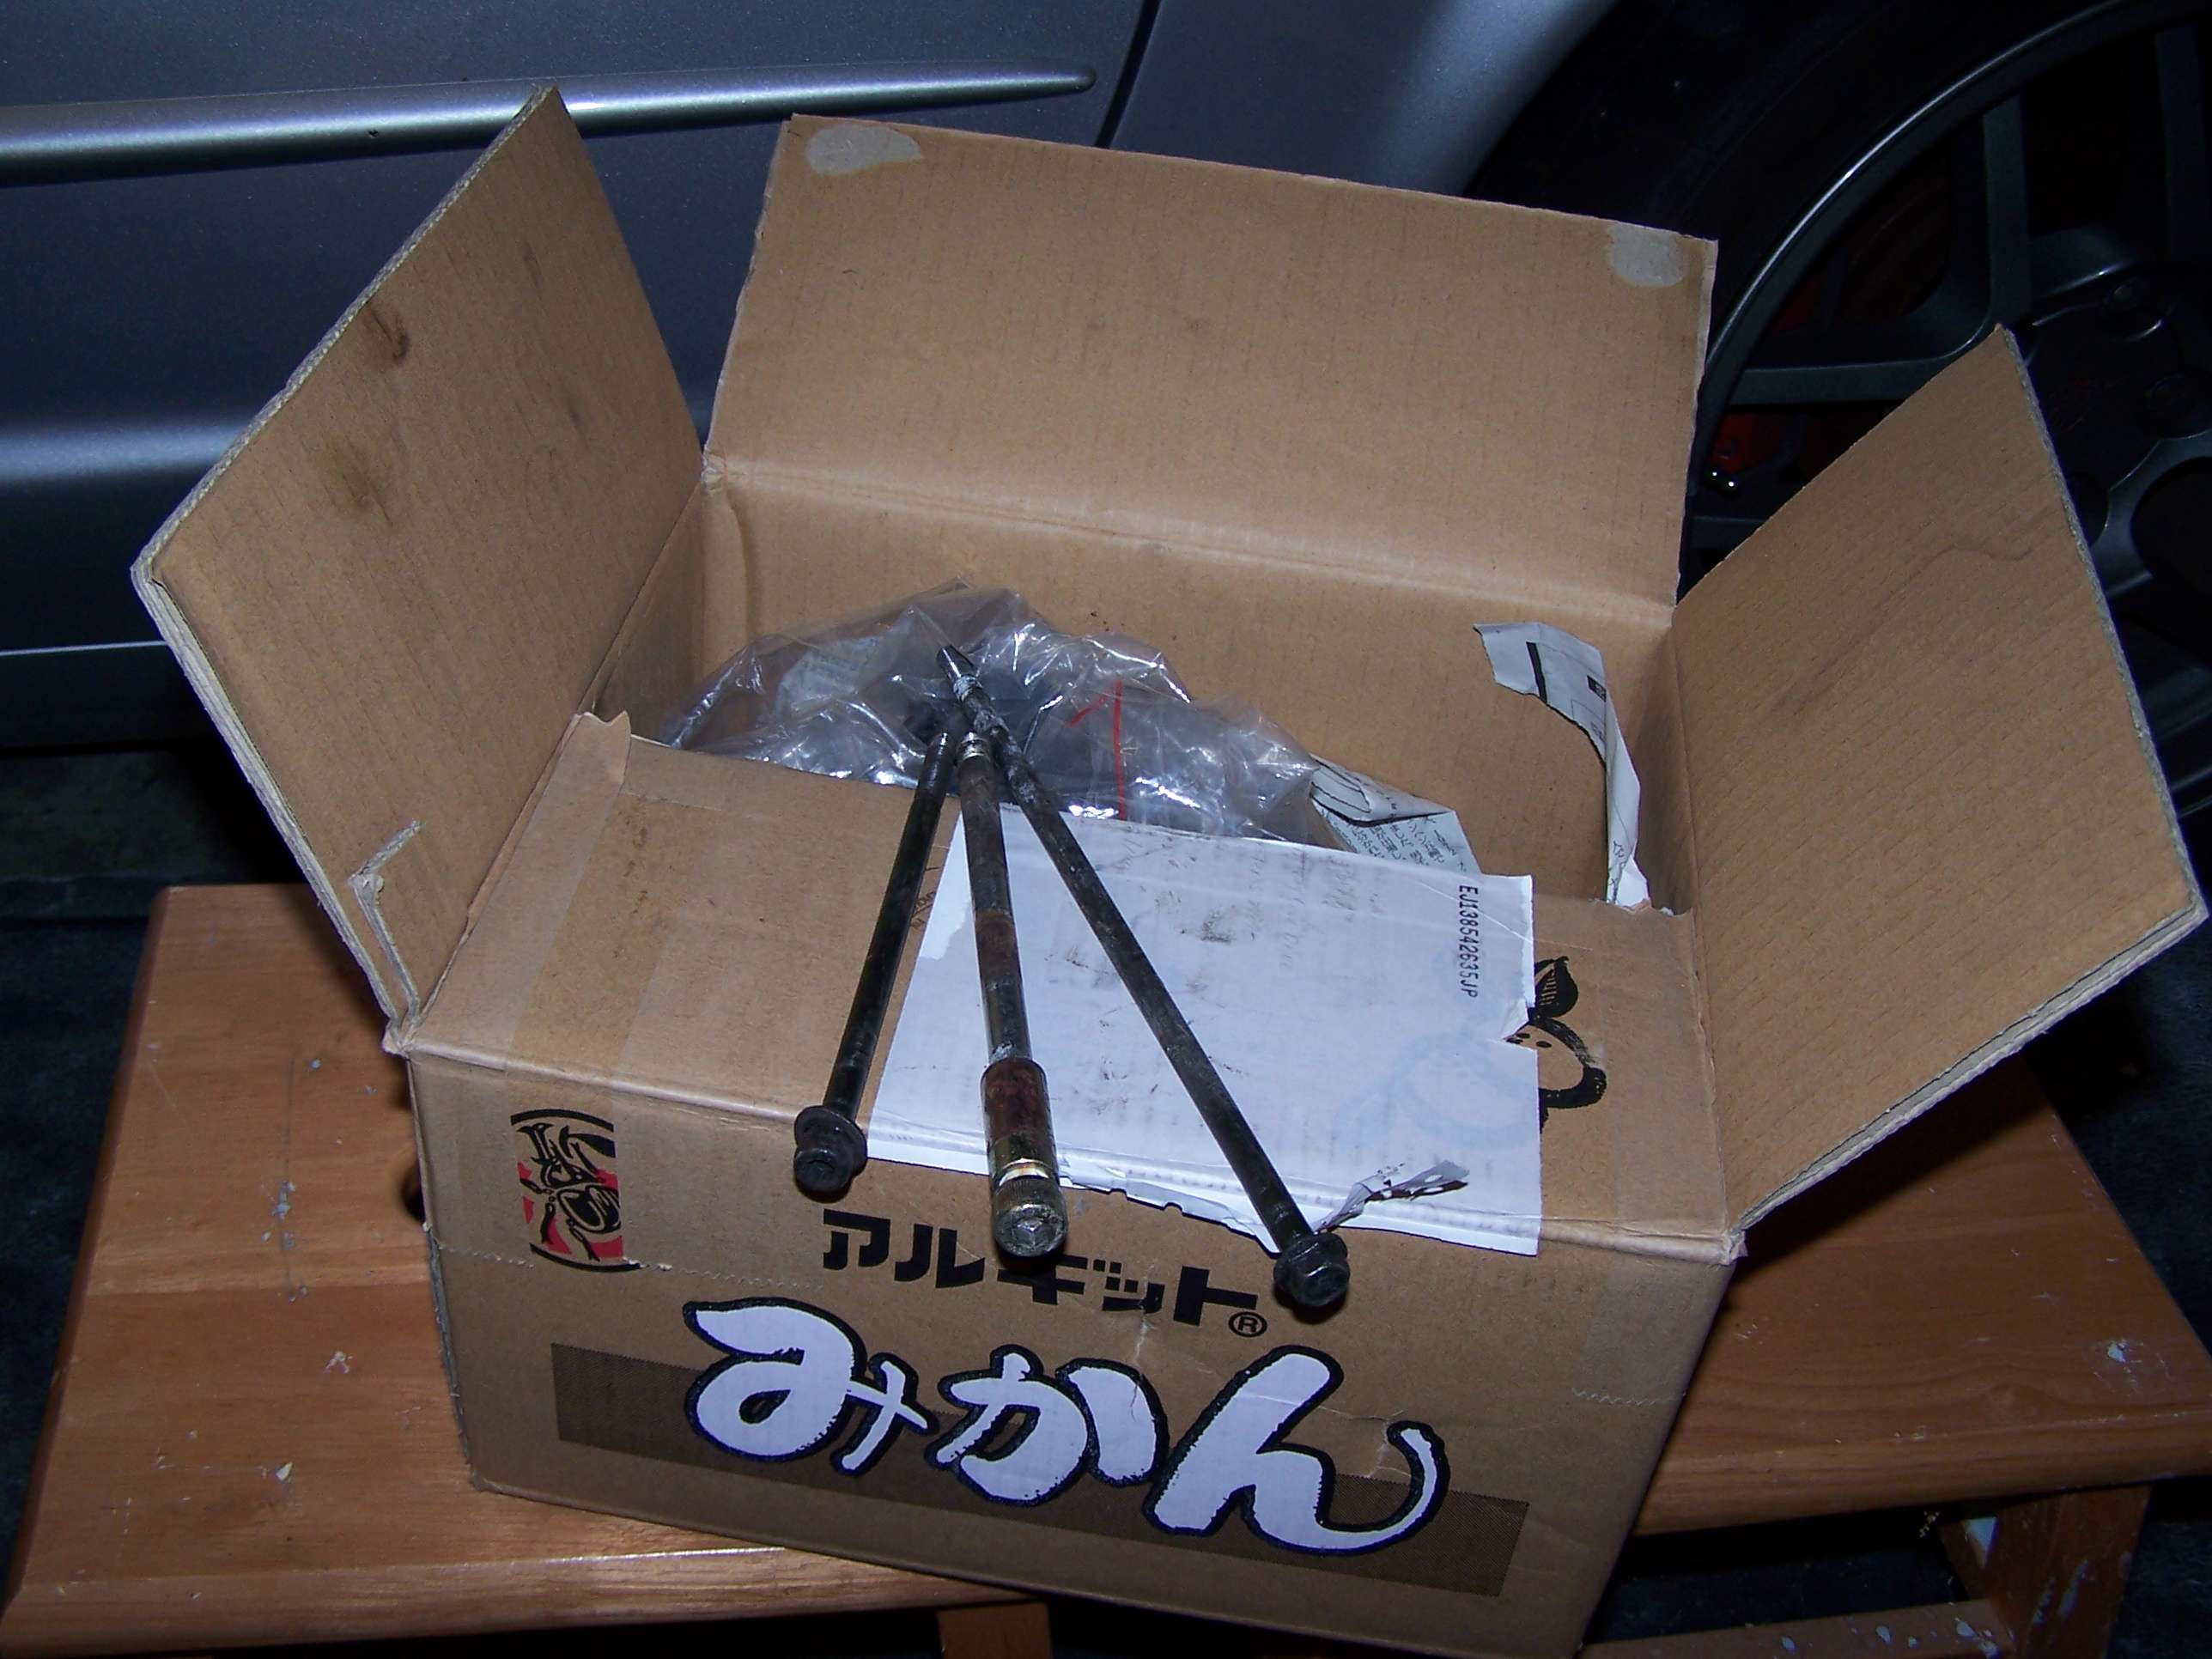
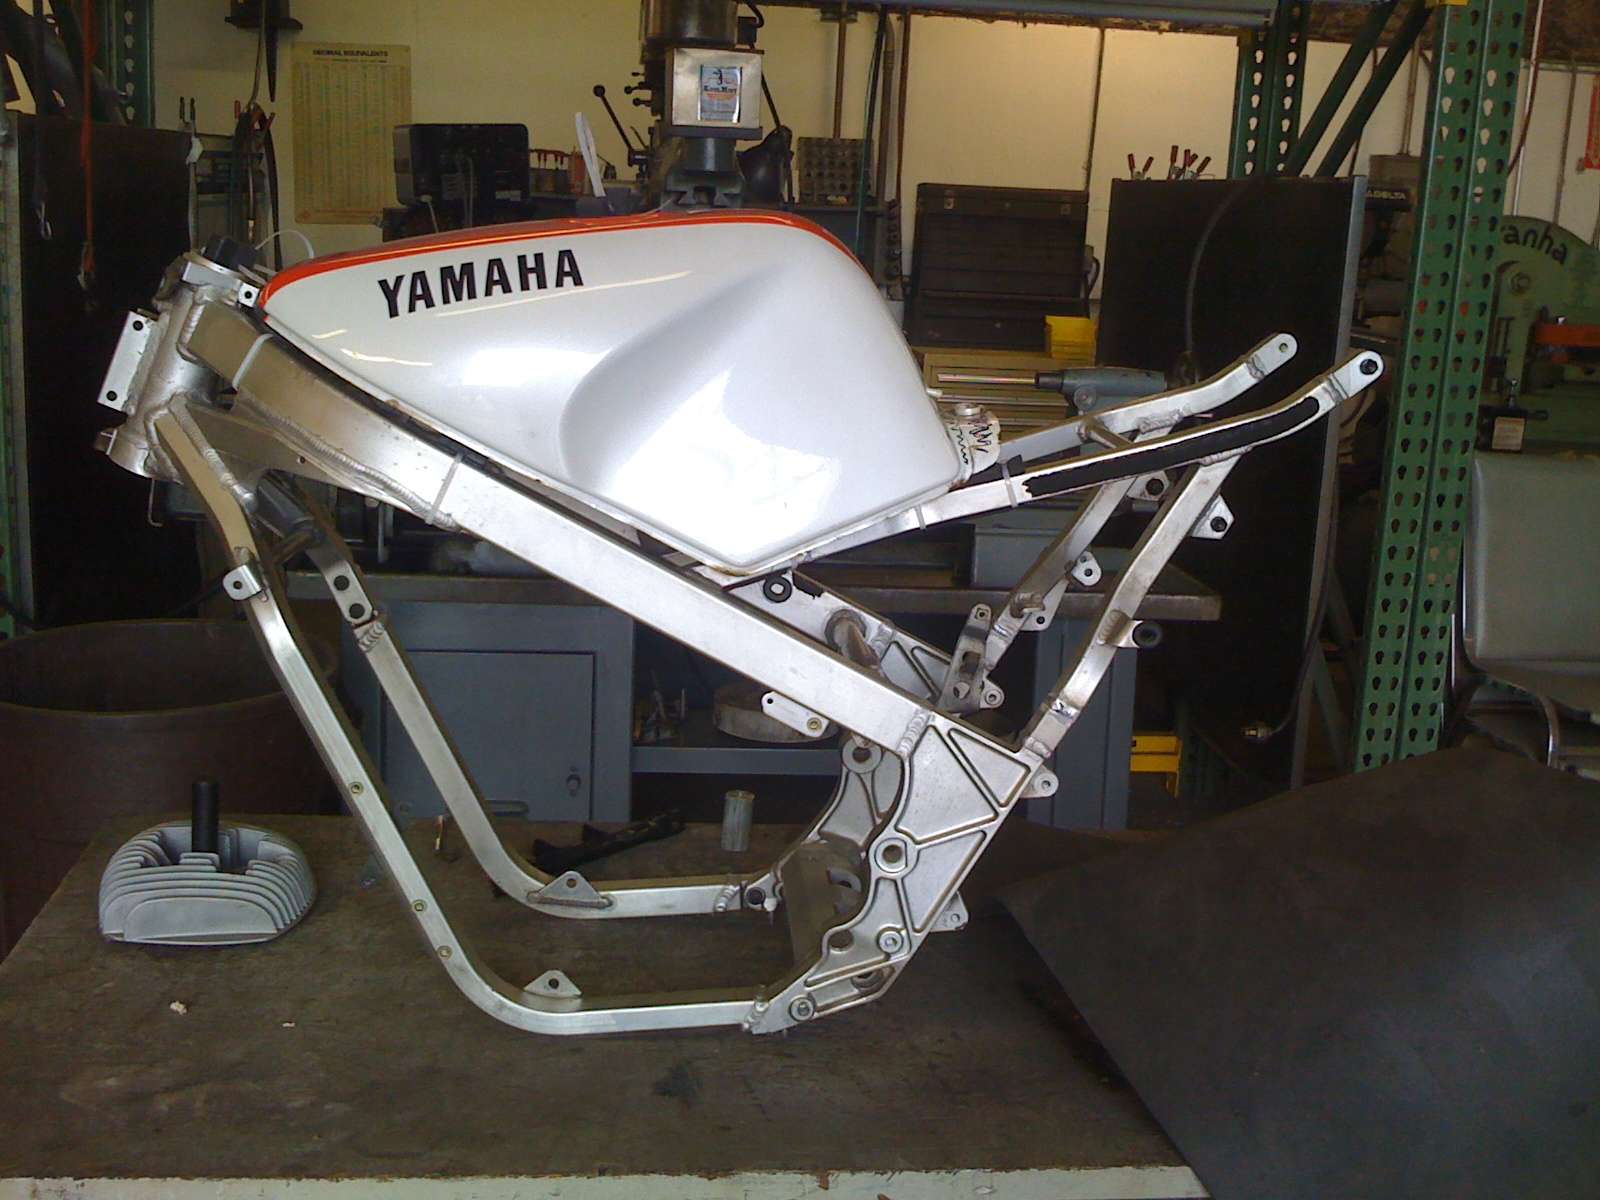
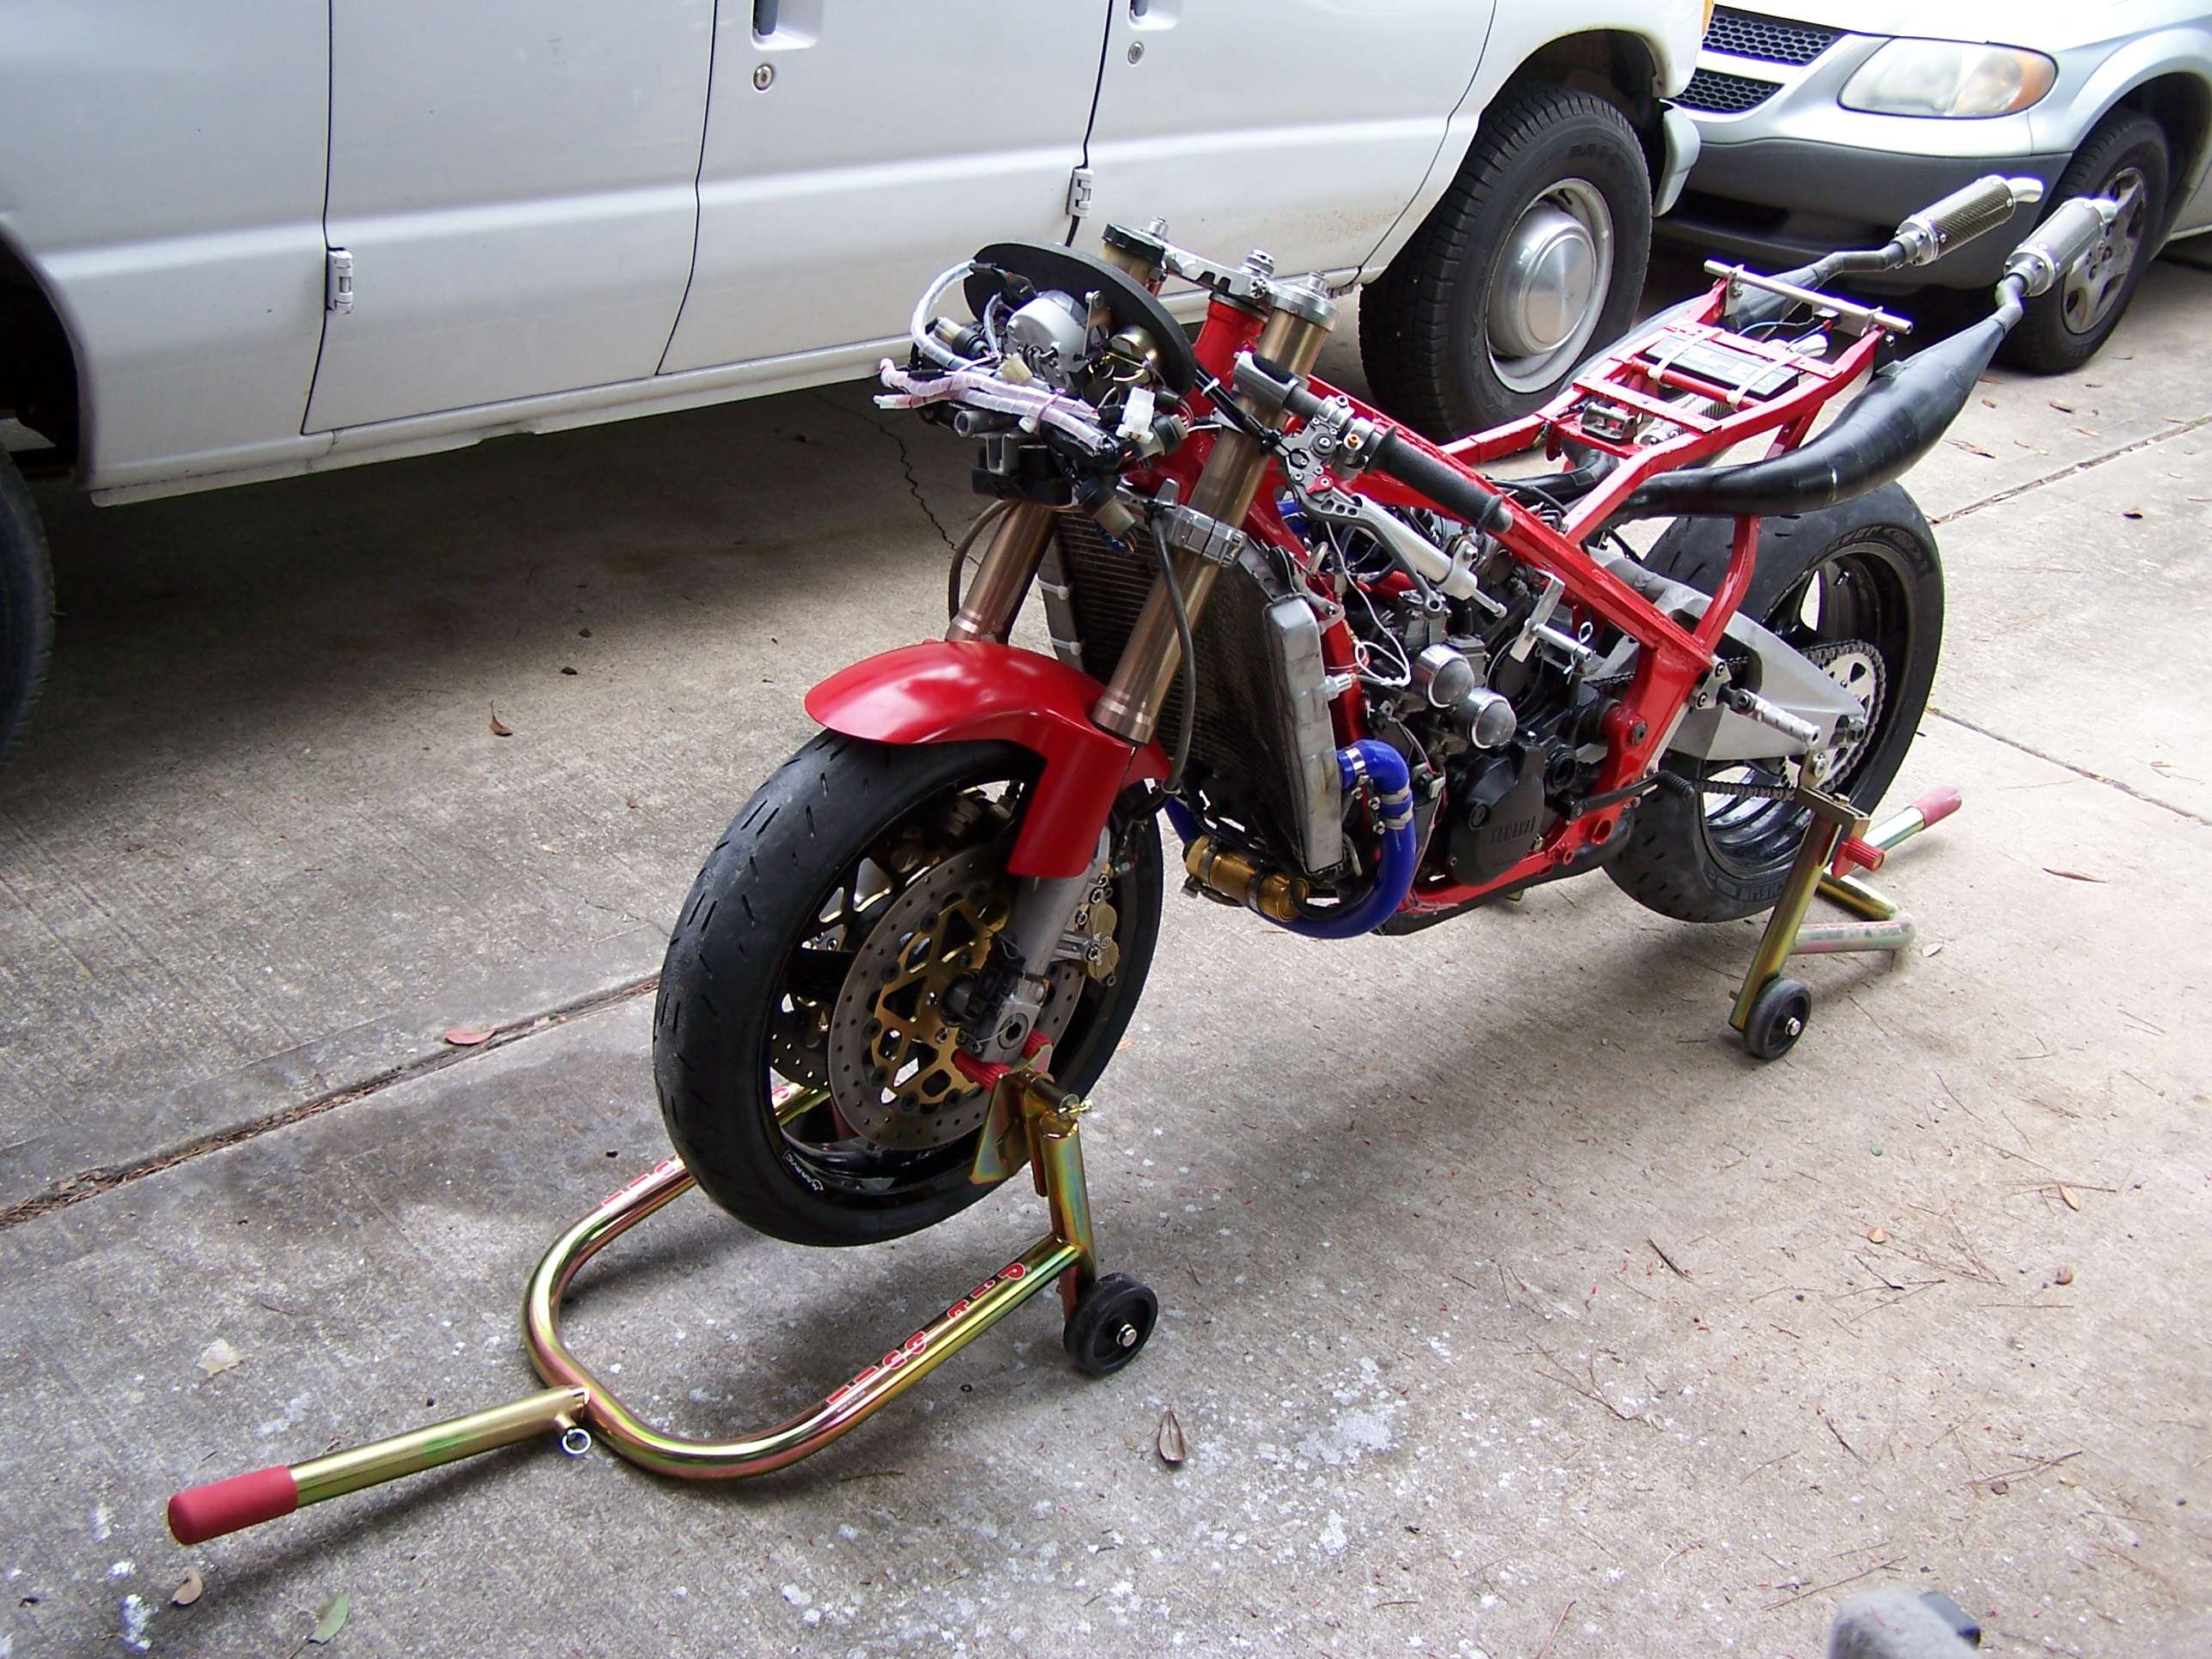
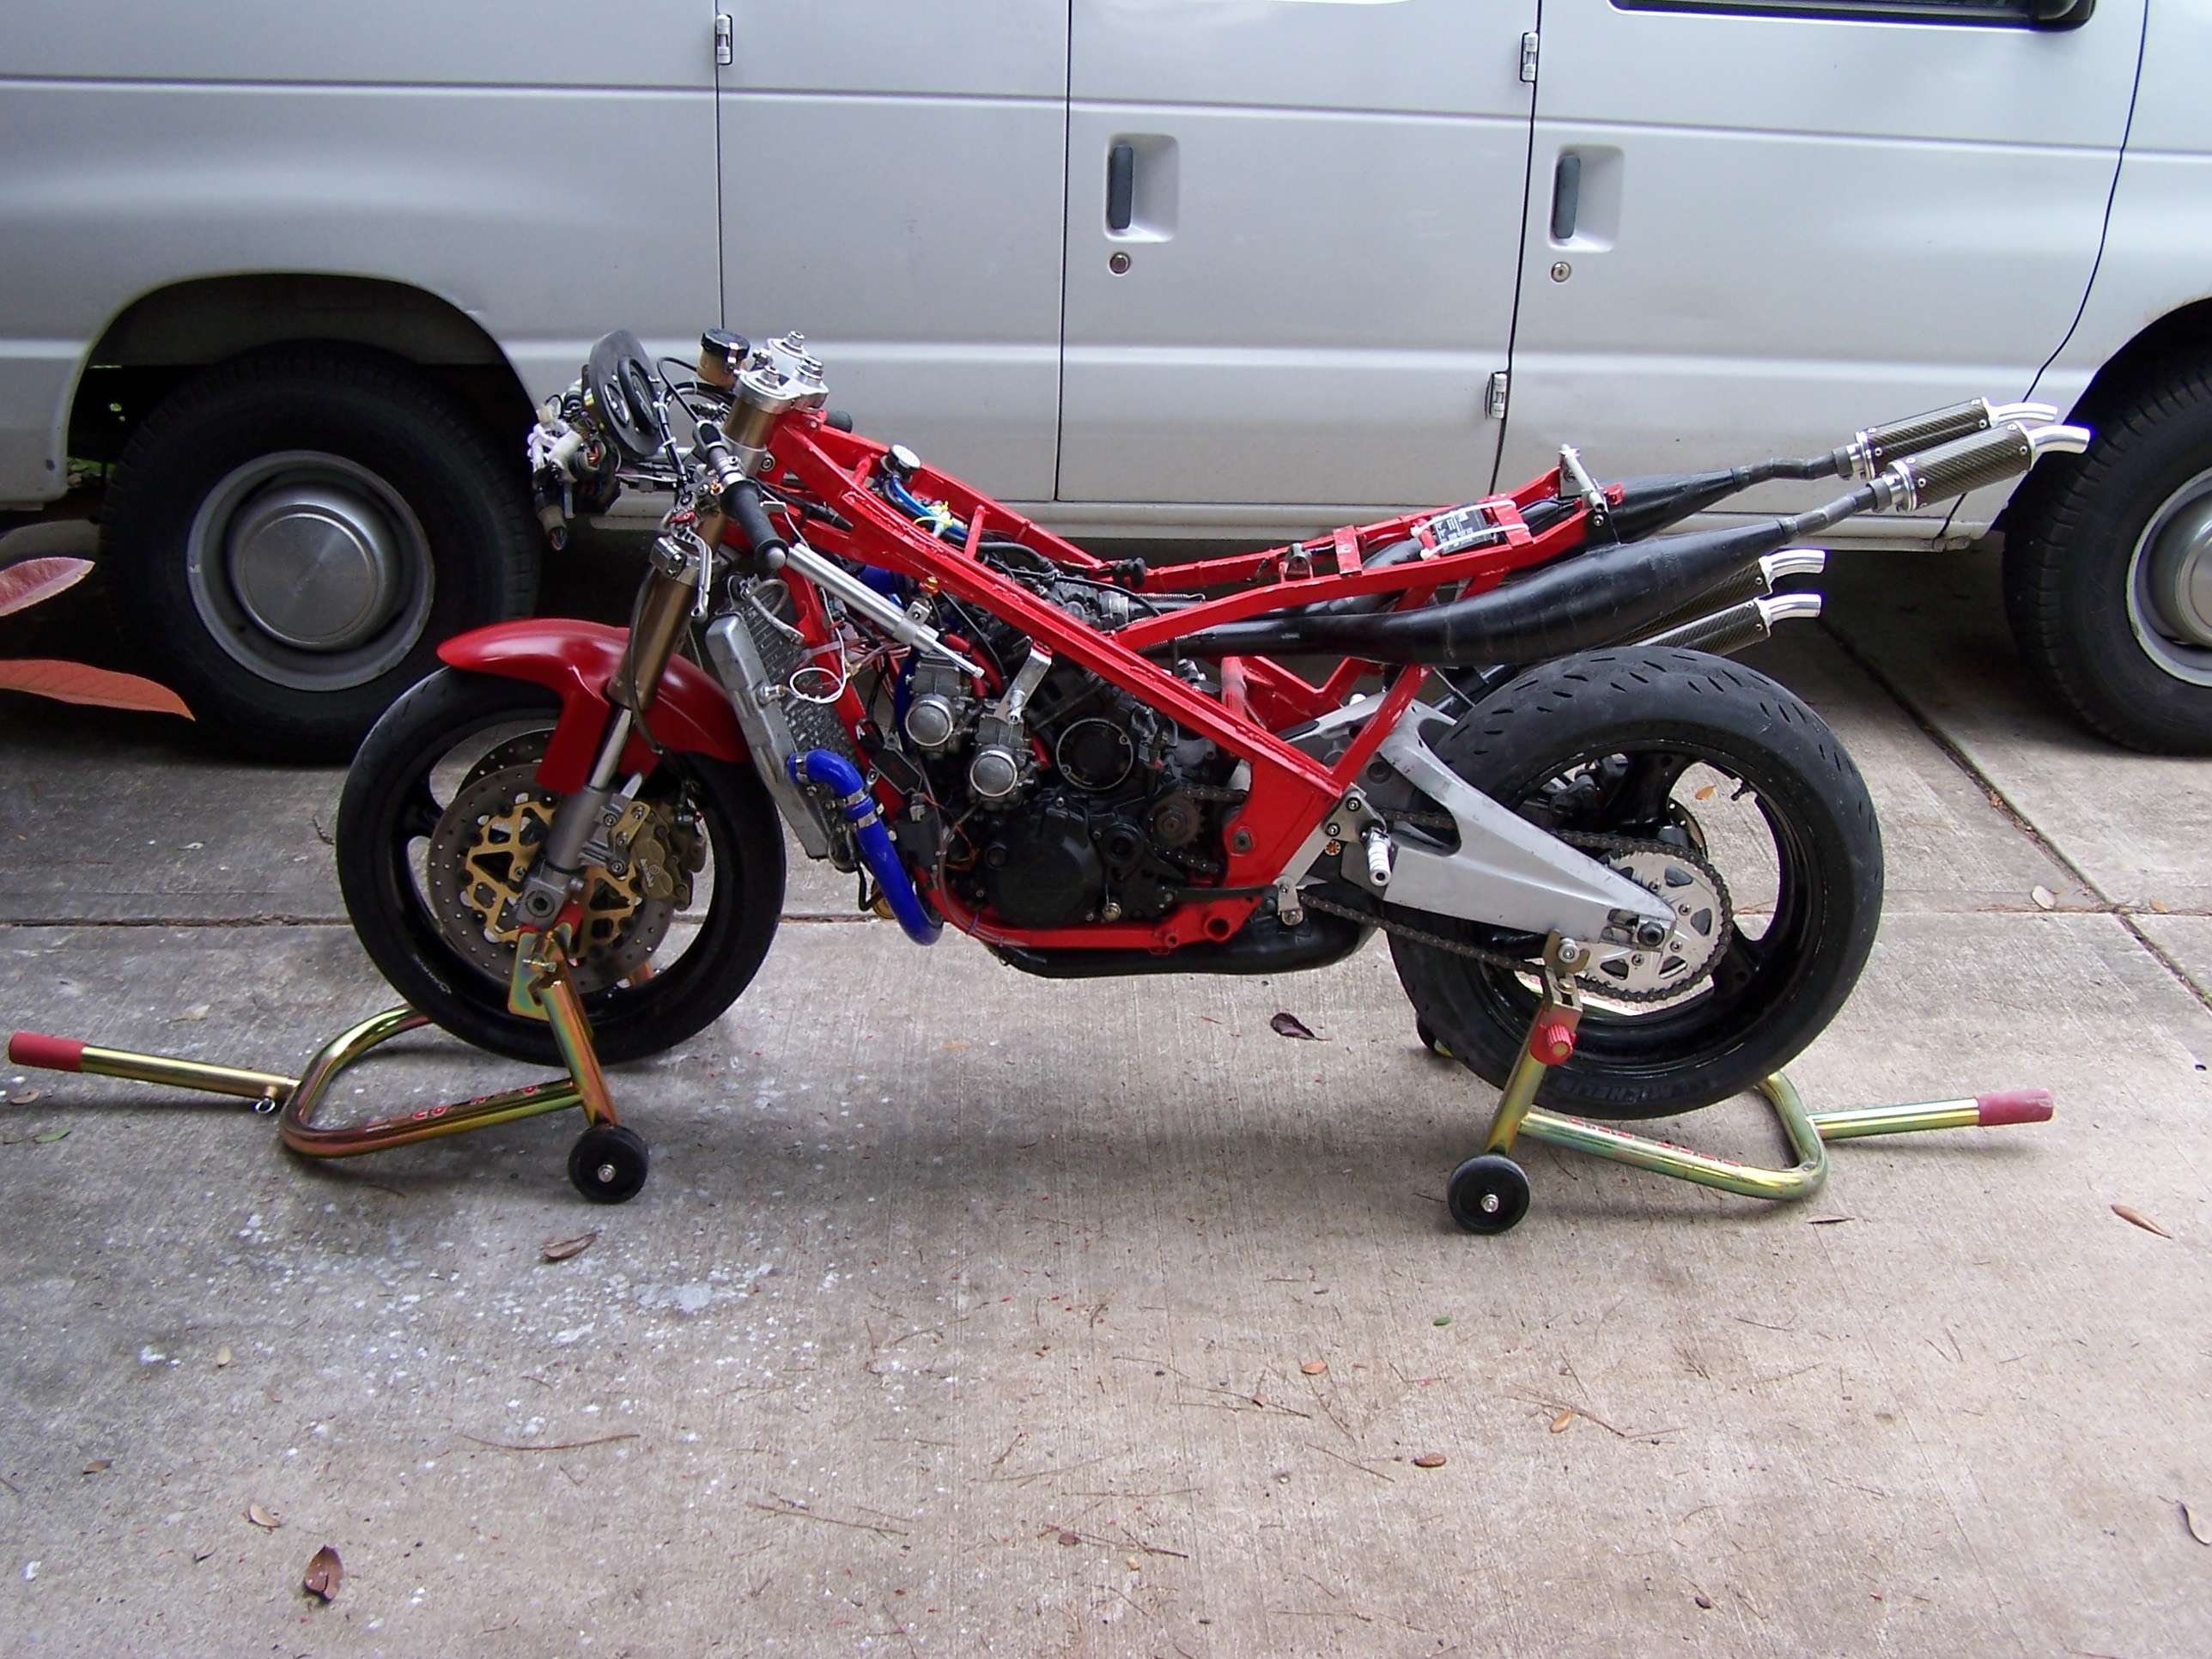
The Alloy RZV frame arrived from Japan this morning. 9.4kg (20.7lb) sans subframe and bearings. I had the sub frame stubs cut off to fit the frame into and airmail box - but I am getting a custom subframe made up anyway.
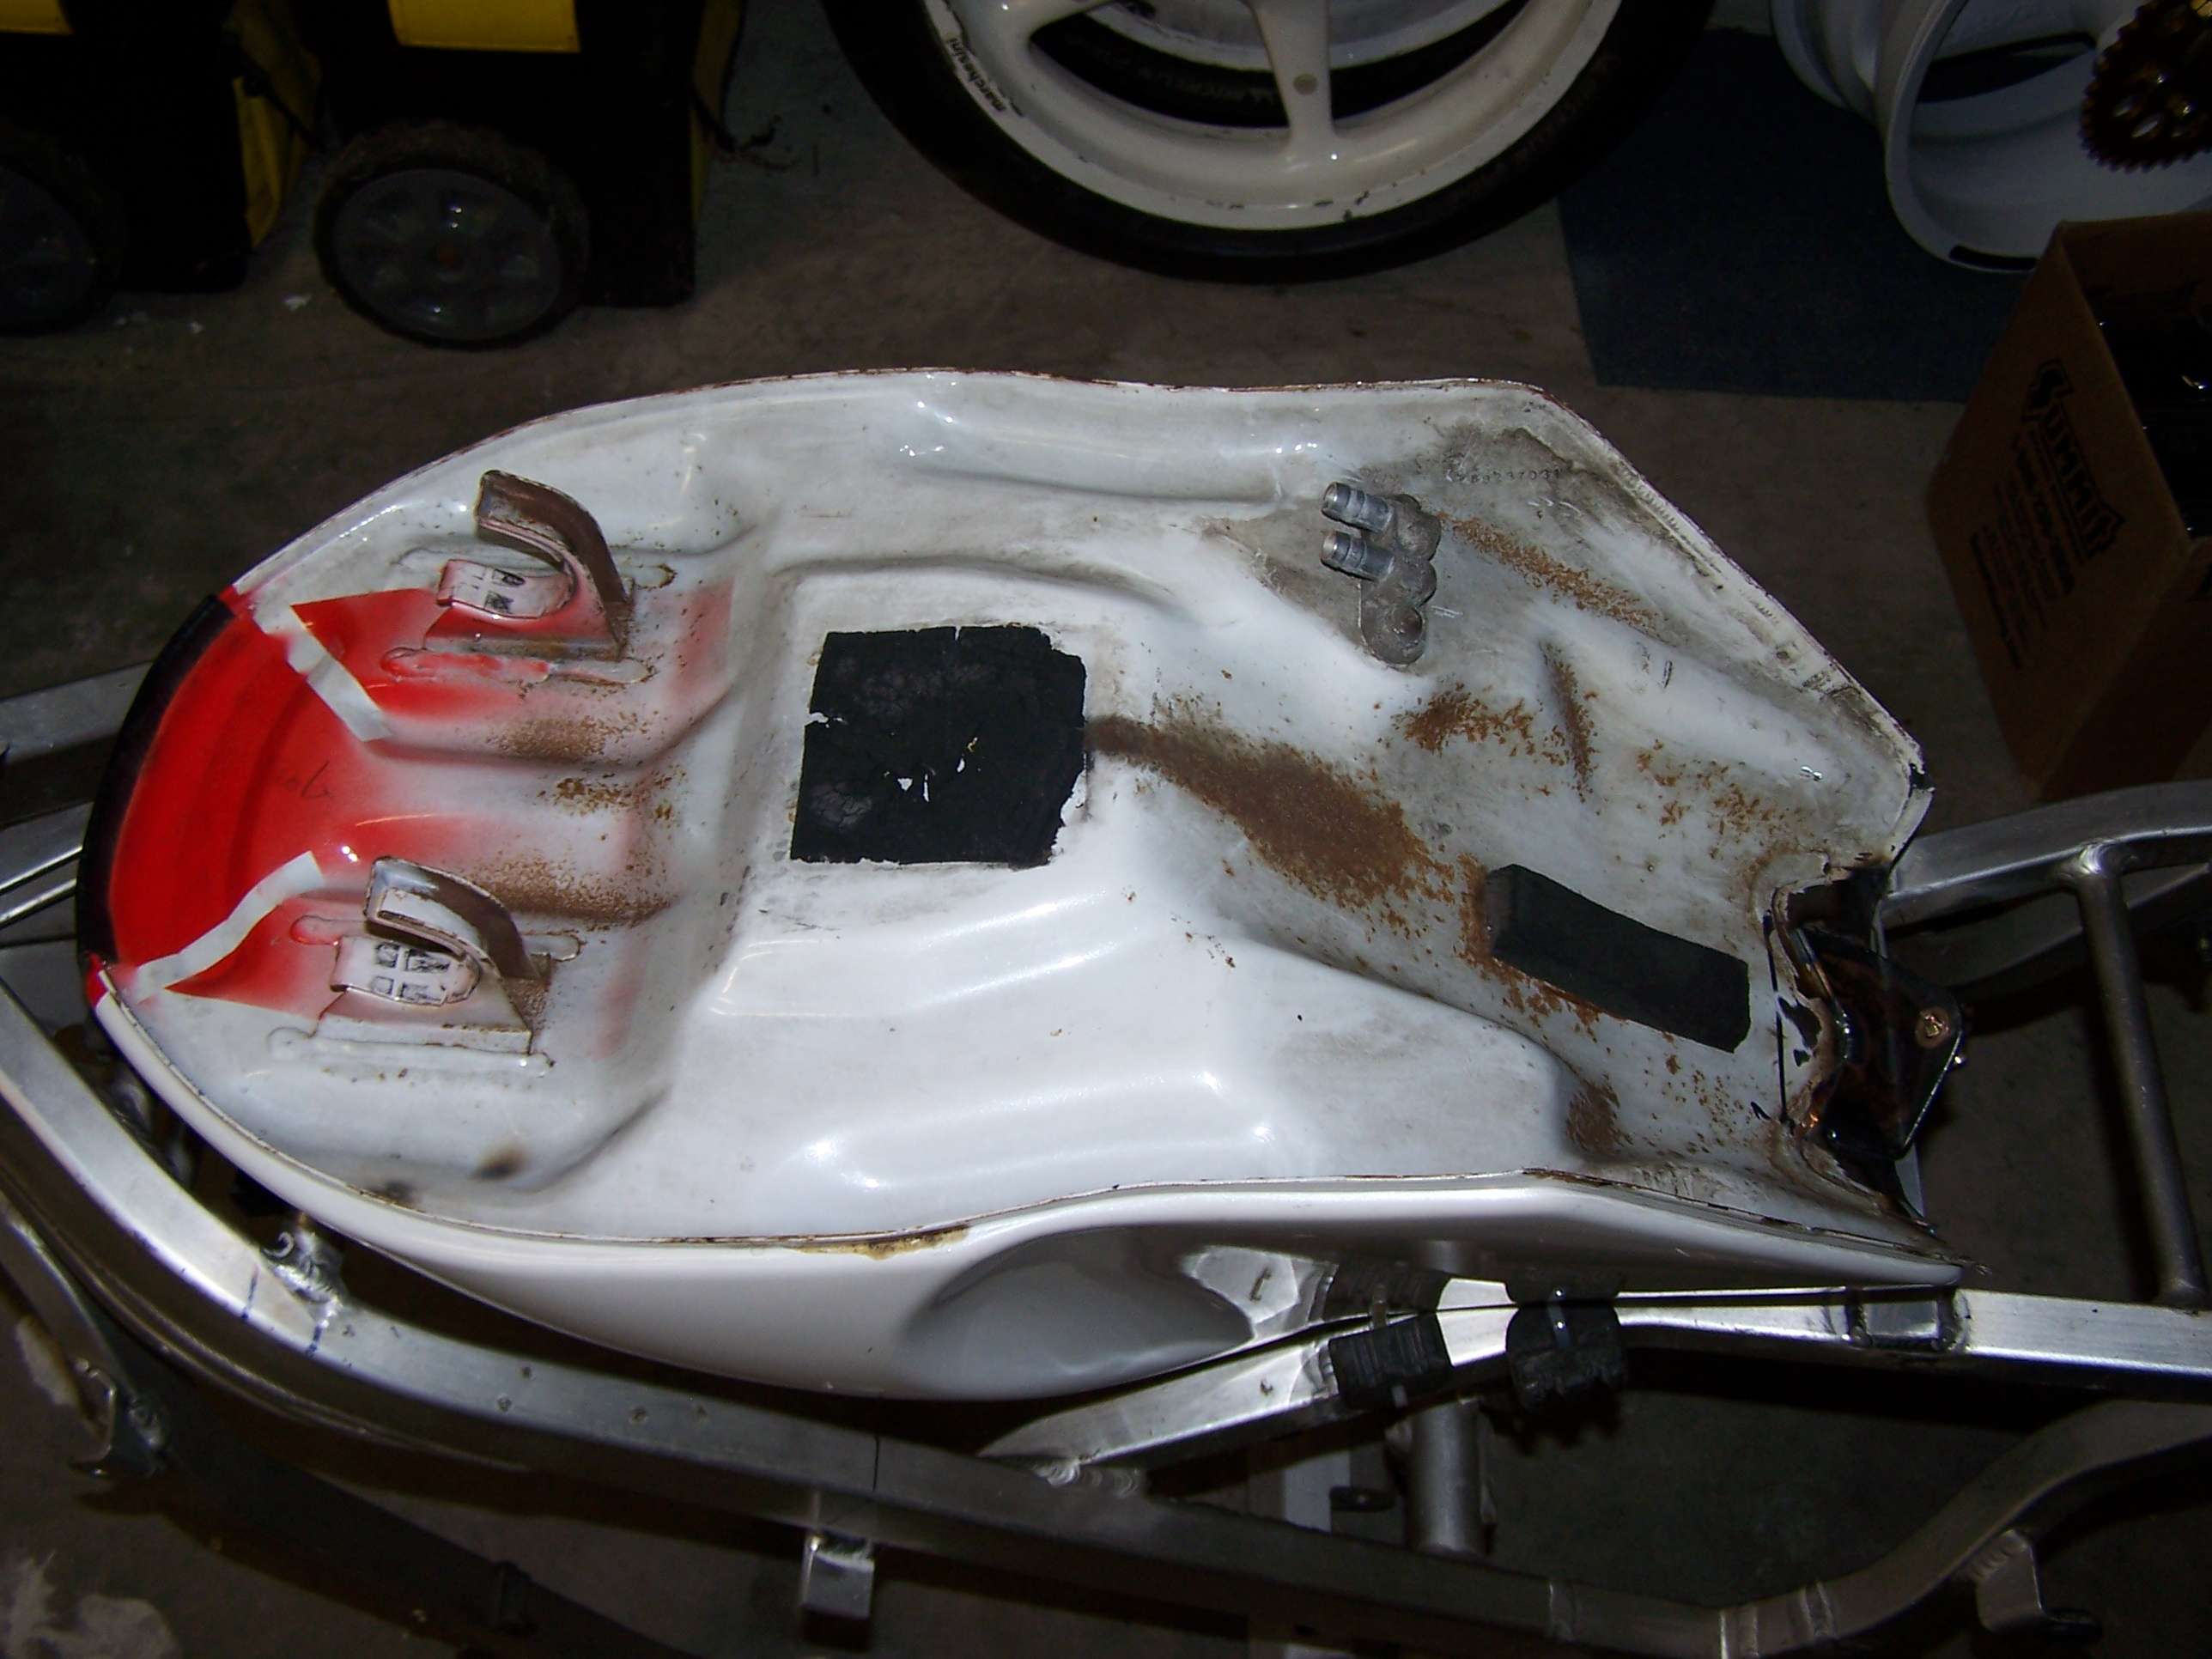
The stock RZV Subframe (same as the RZ/RD subframe?) weighed in at 1.65kg, which I am not going to be using it.
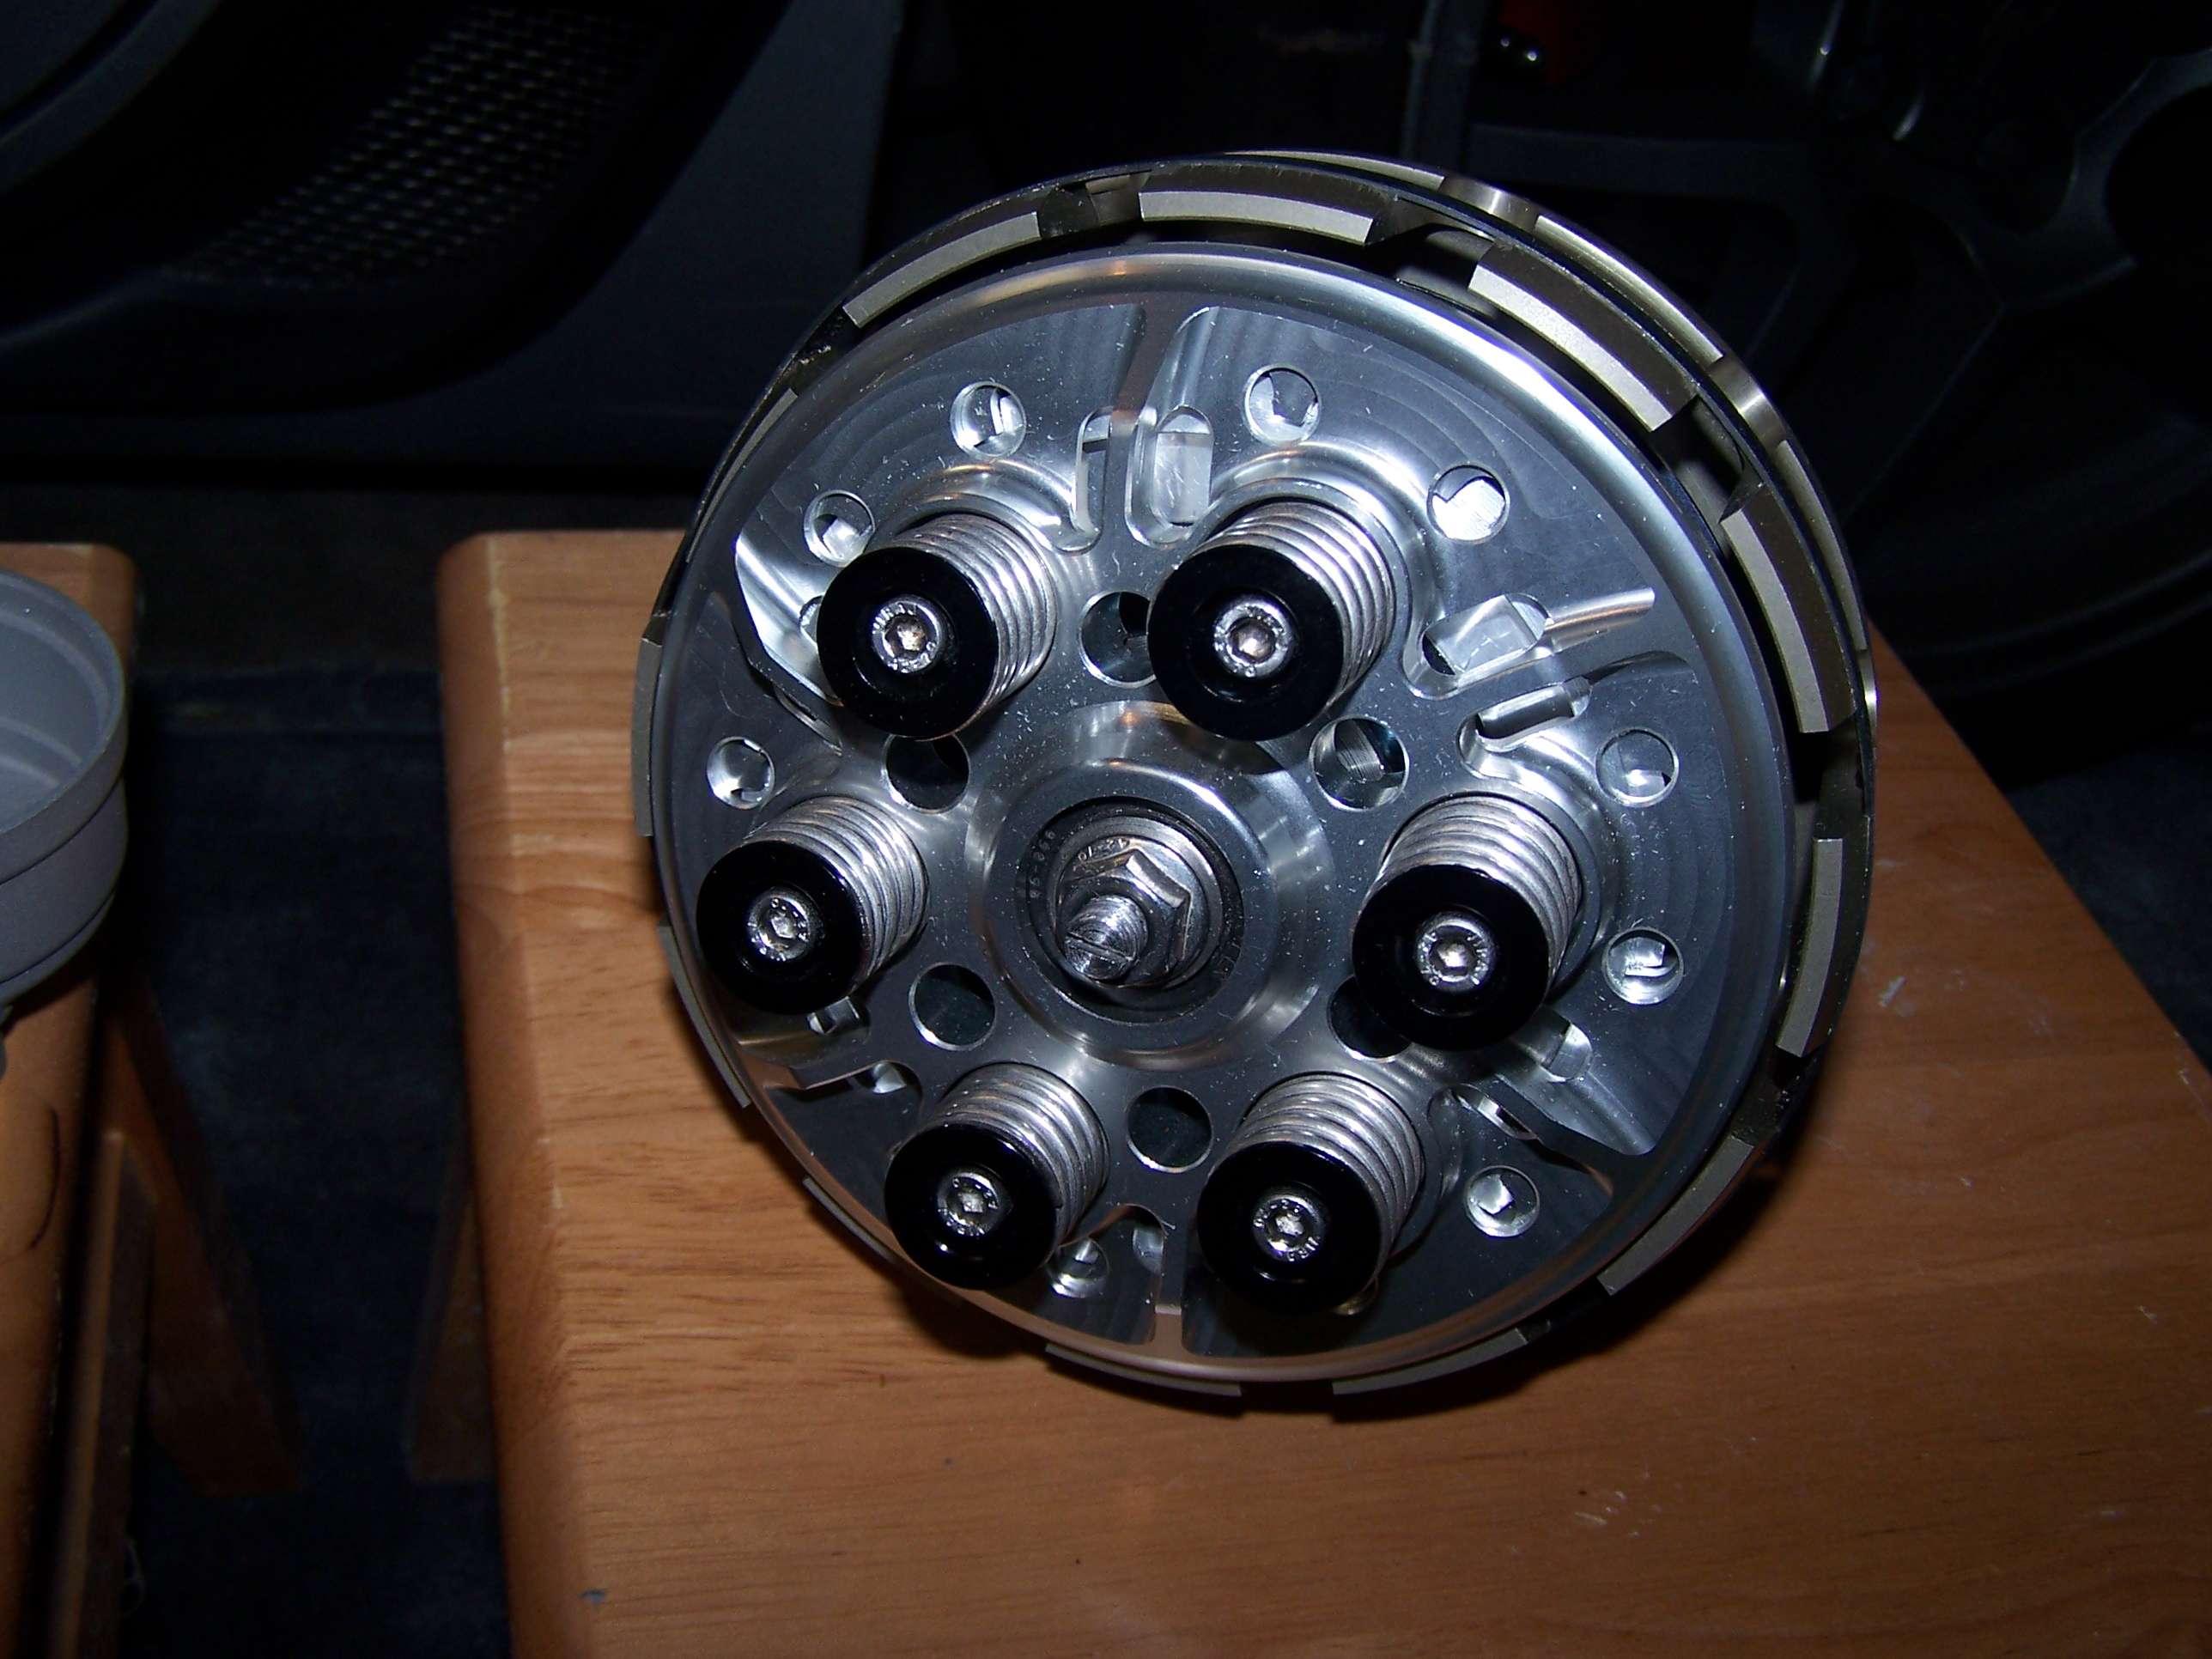
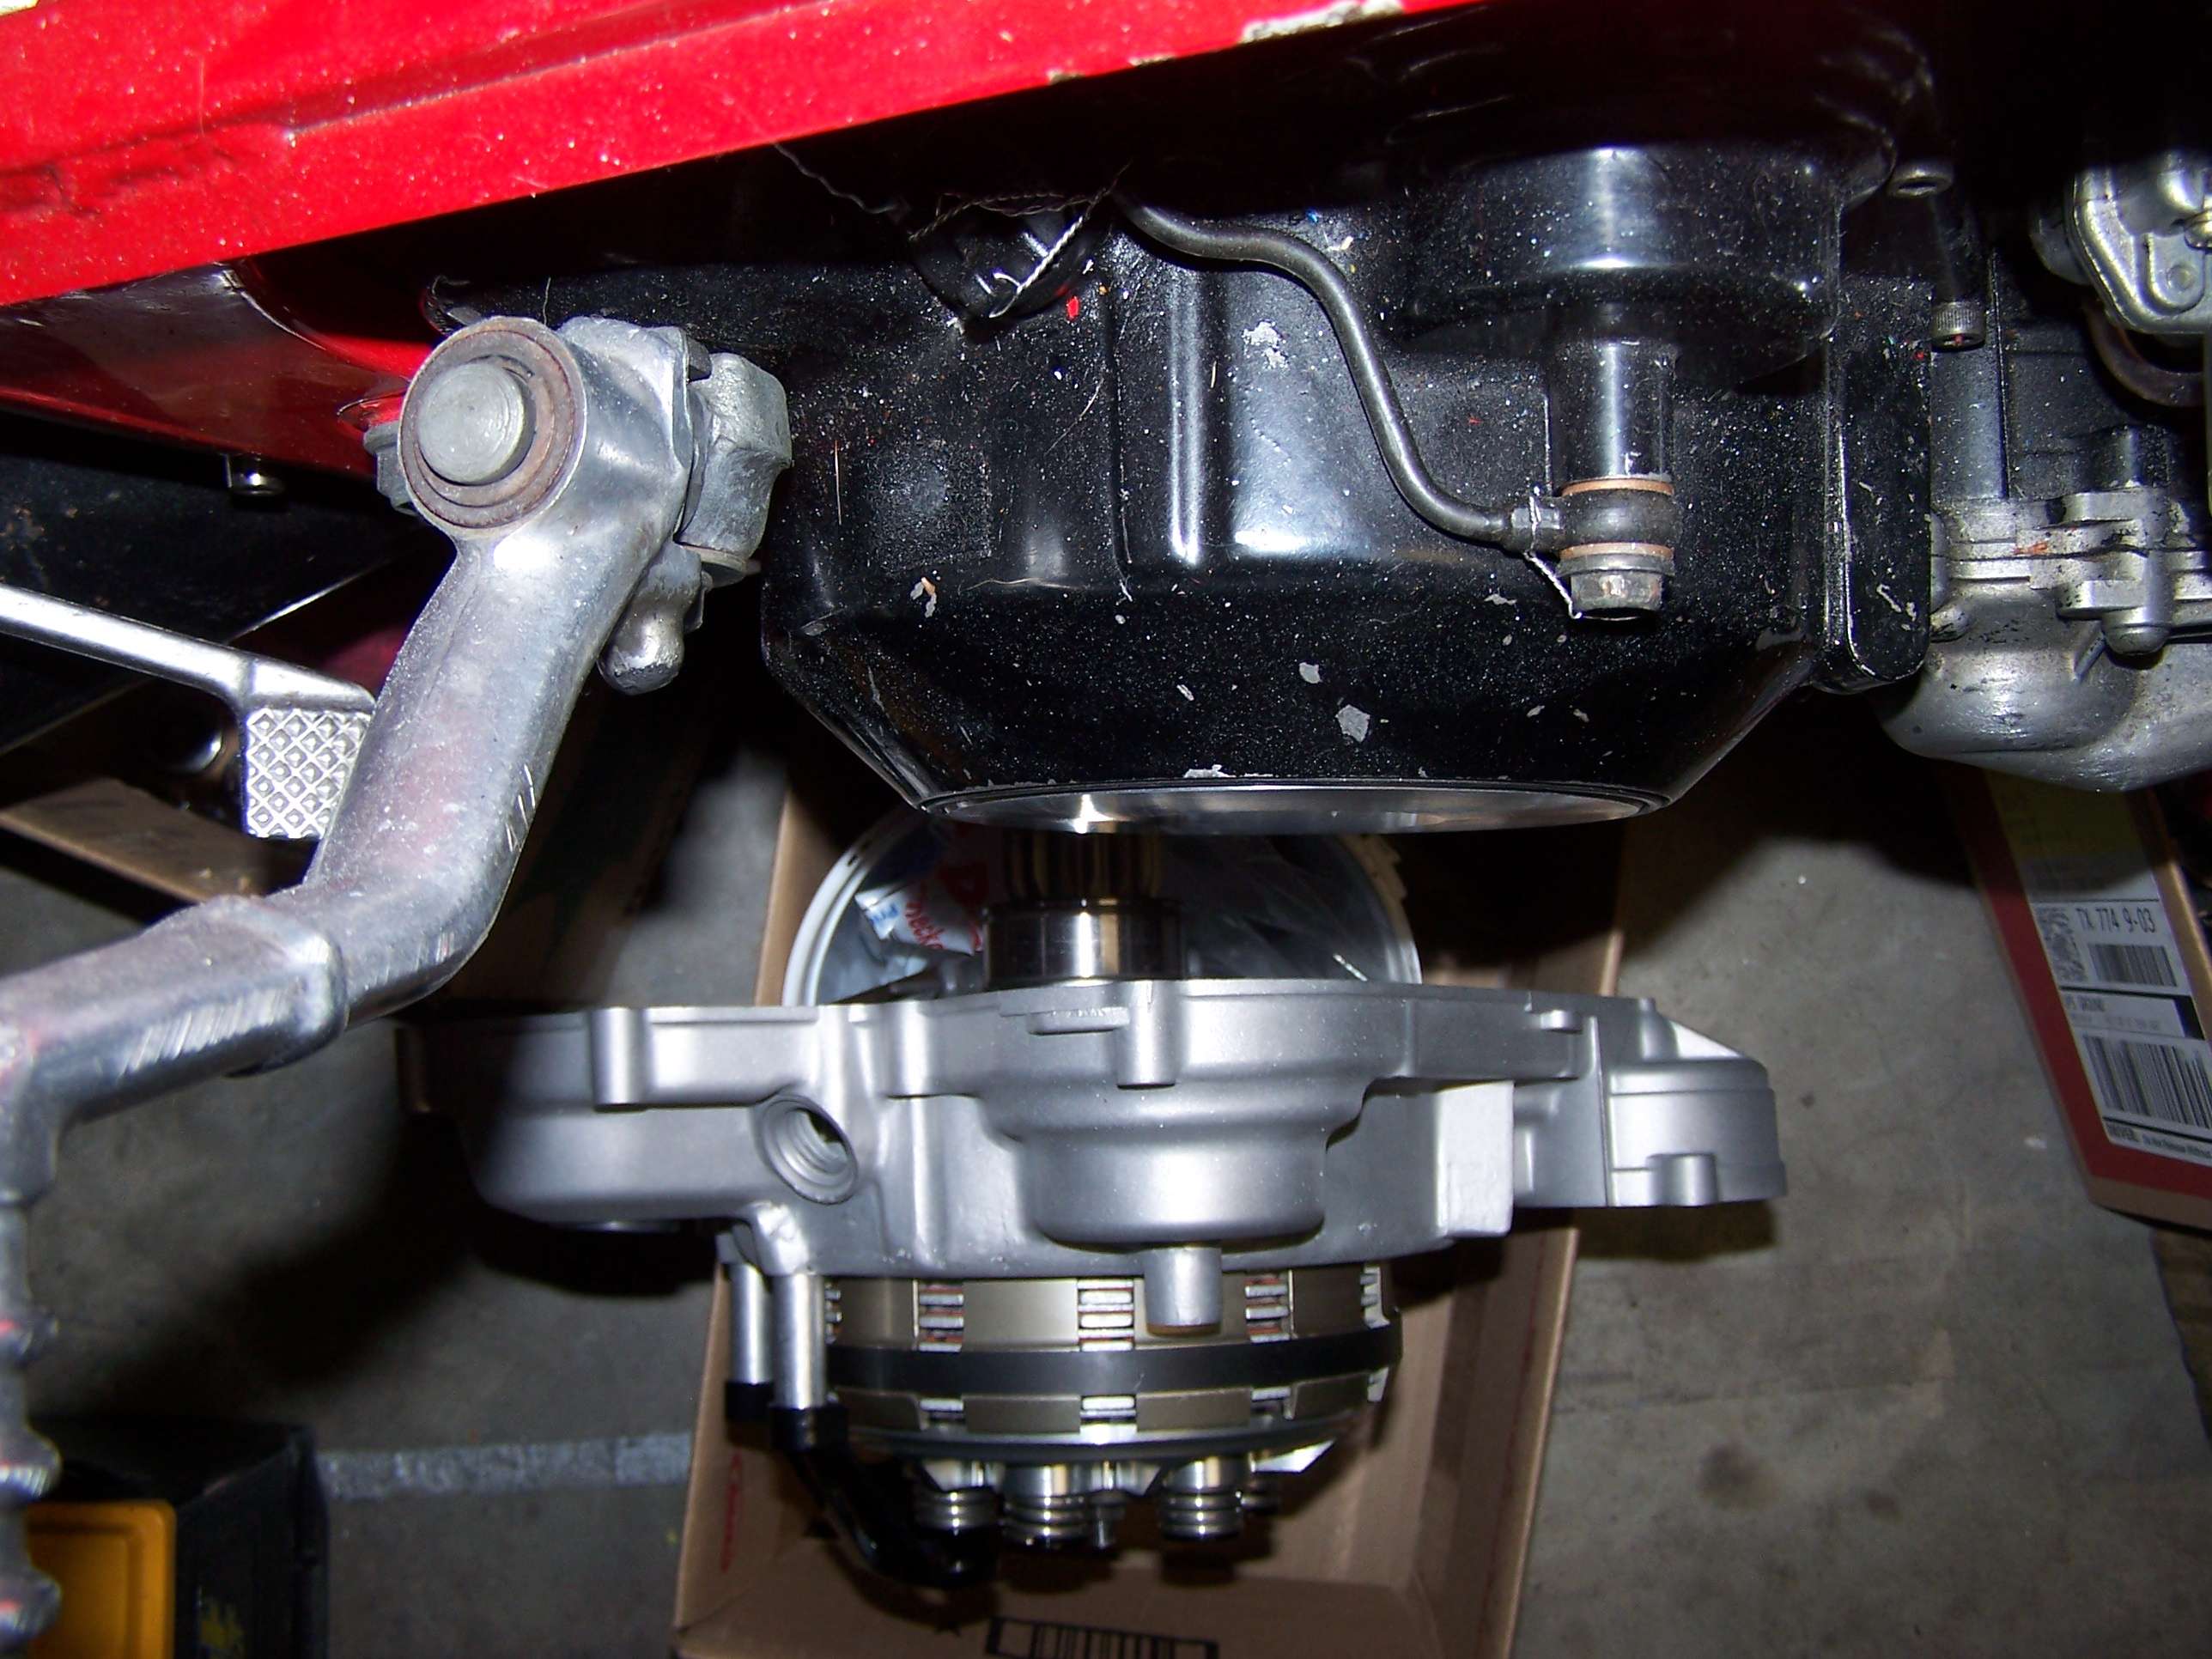
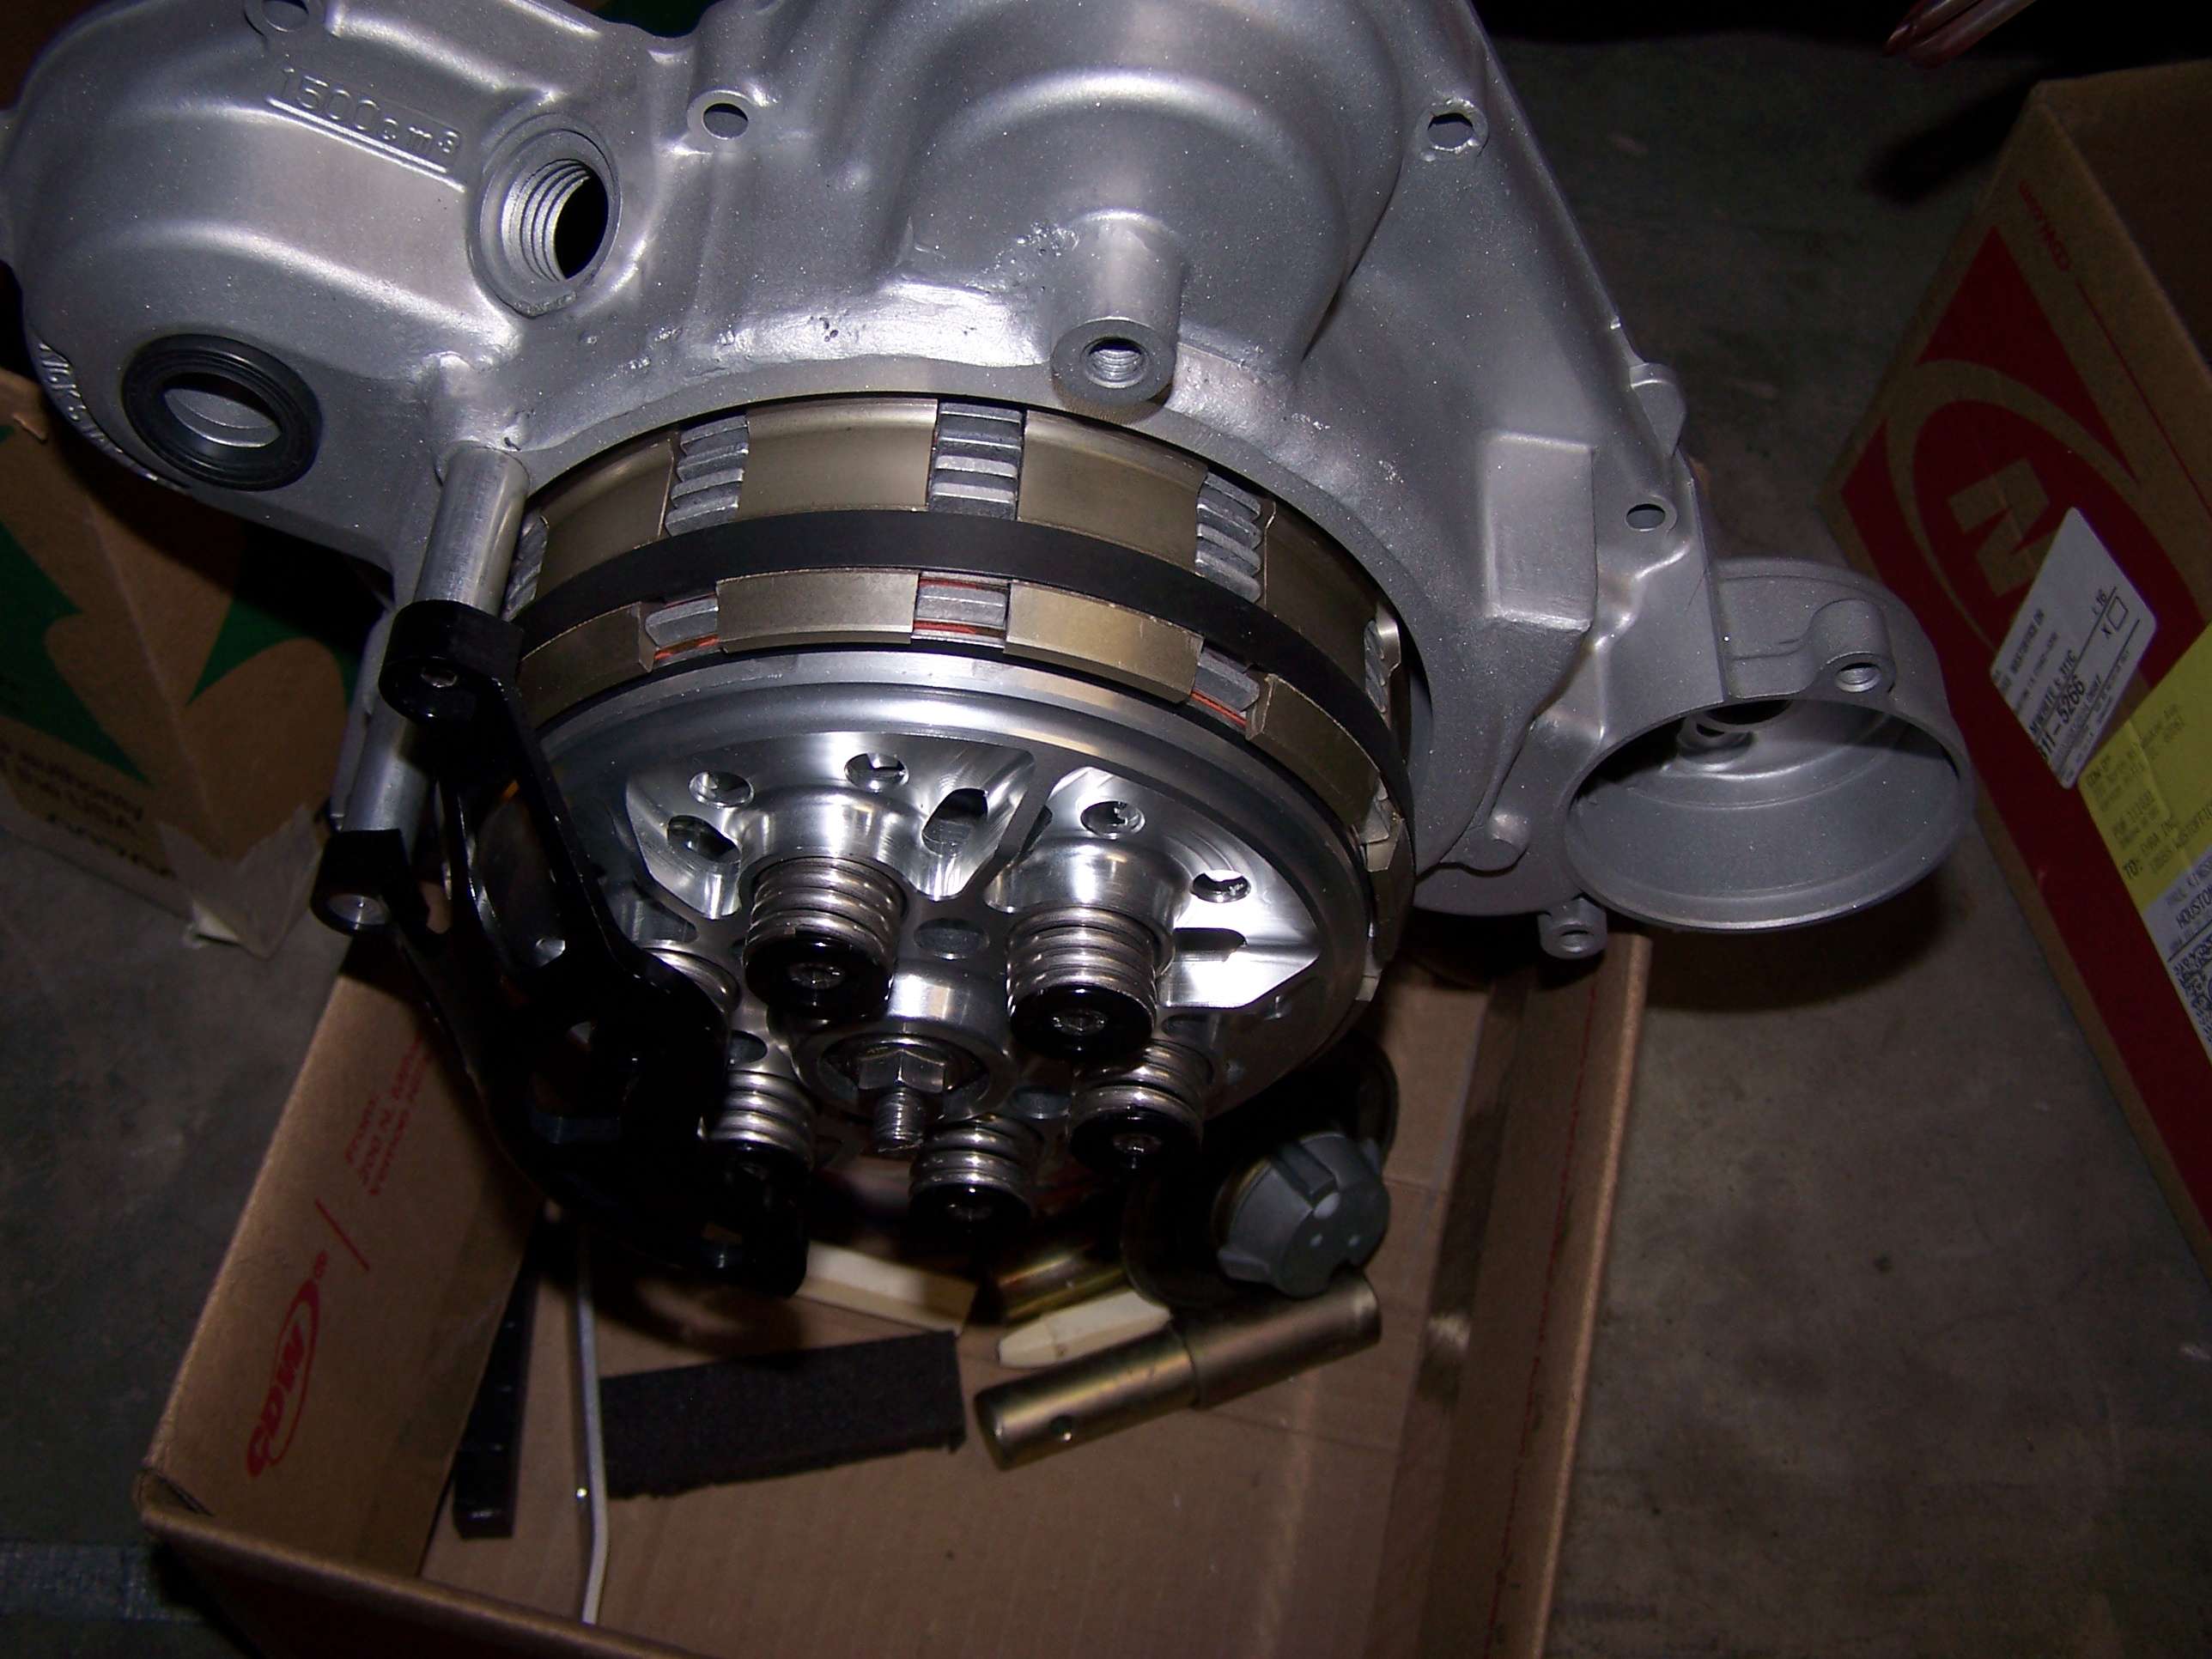
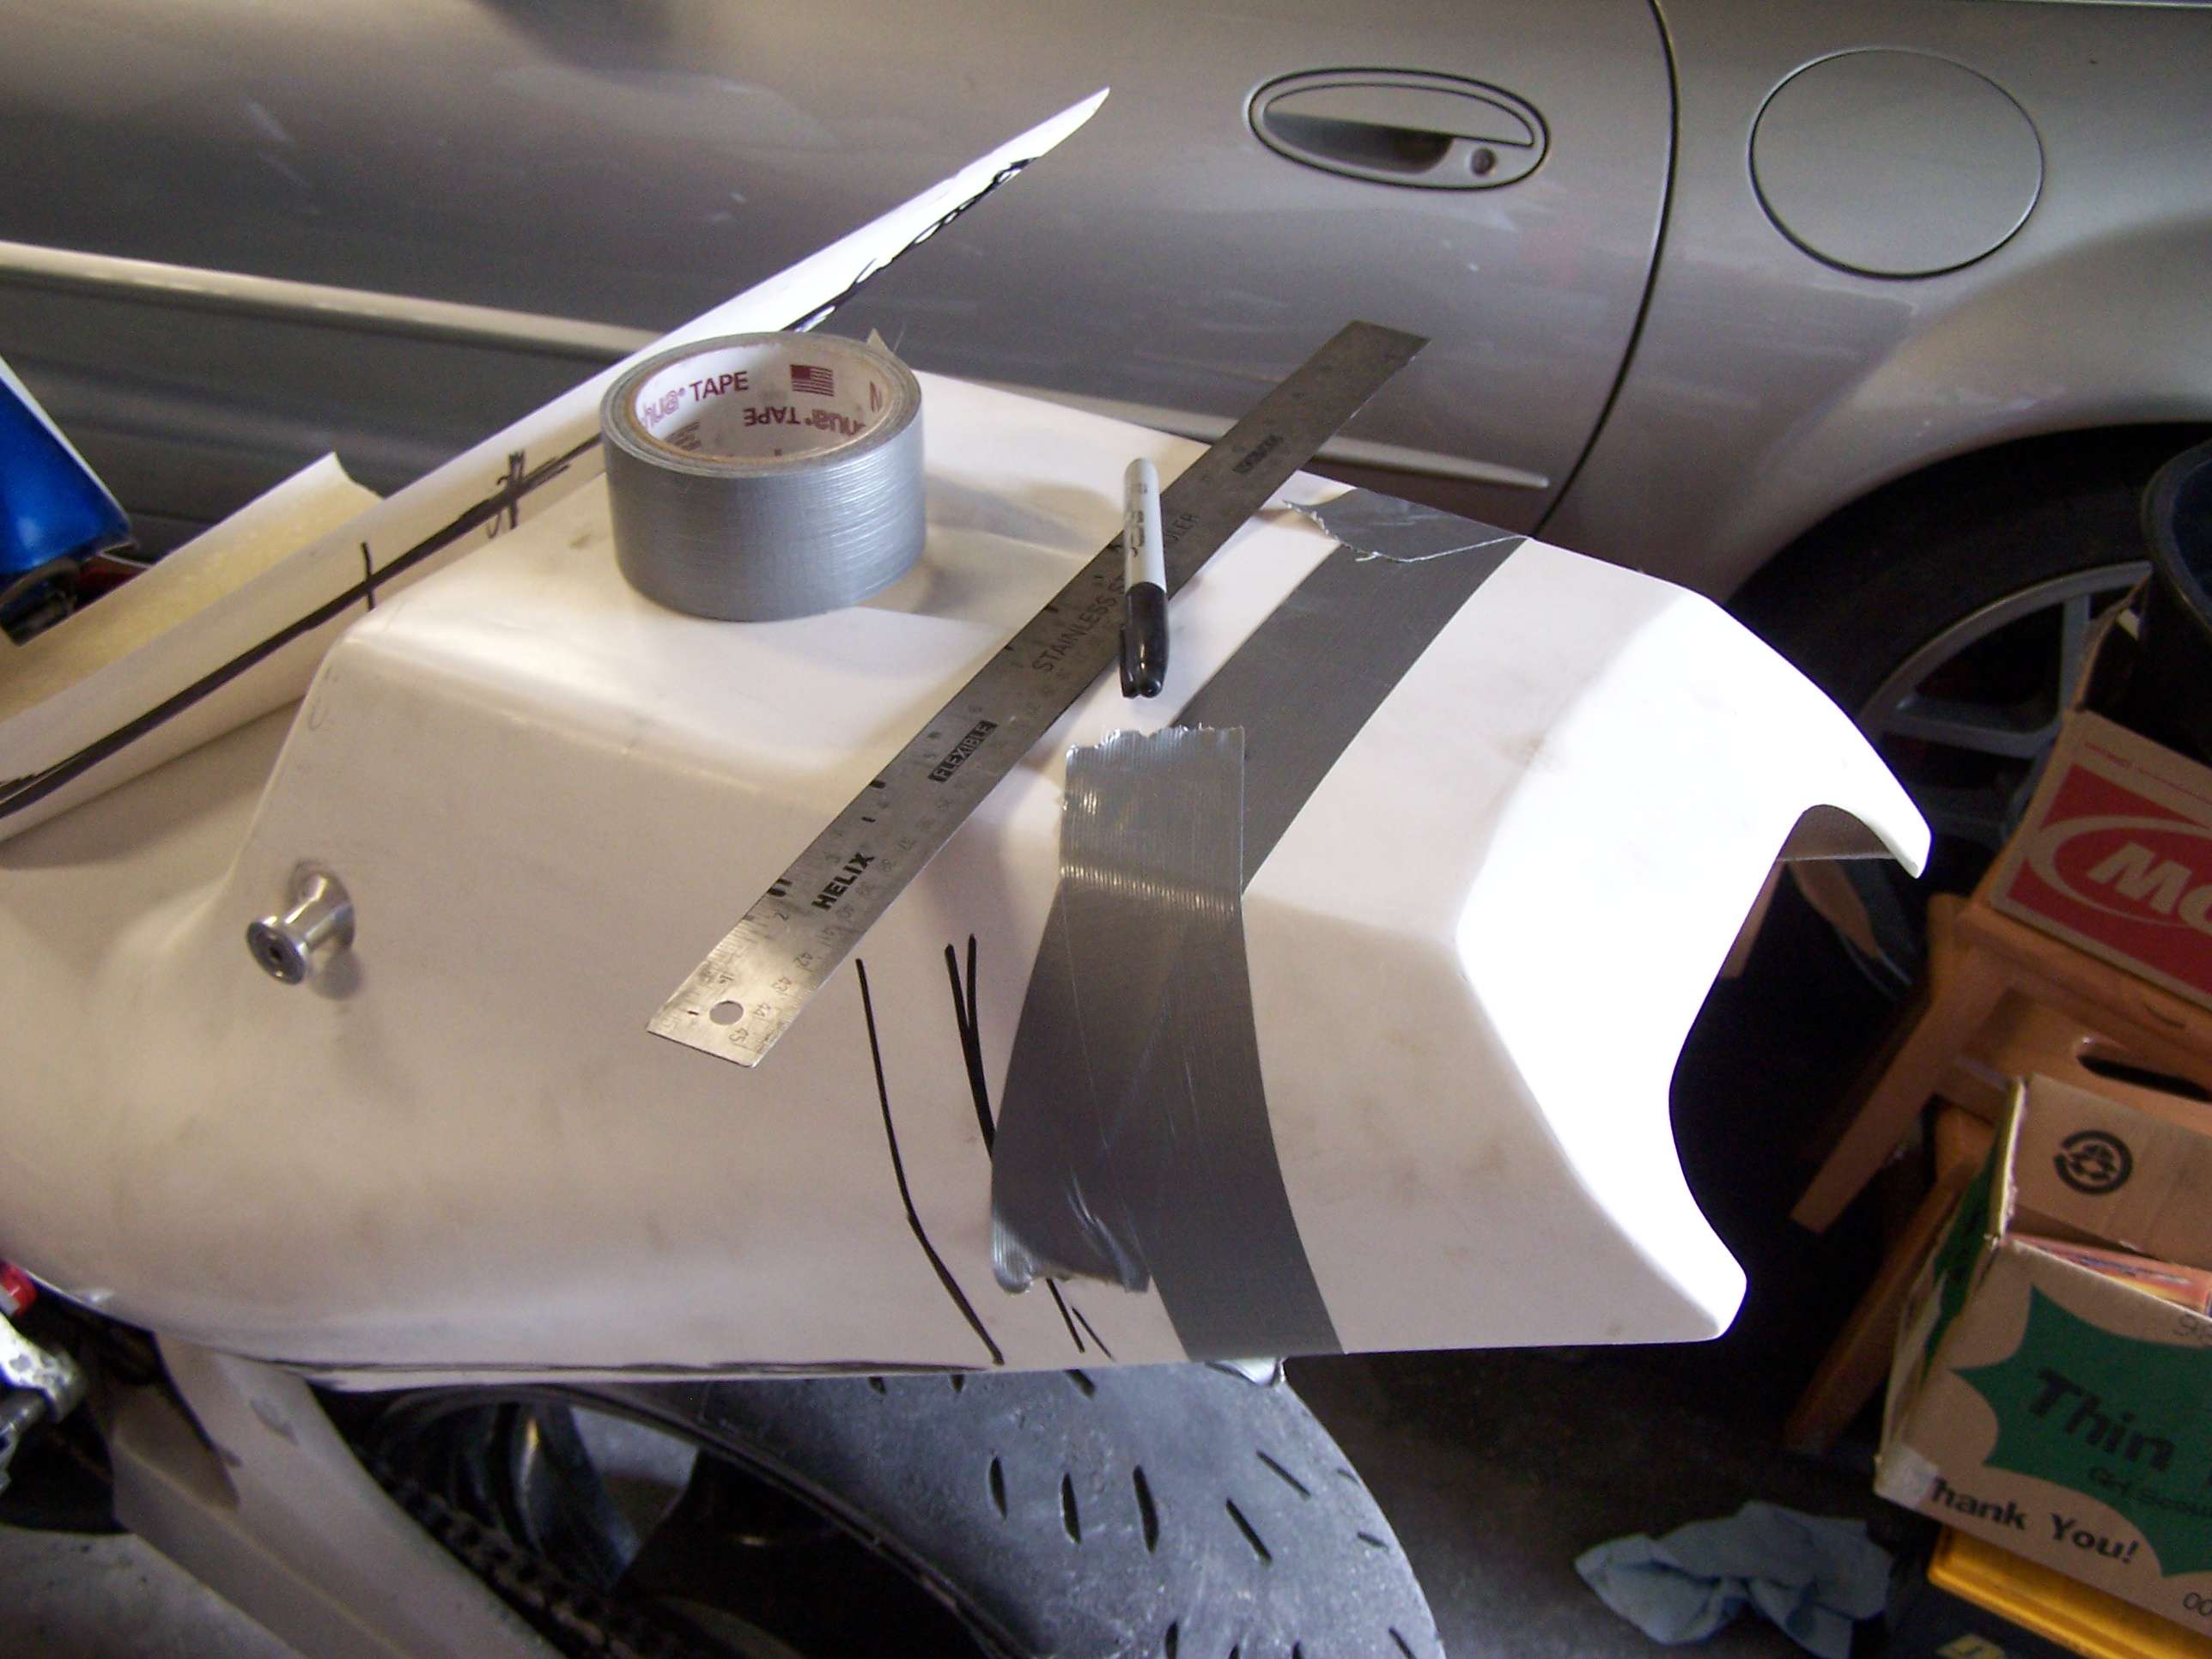
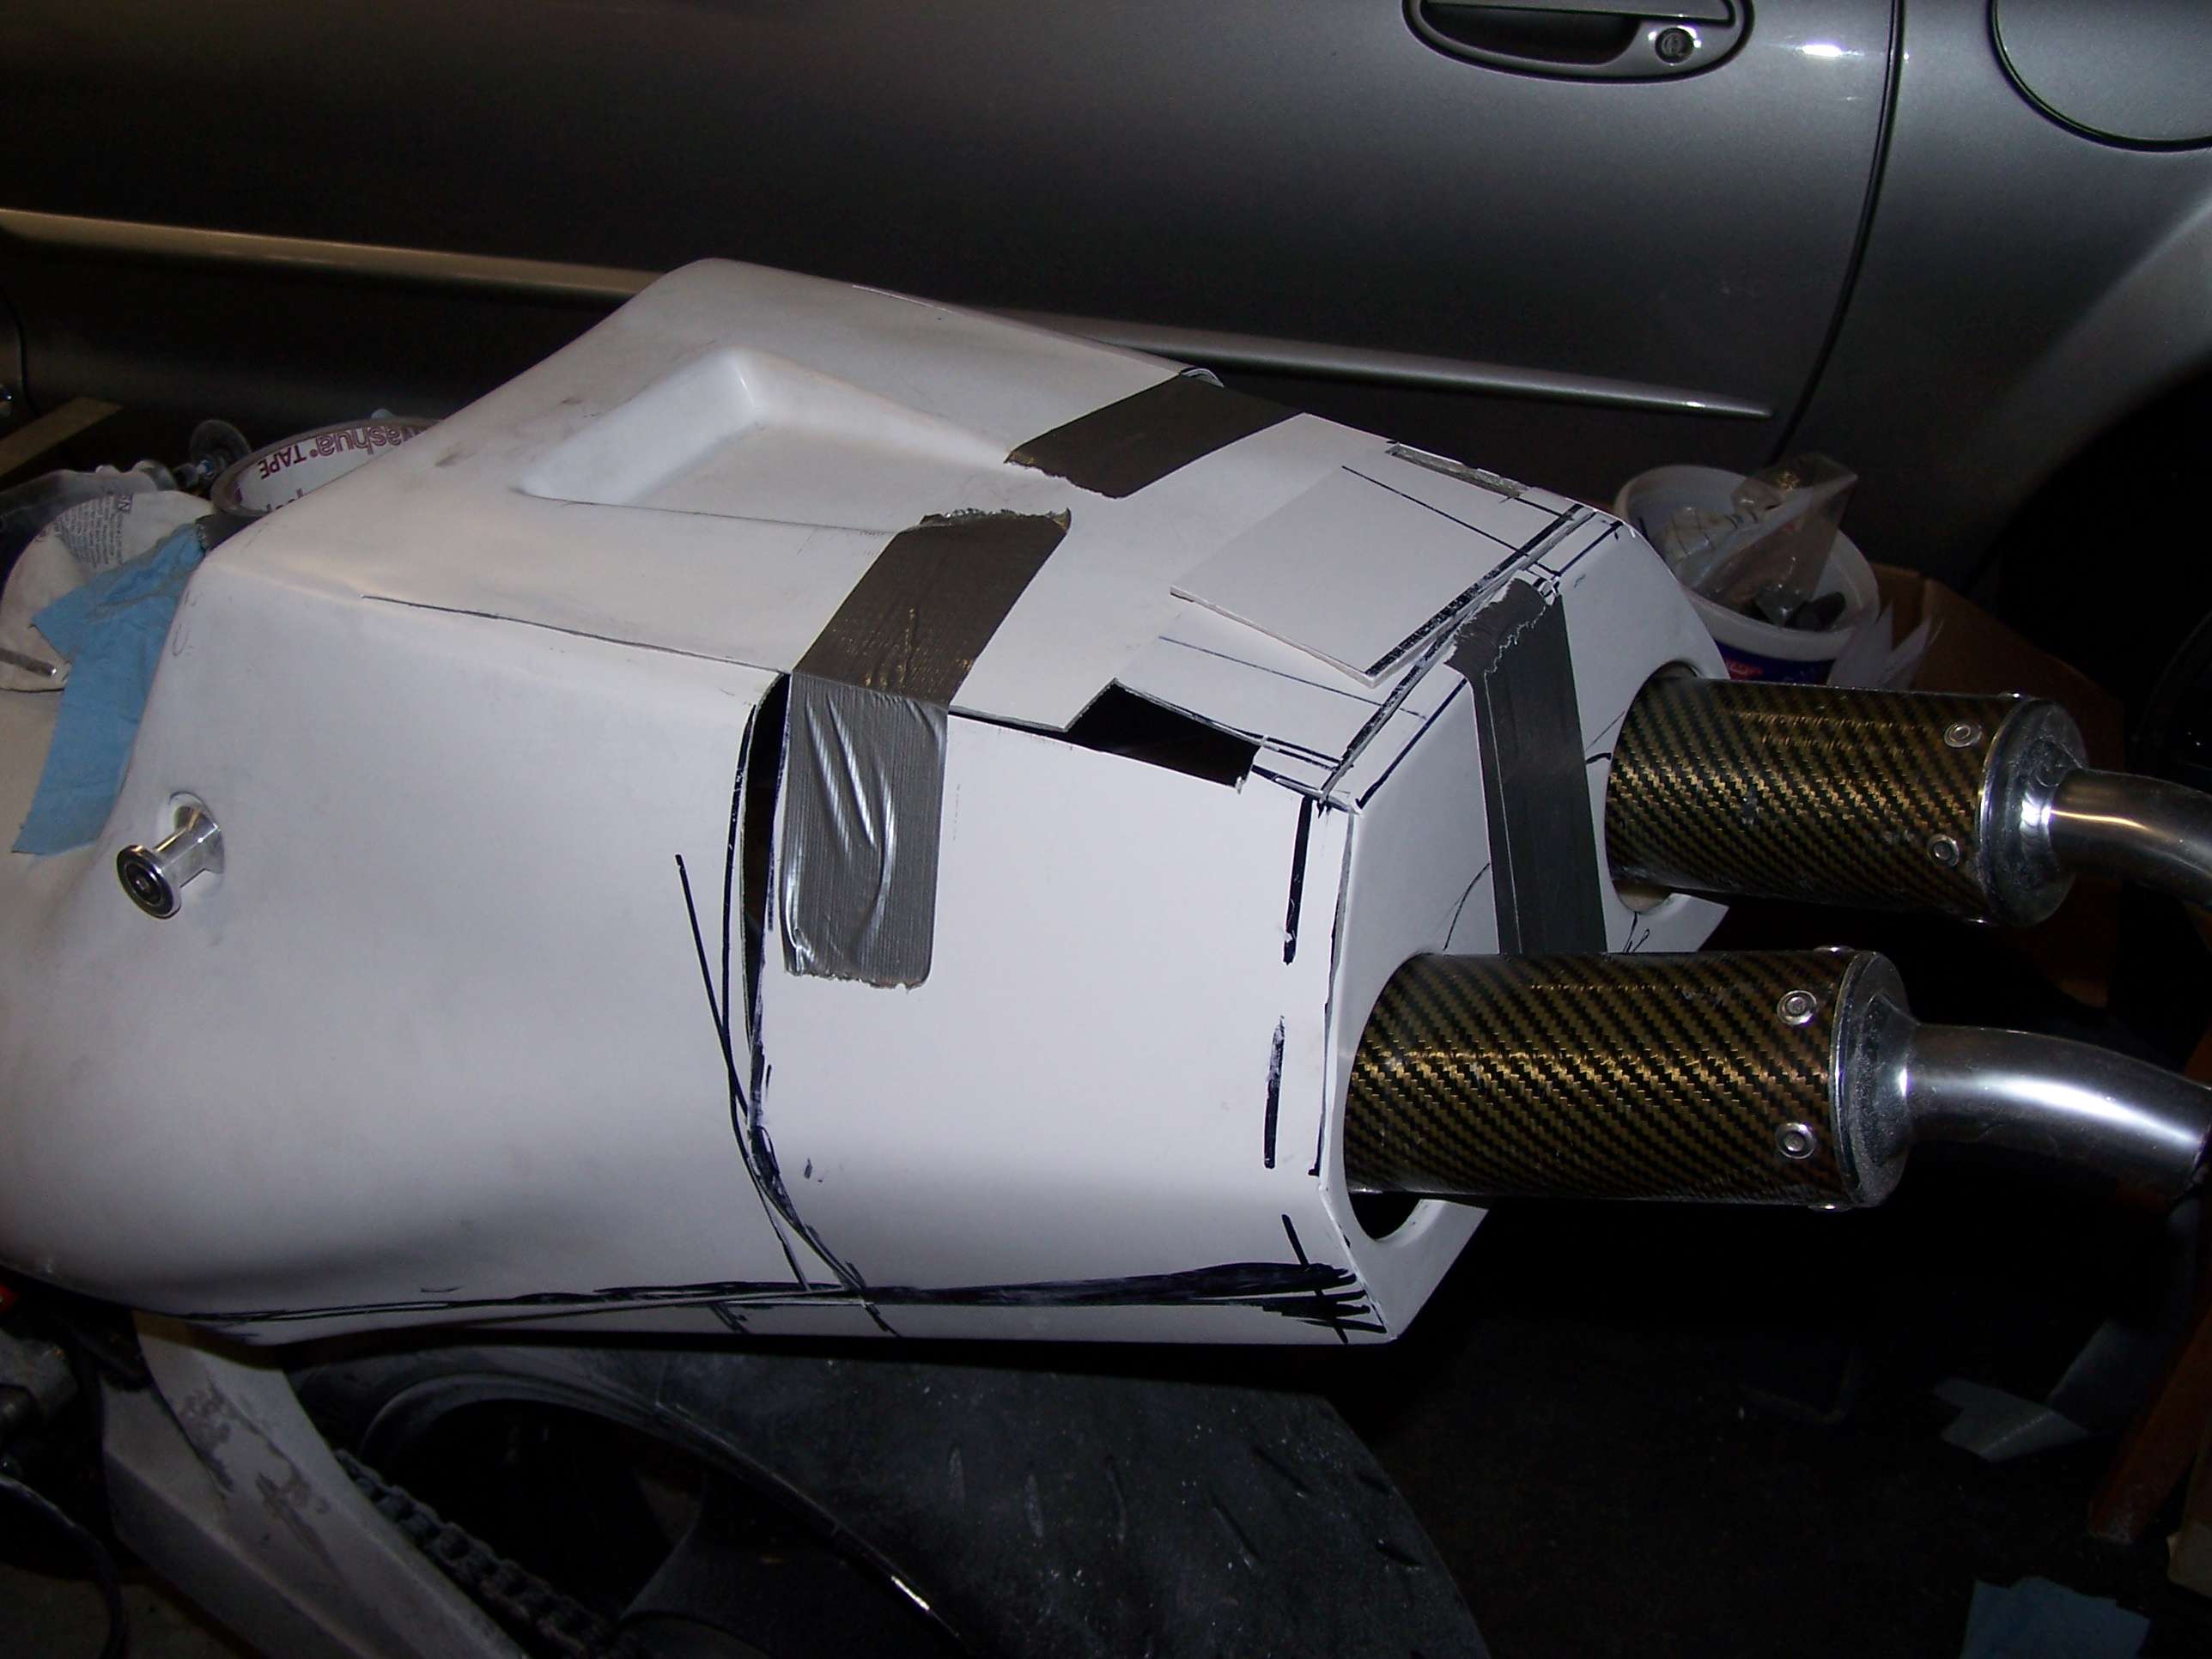
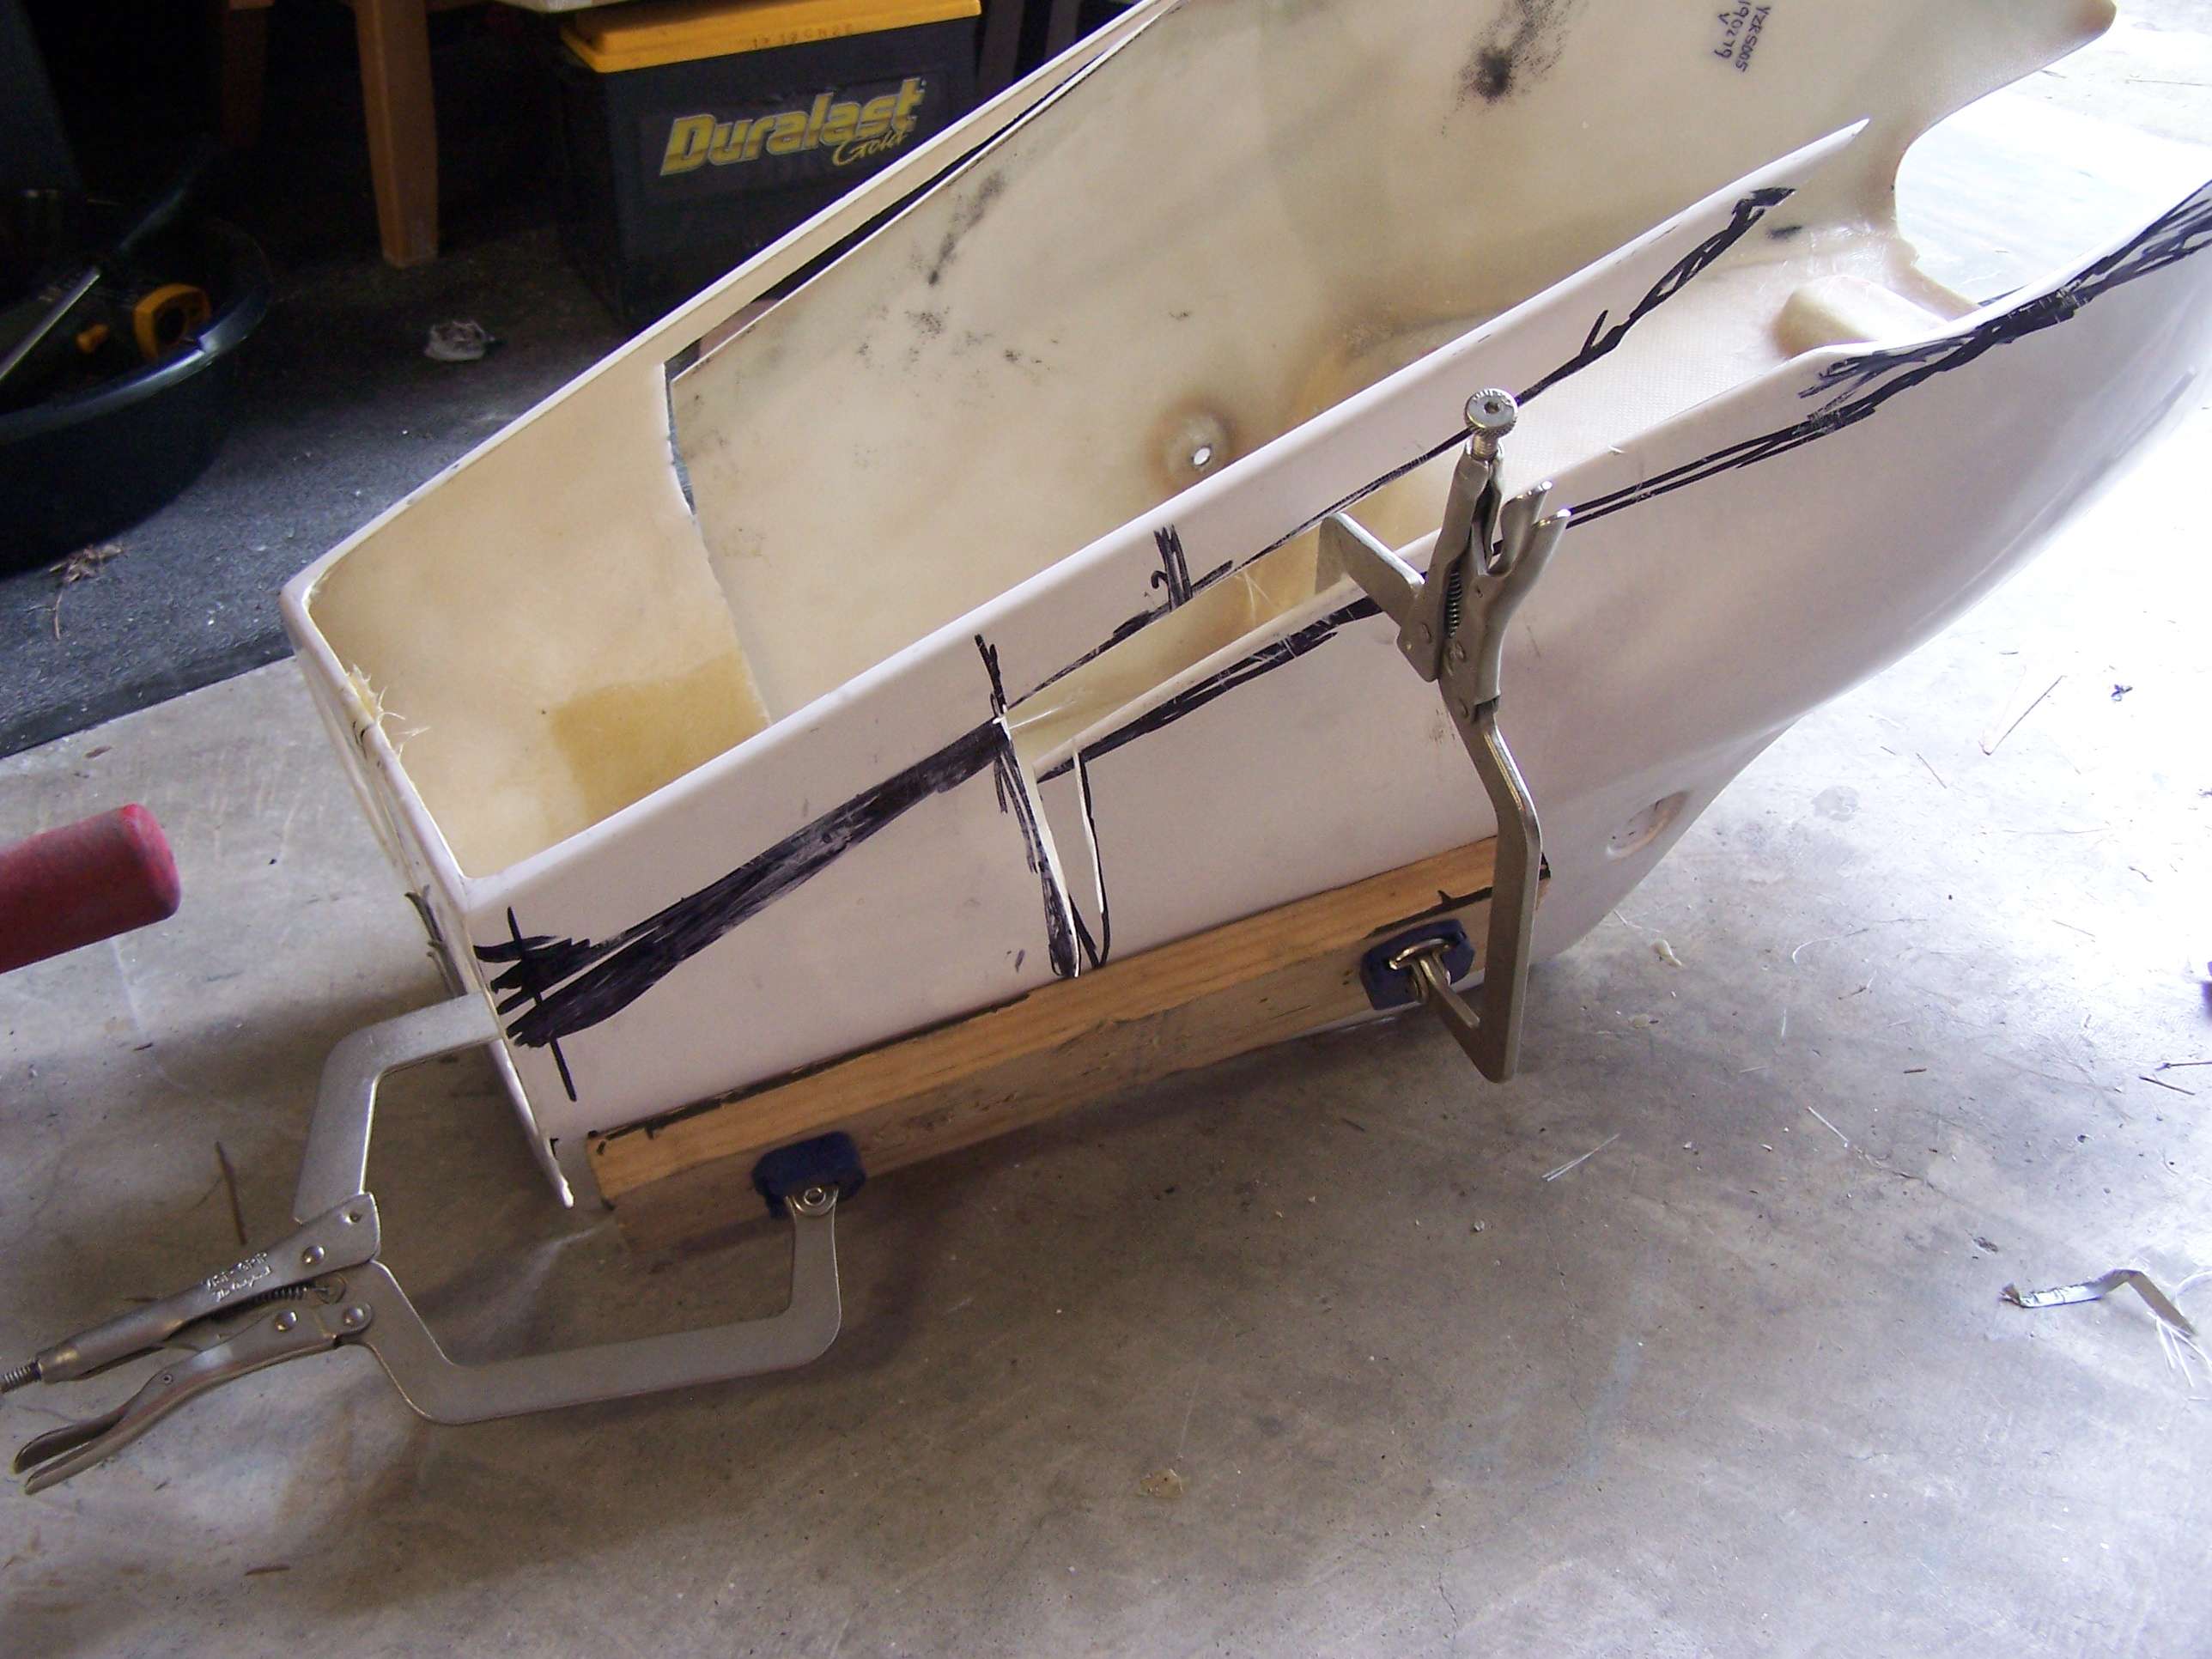
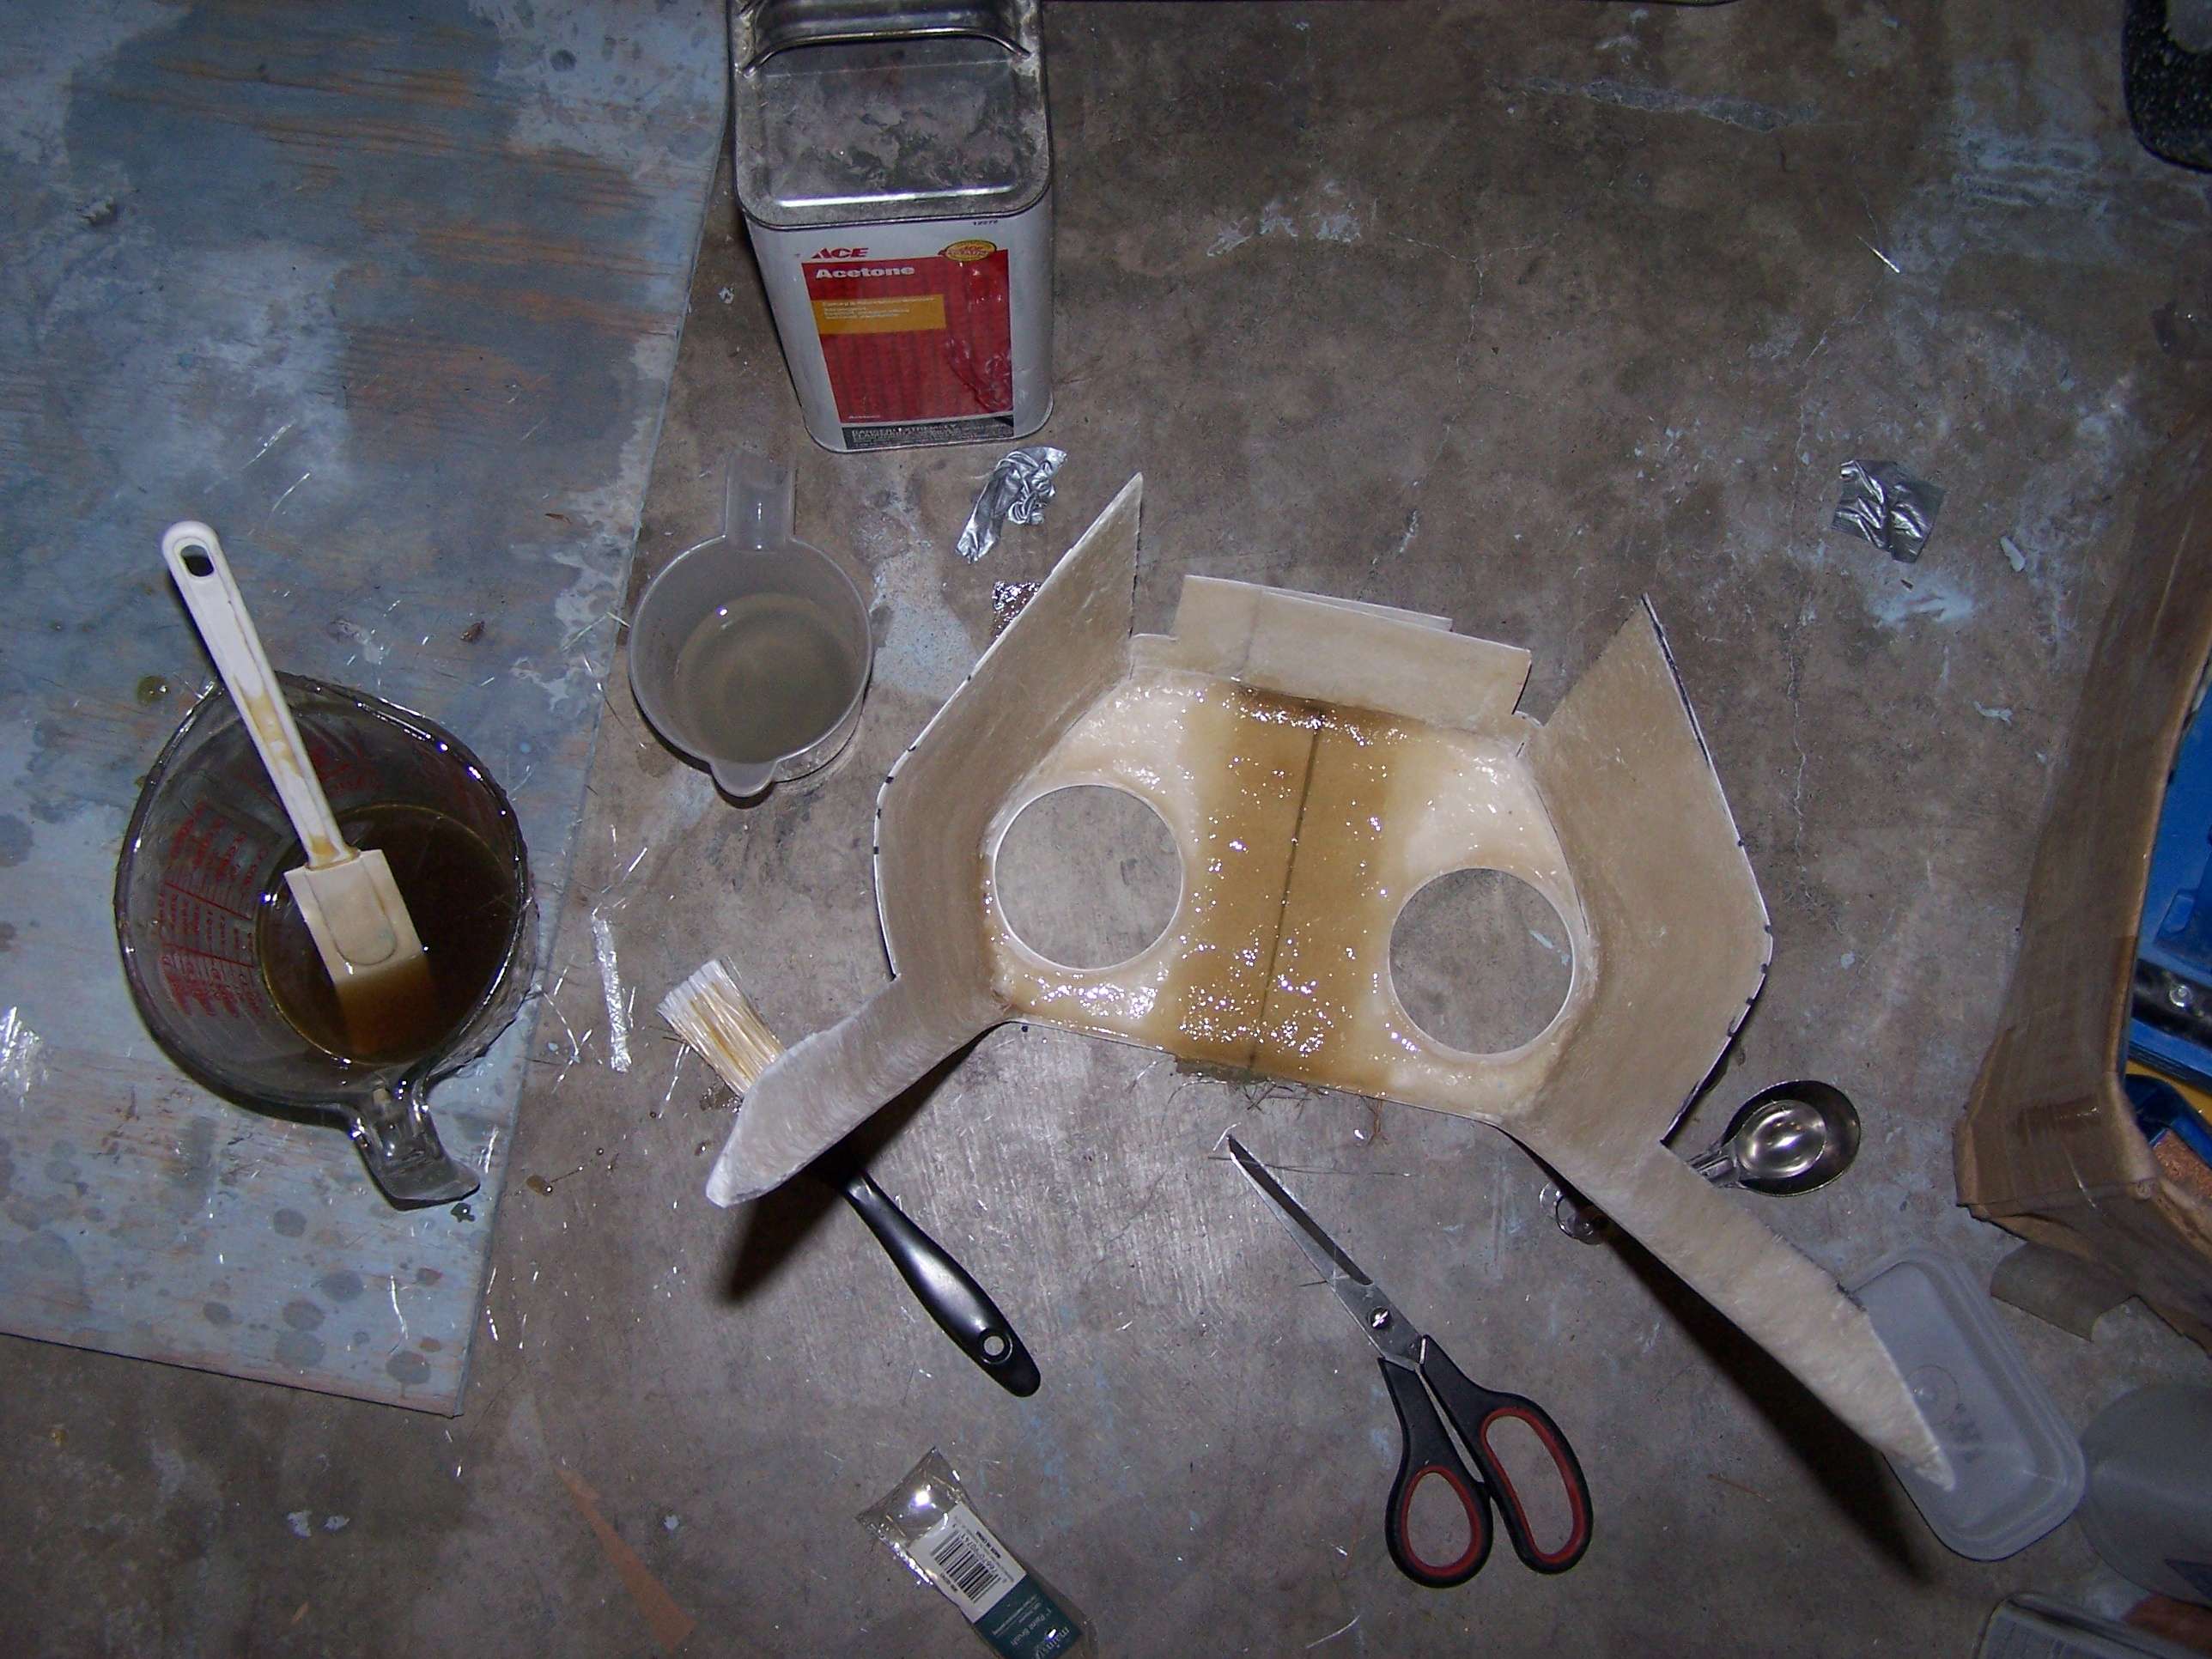
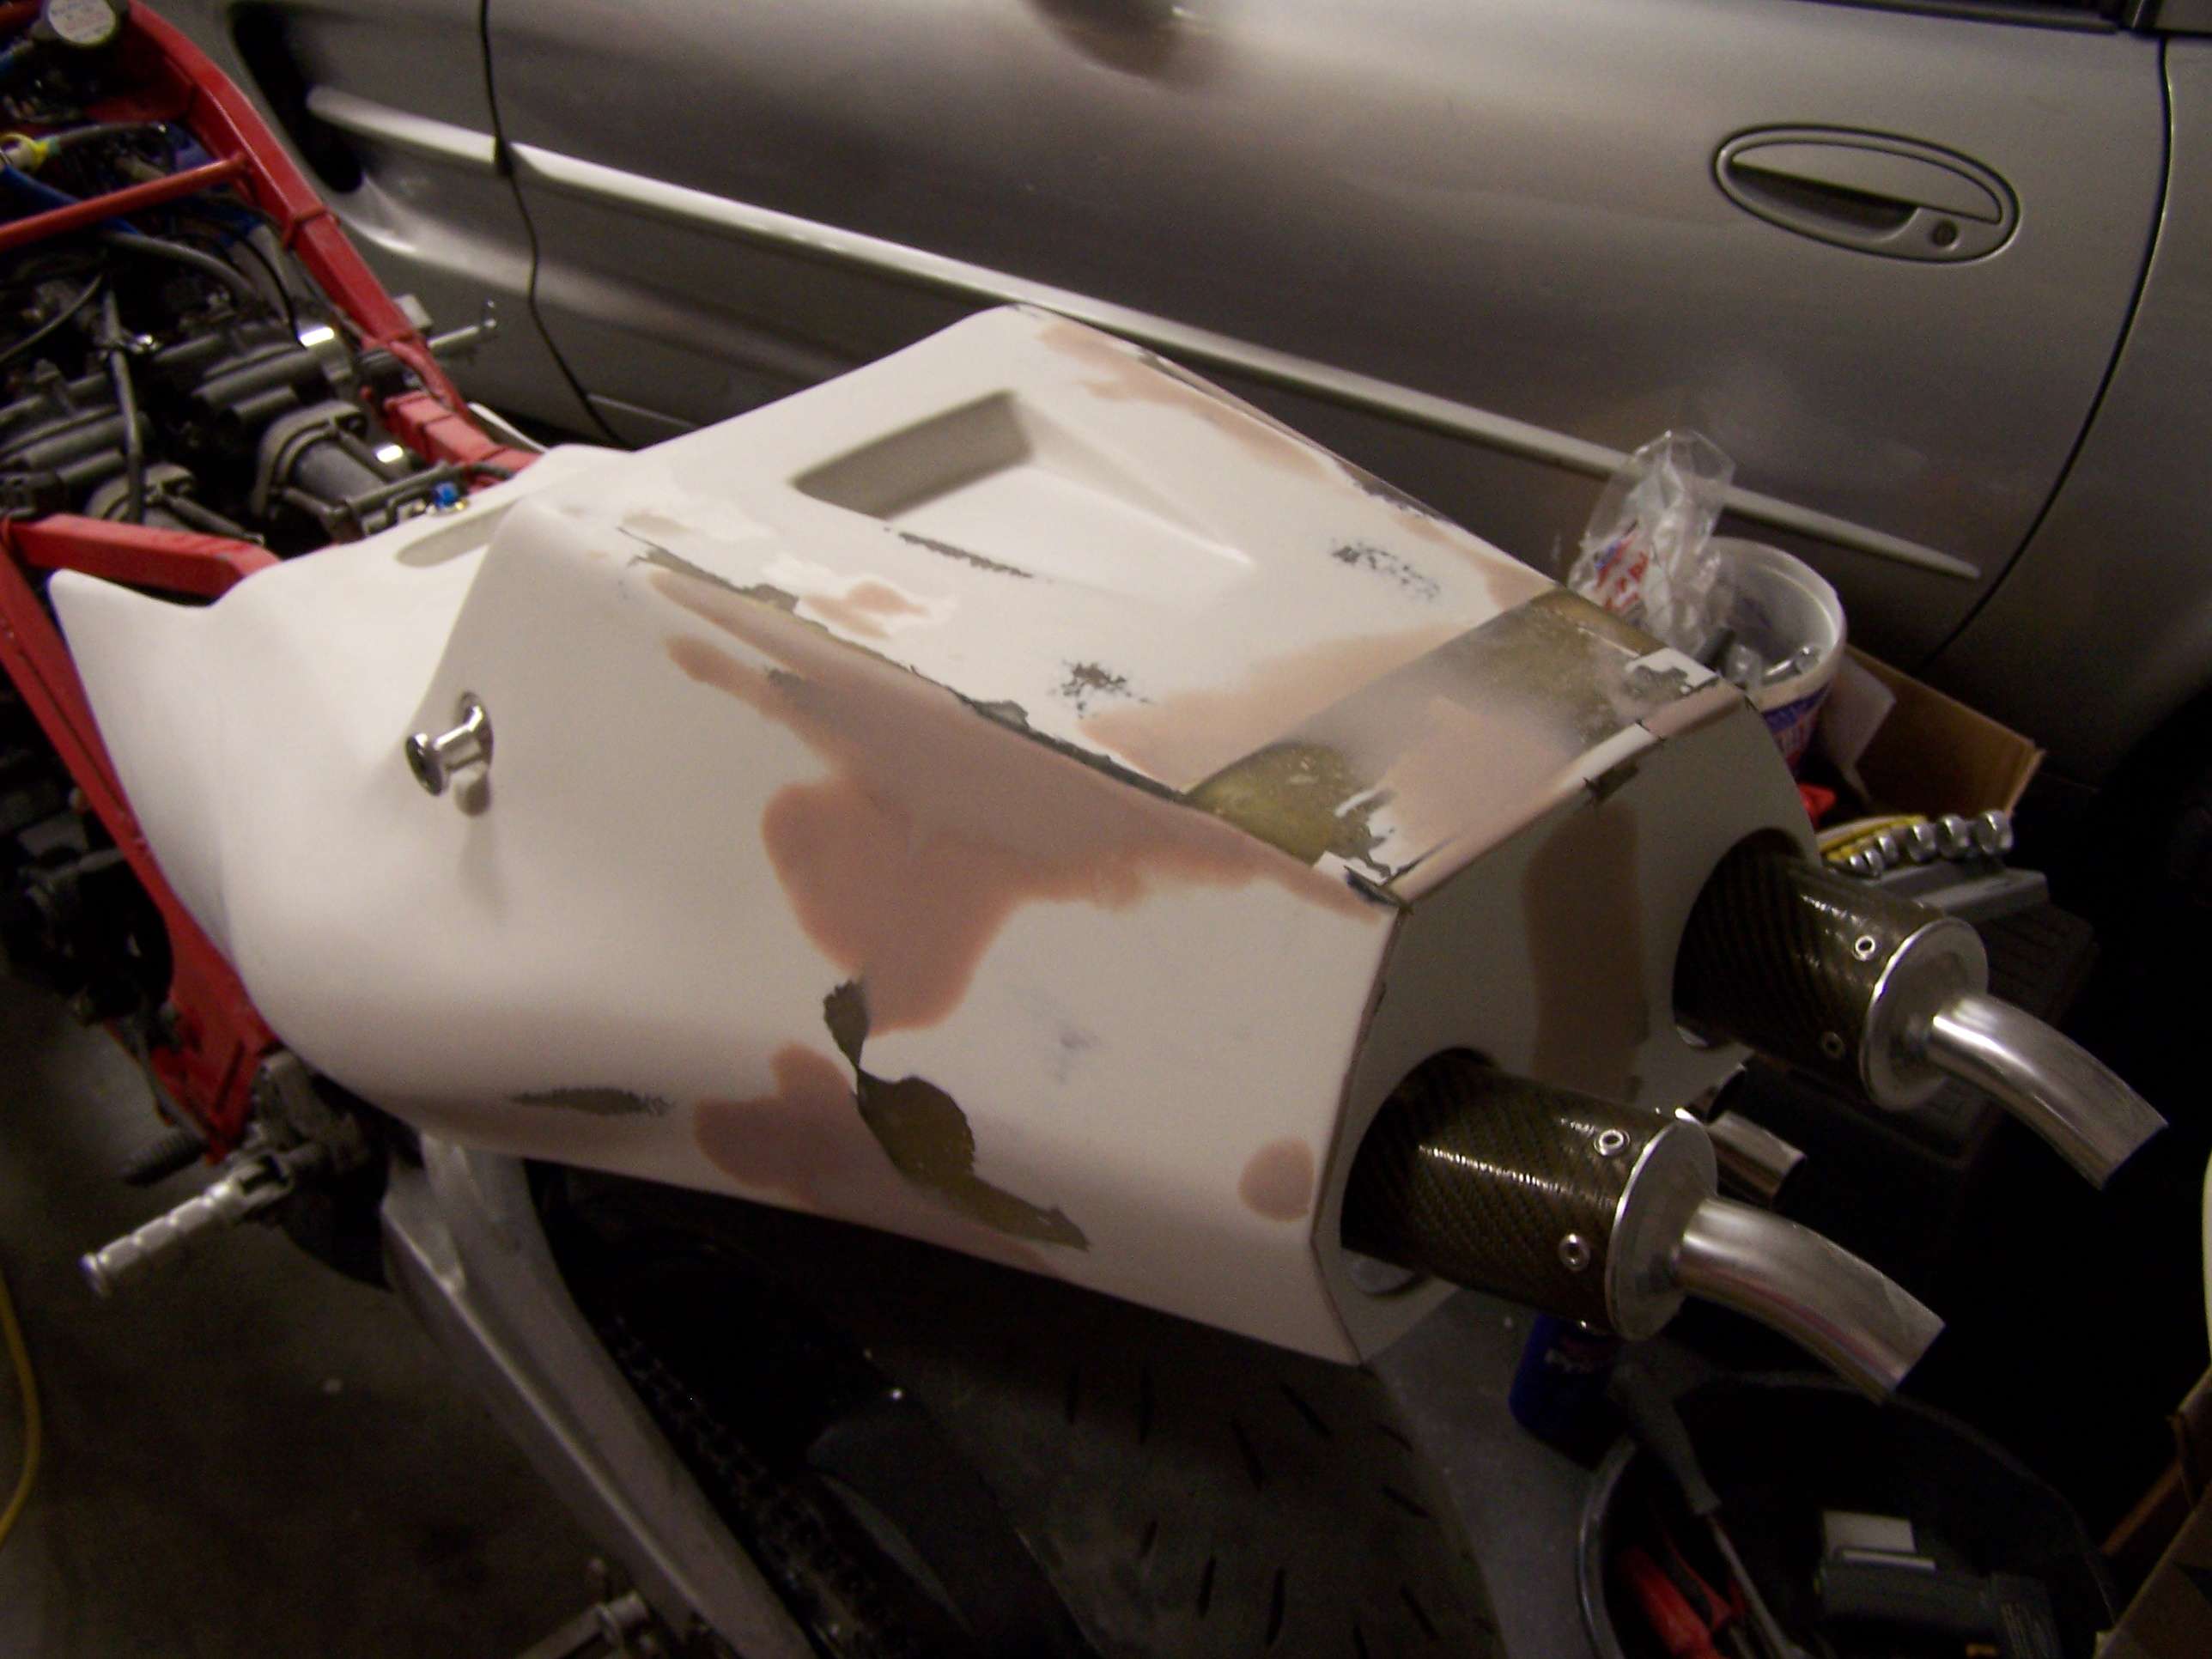
The dry clutch kit chould be here in a couple weeks and as soon as the 2 1/4" dry-break arrives, the tank is off to the fabricator.
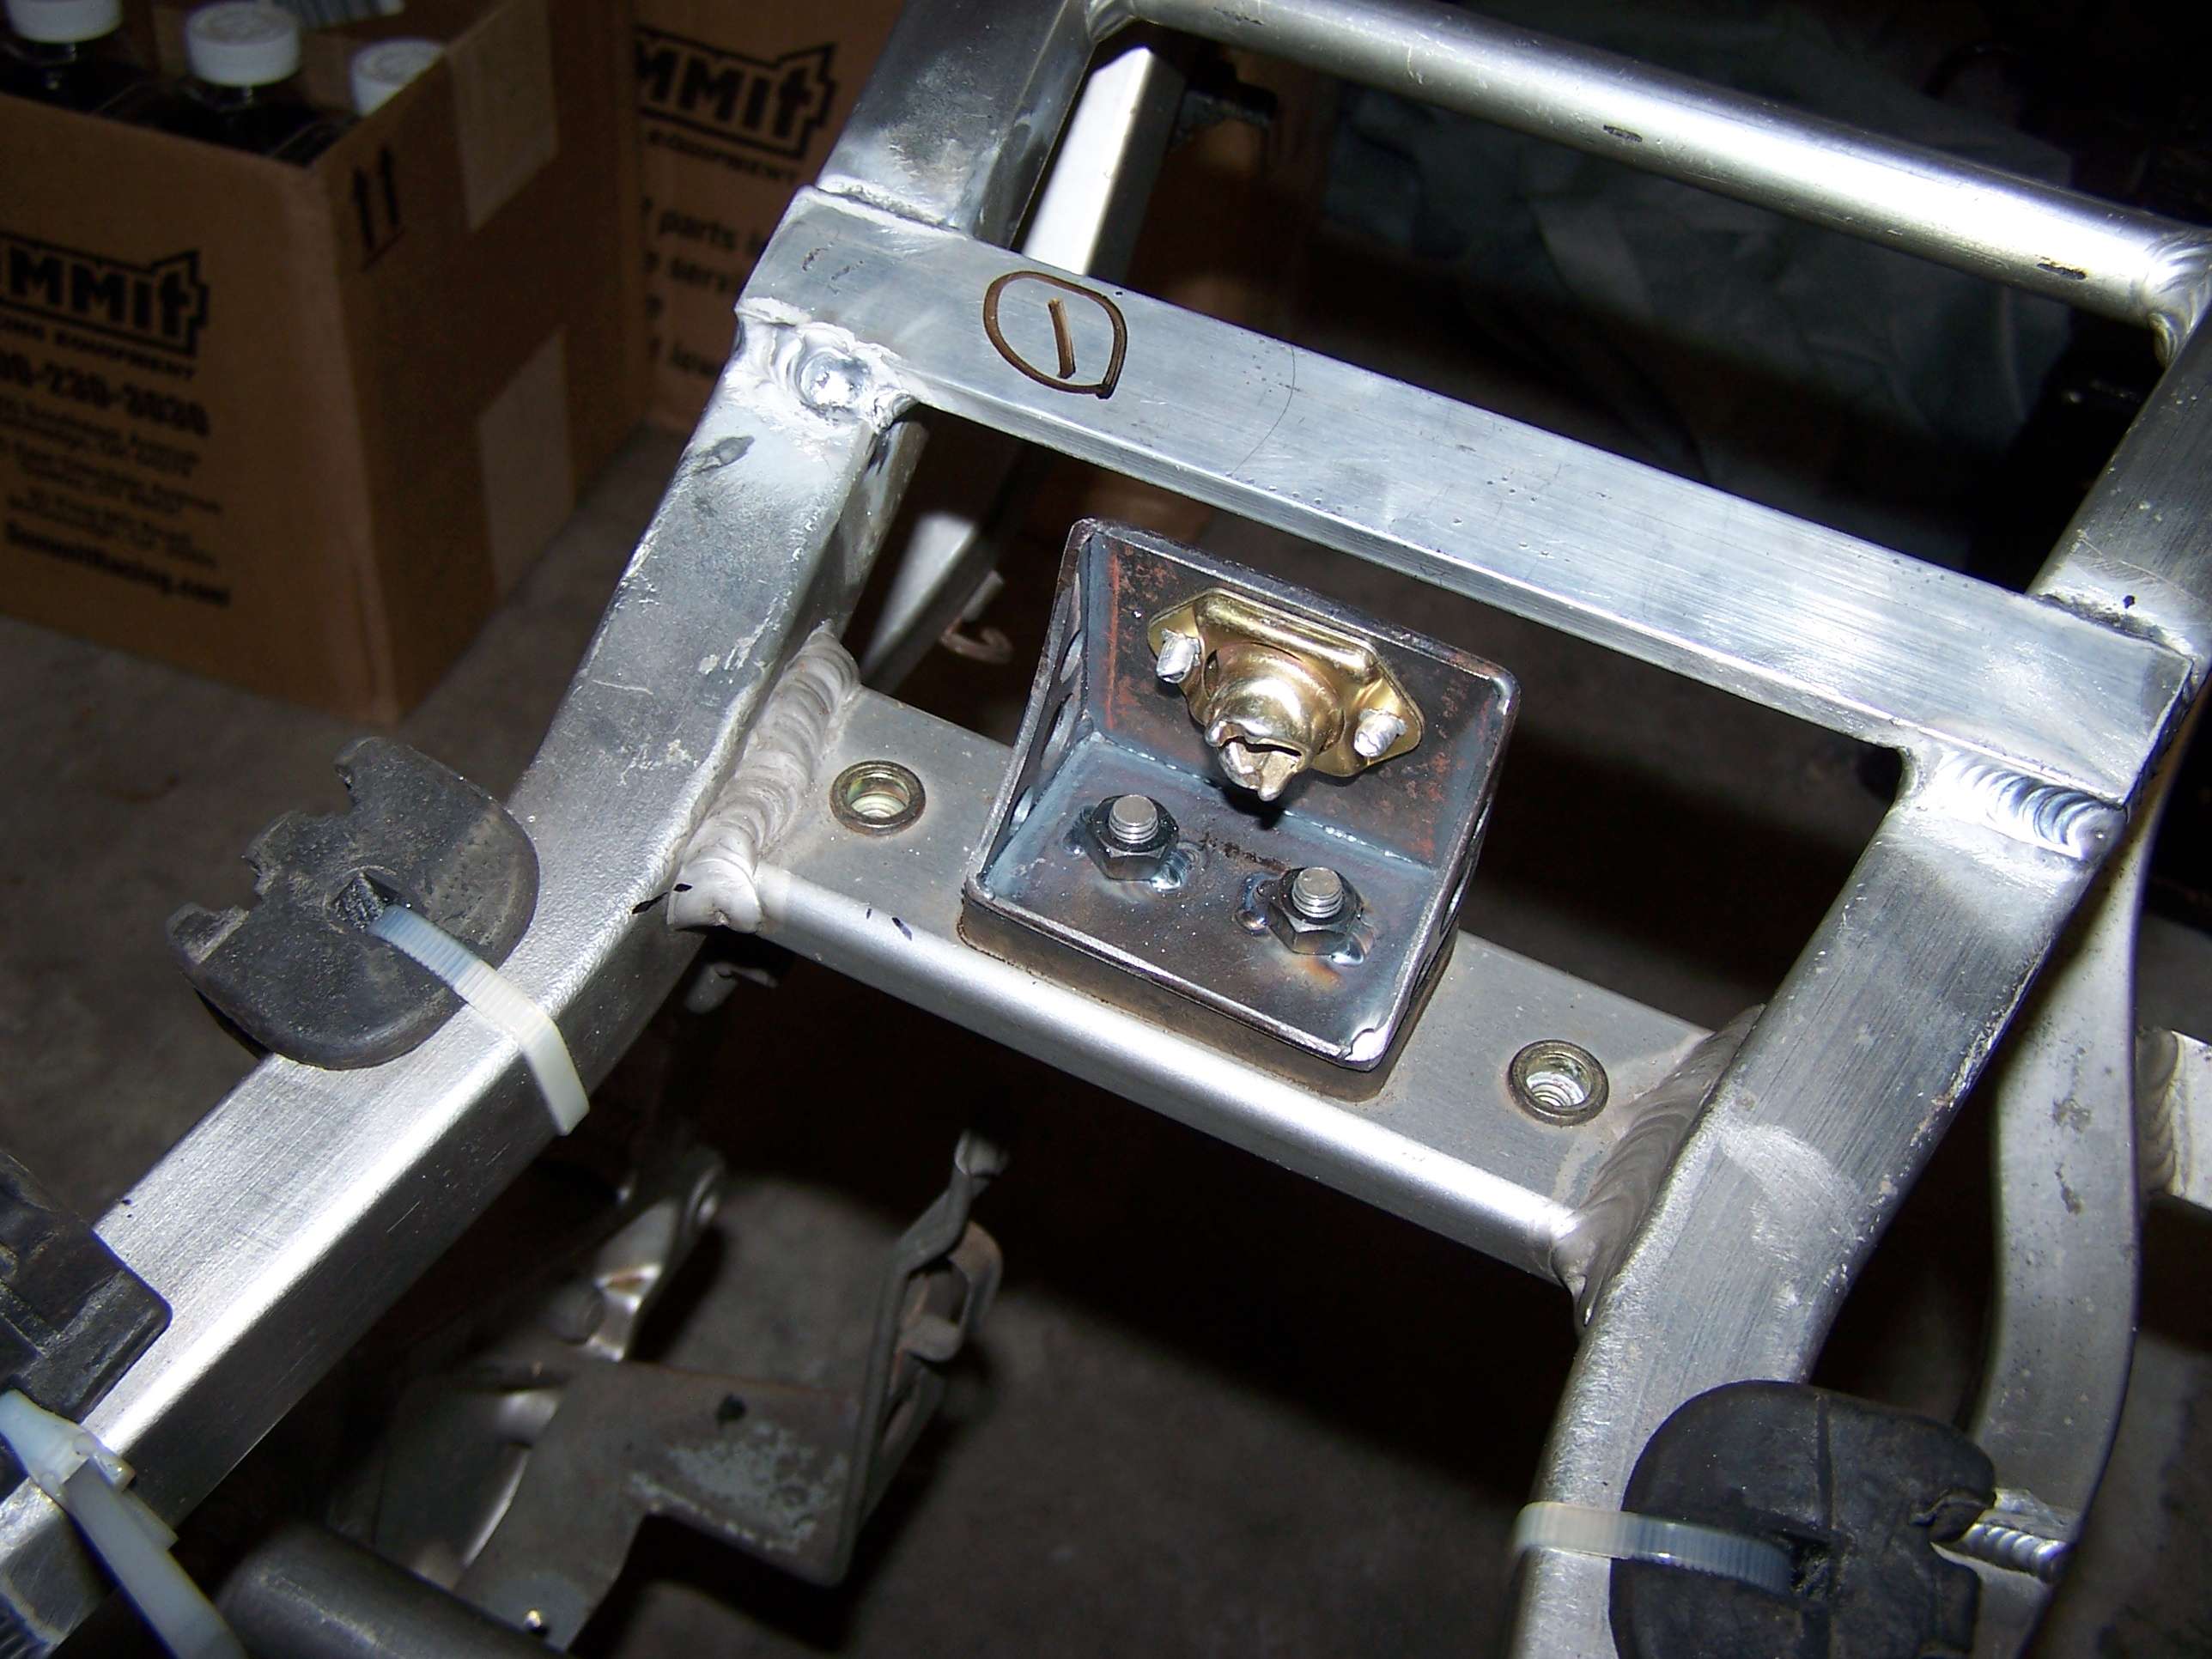
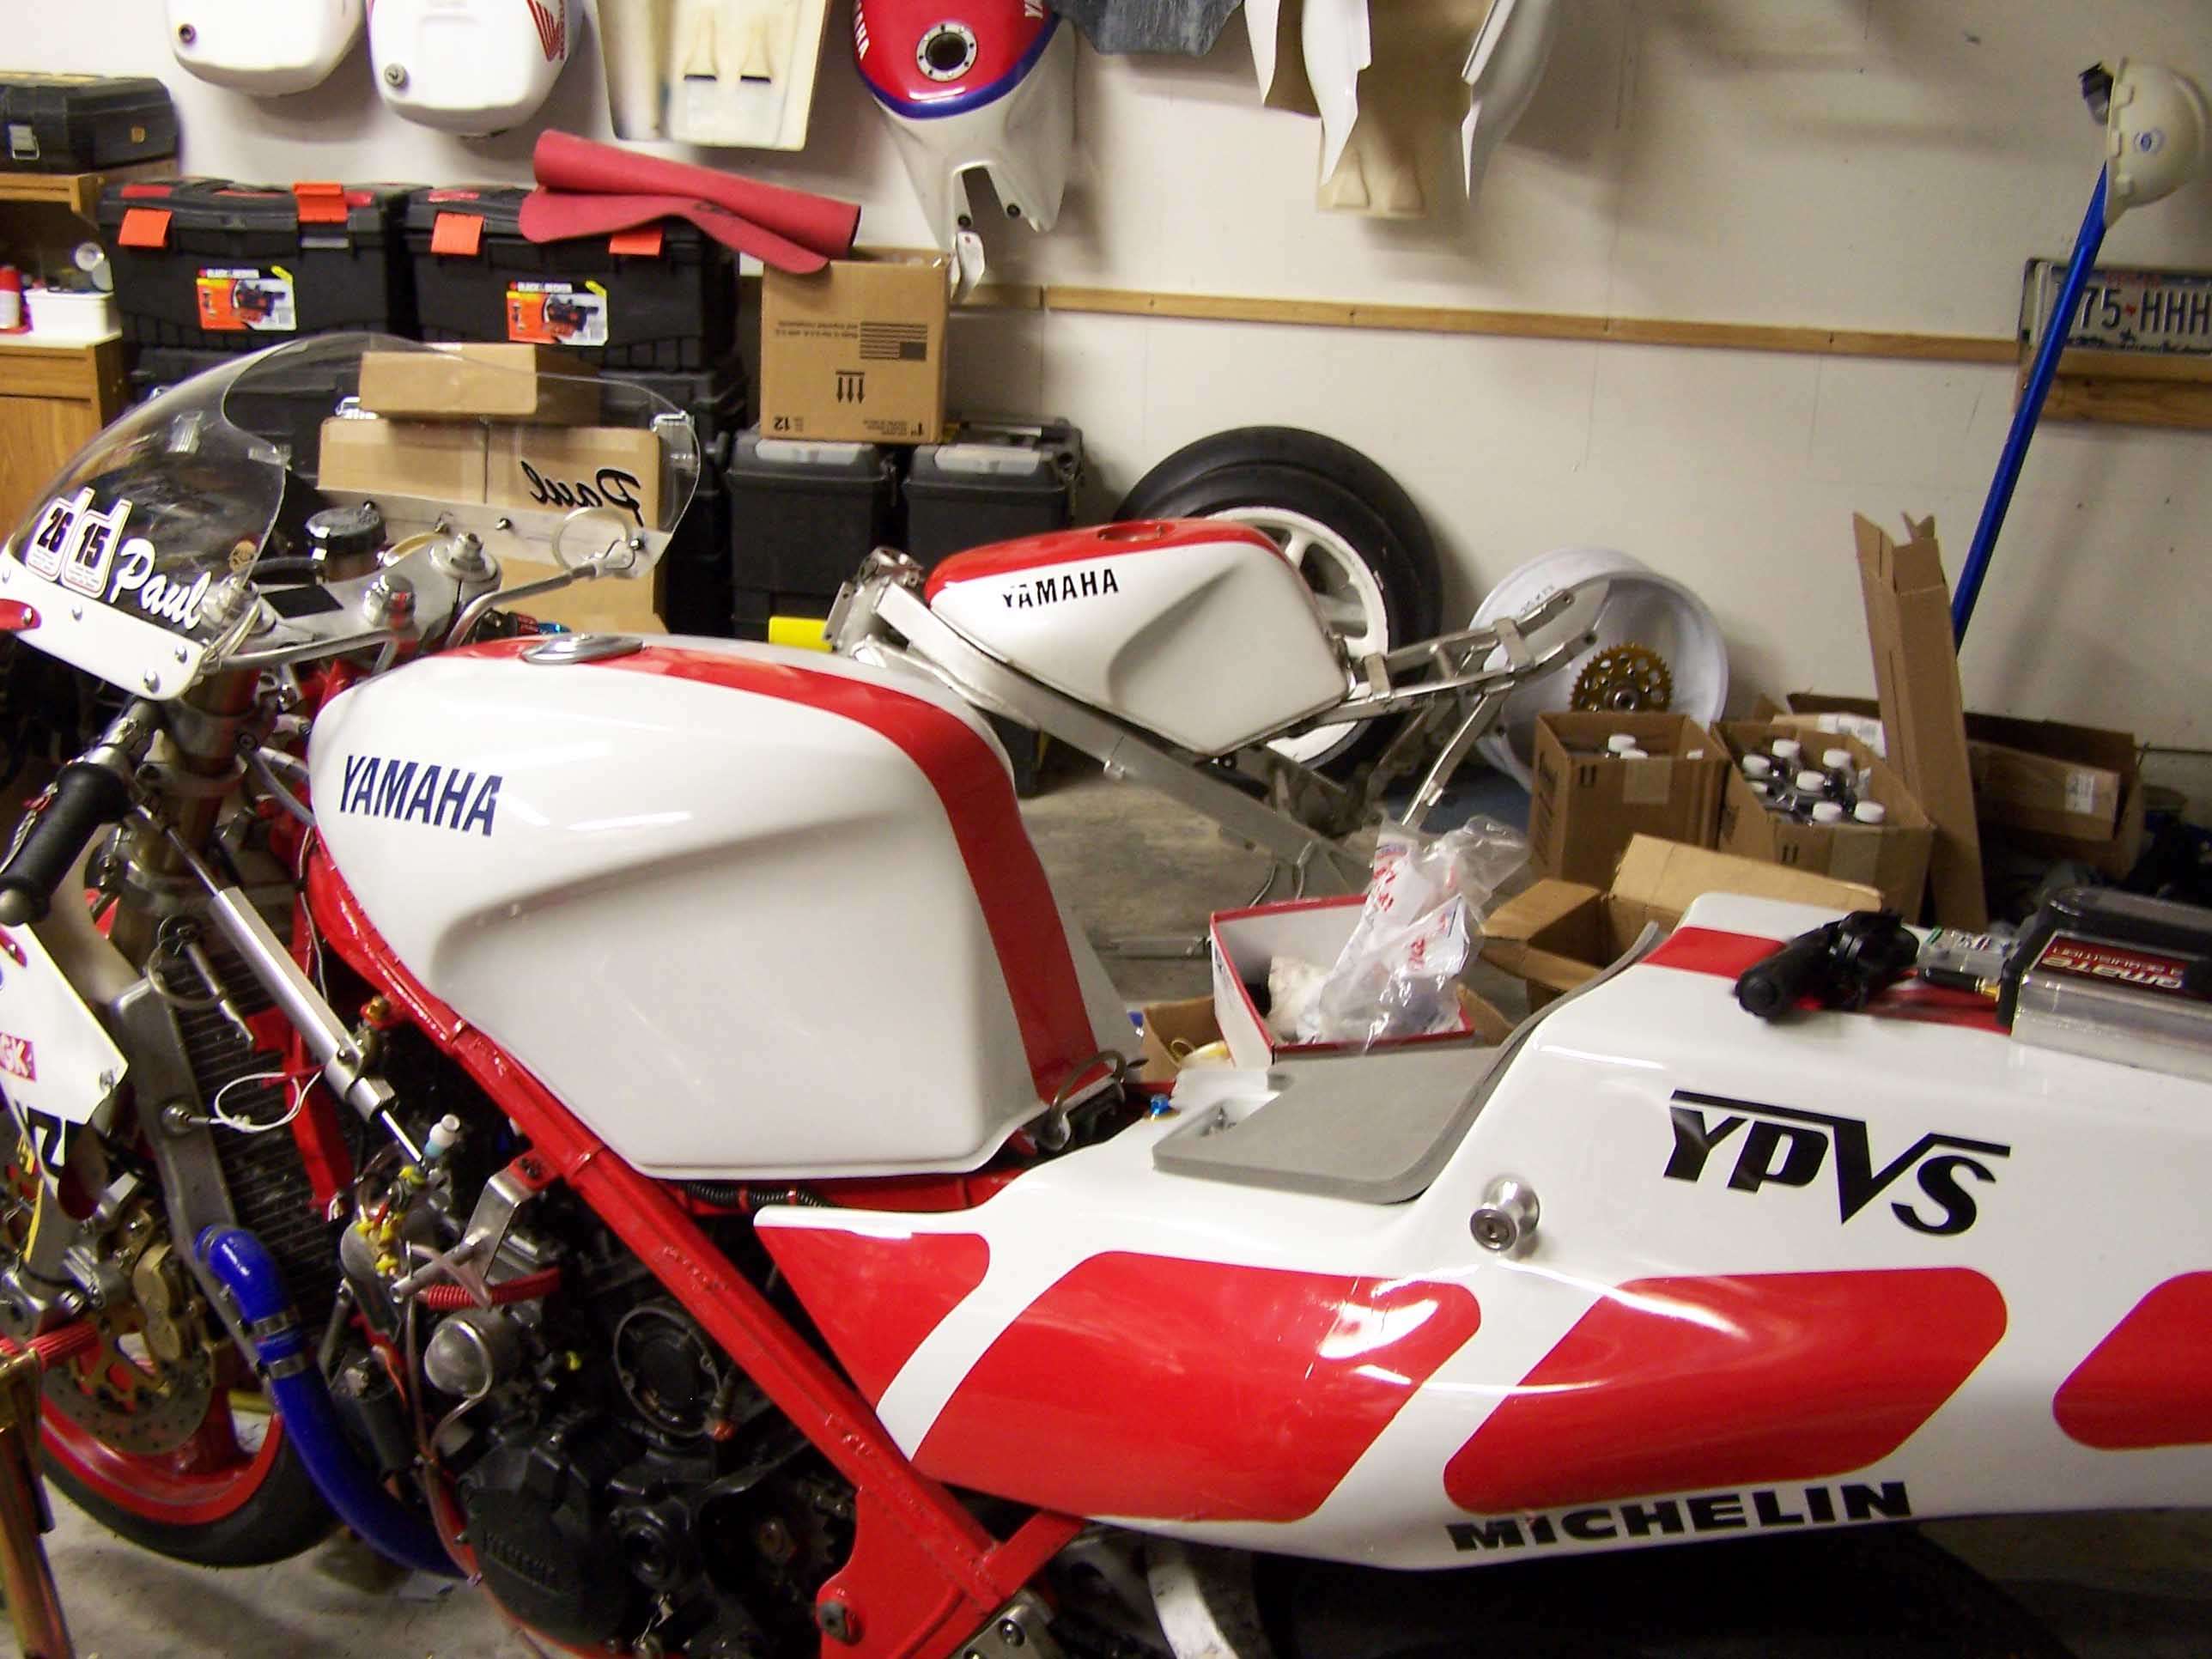
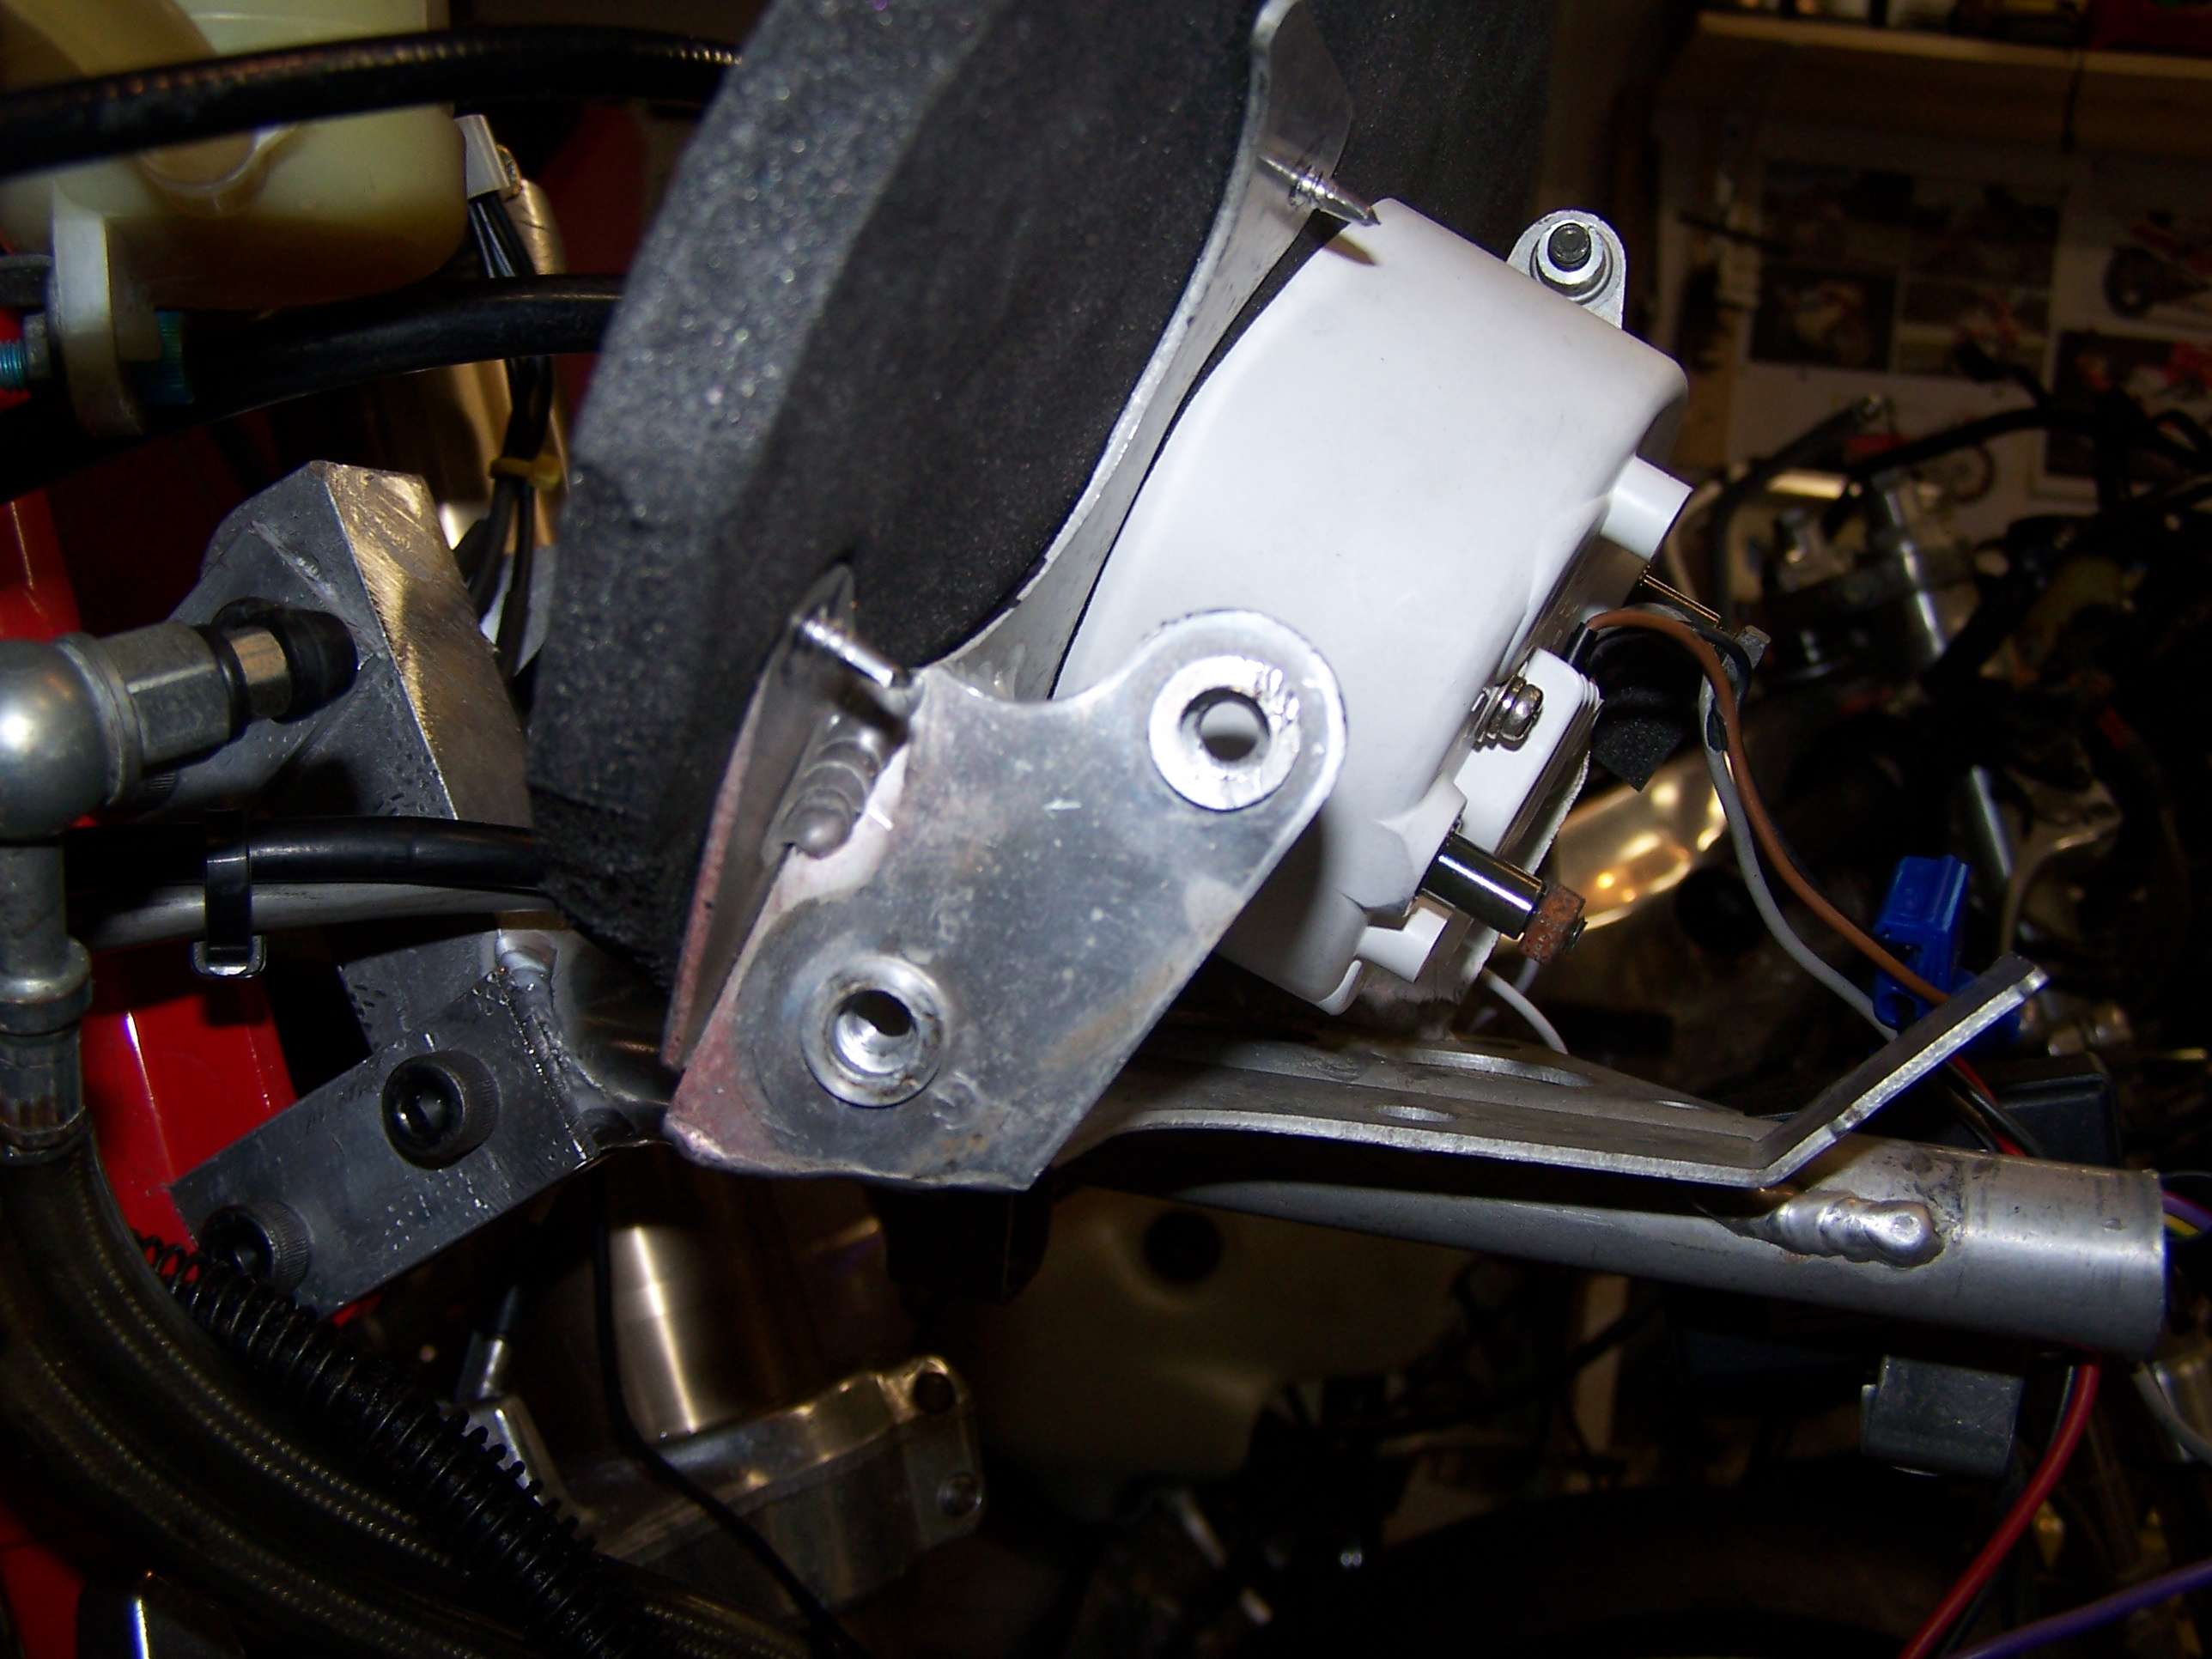
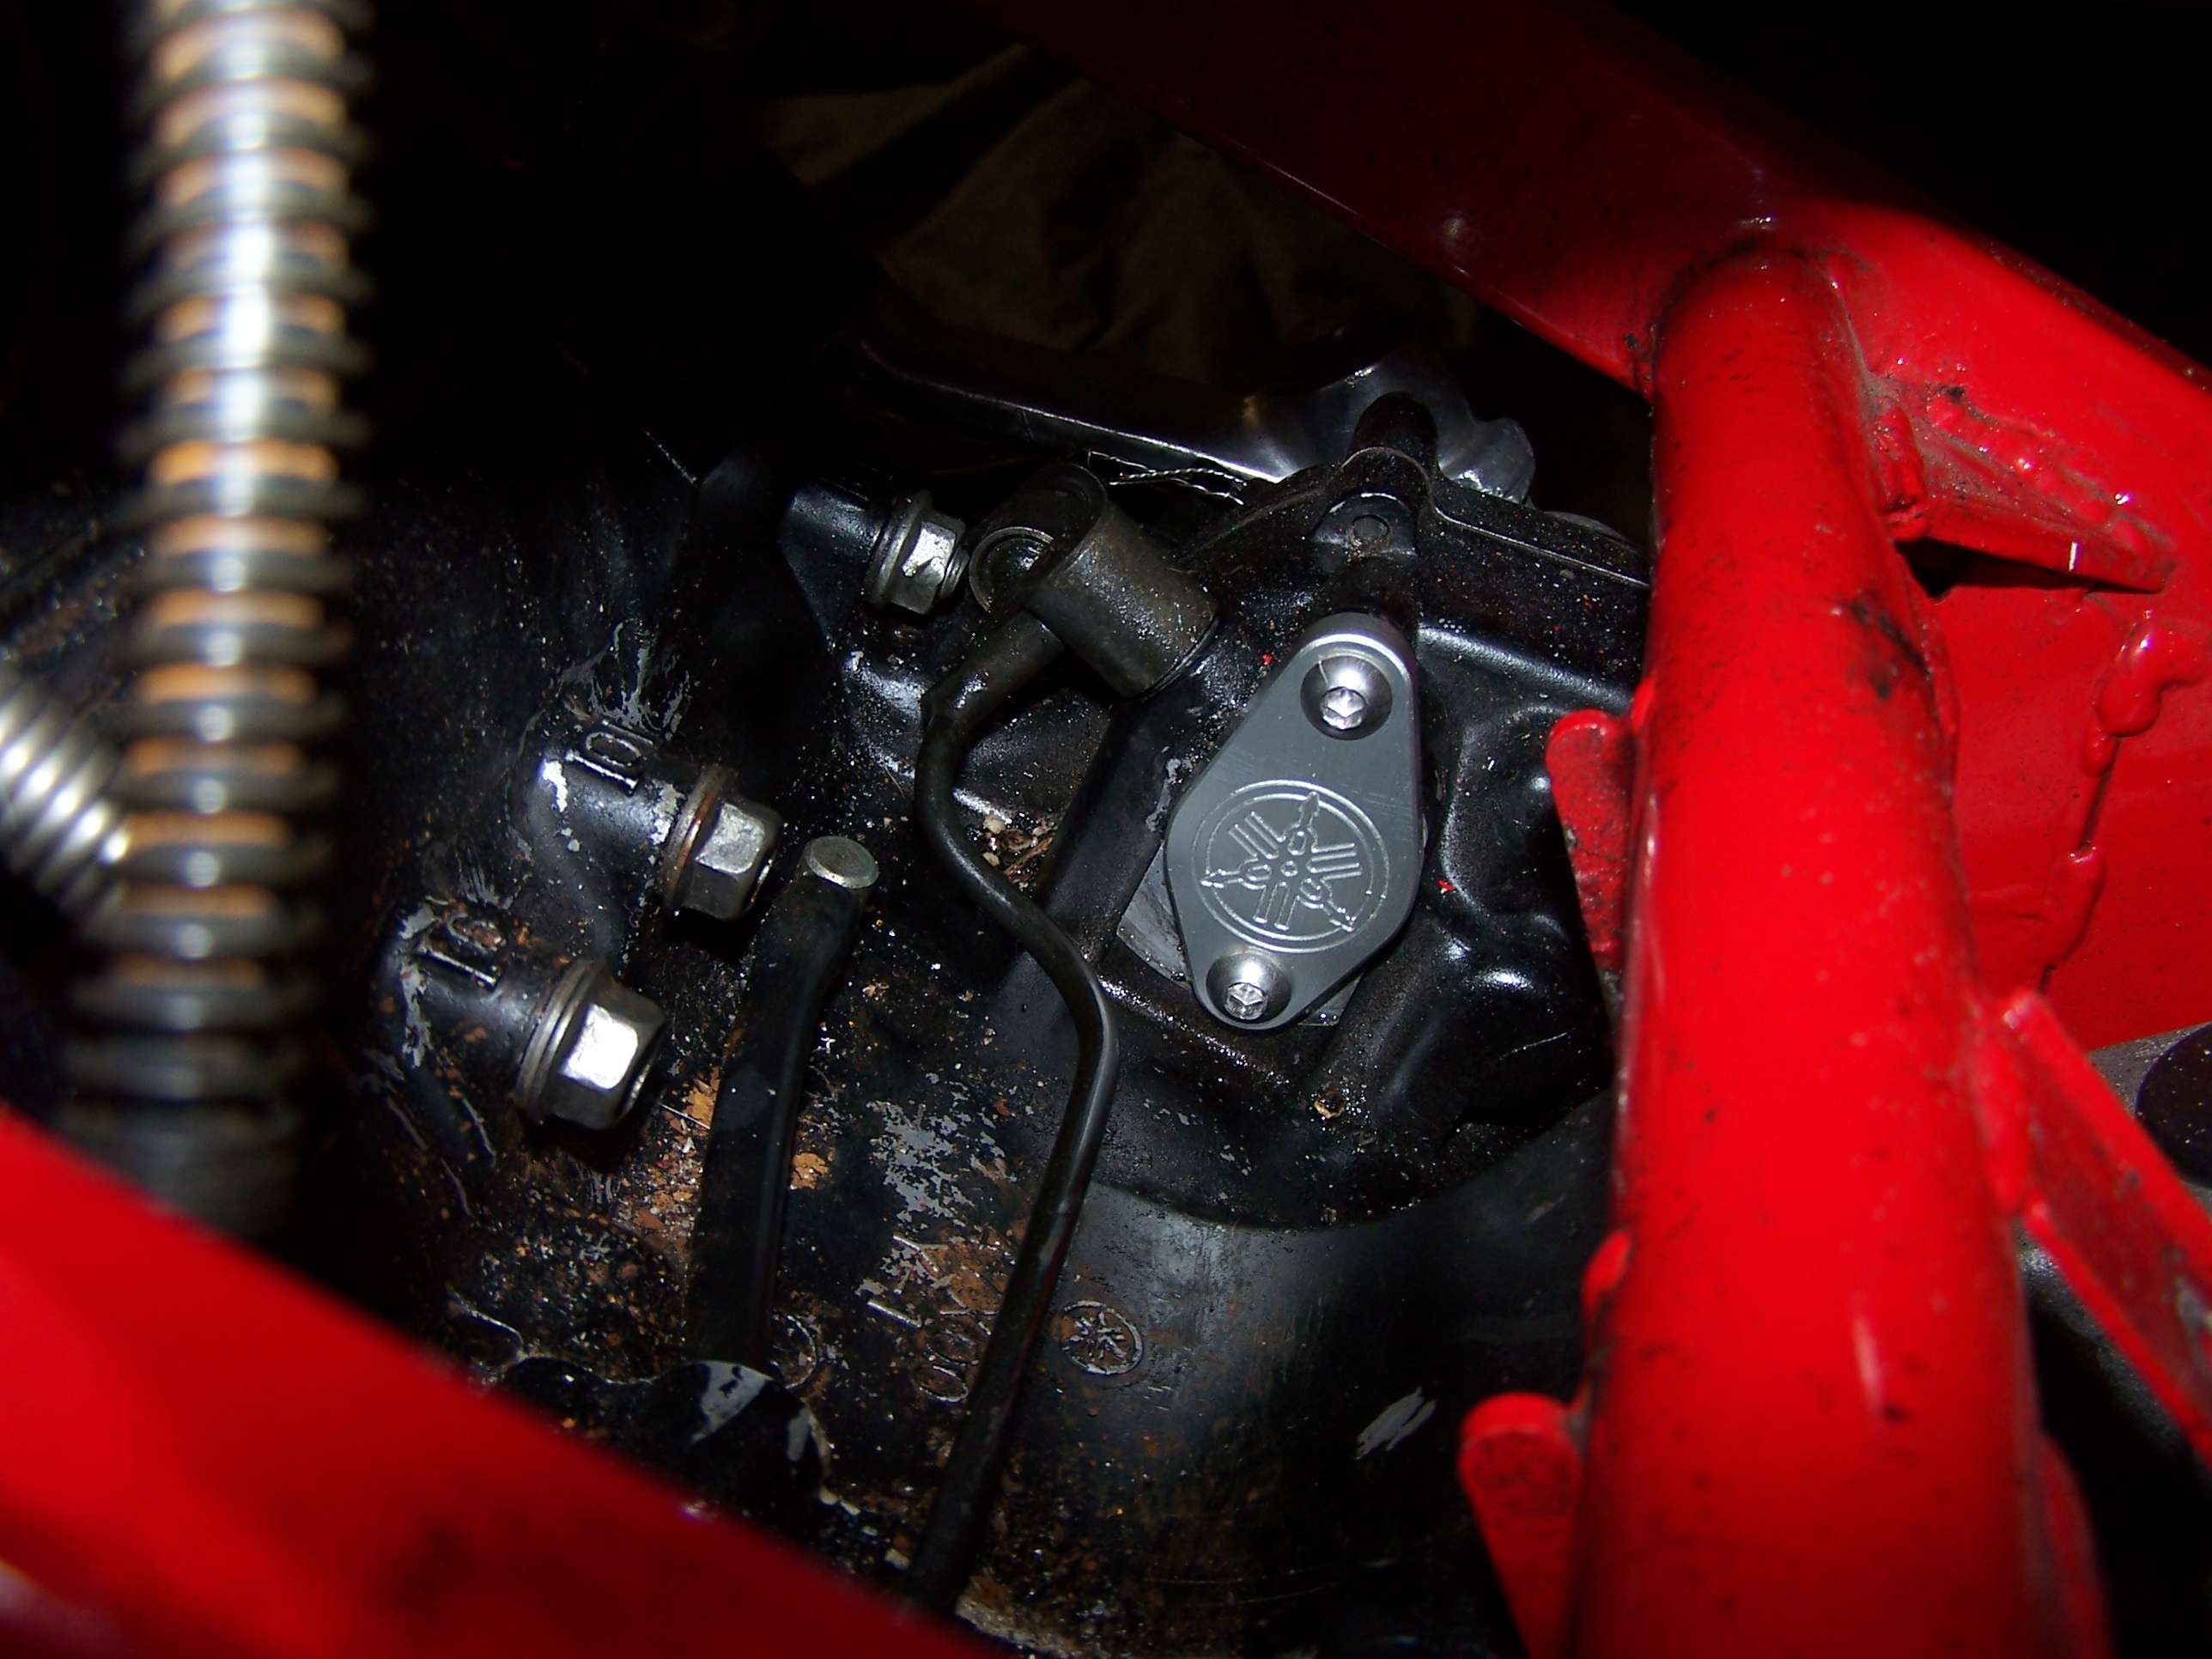
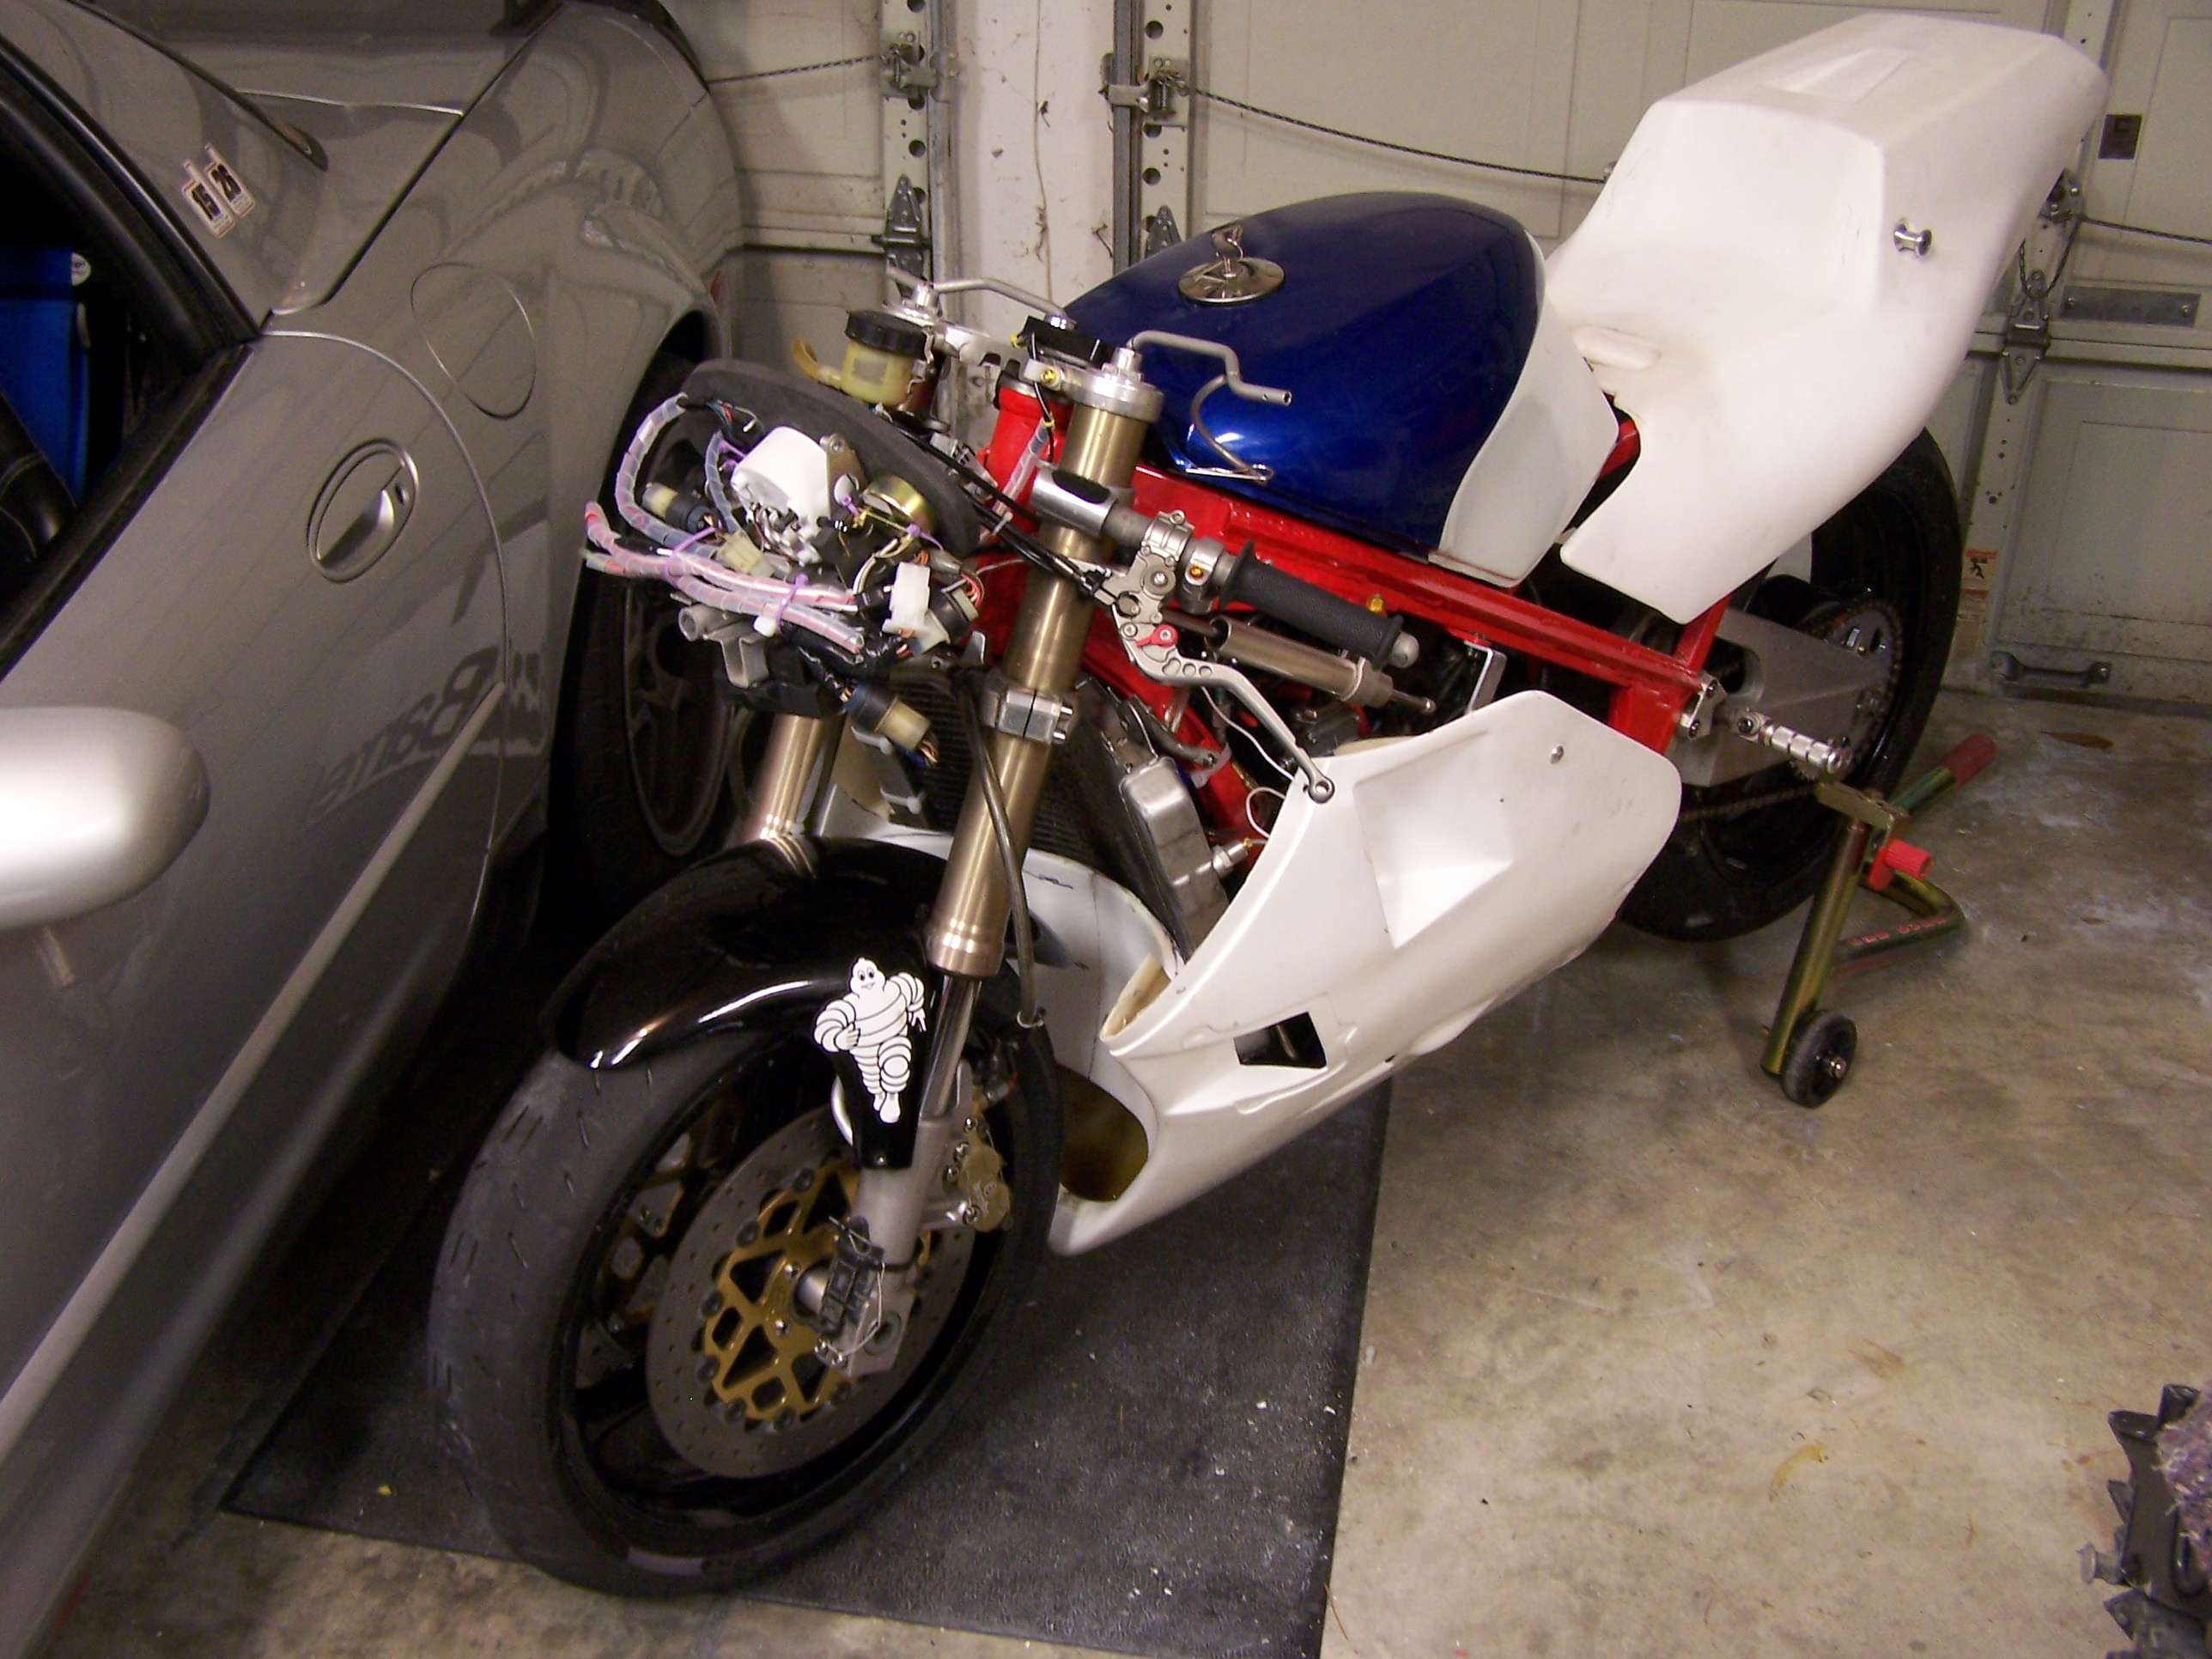
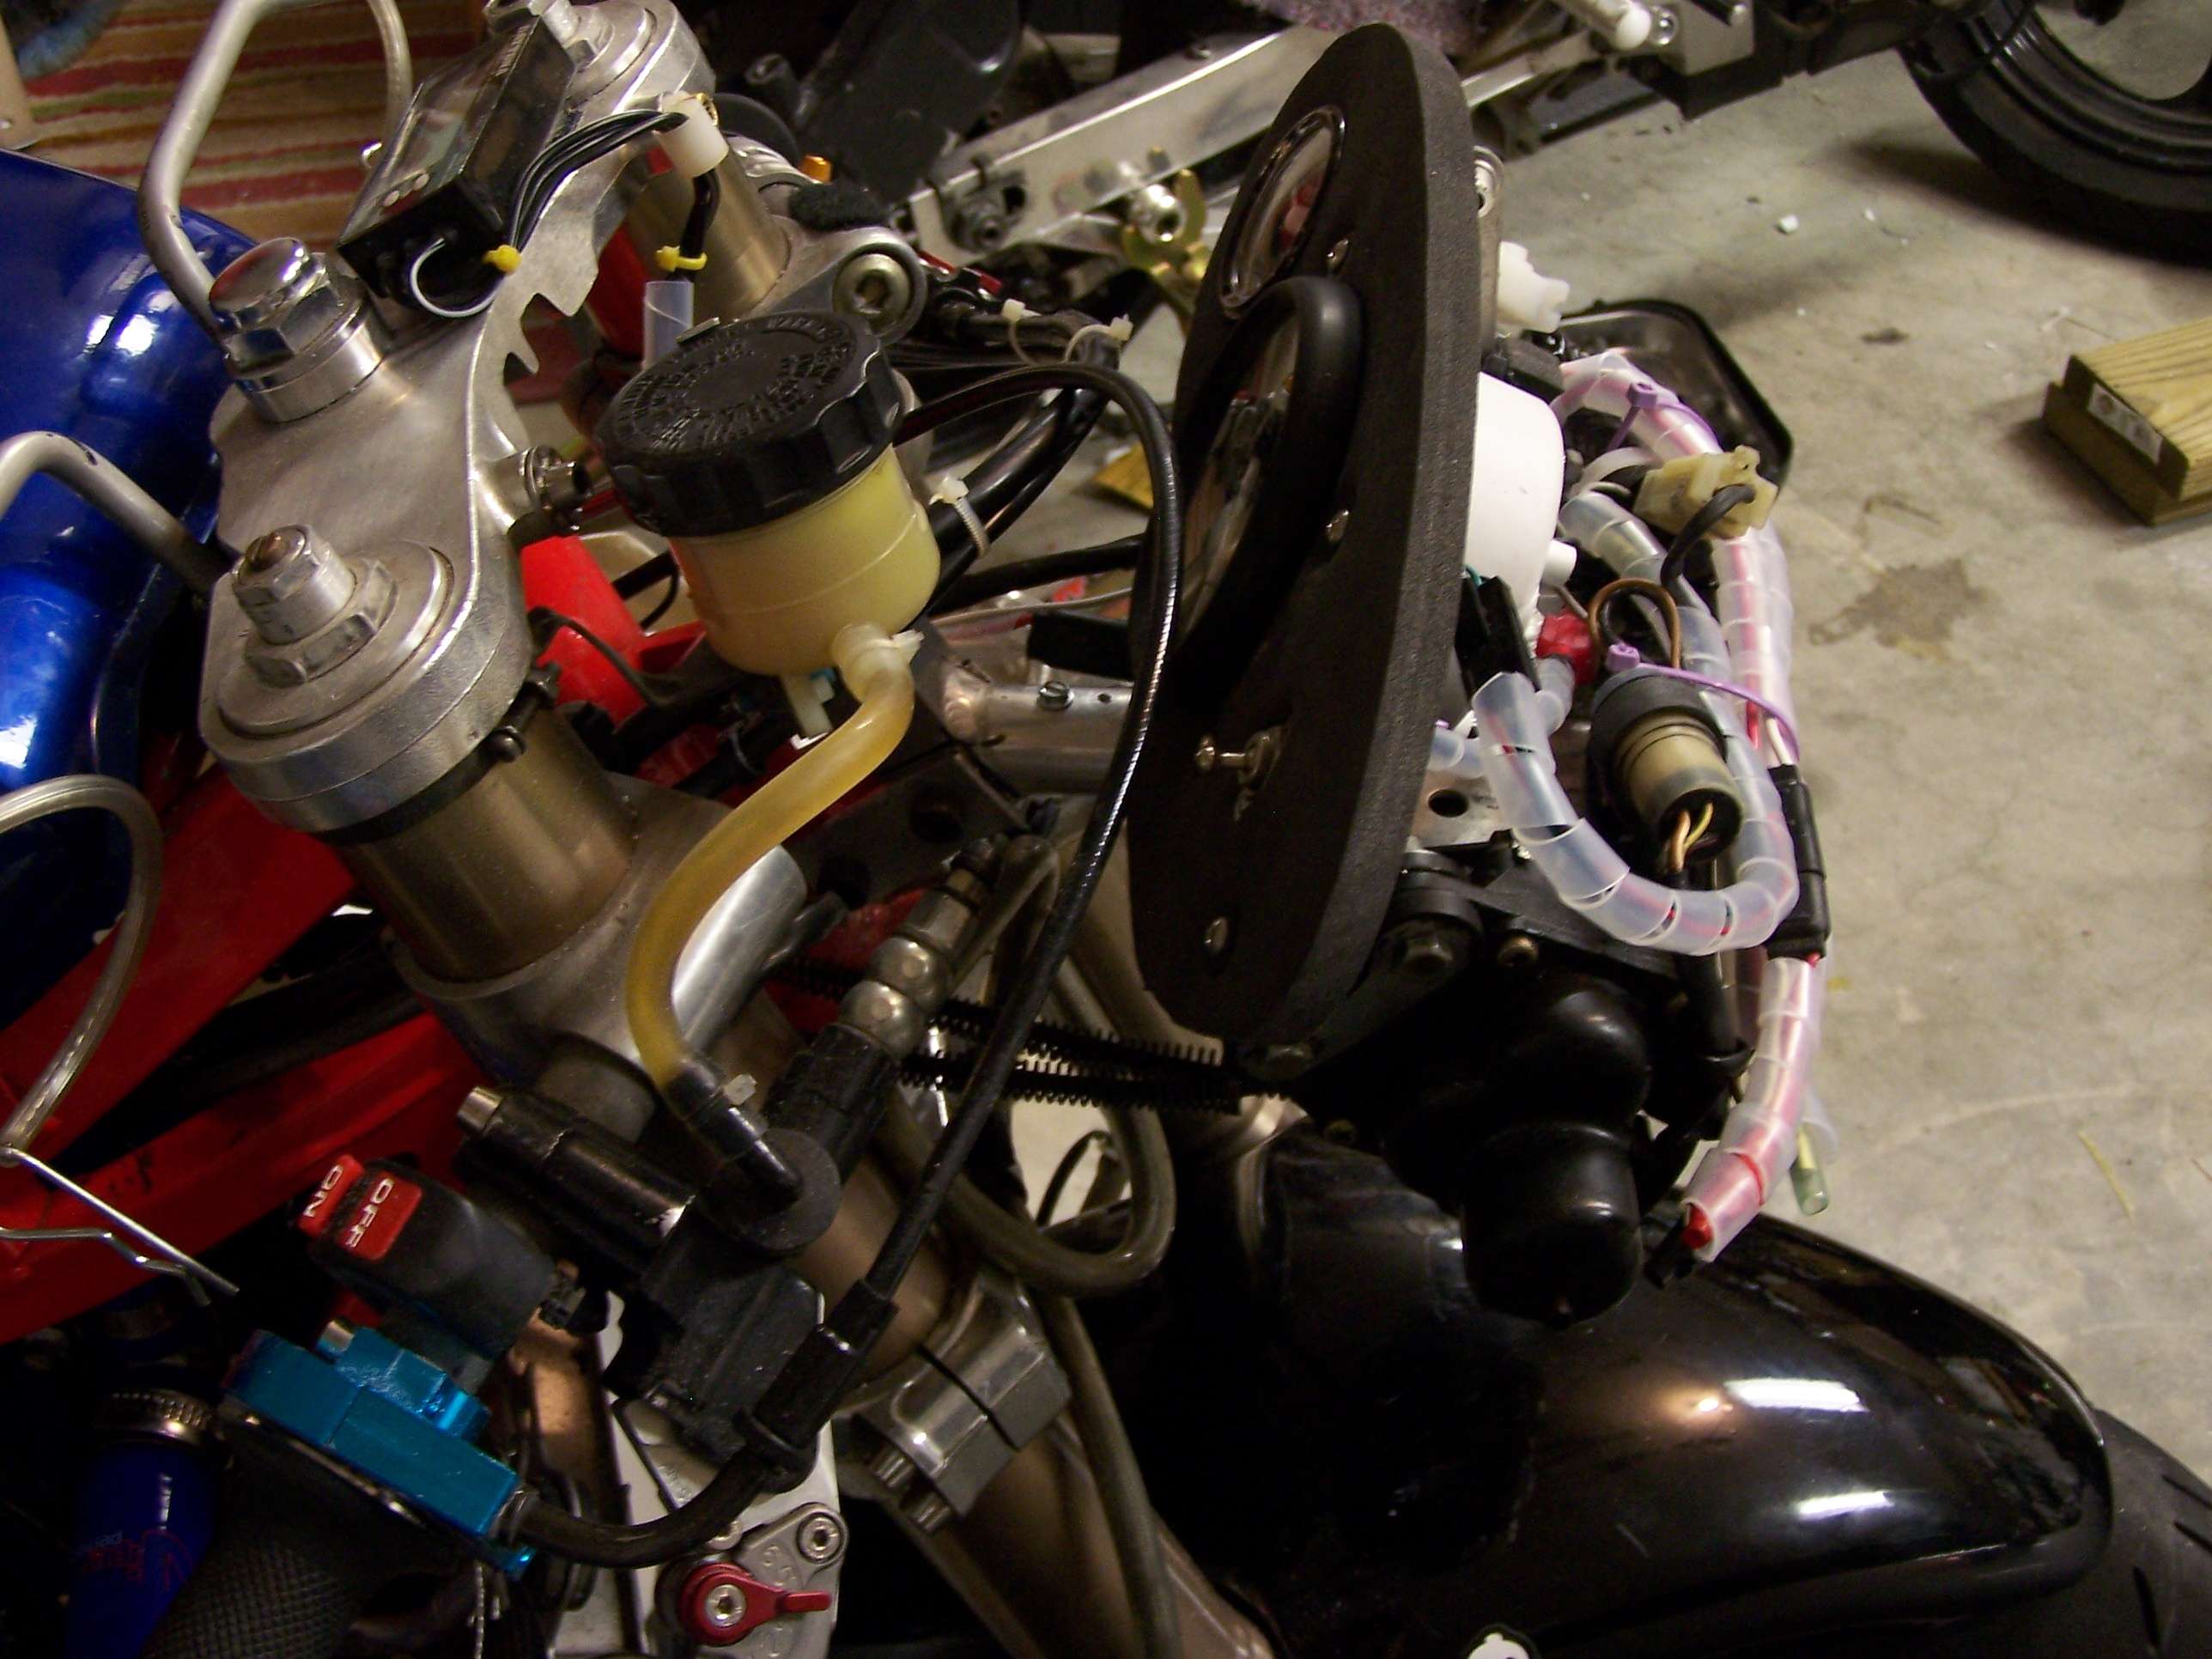
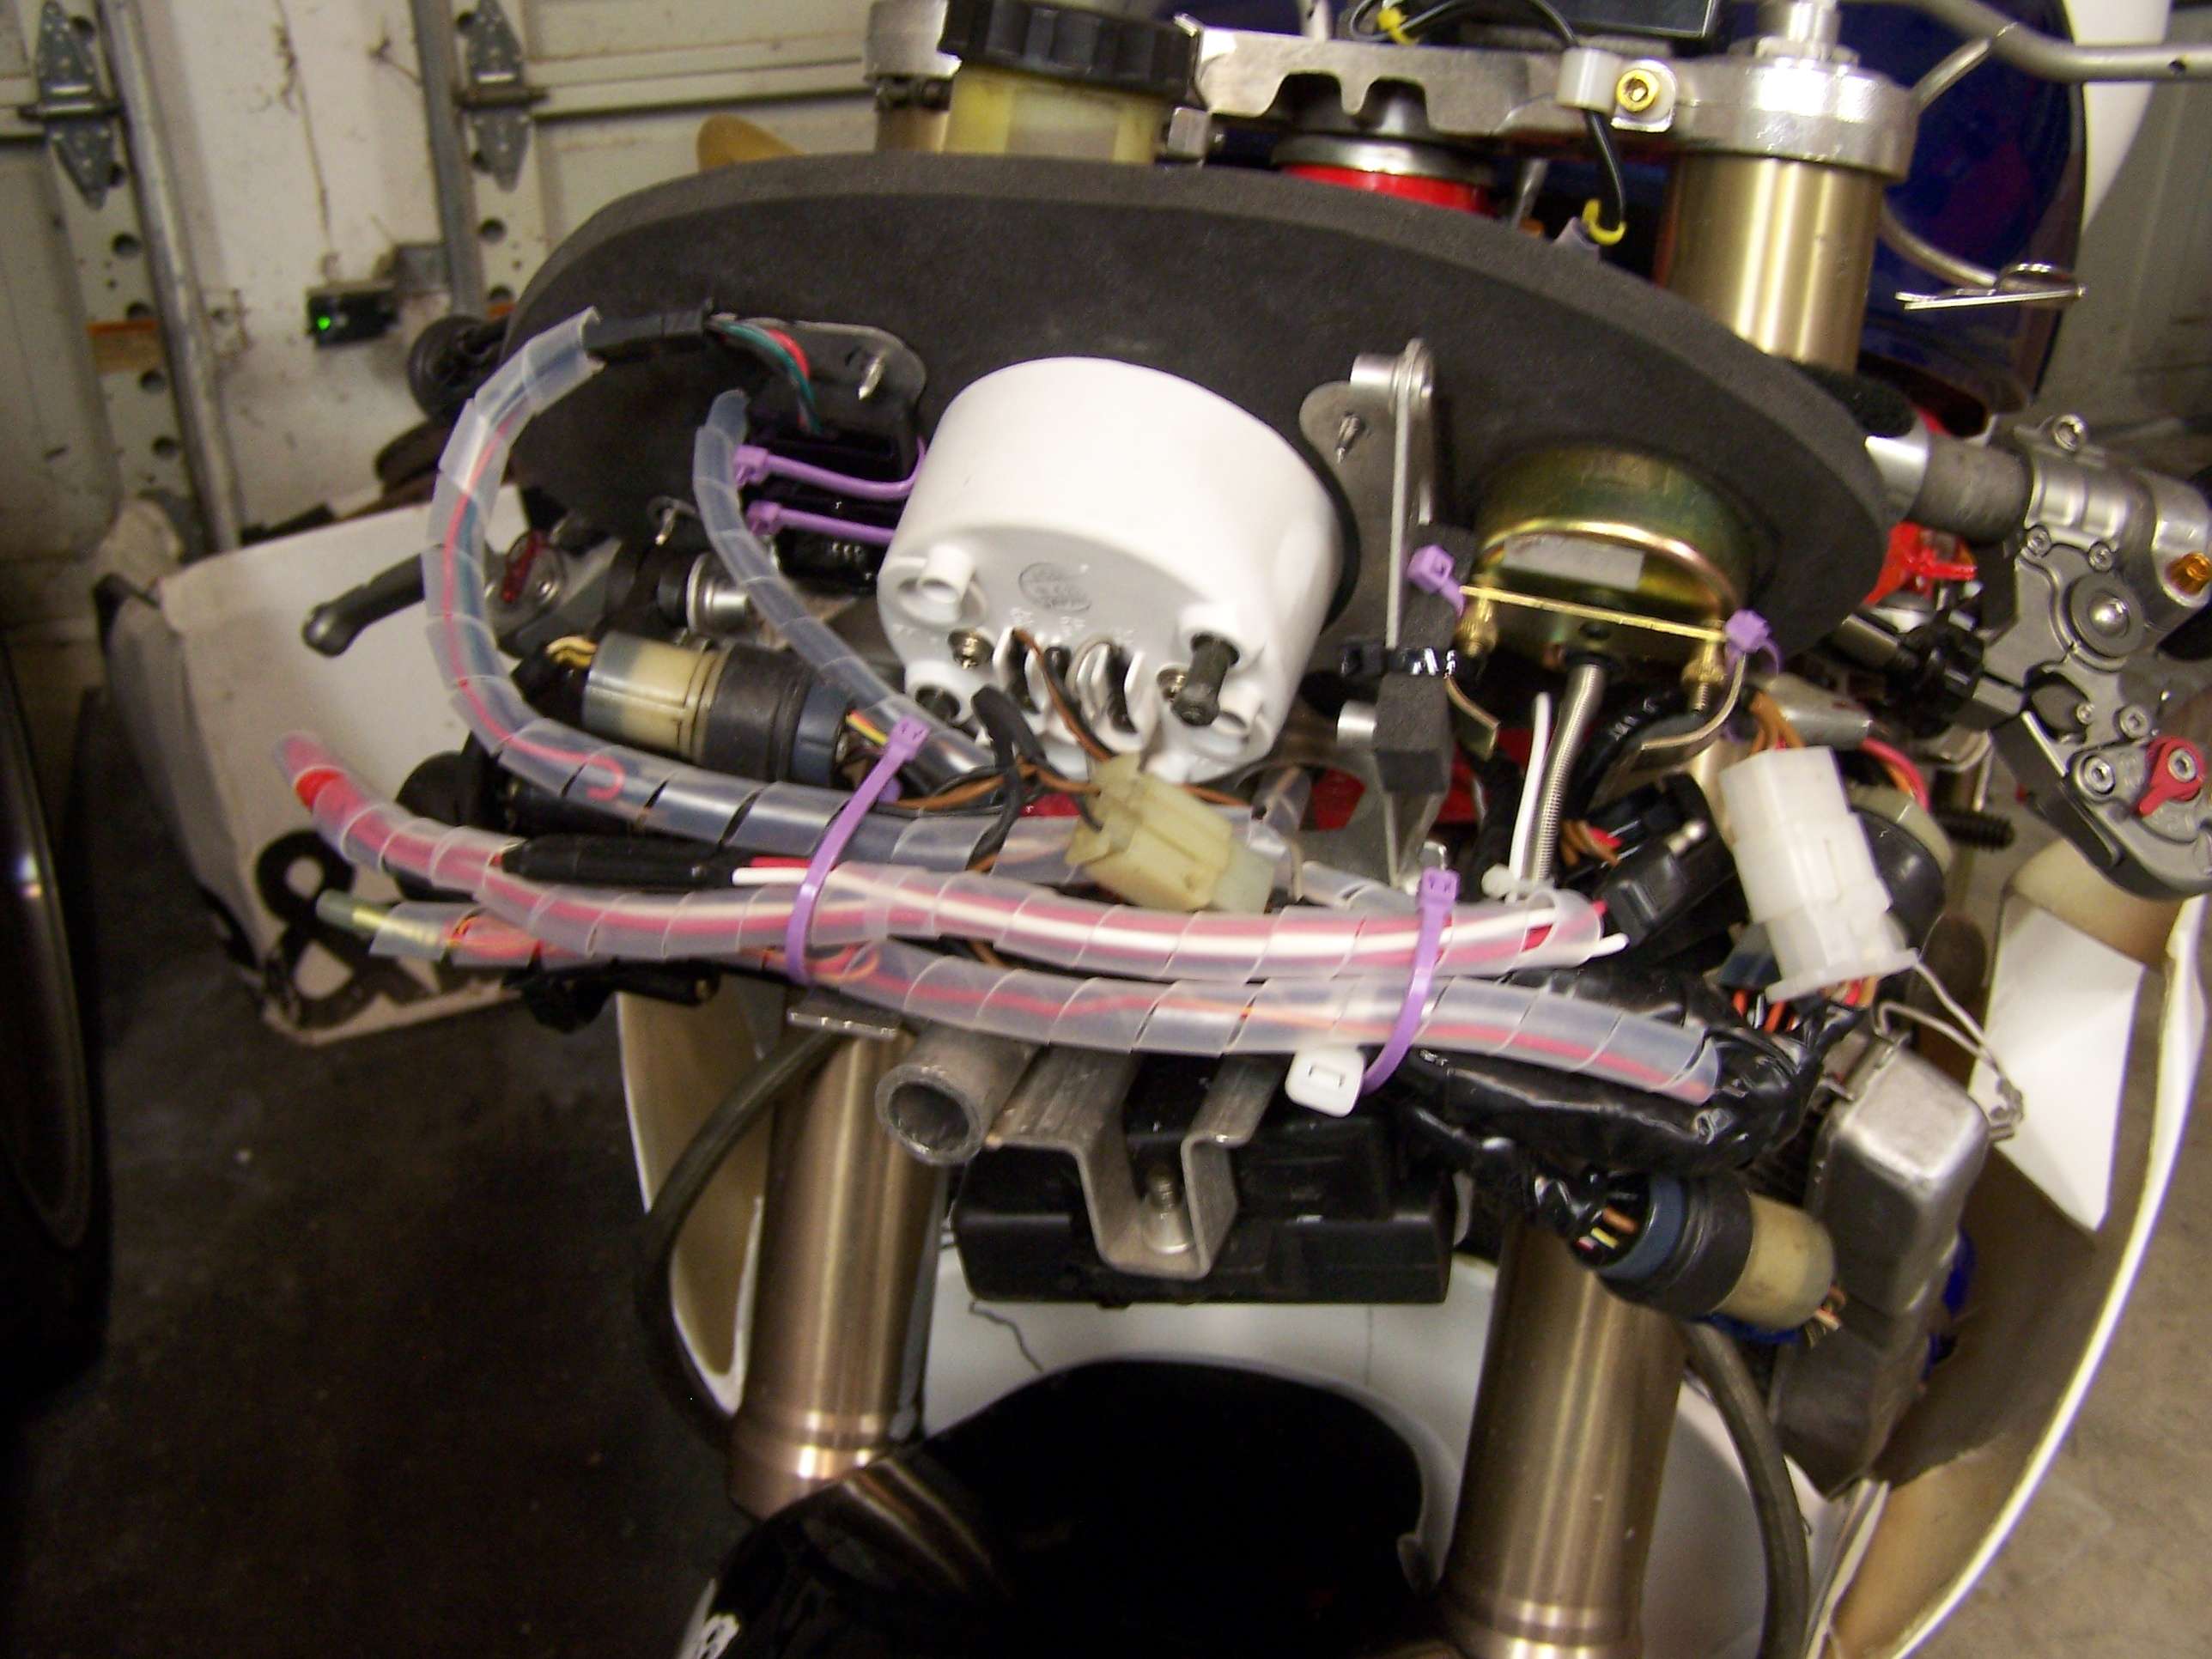
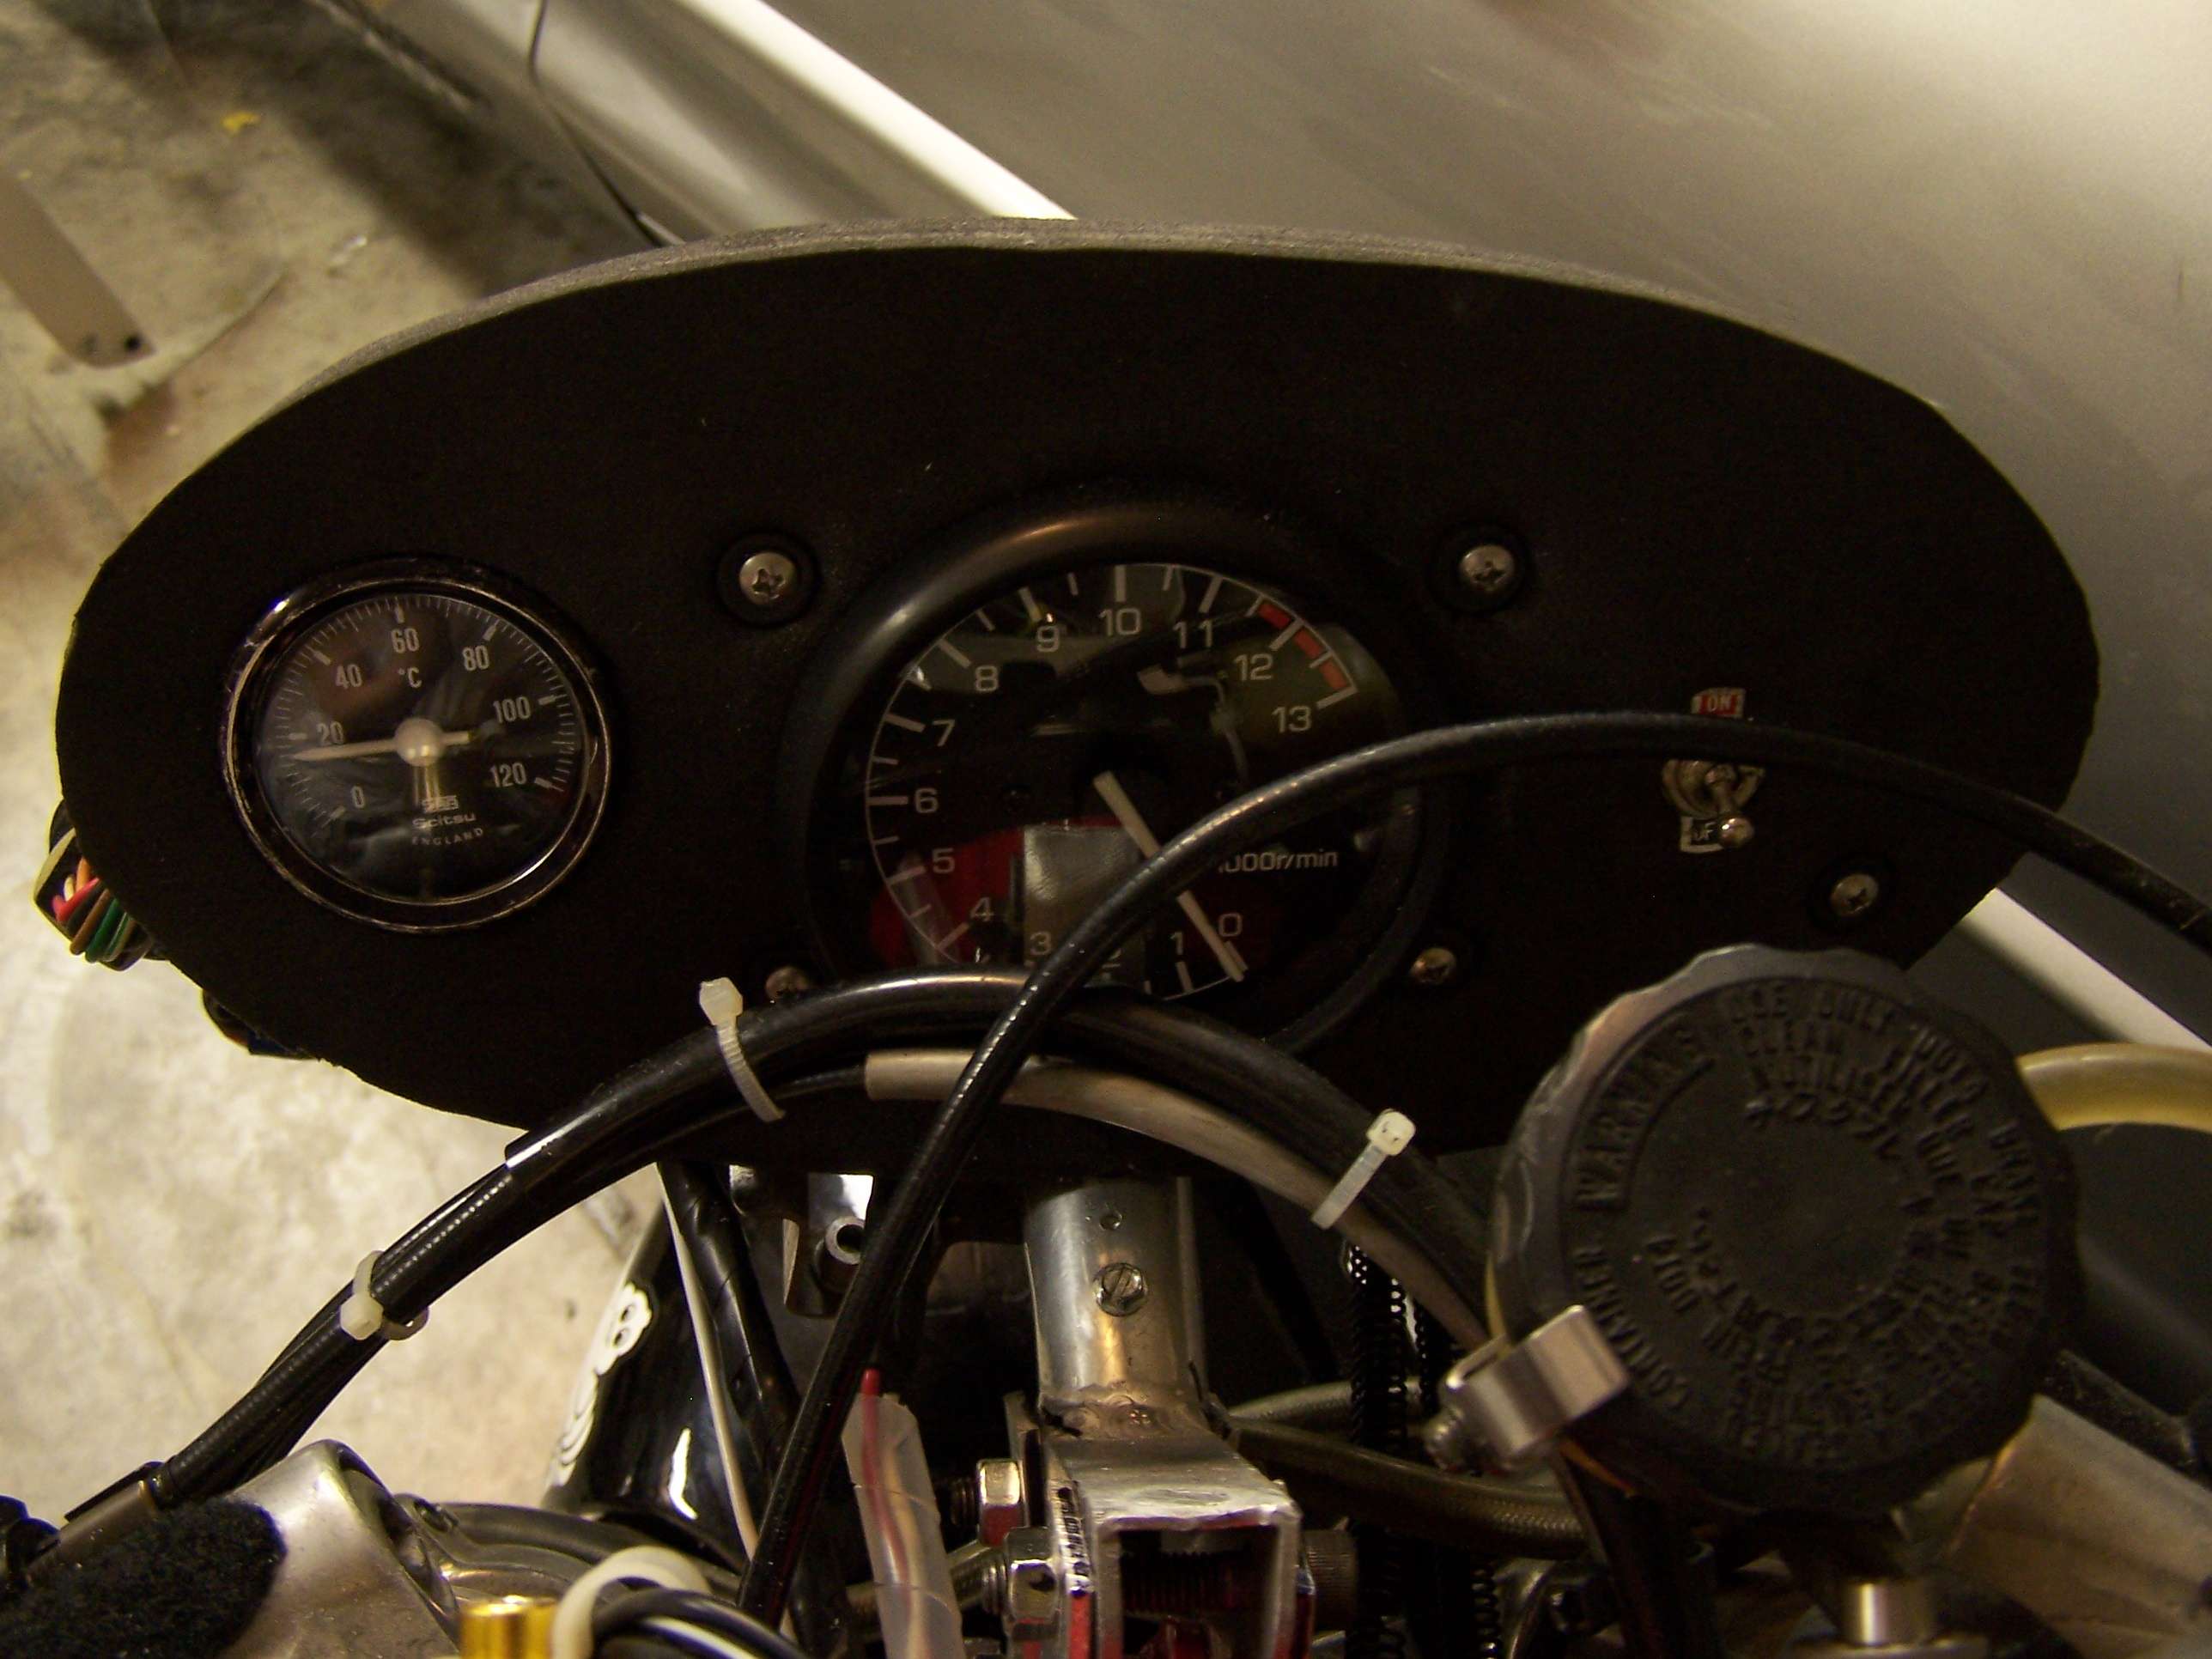
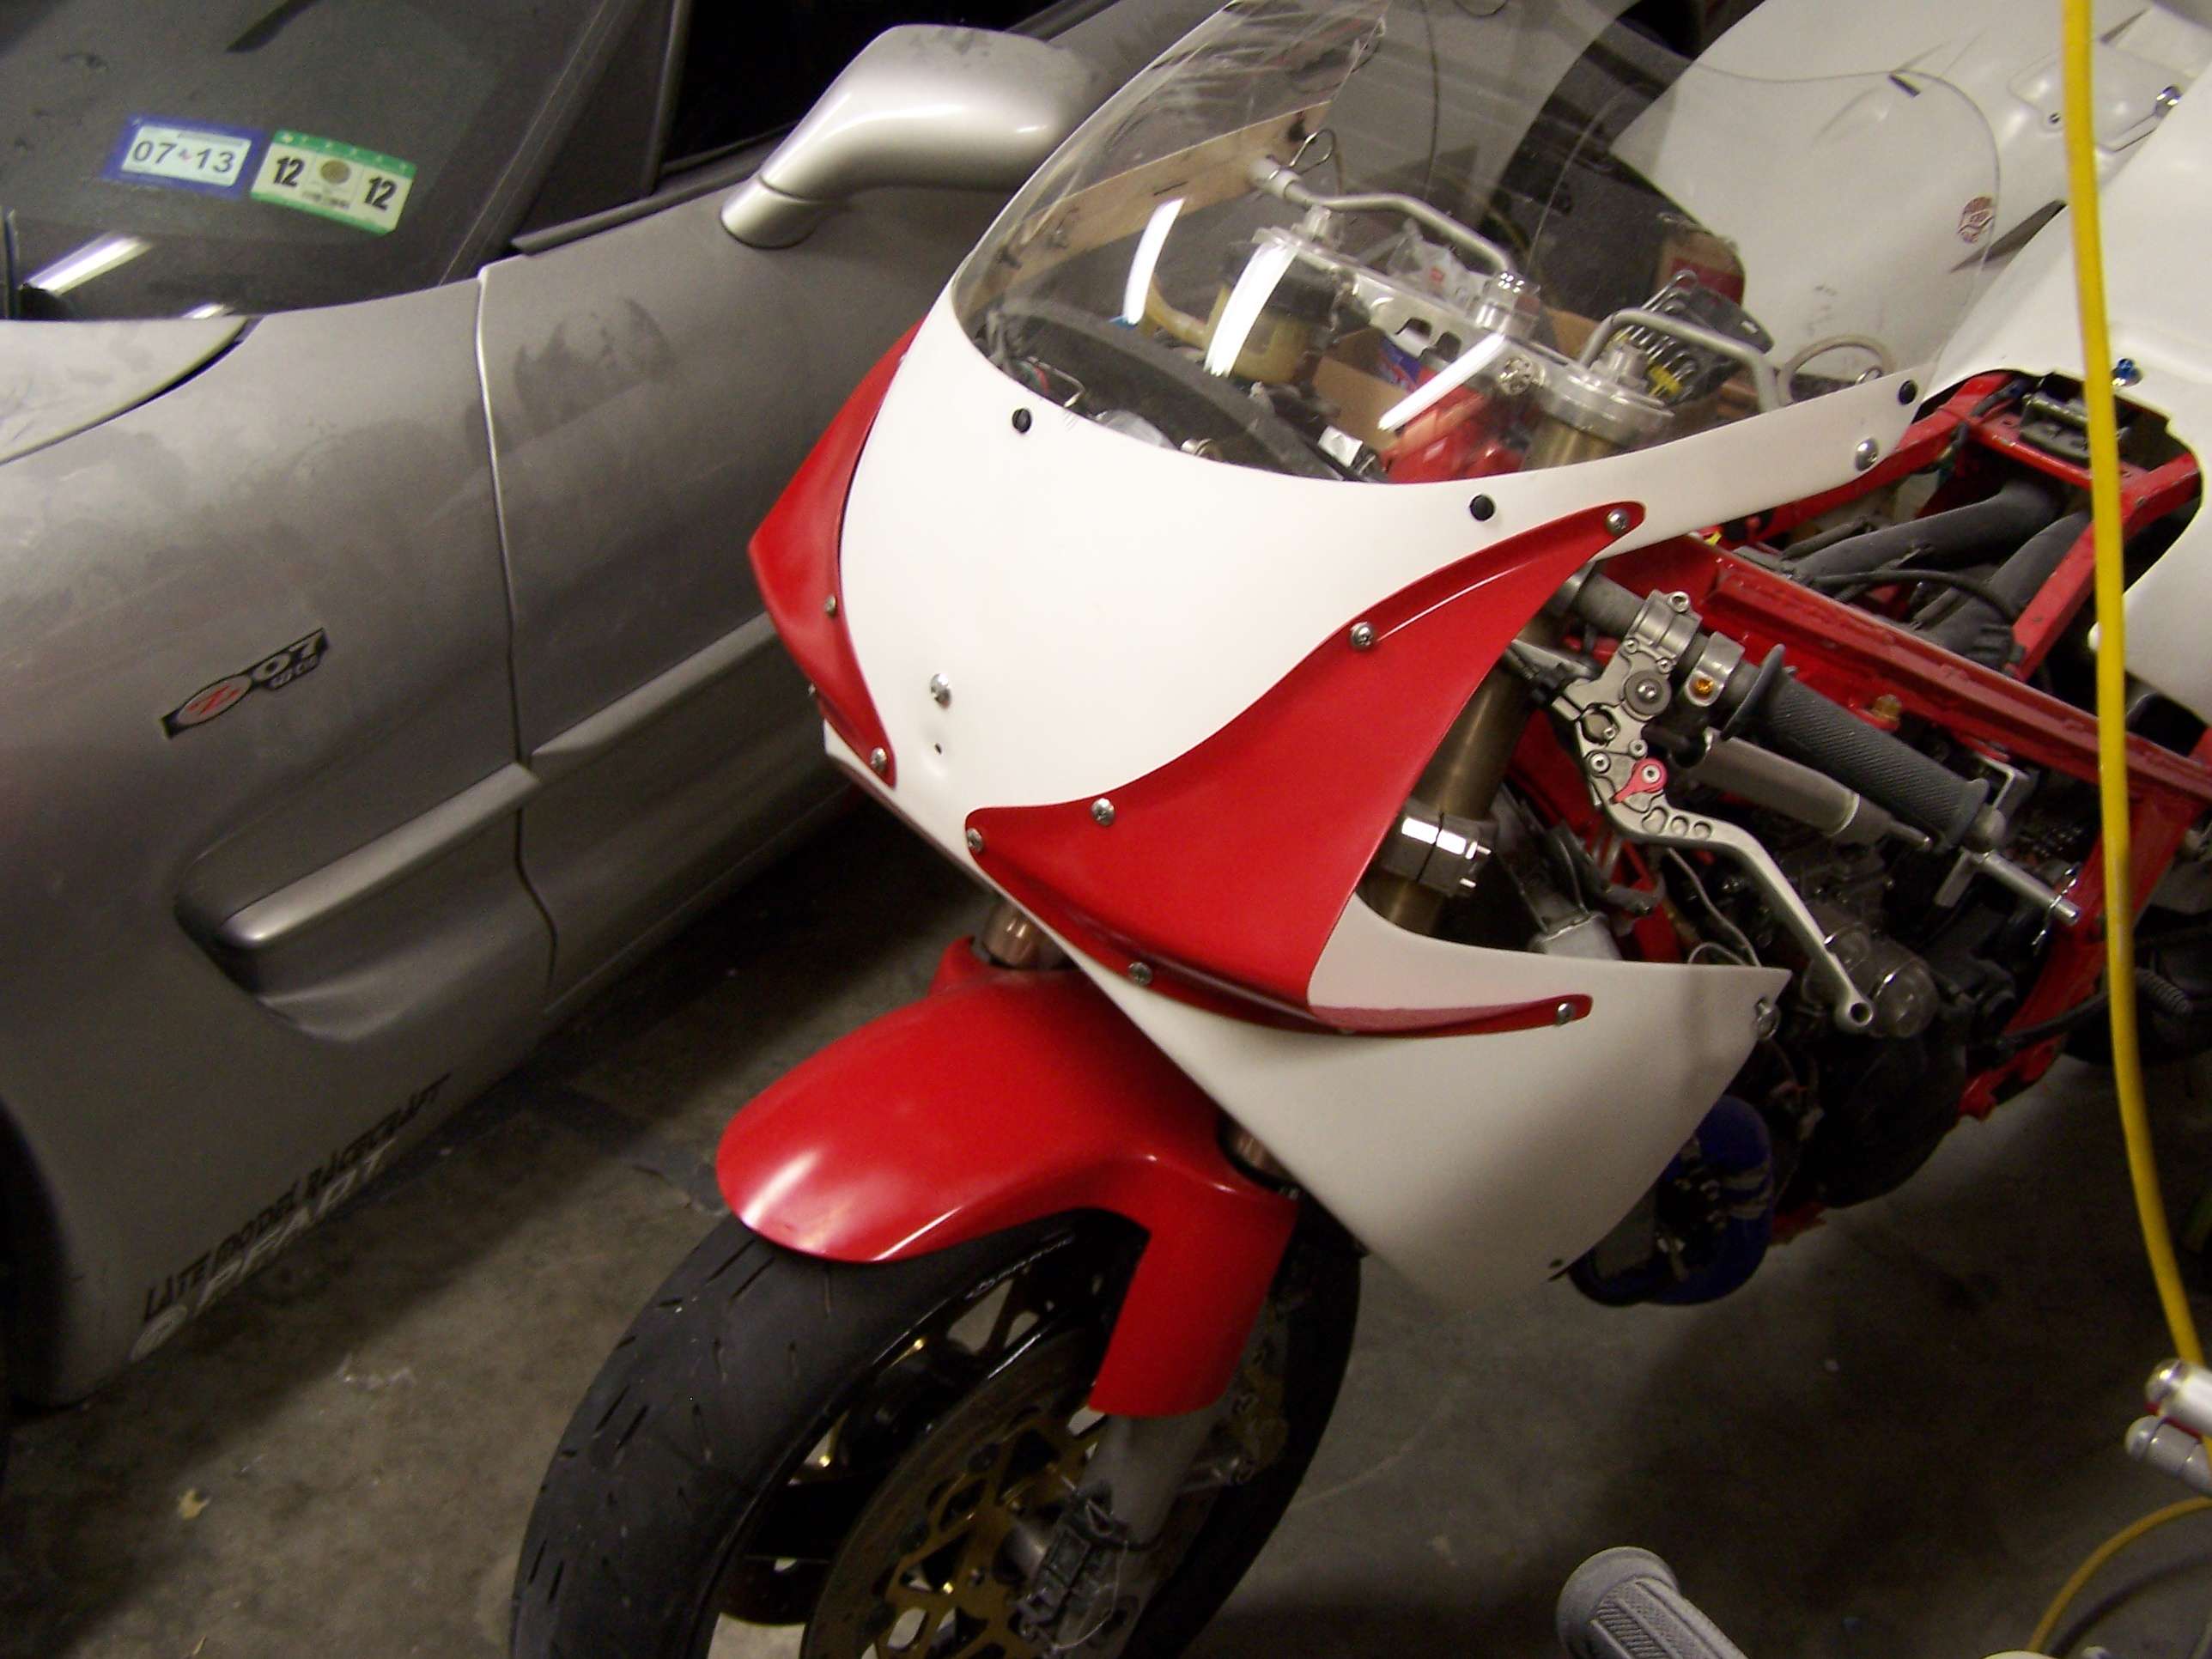
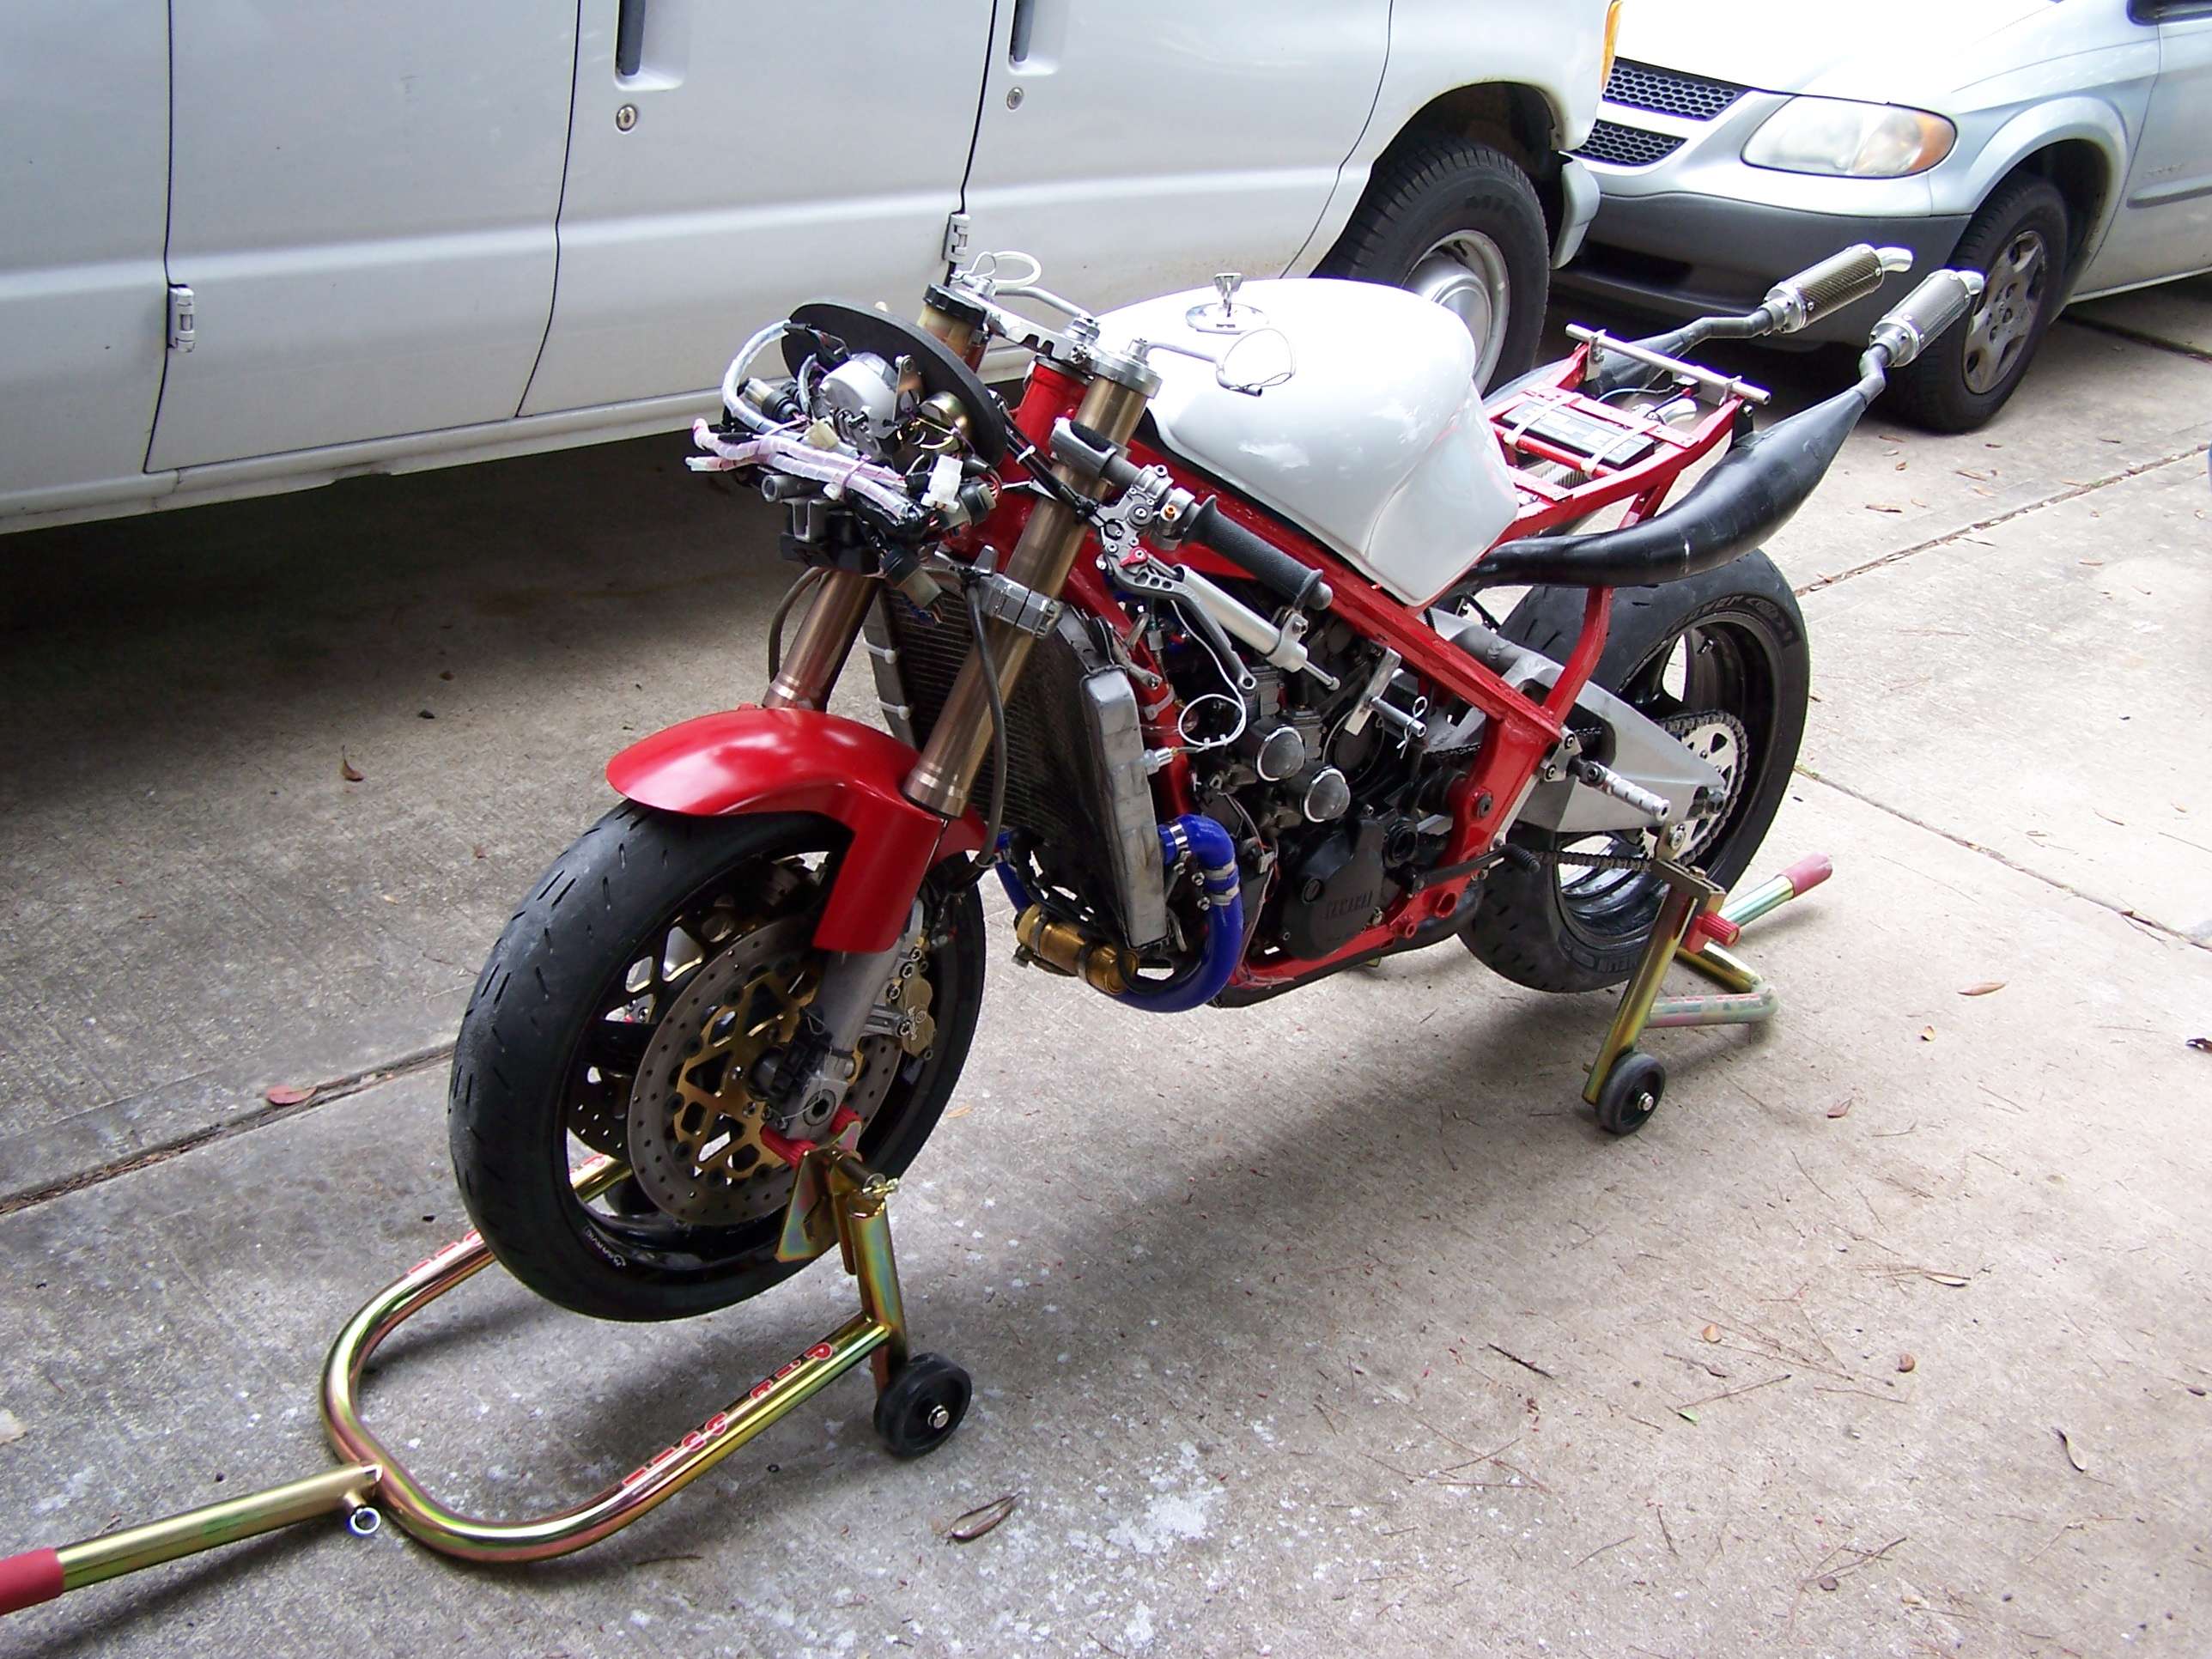
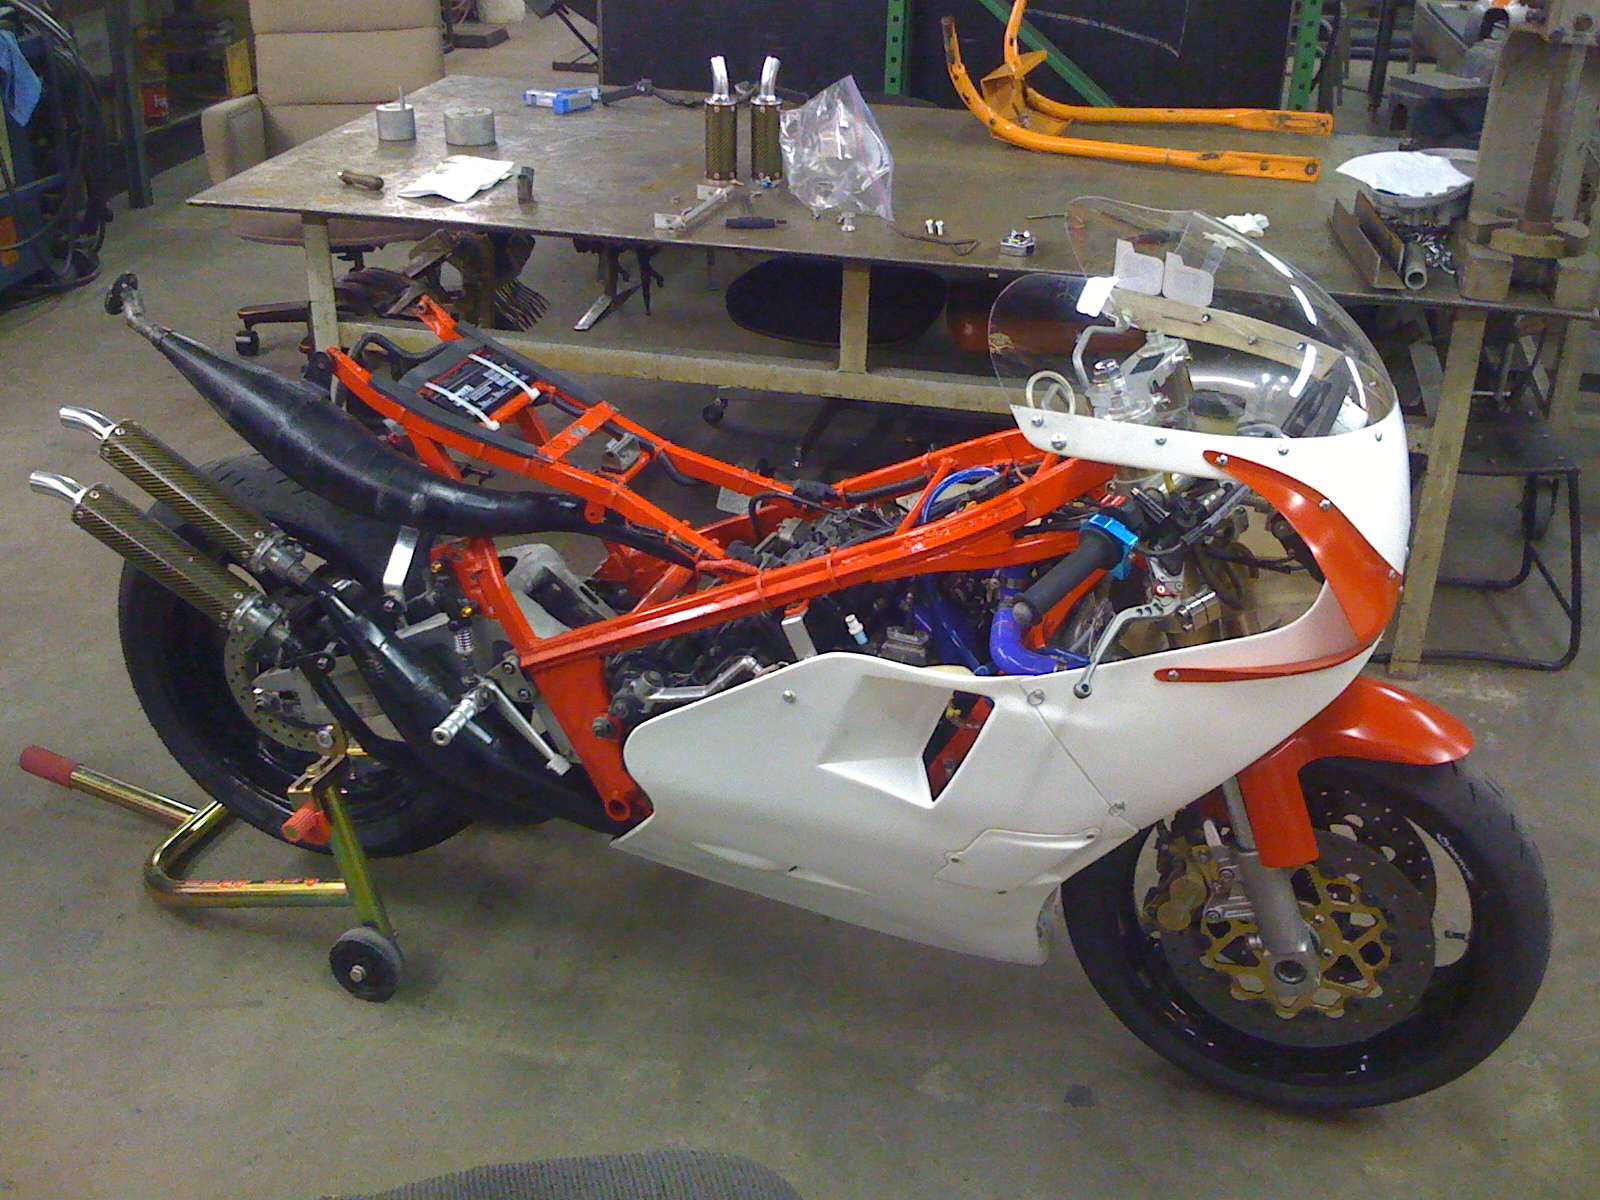
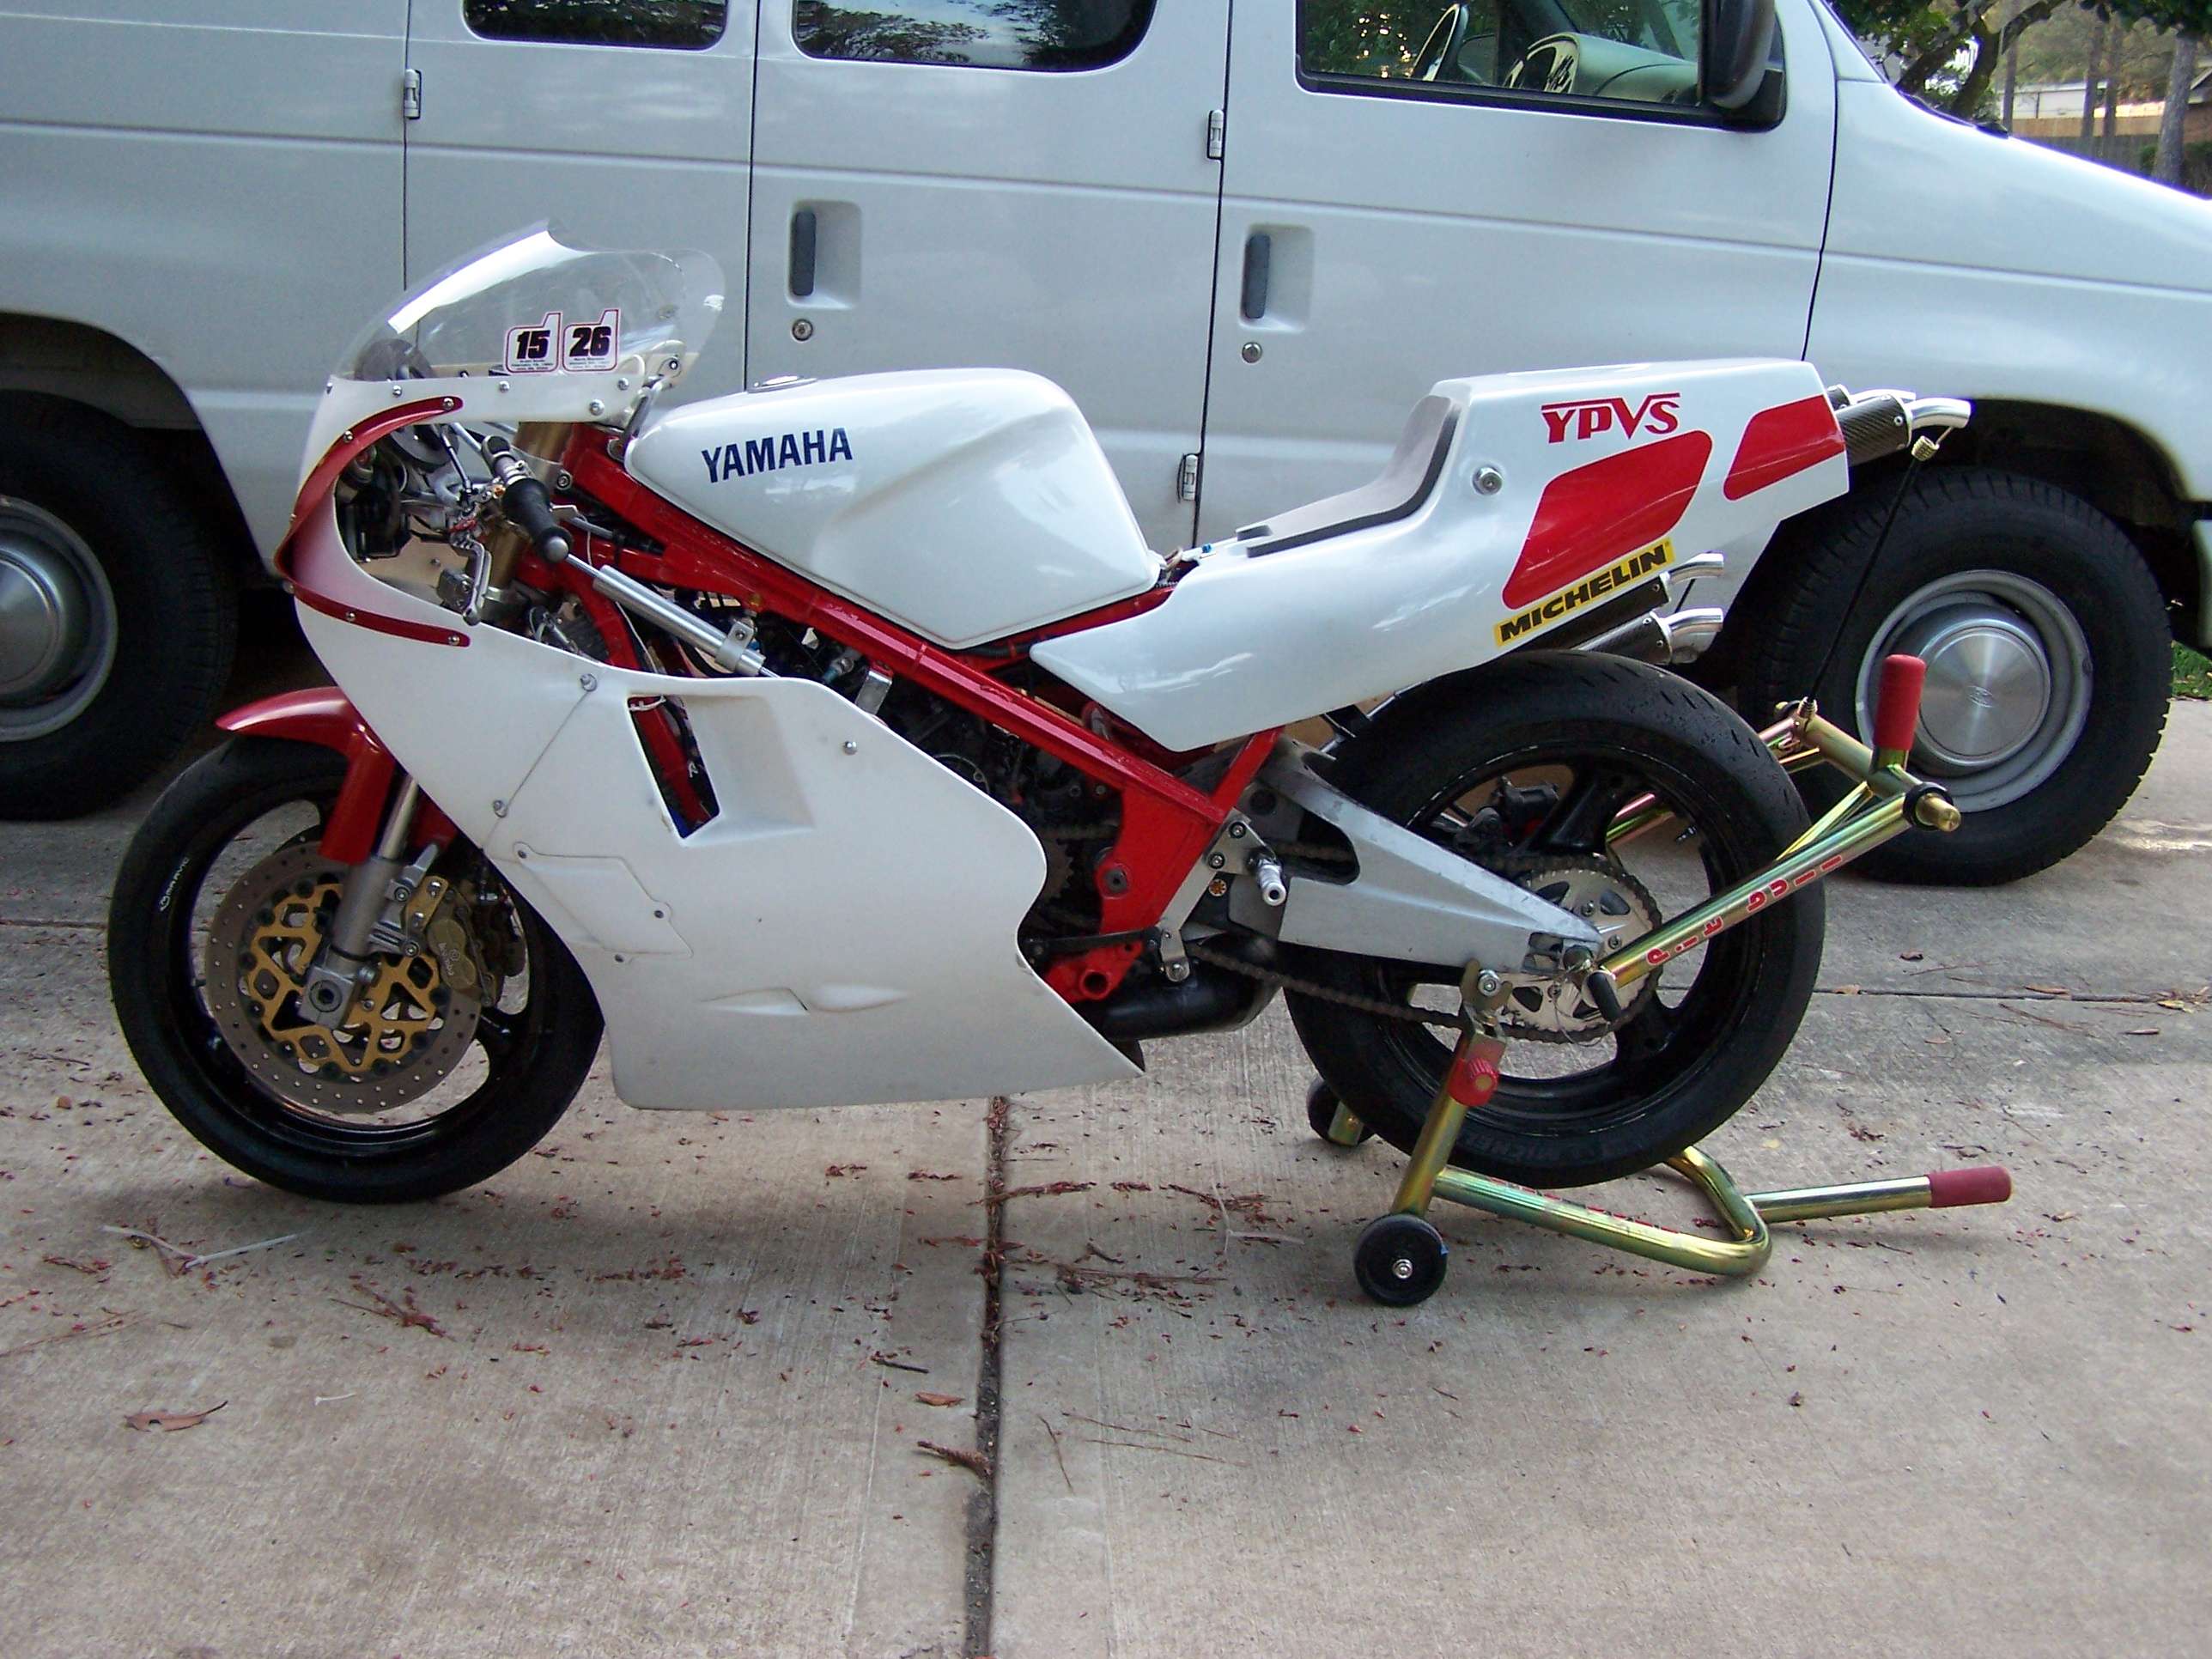
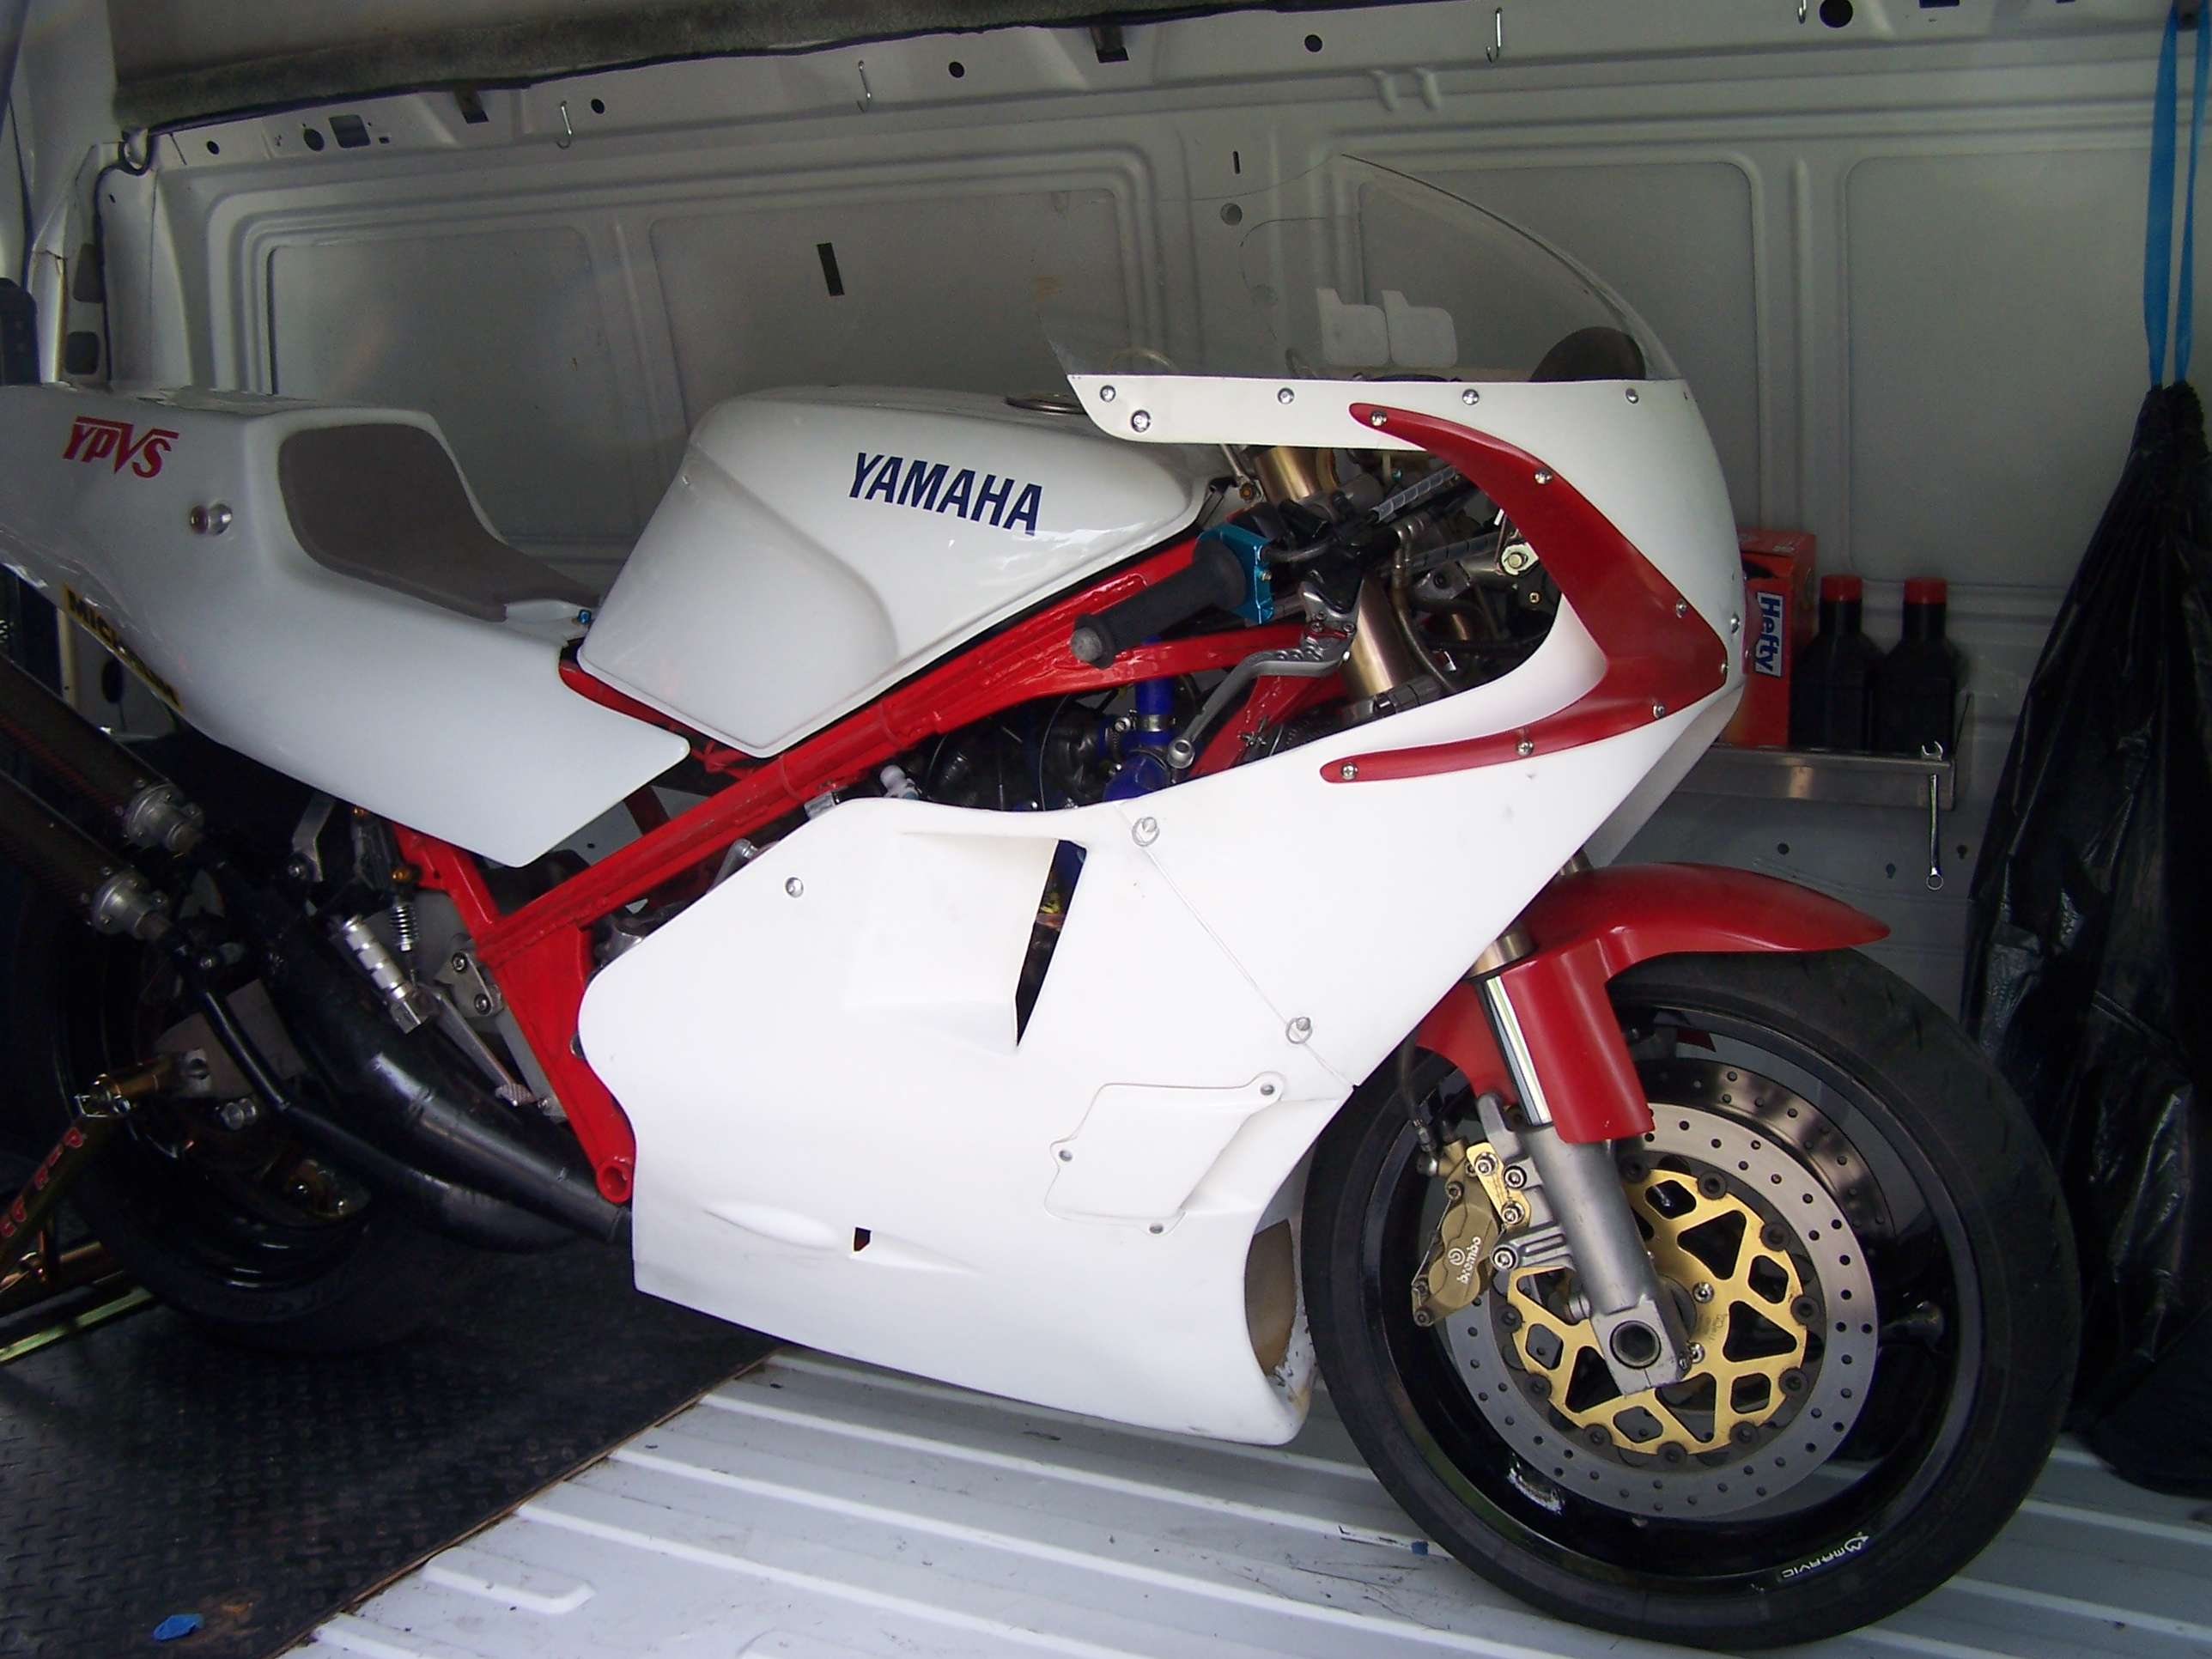
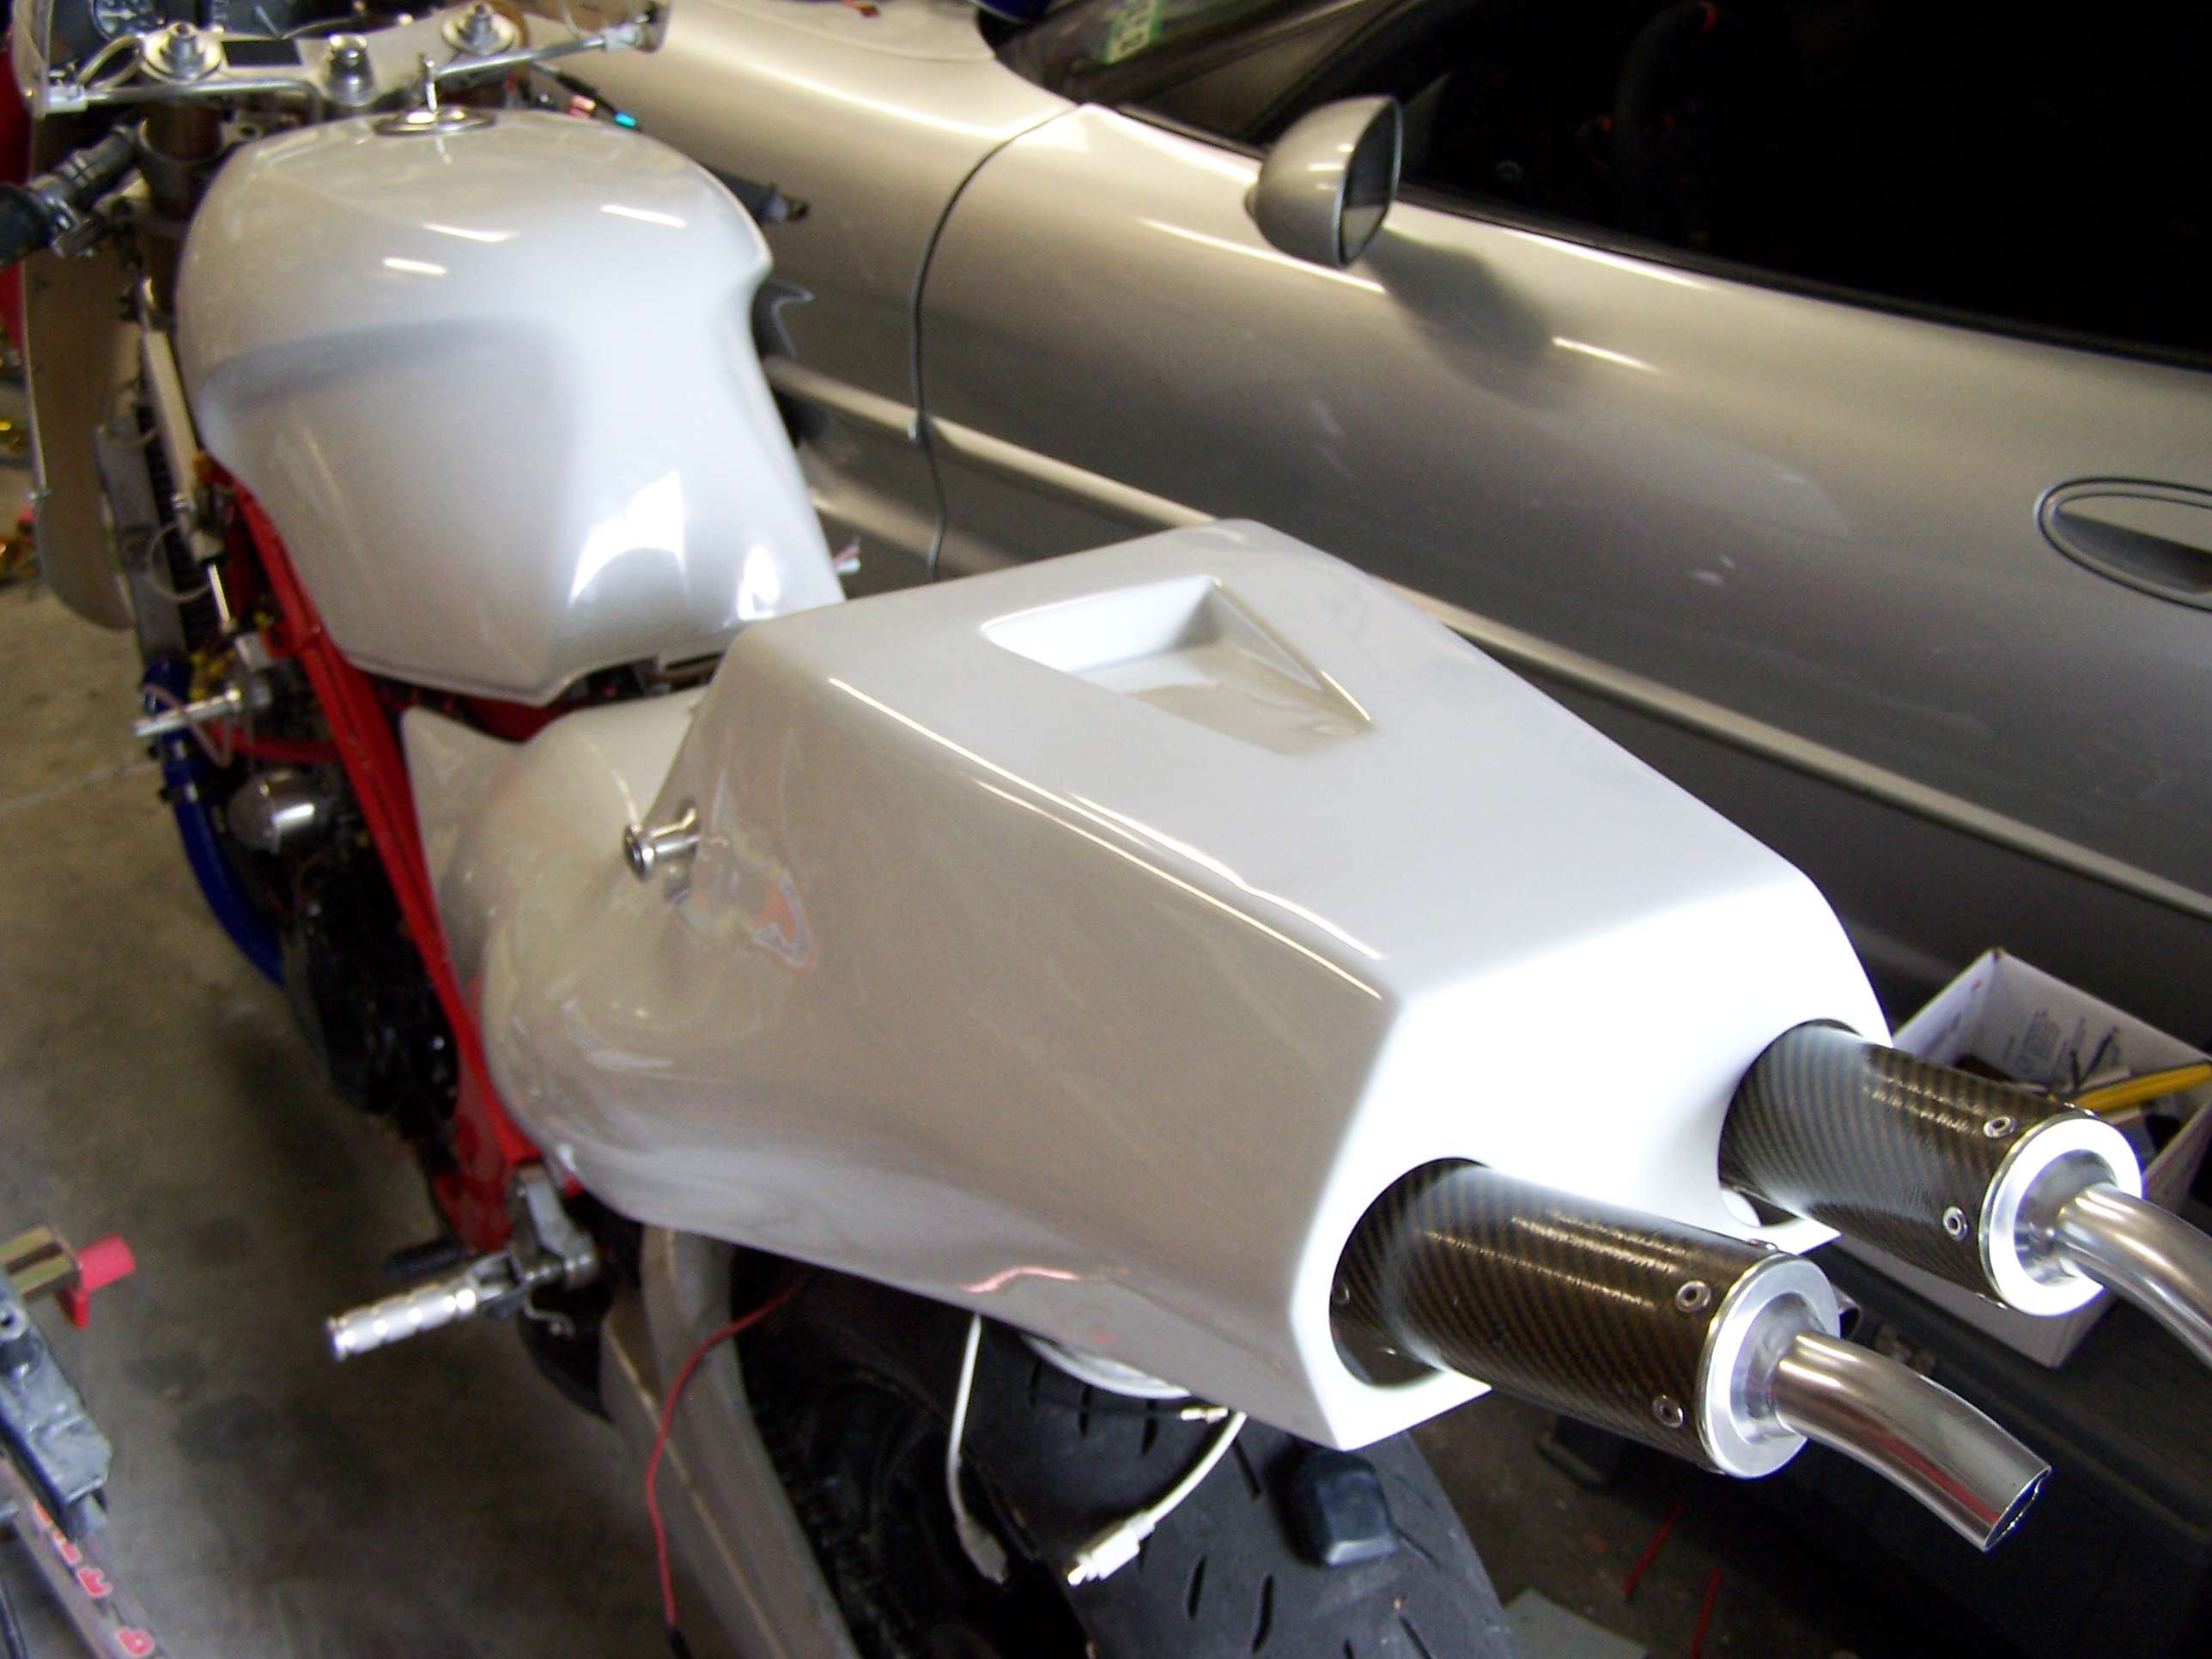
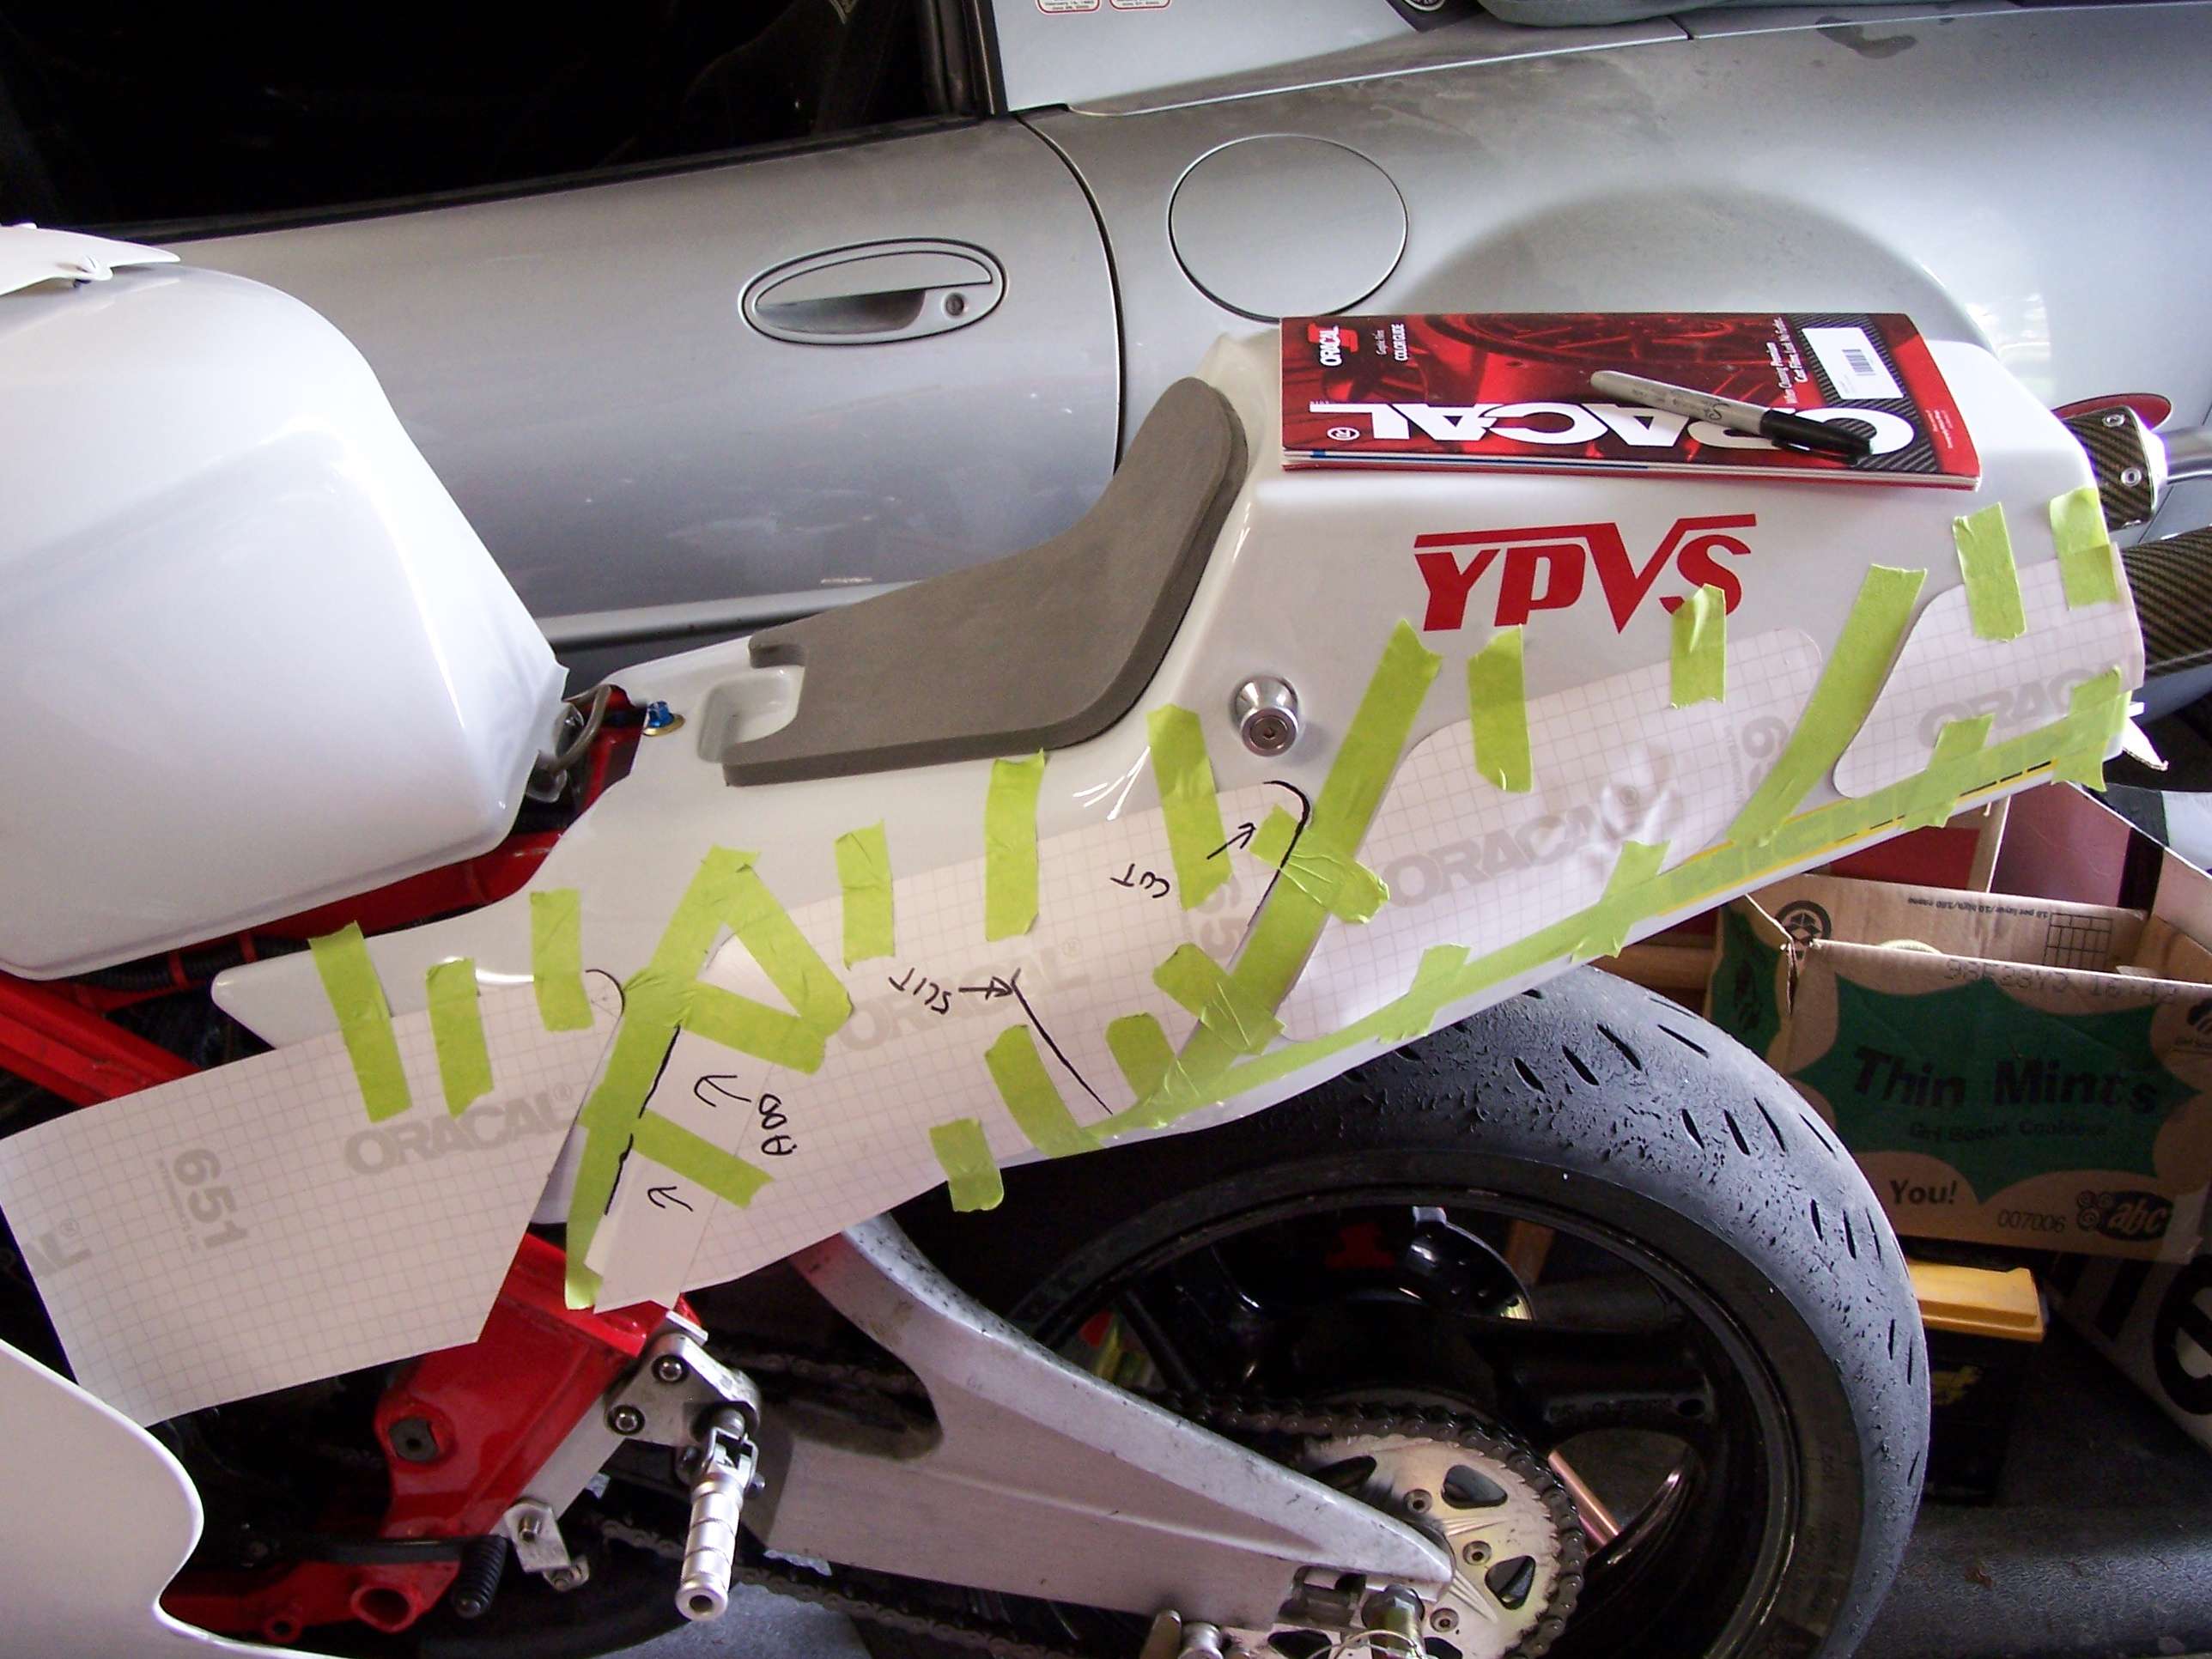
Now its time to assembled the bits and pieces to get the RZV frame up to speed.
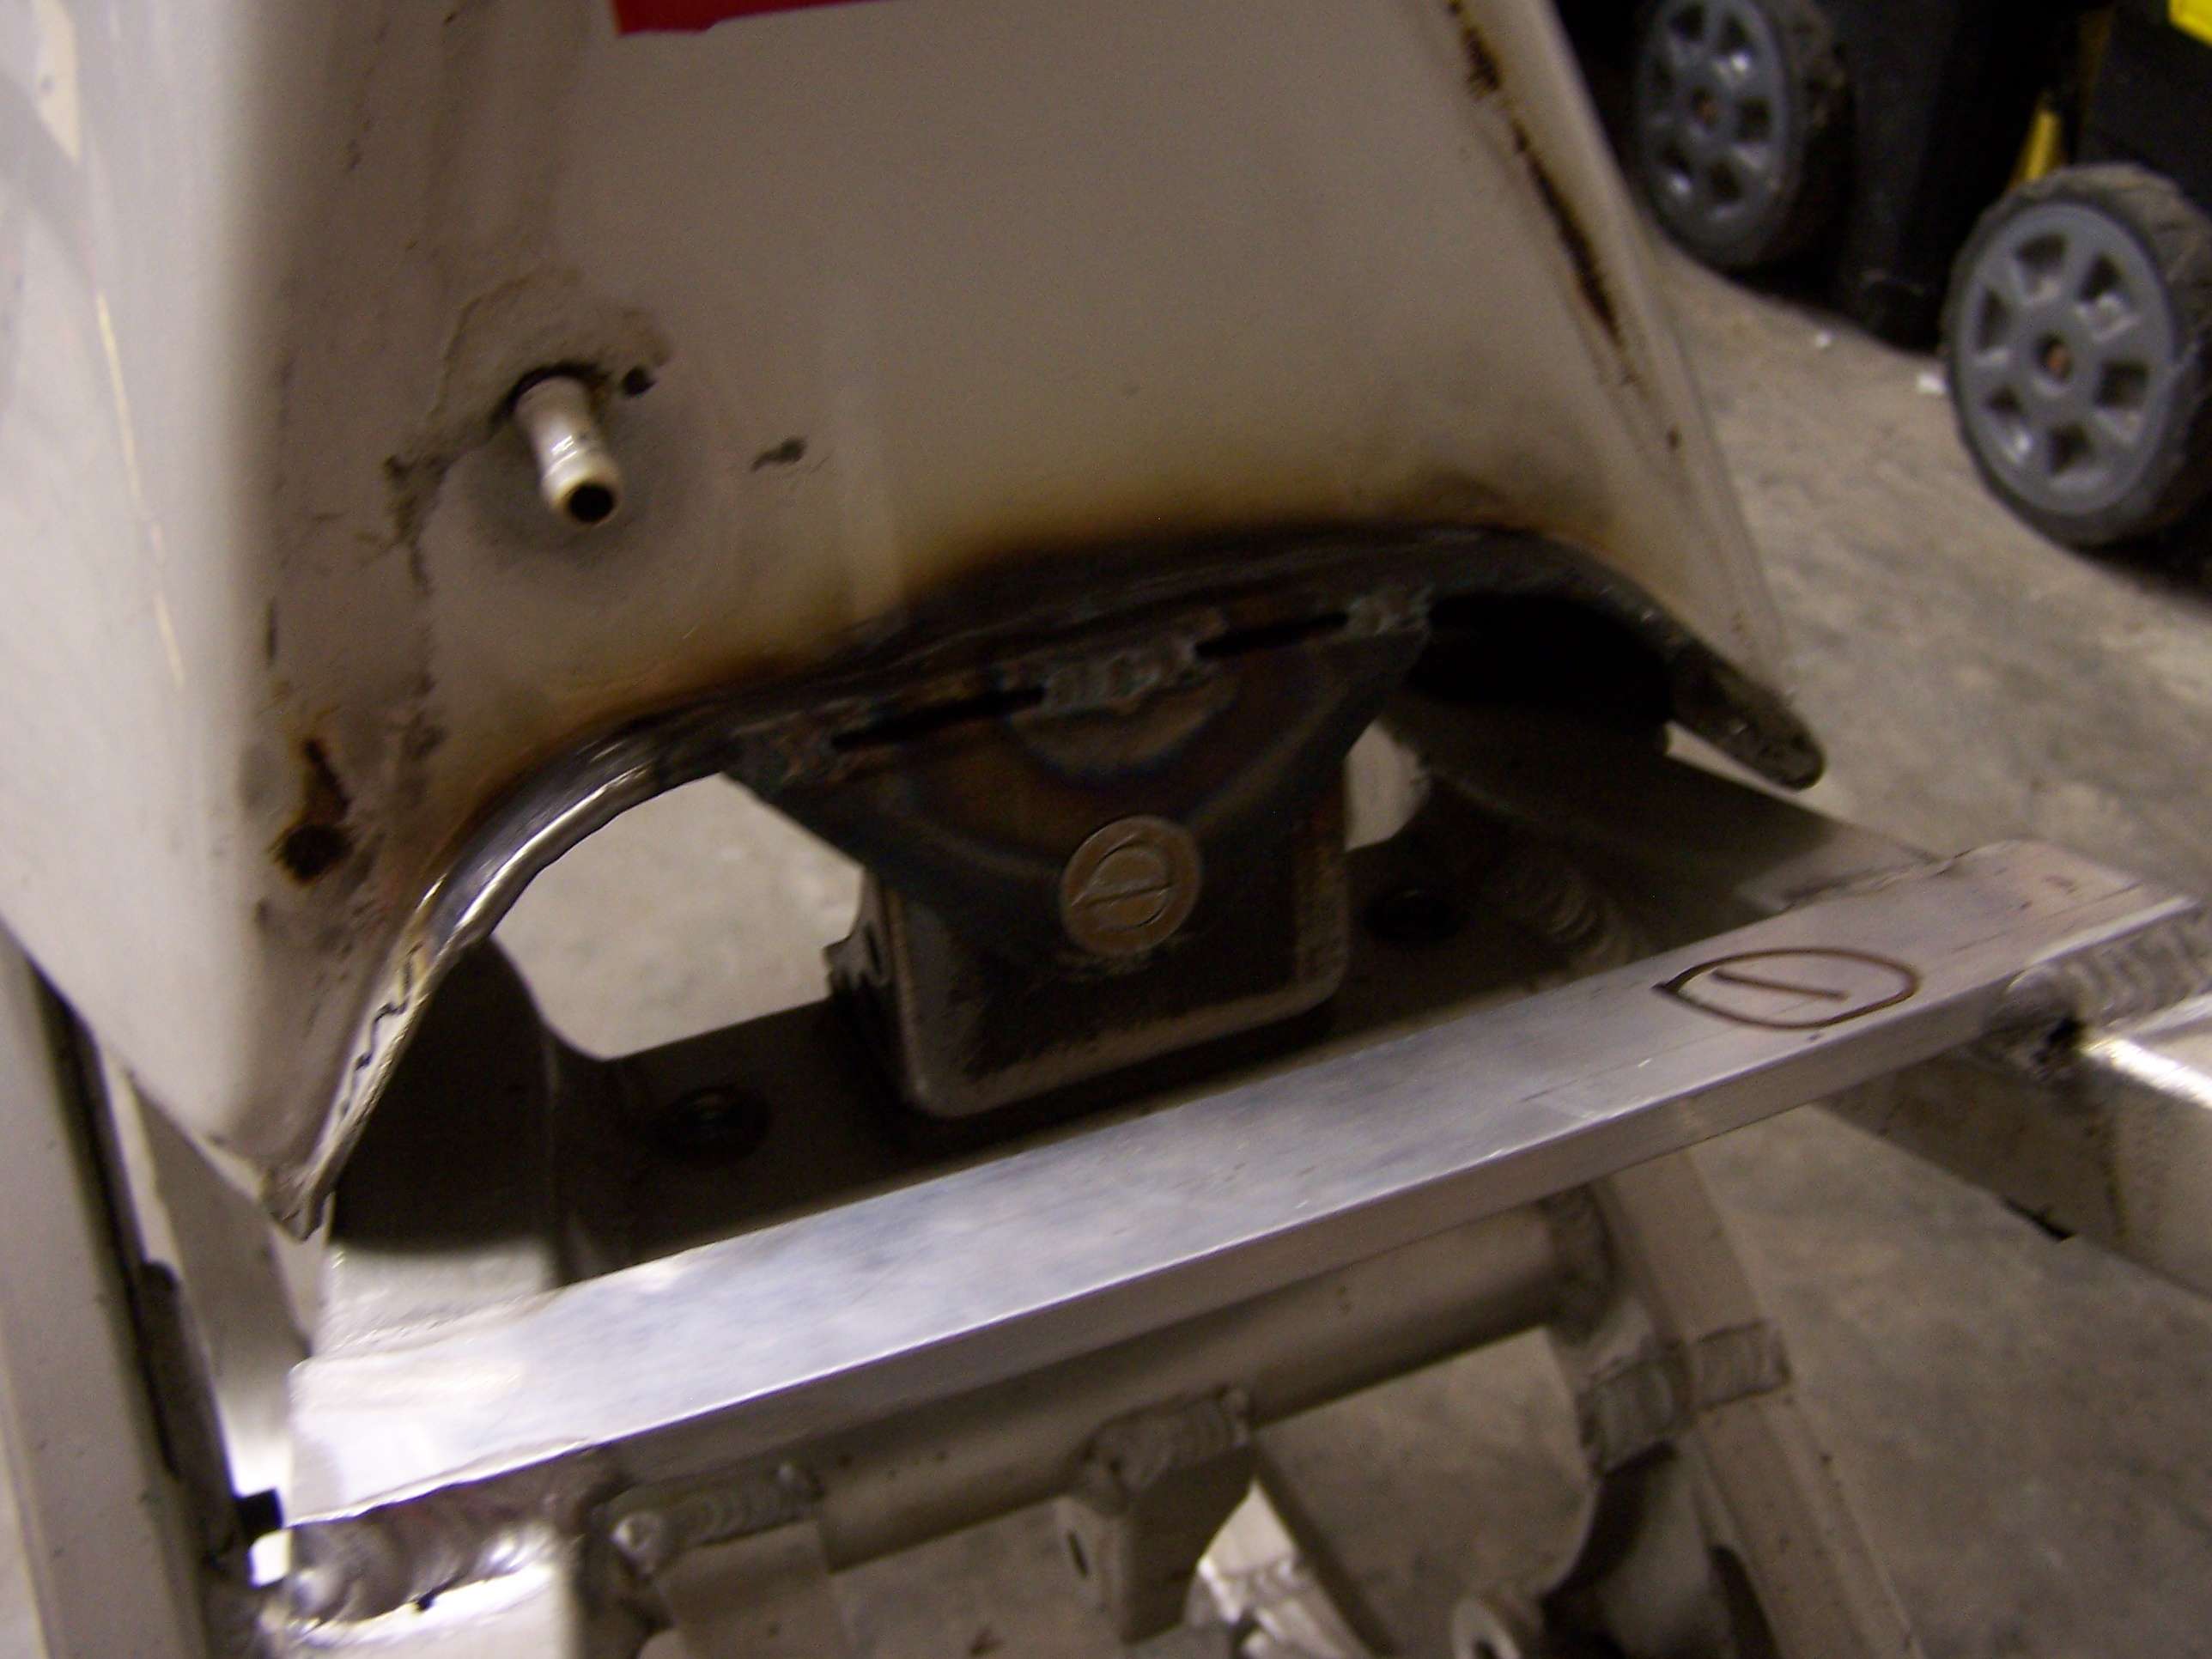
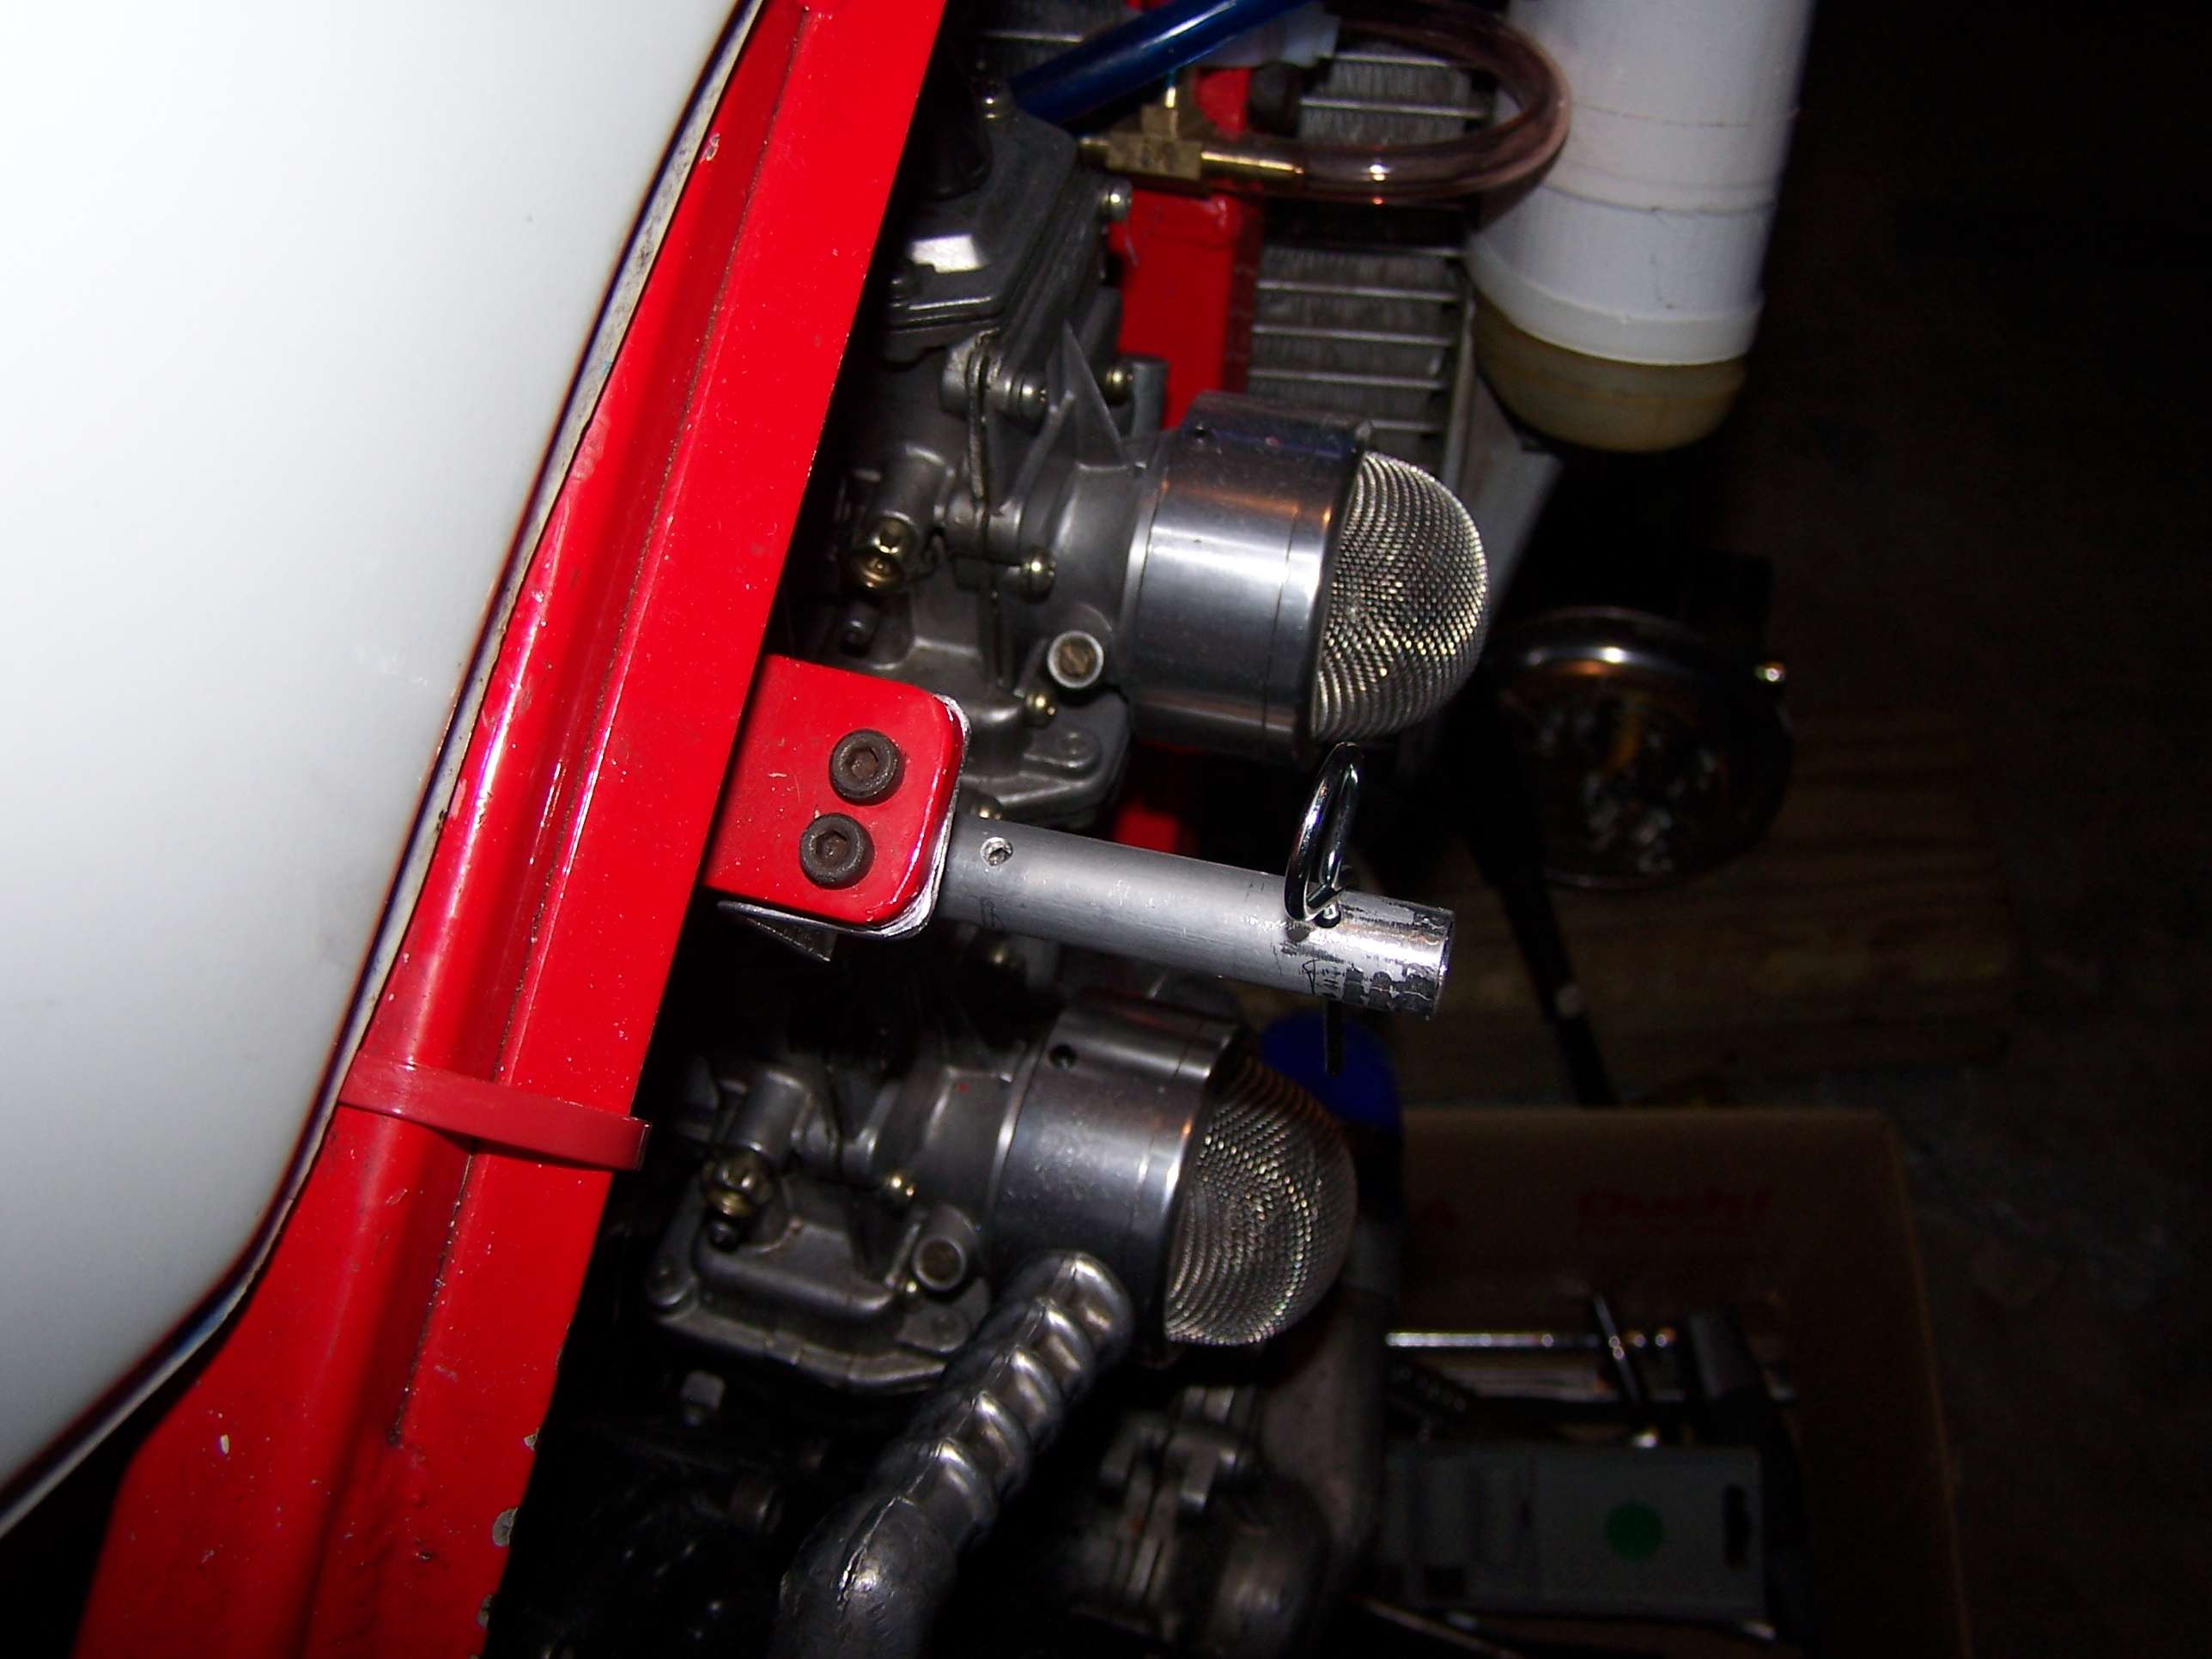
Calling RGVSTEVE, I guess I need a set of your RZV motor mounts.
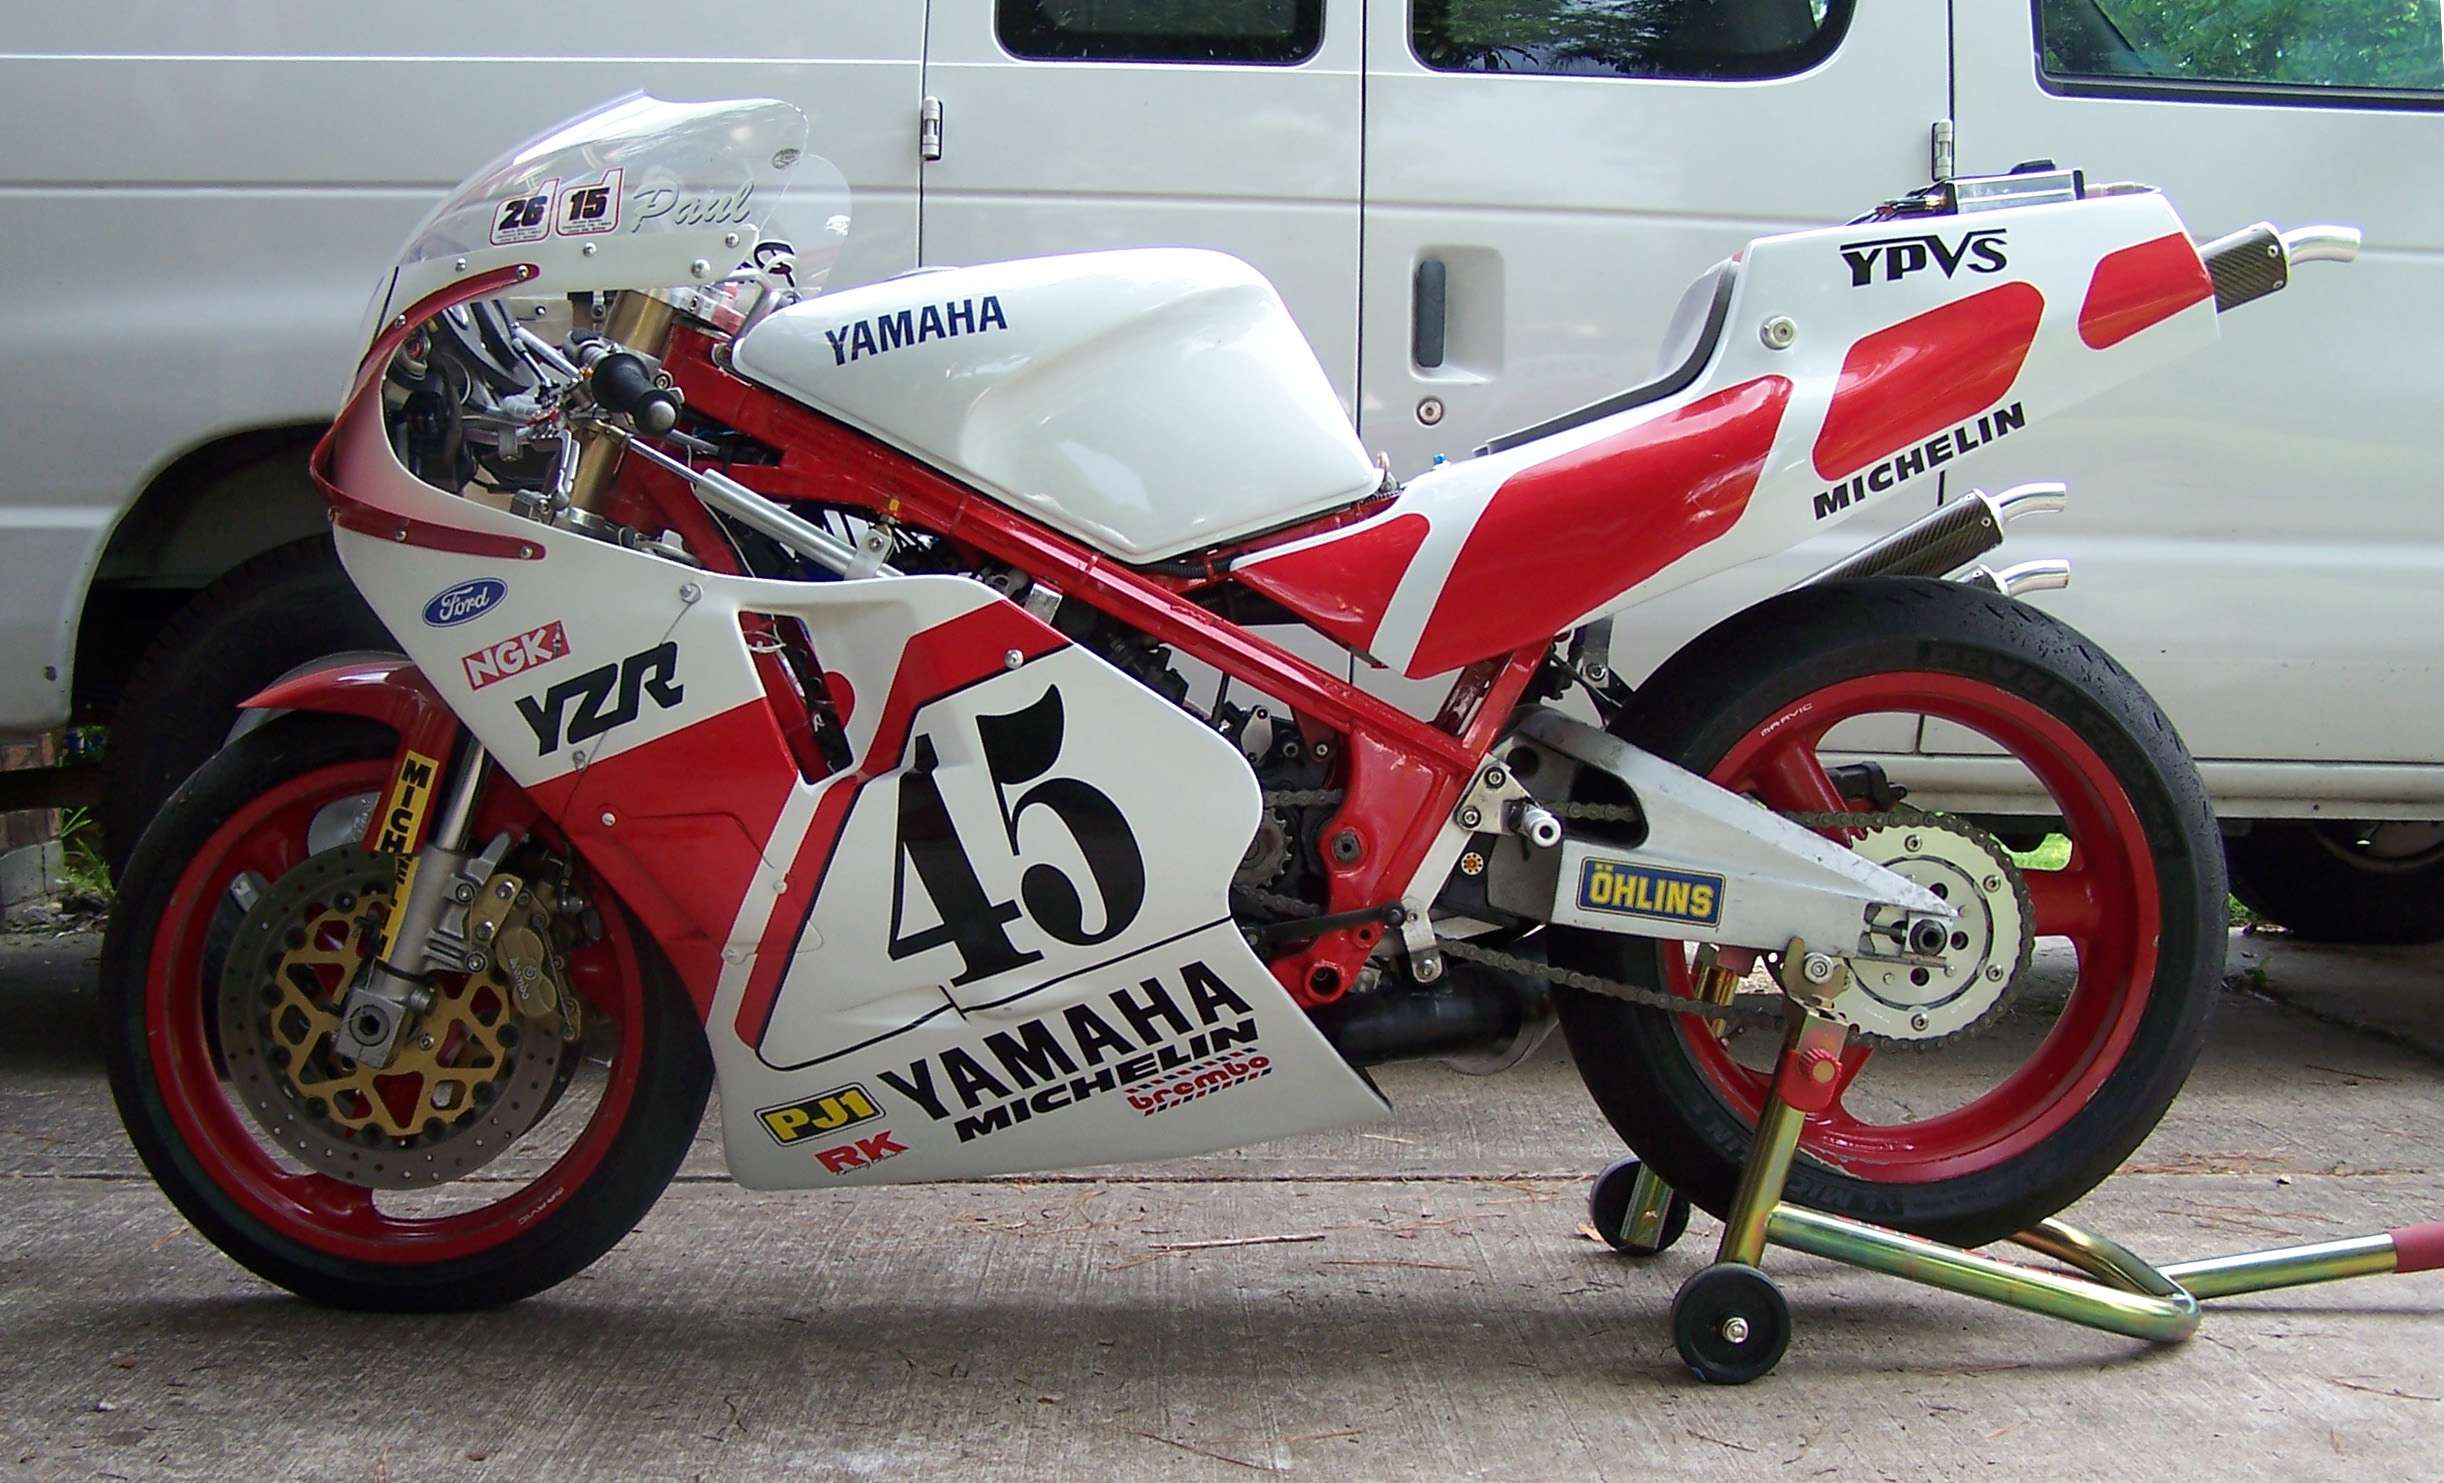
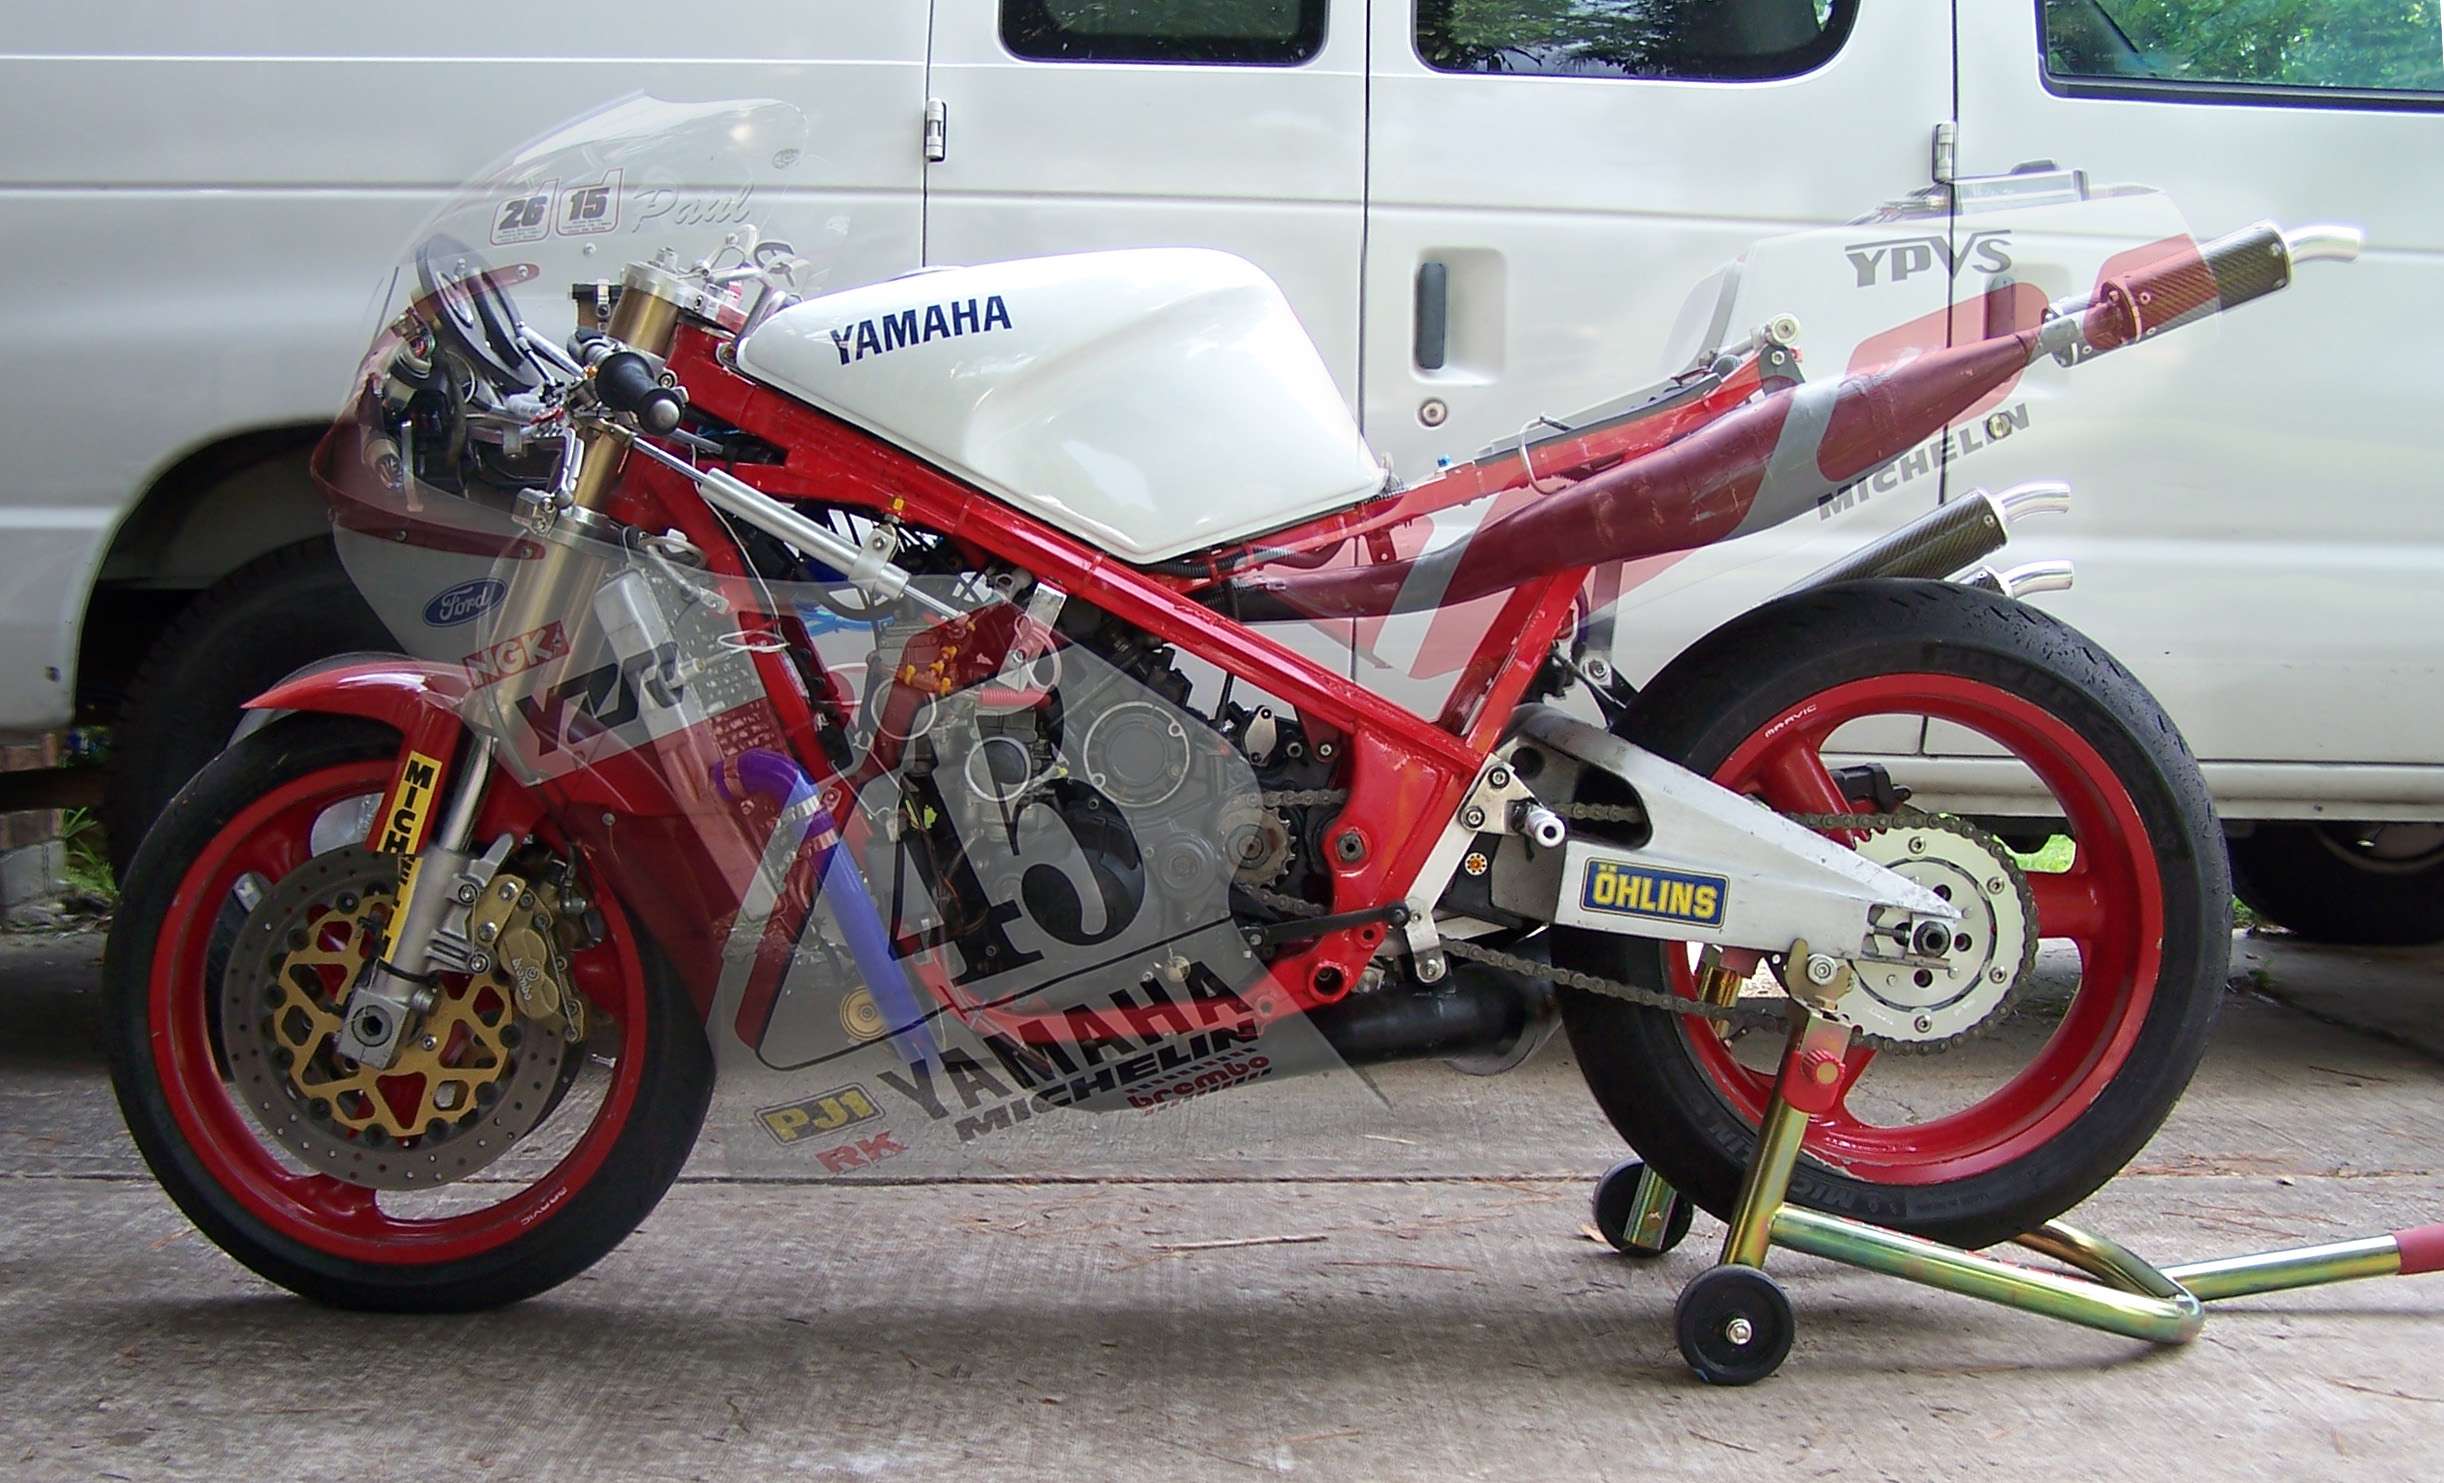
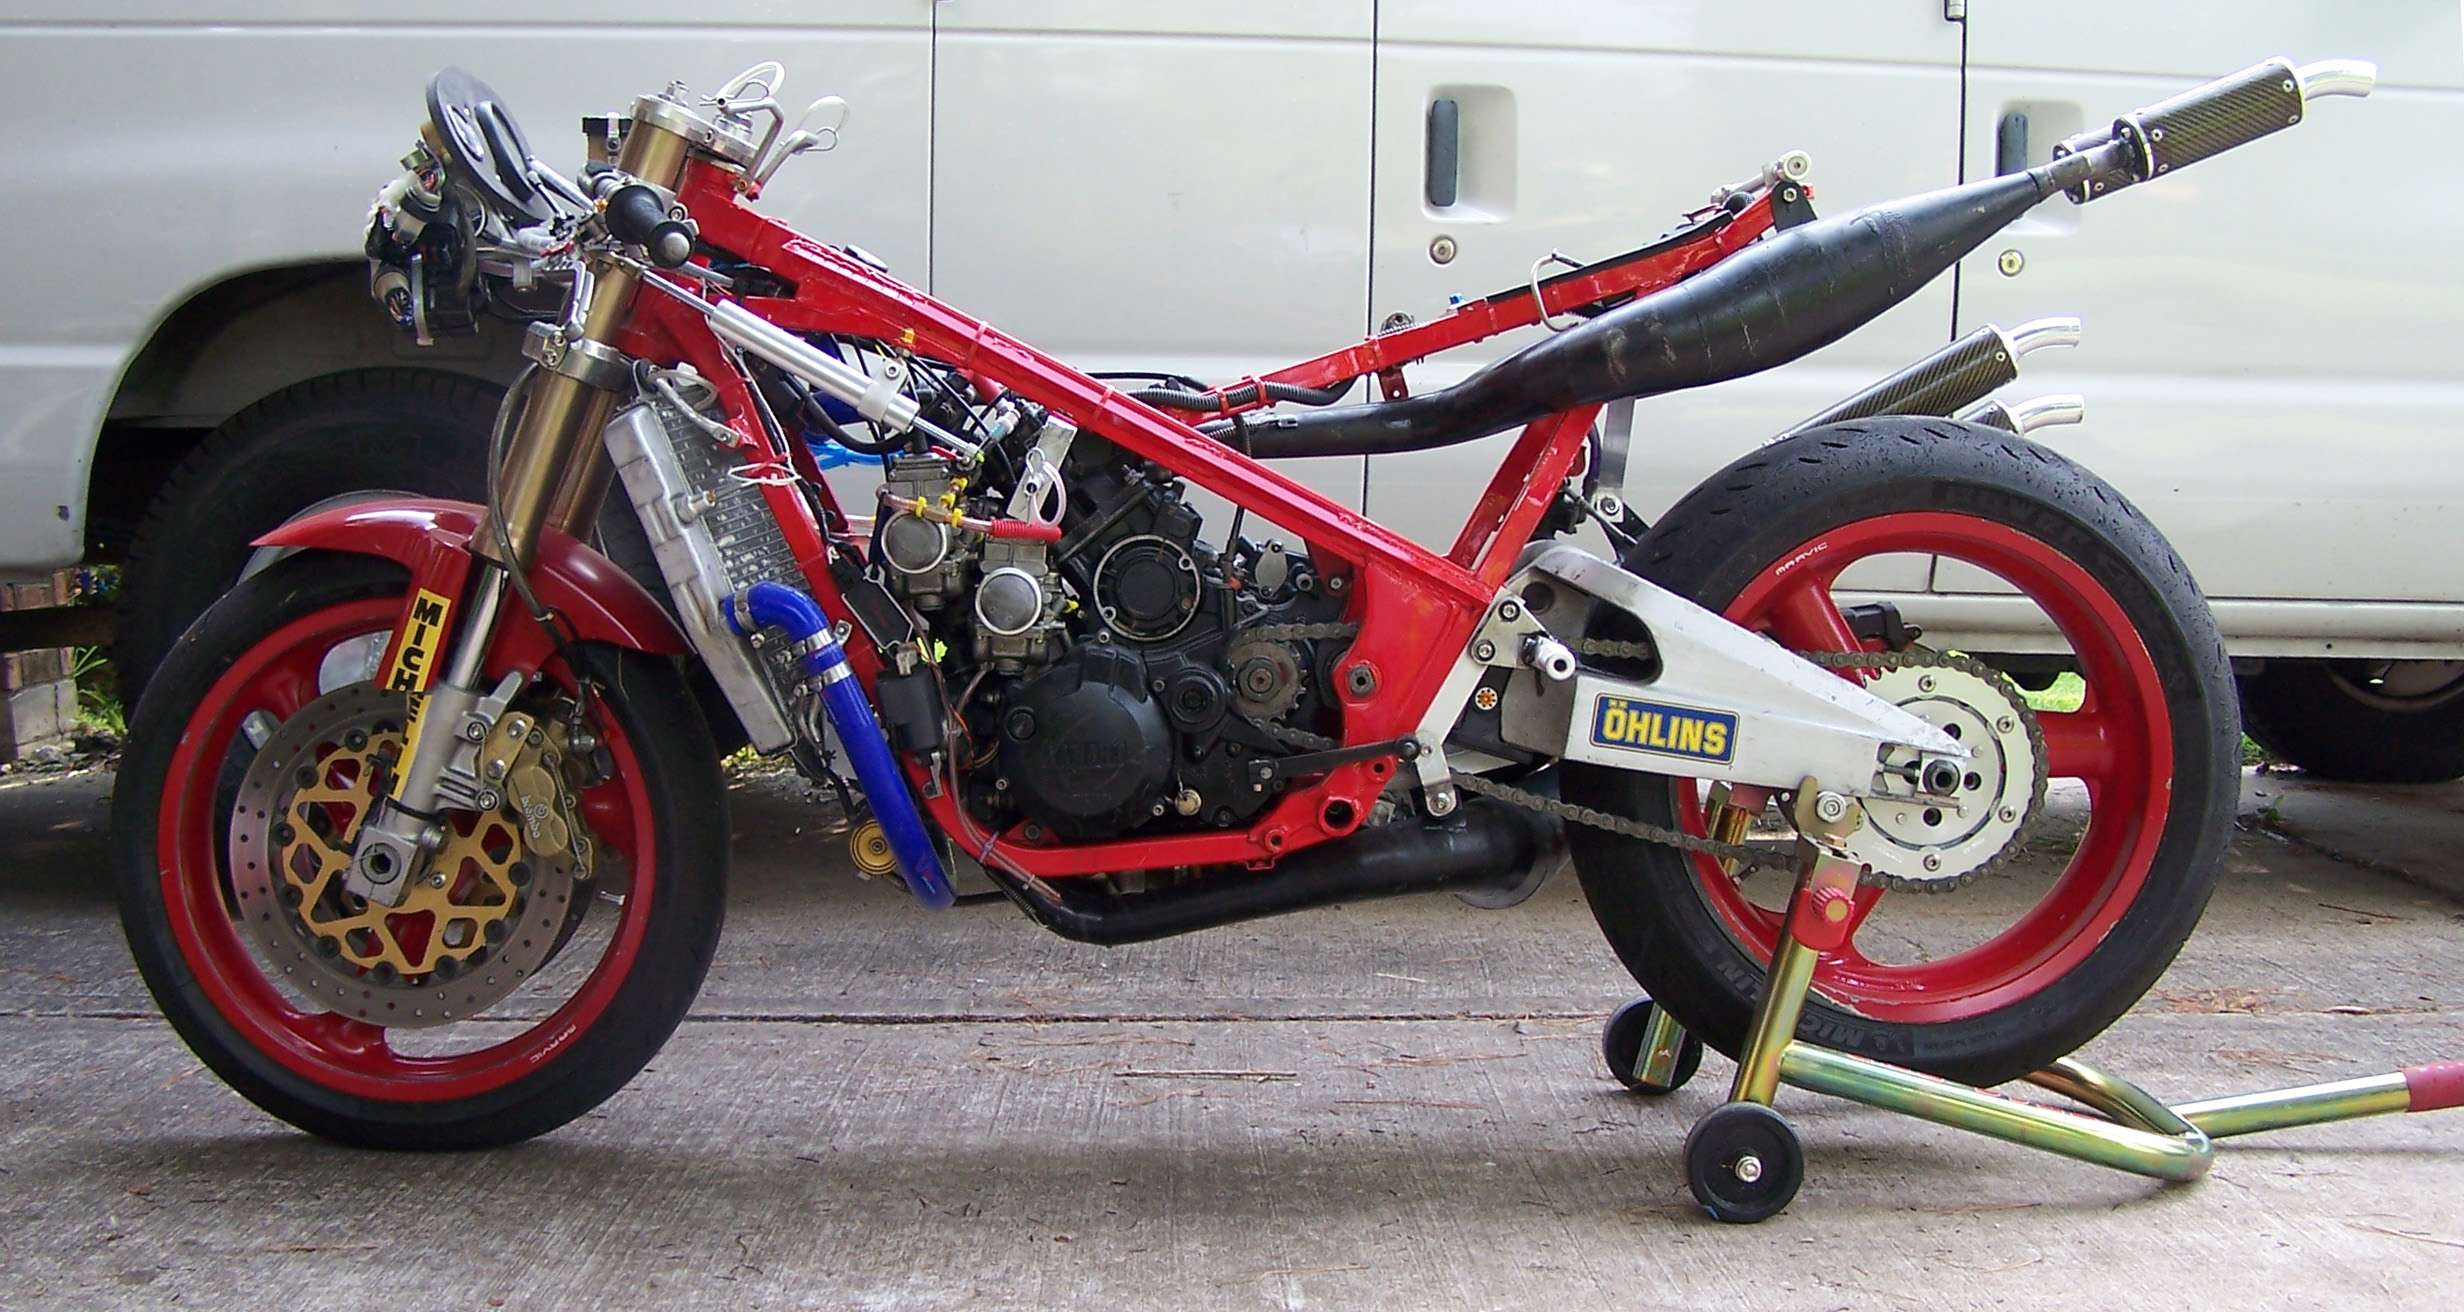
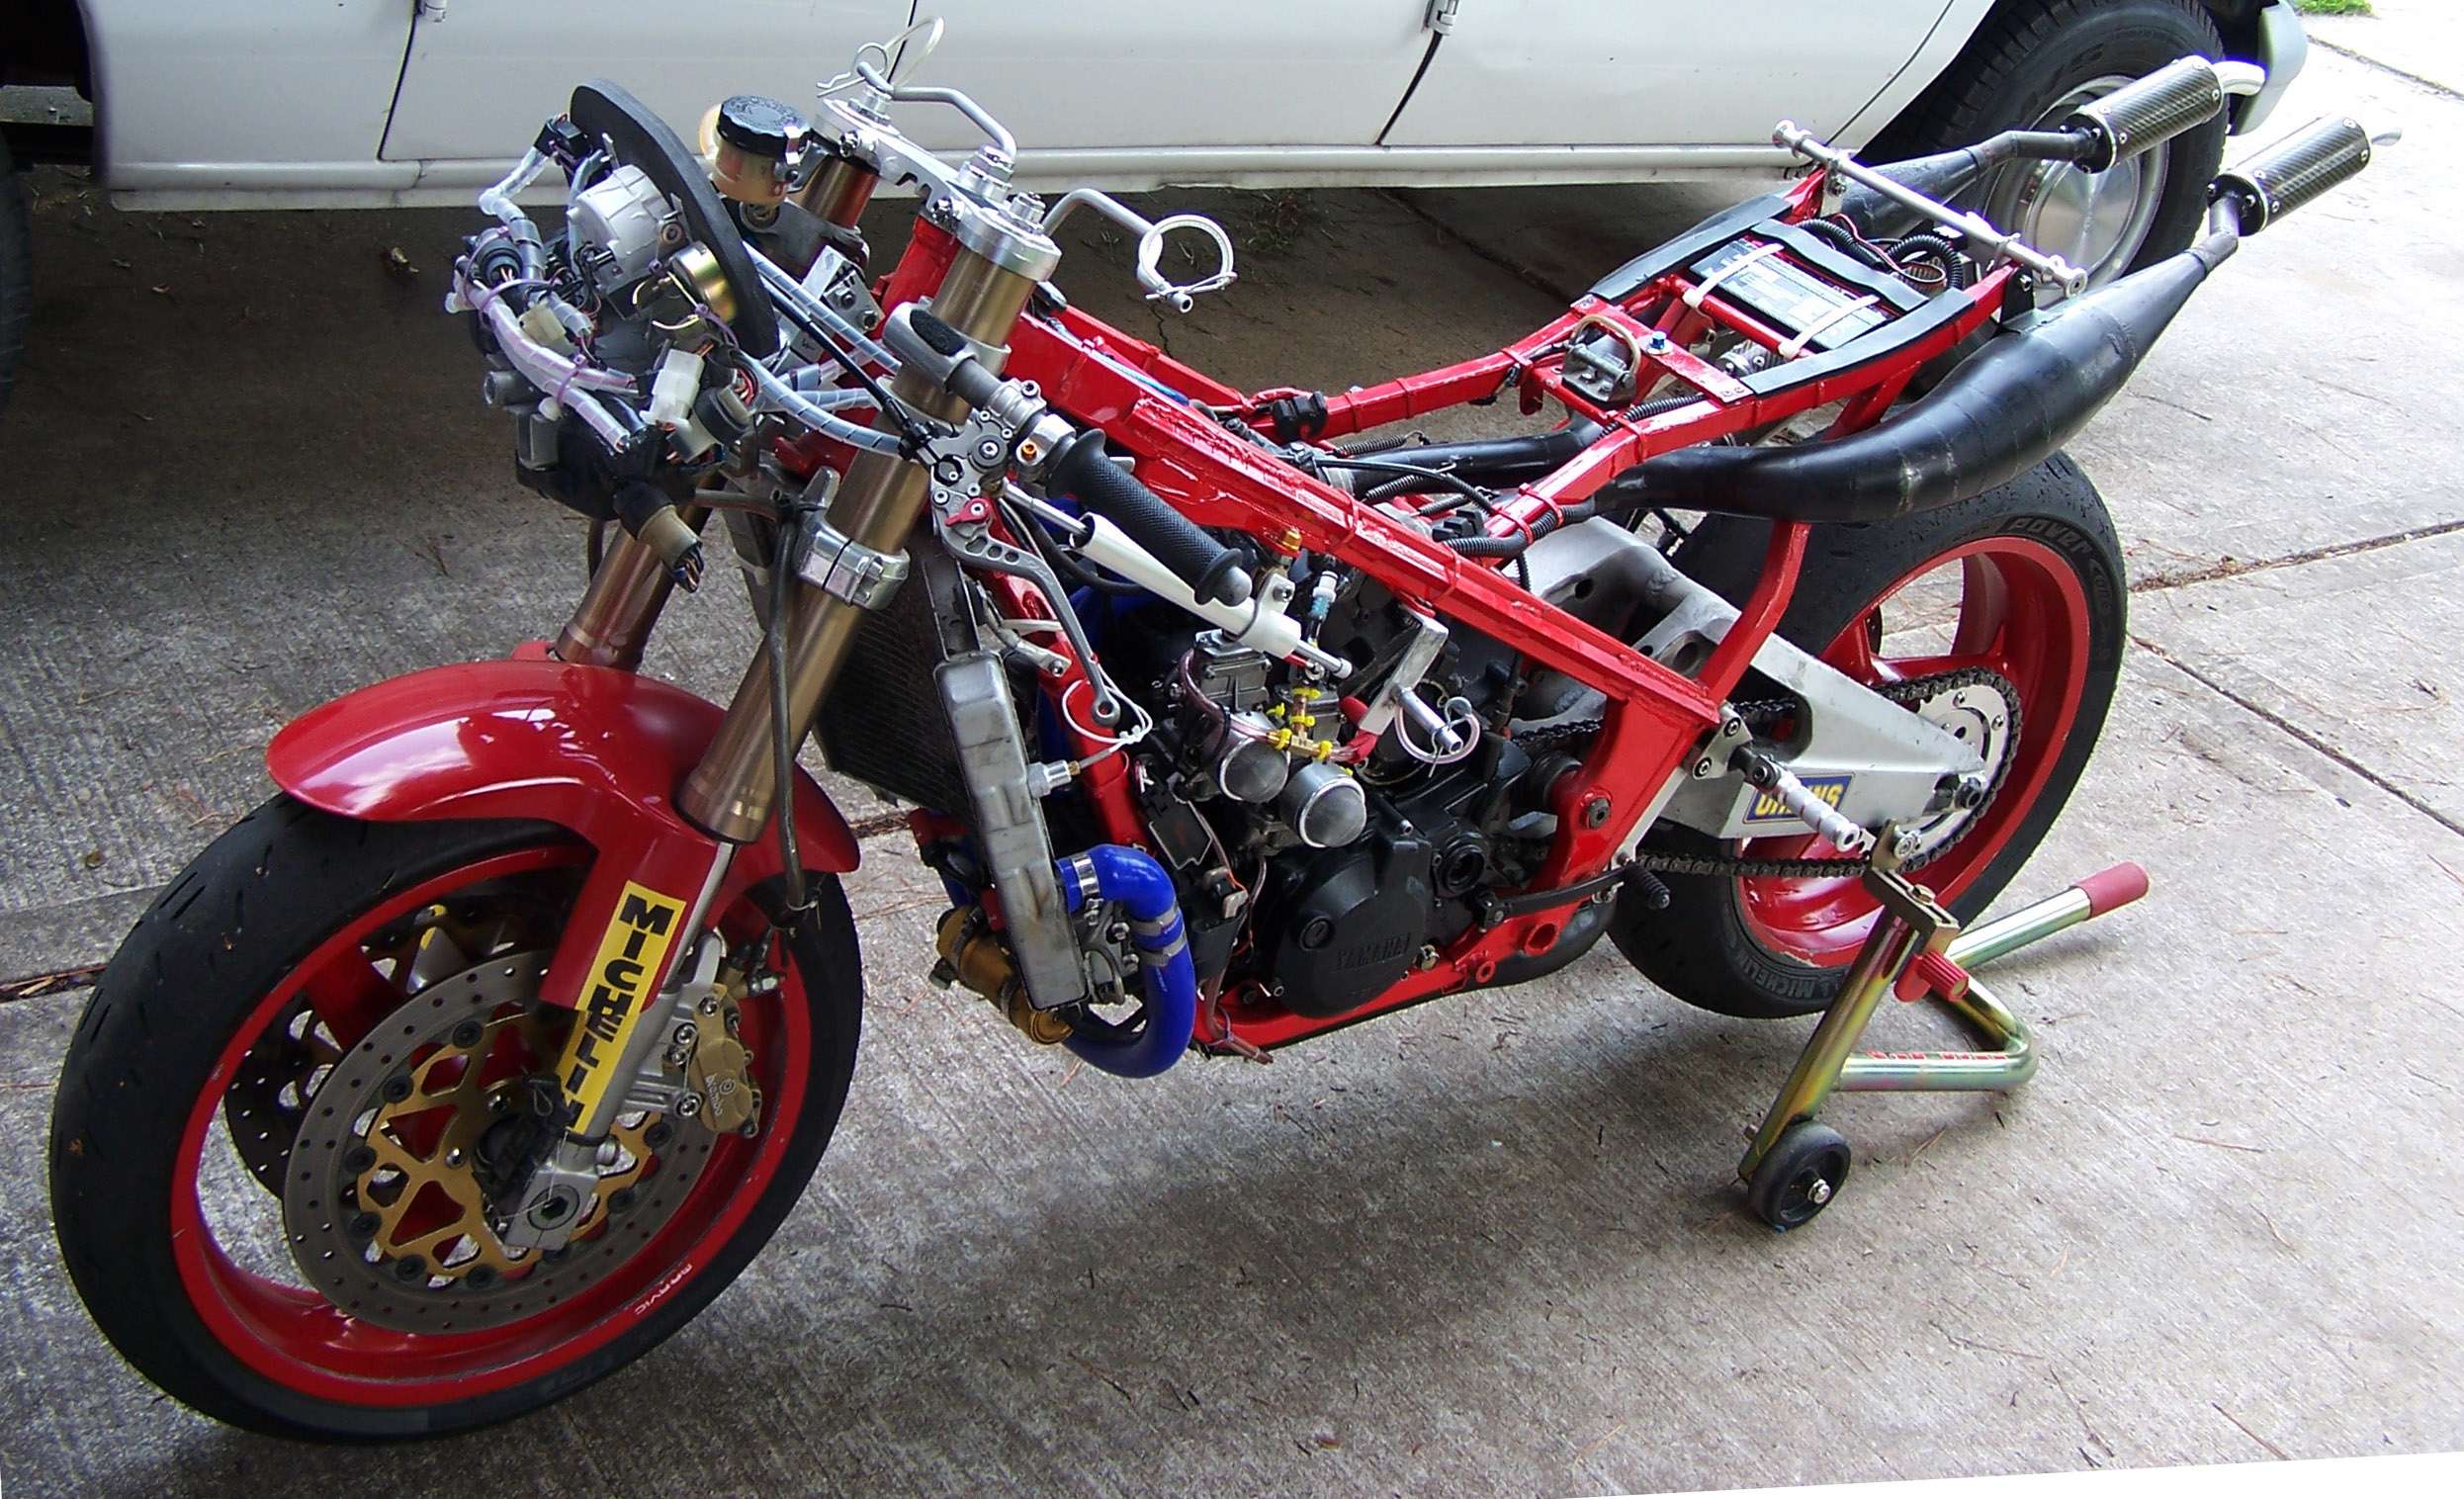
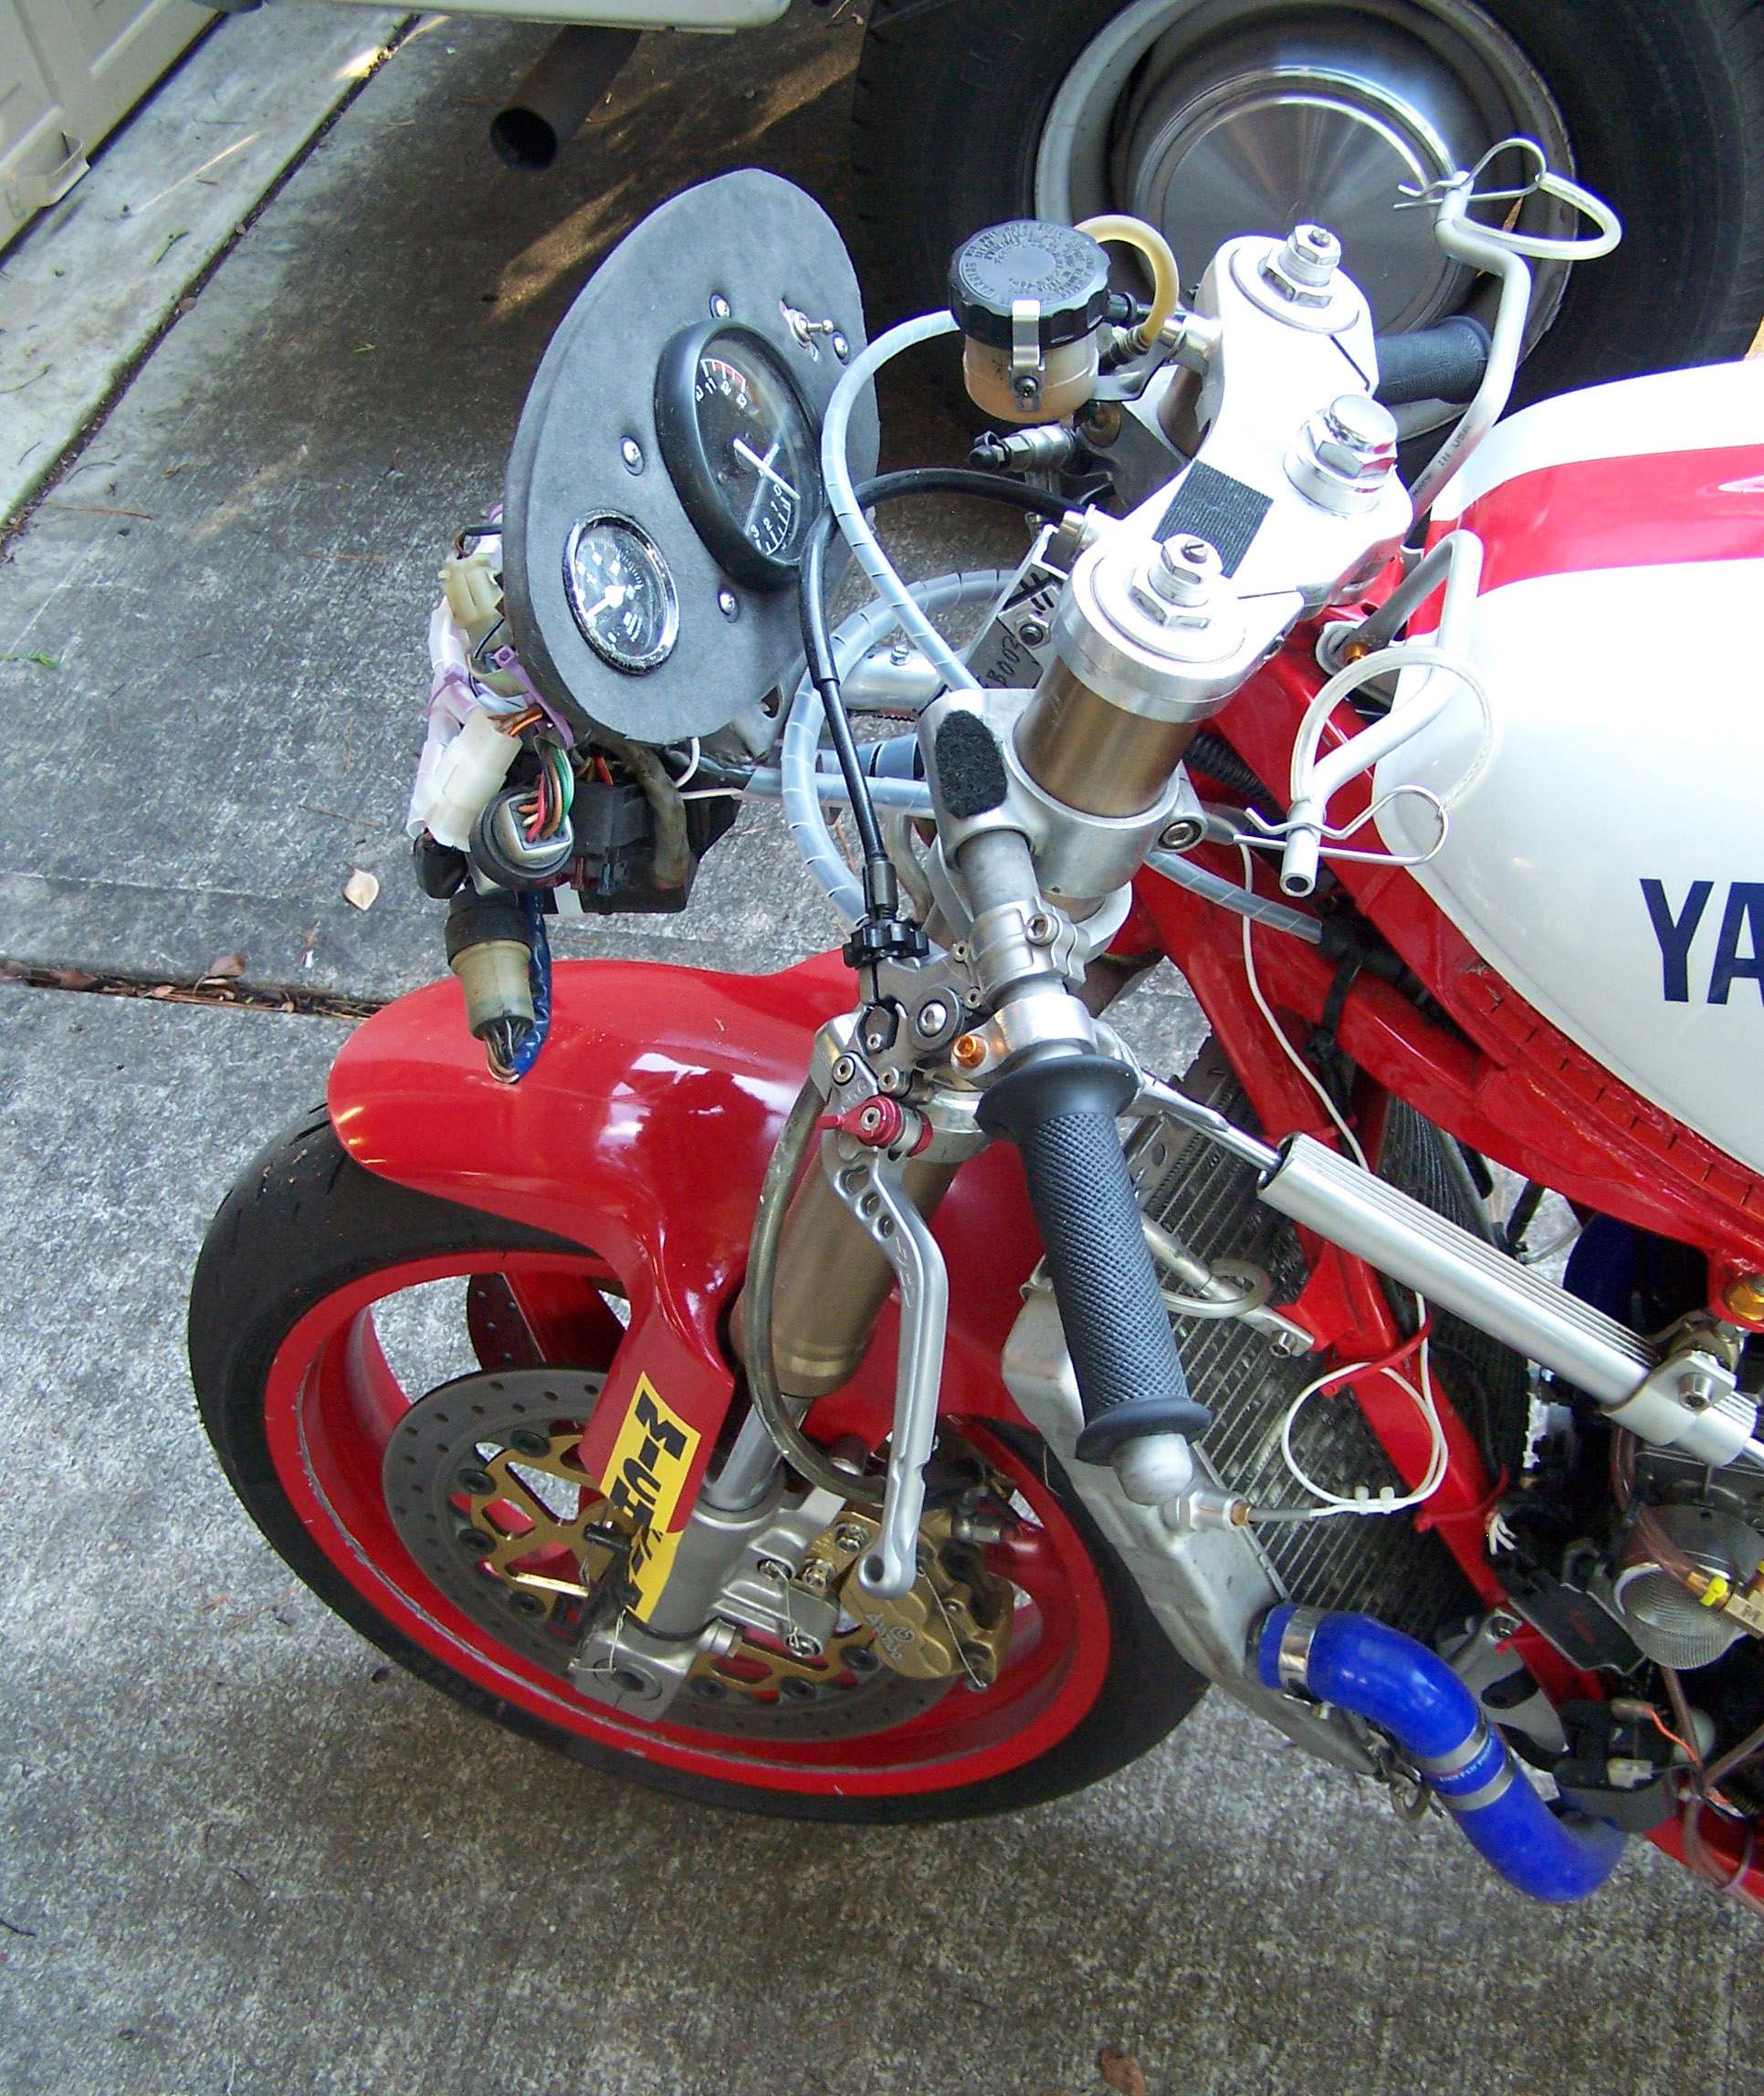
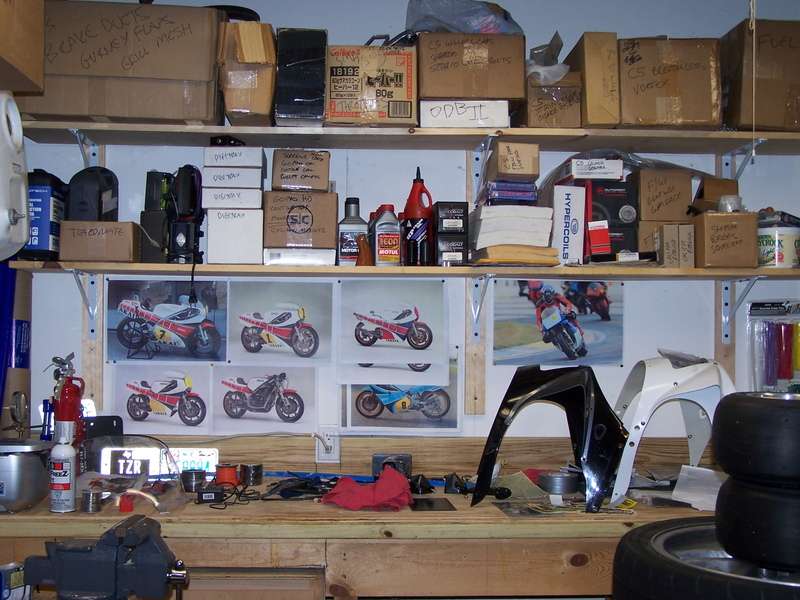
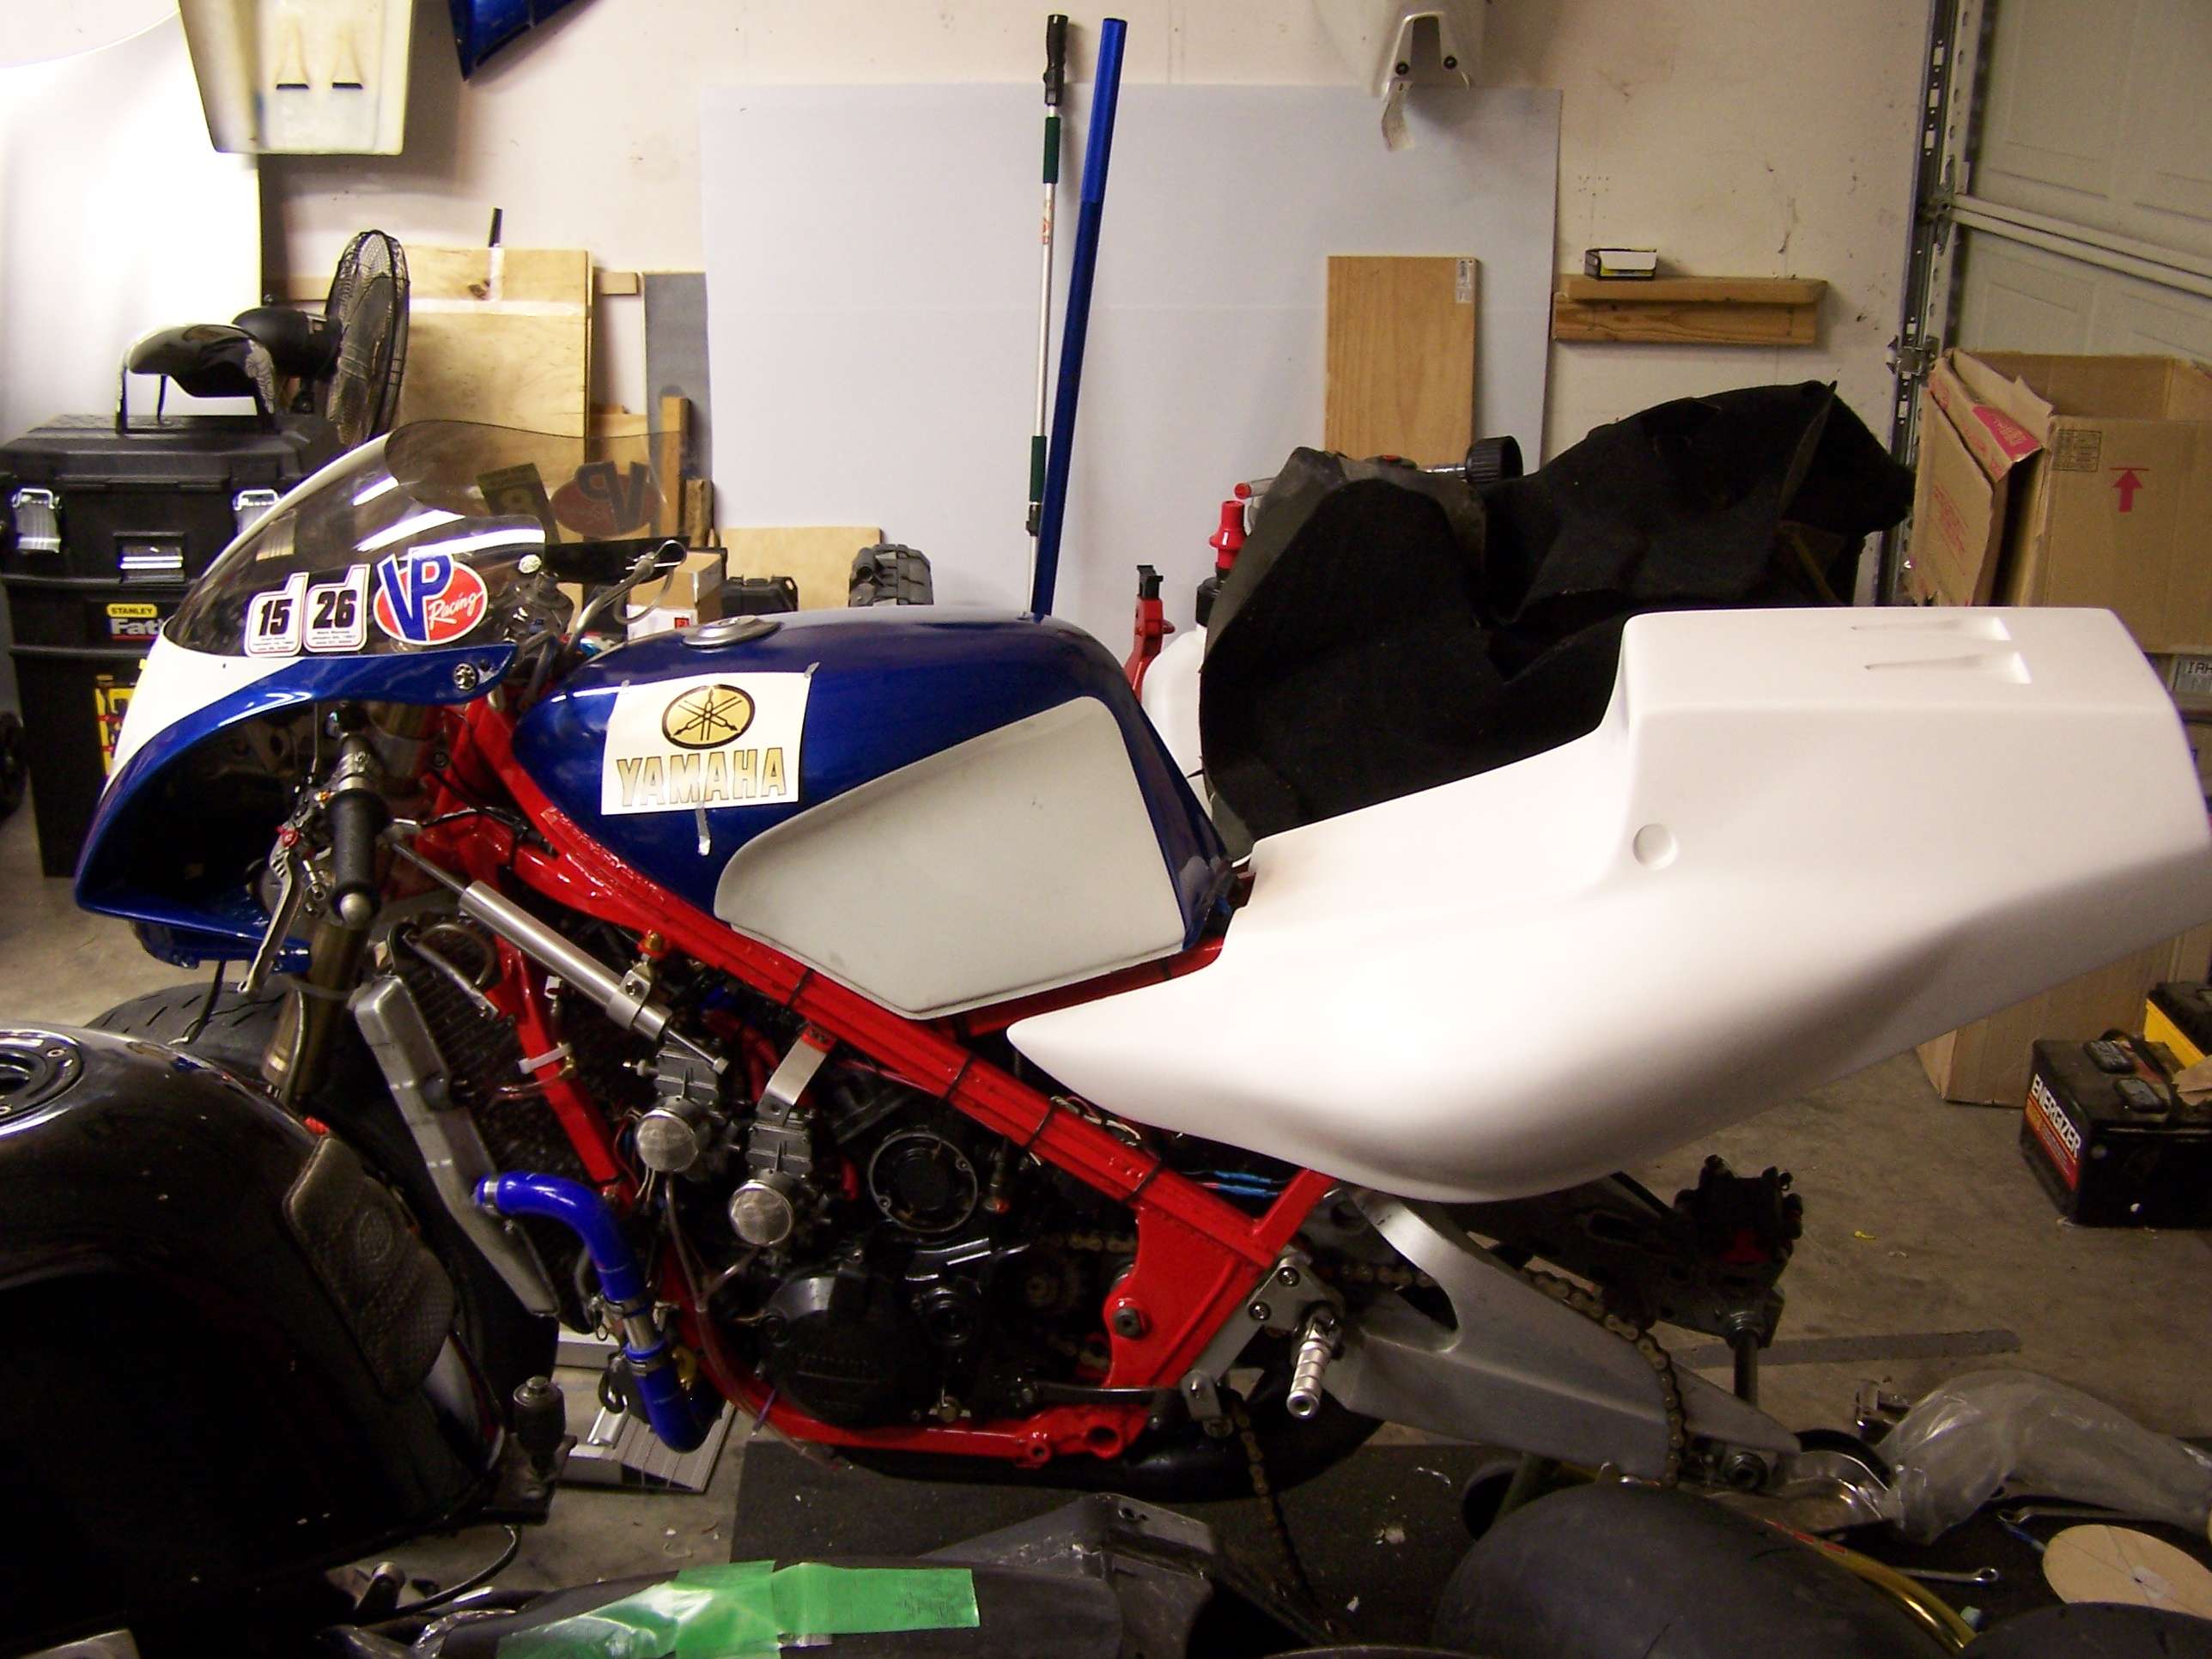
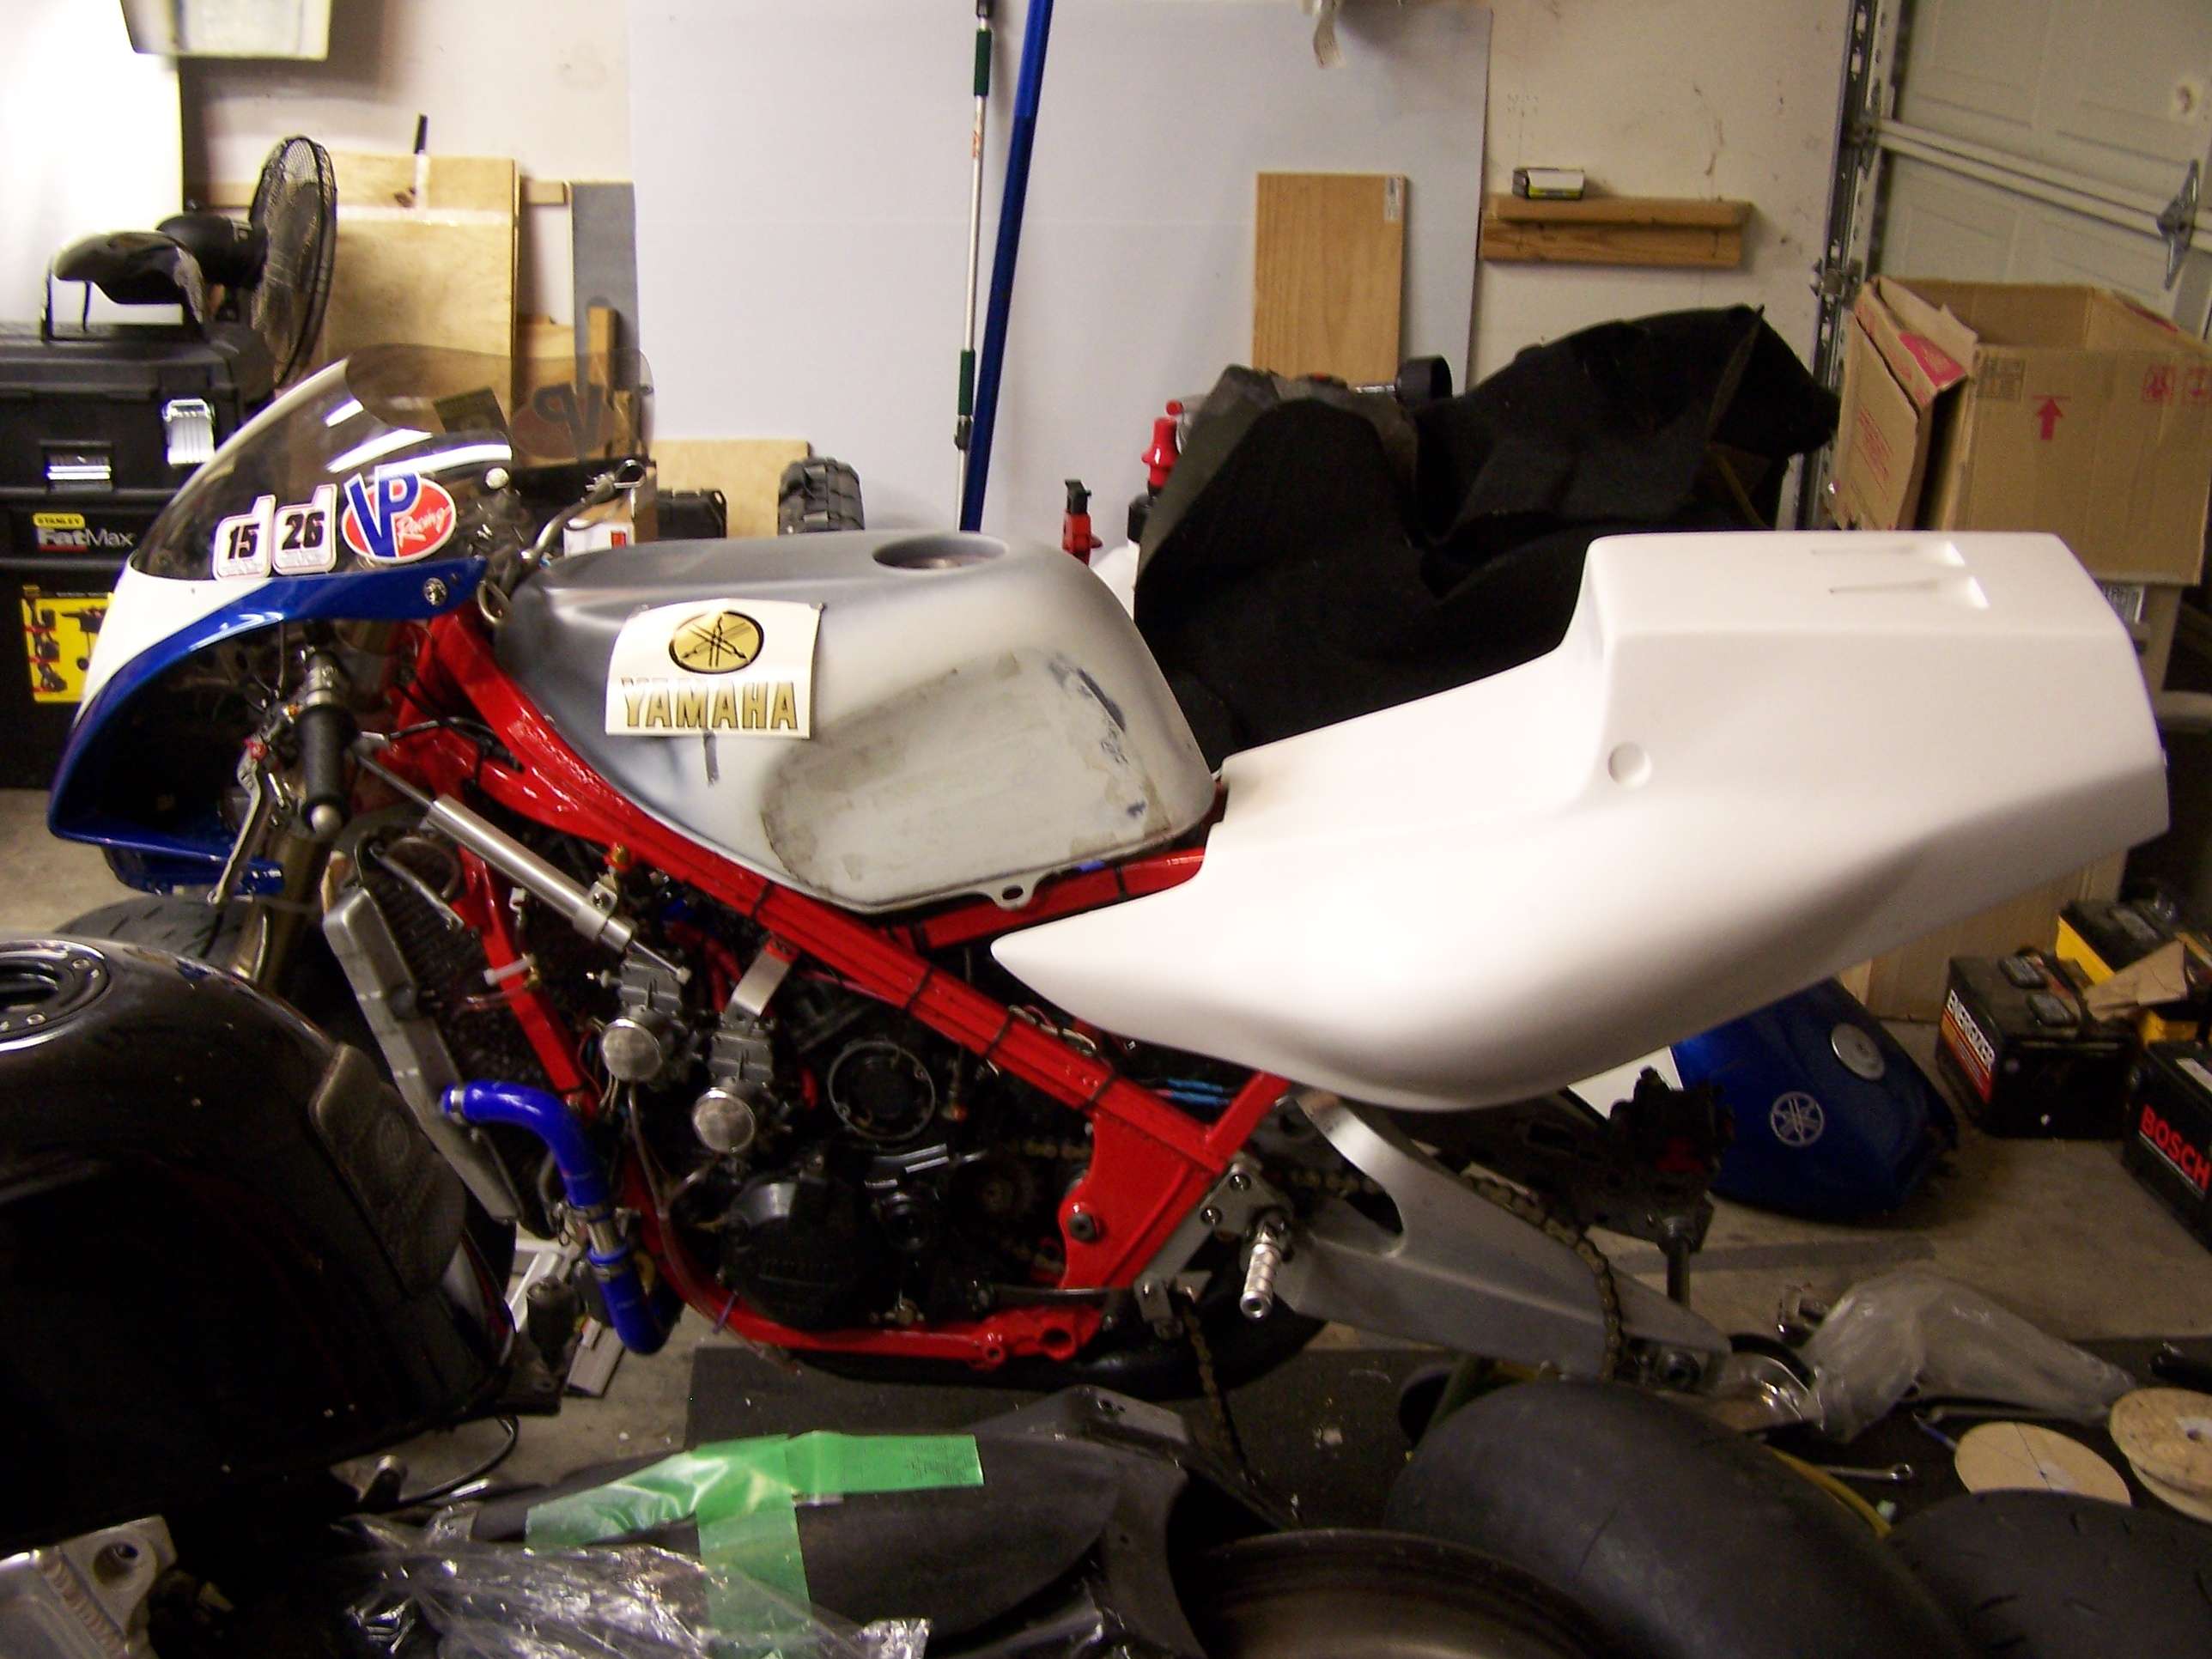
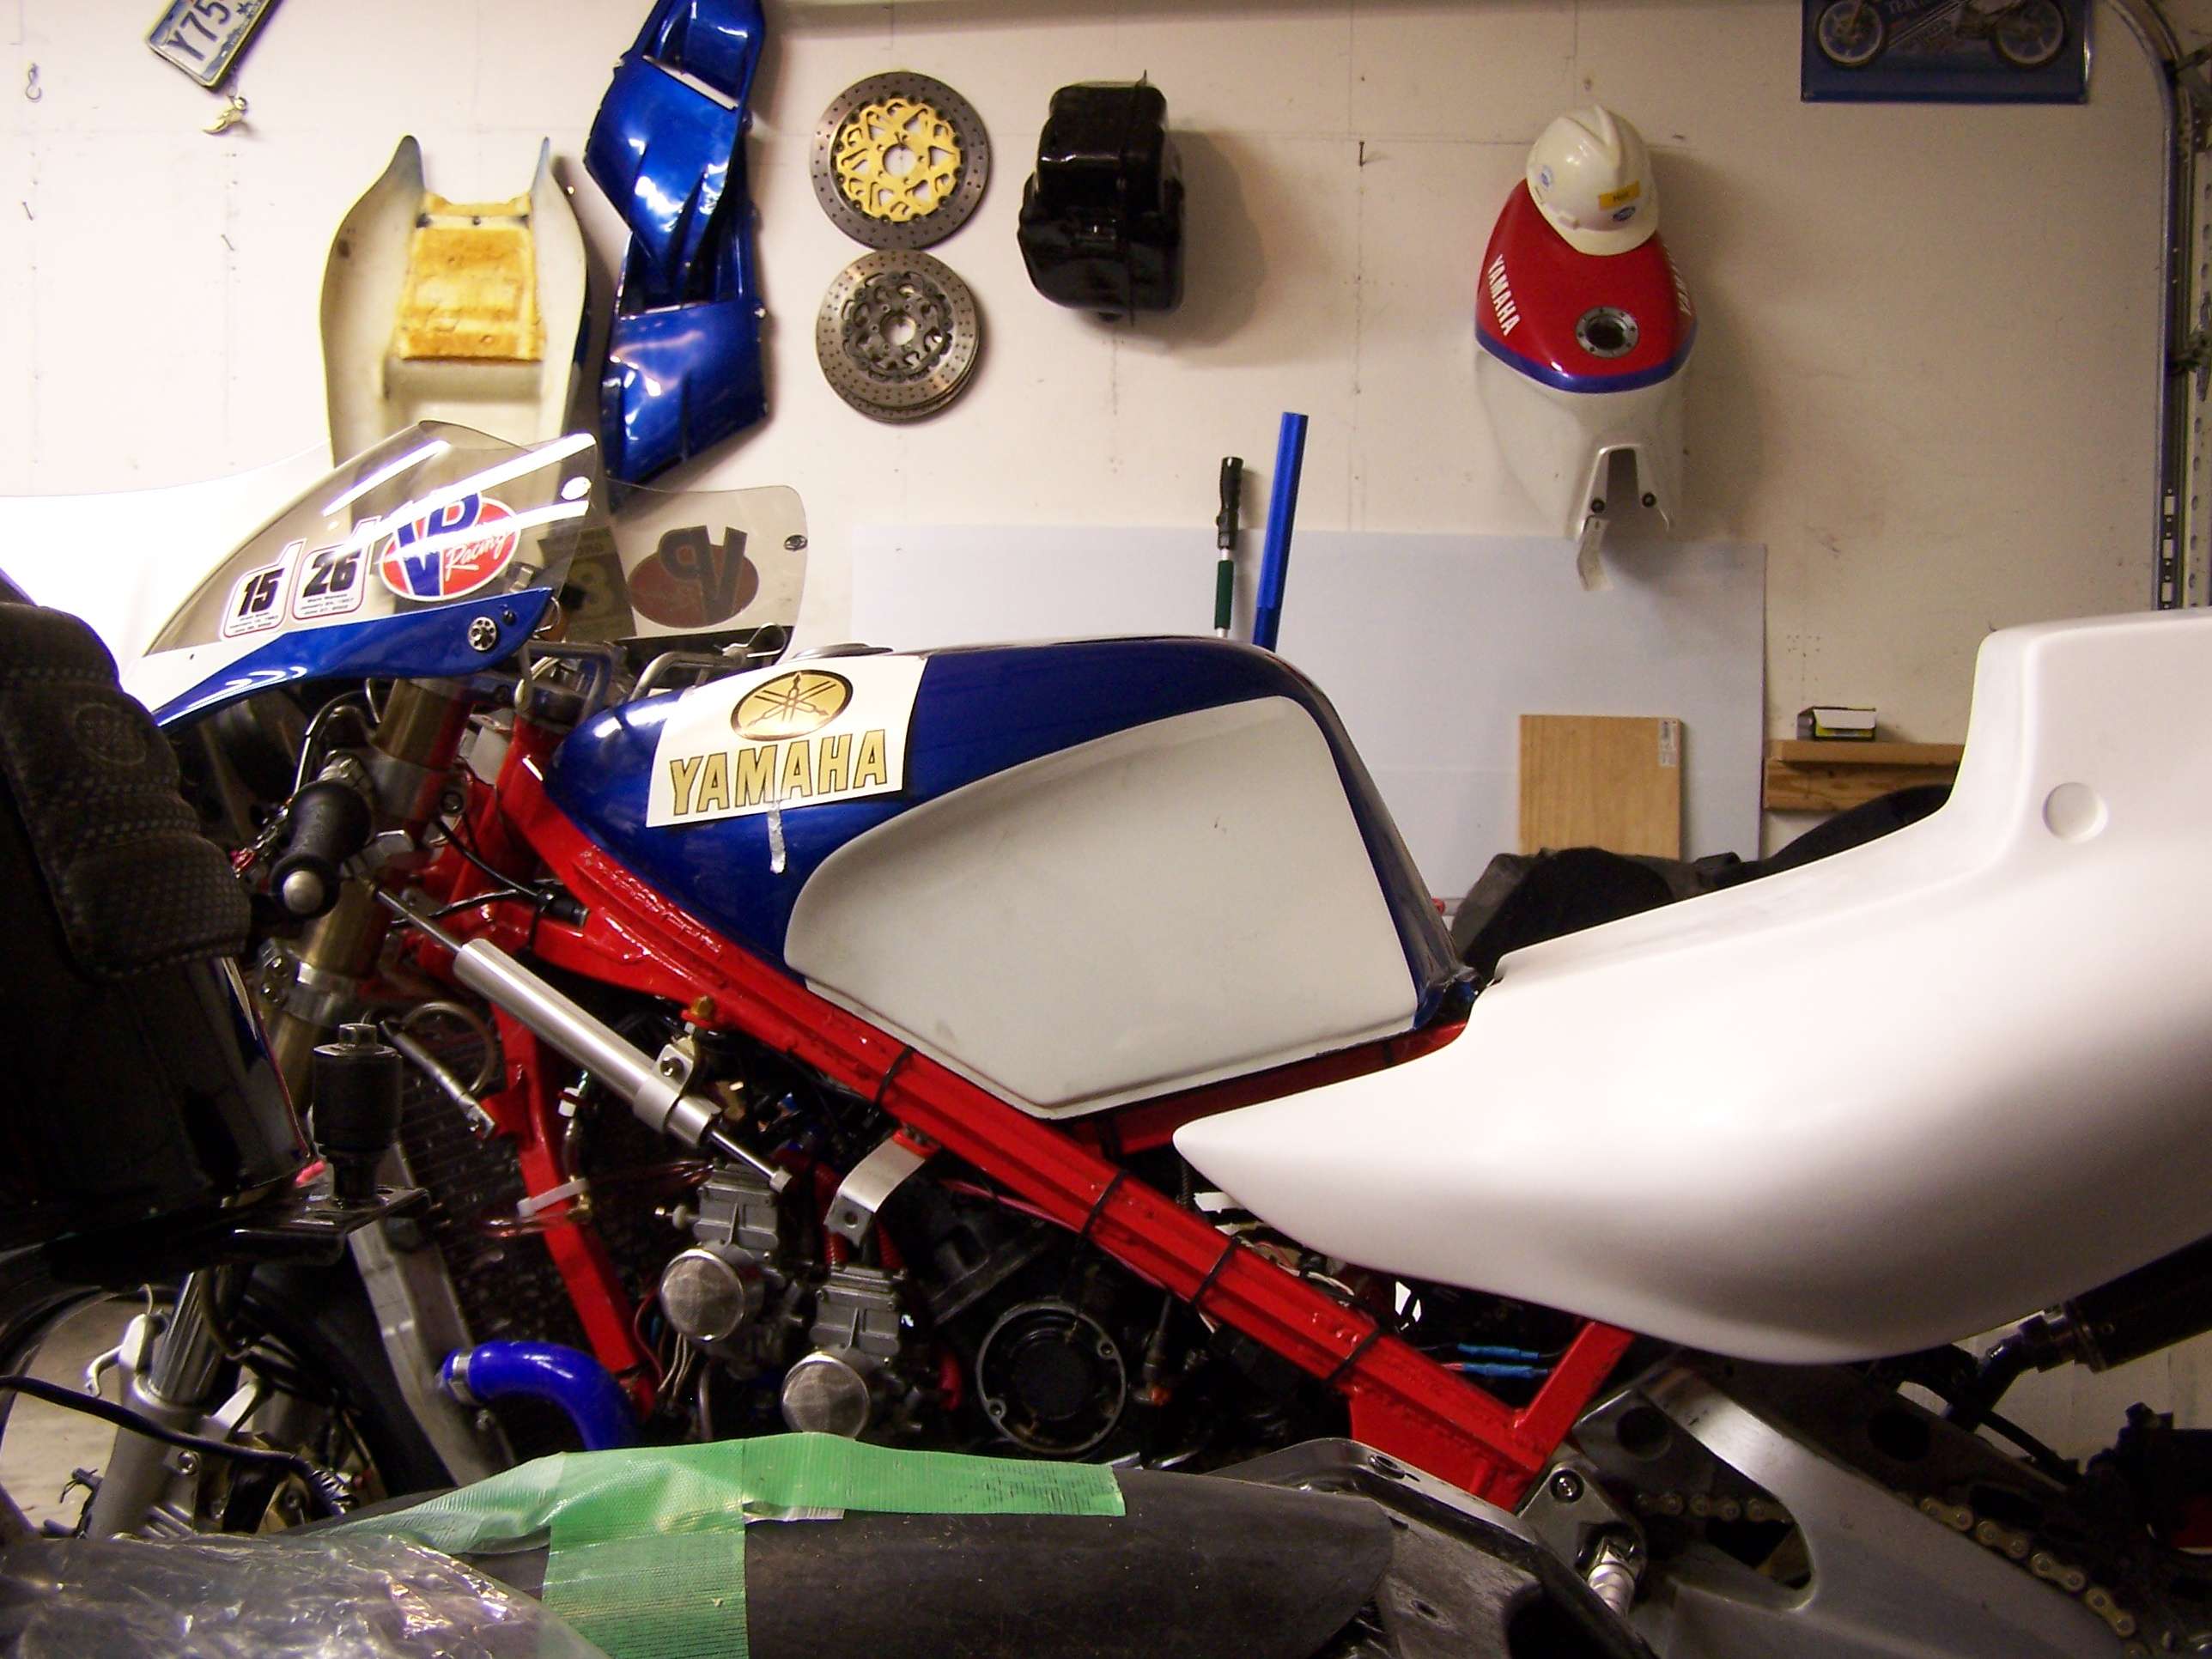
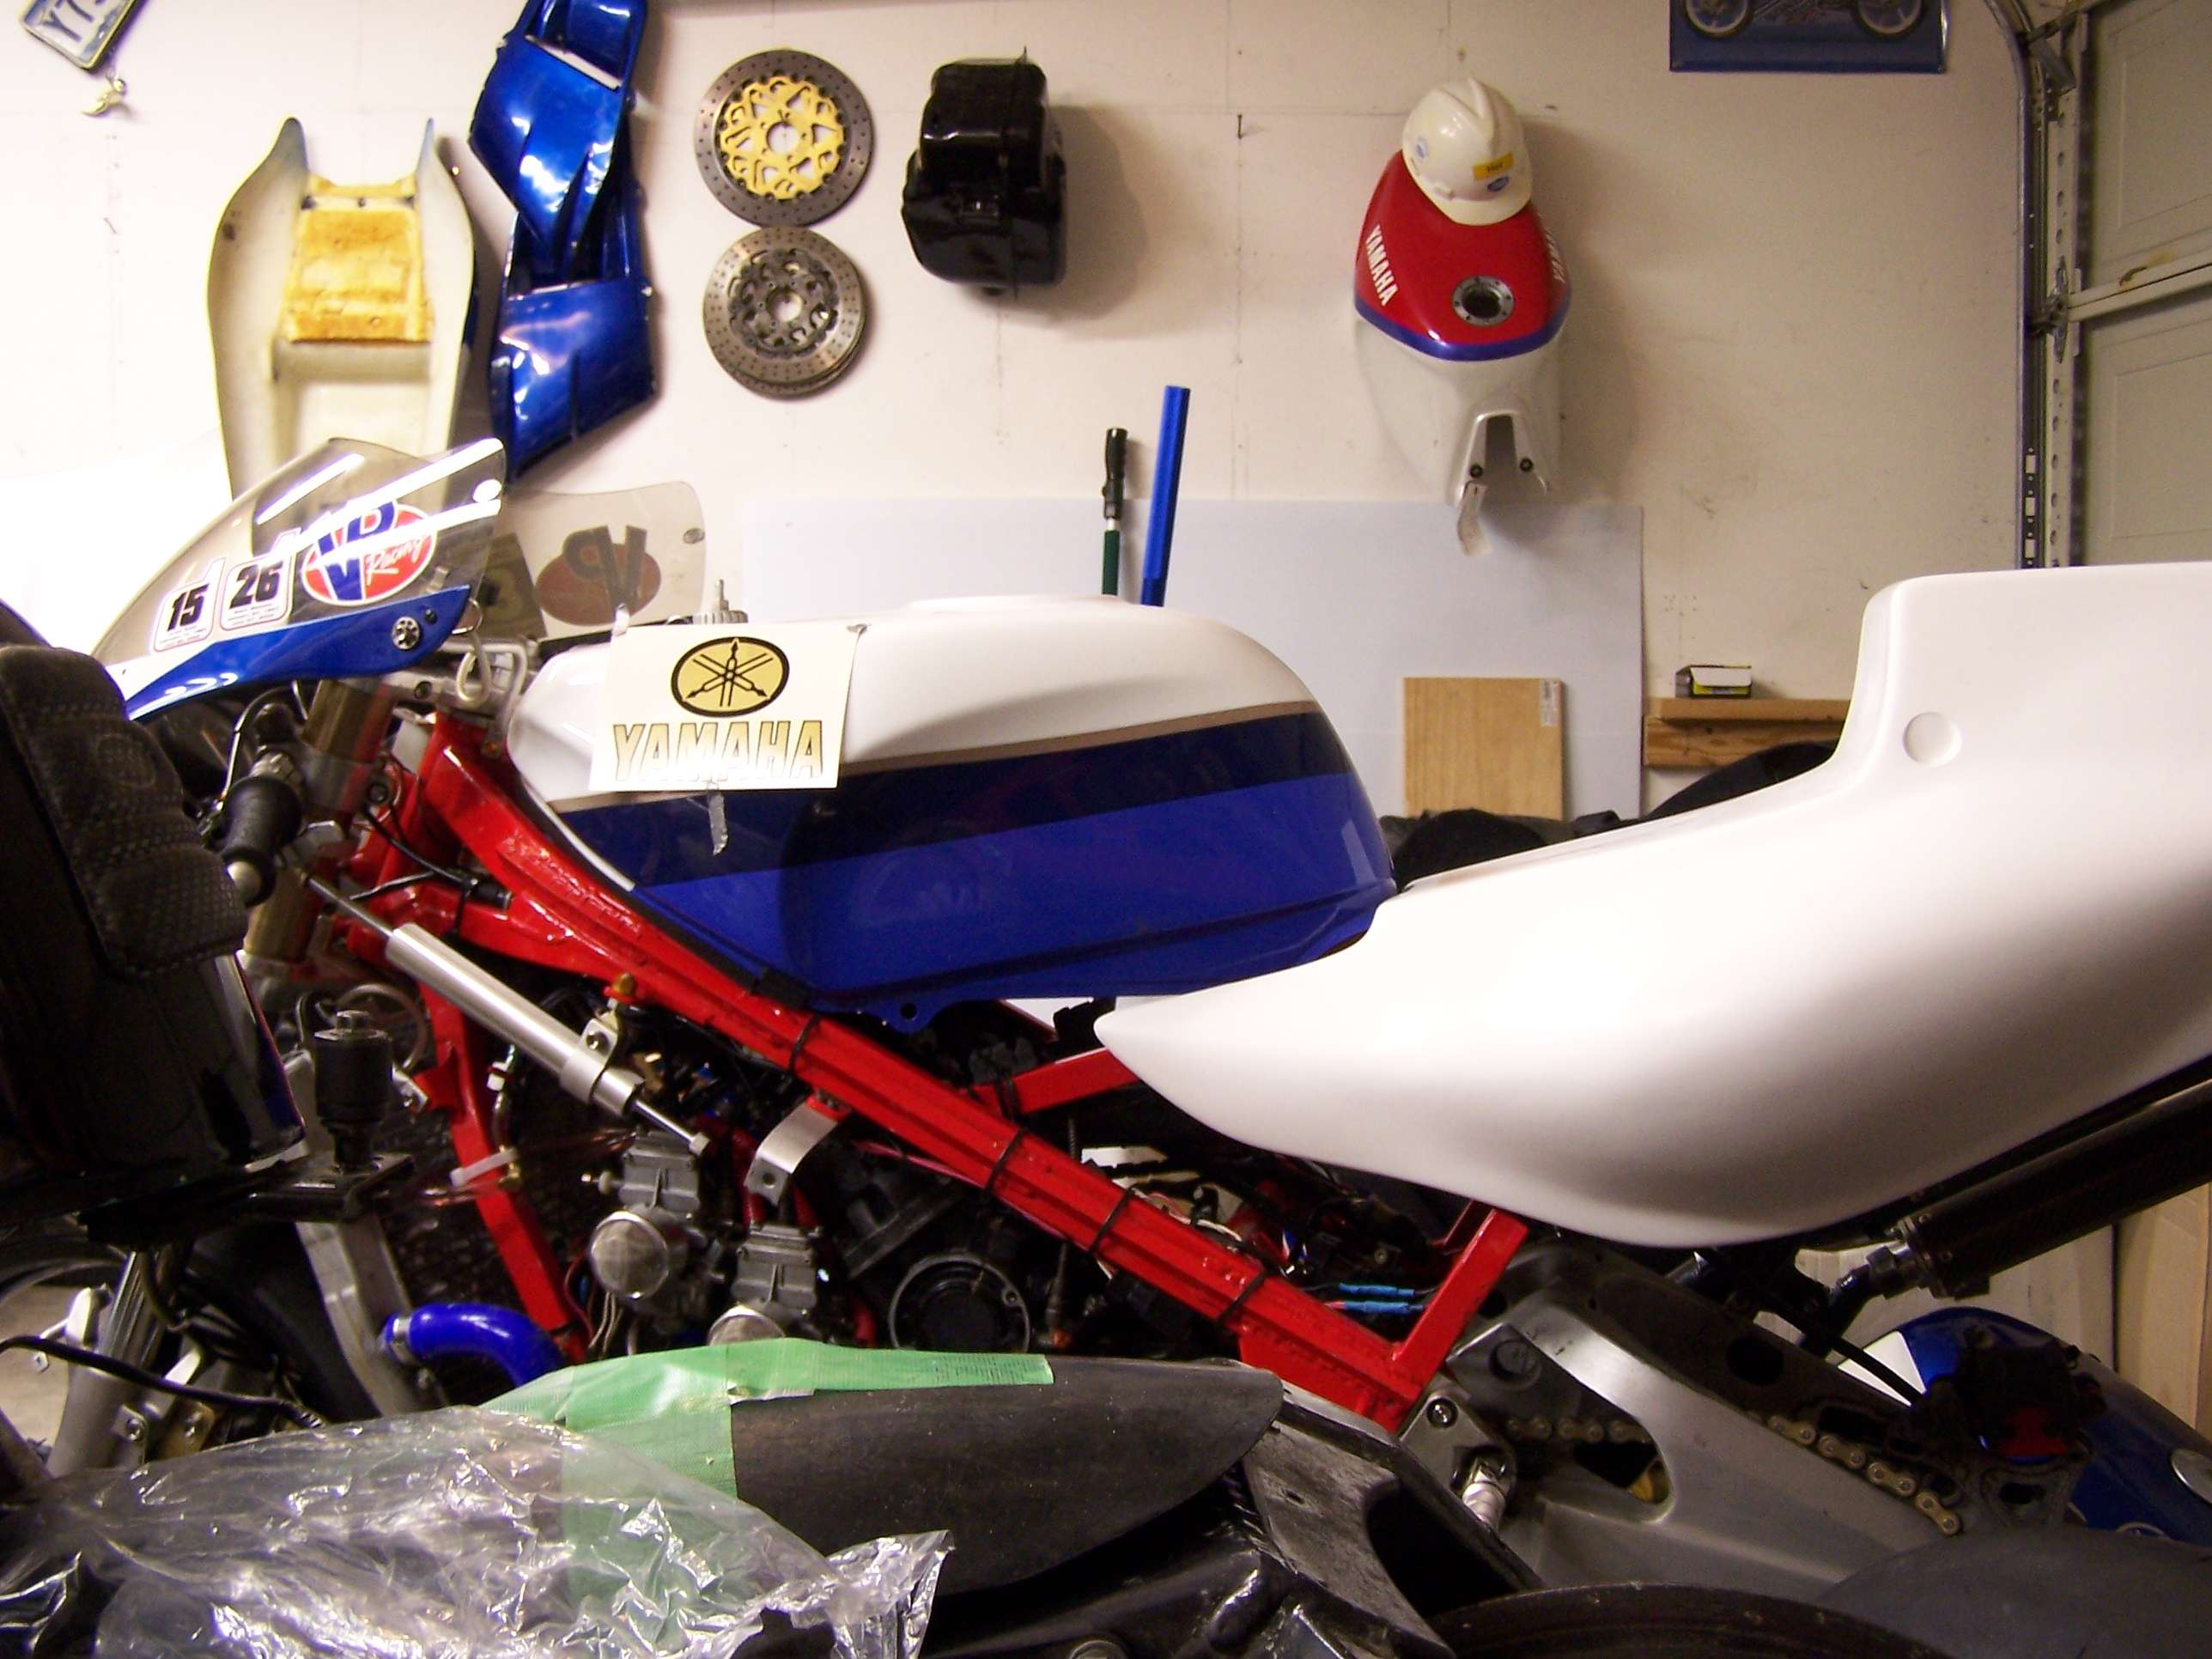
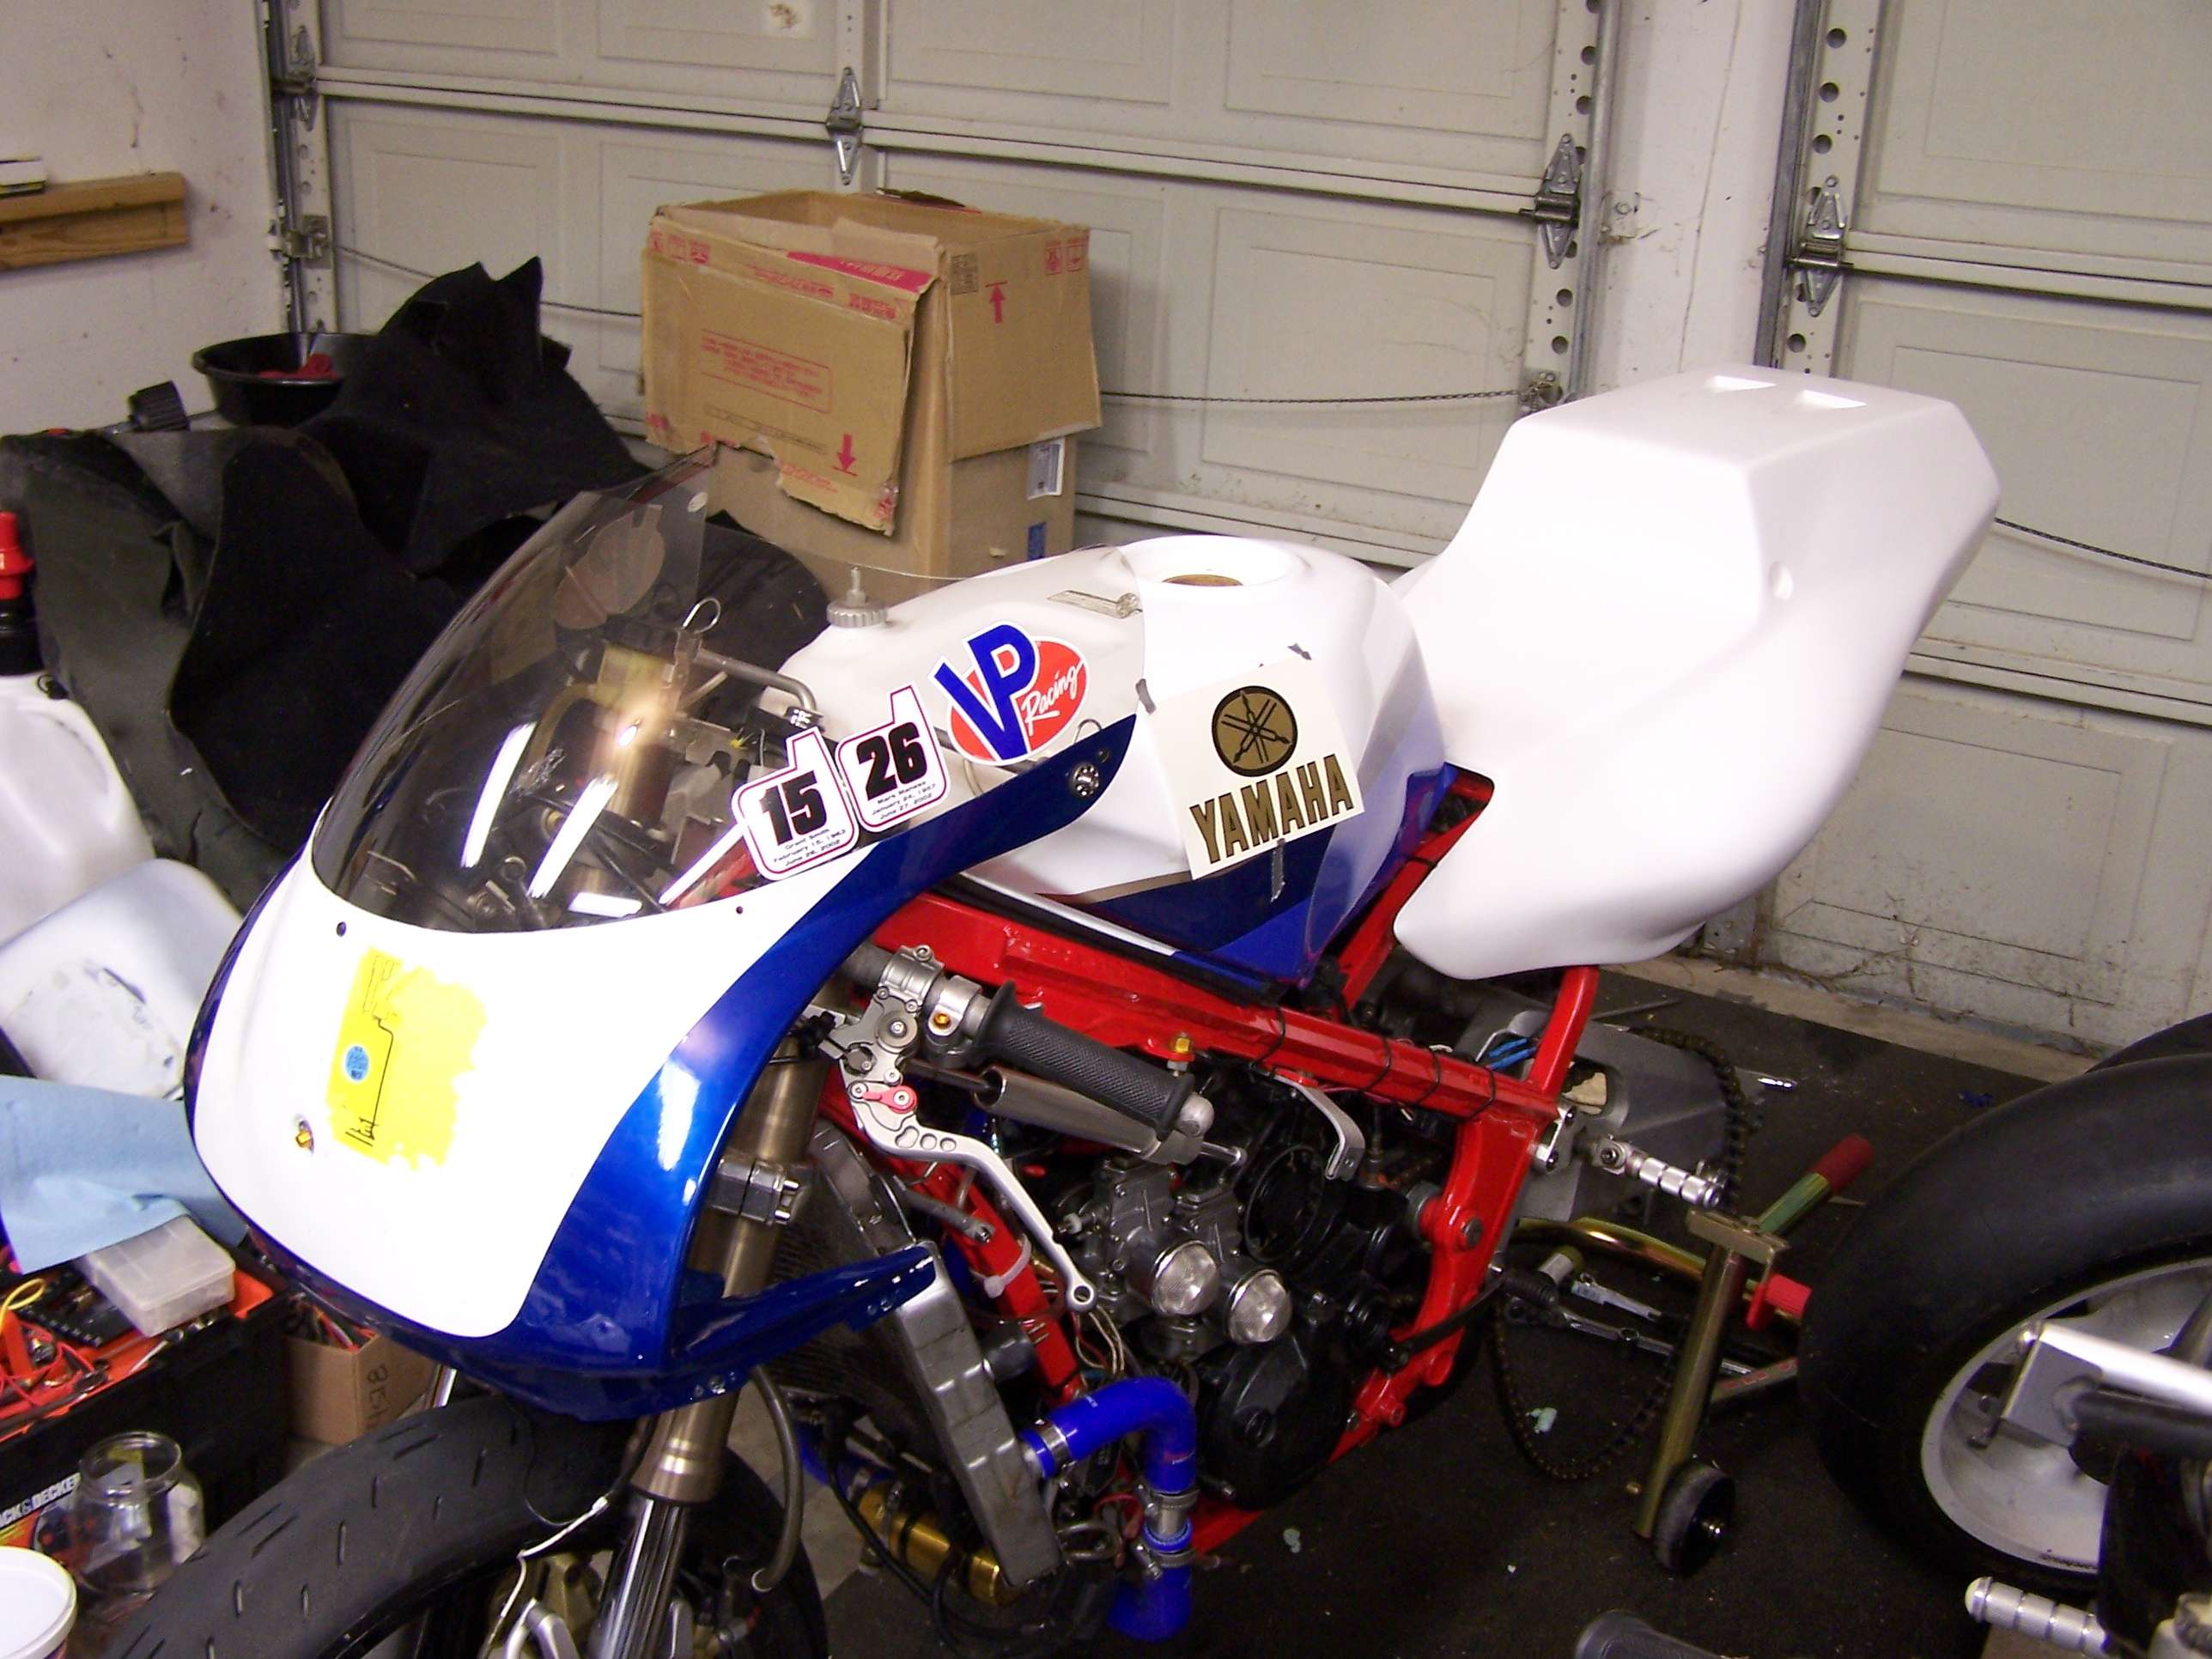
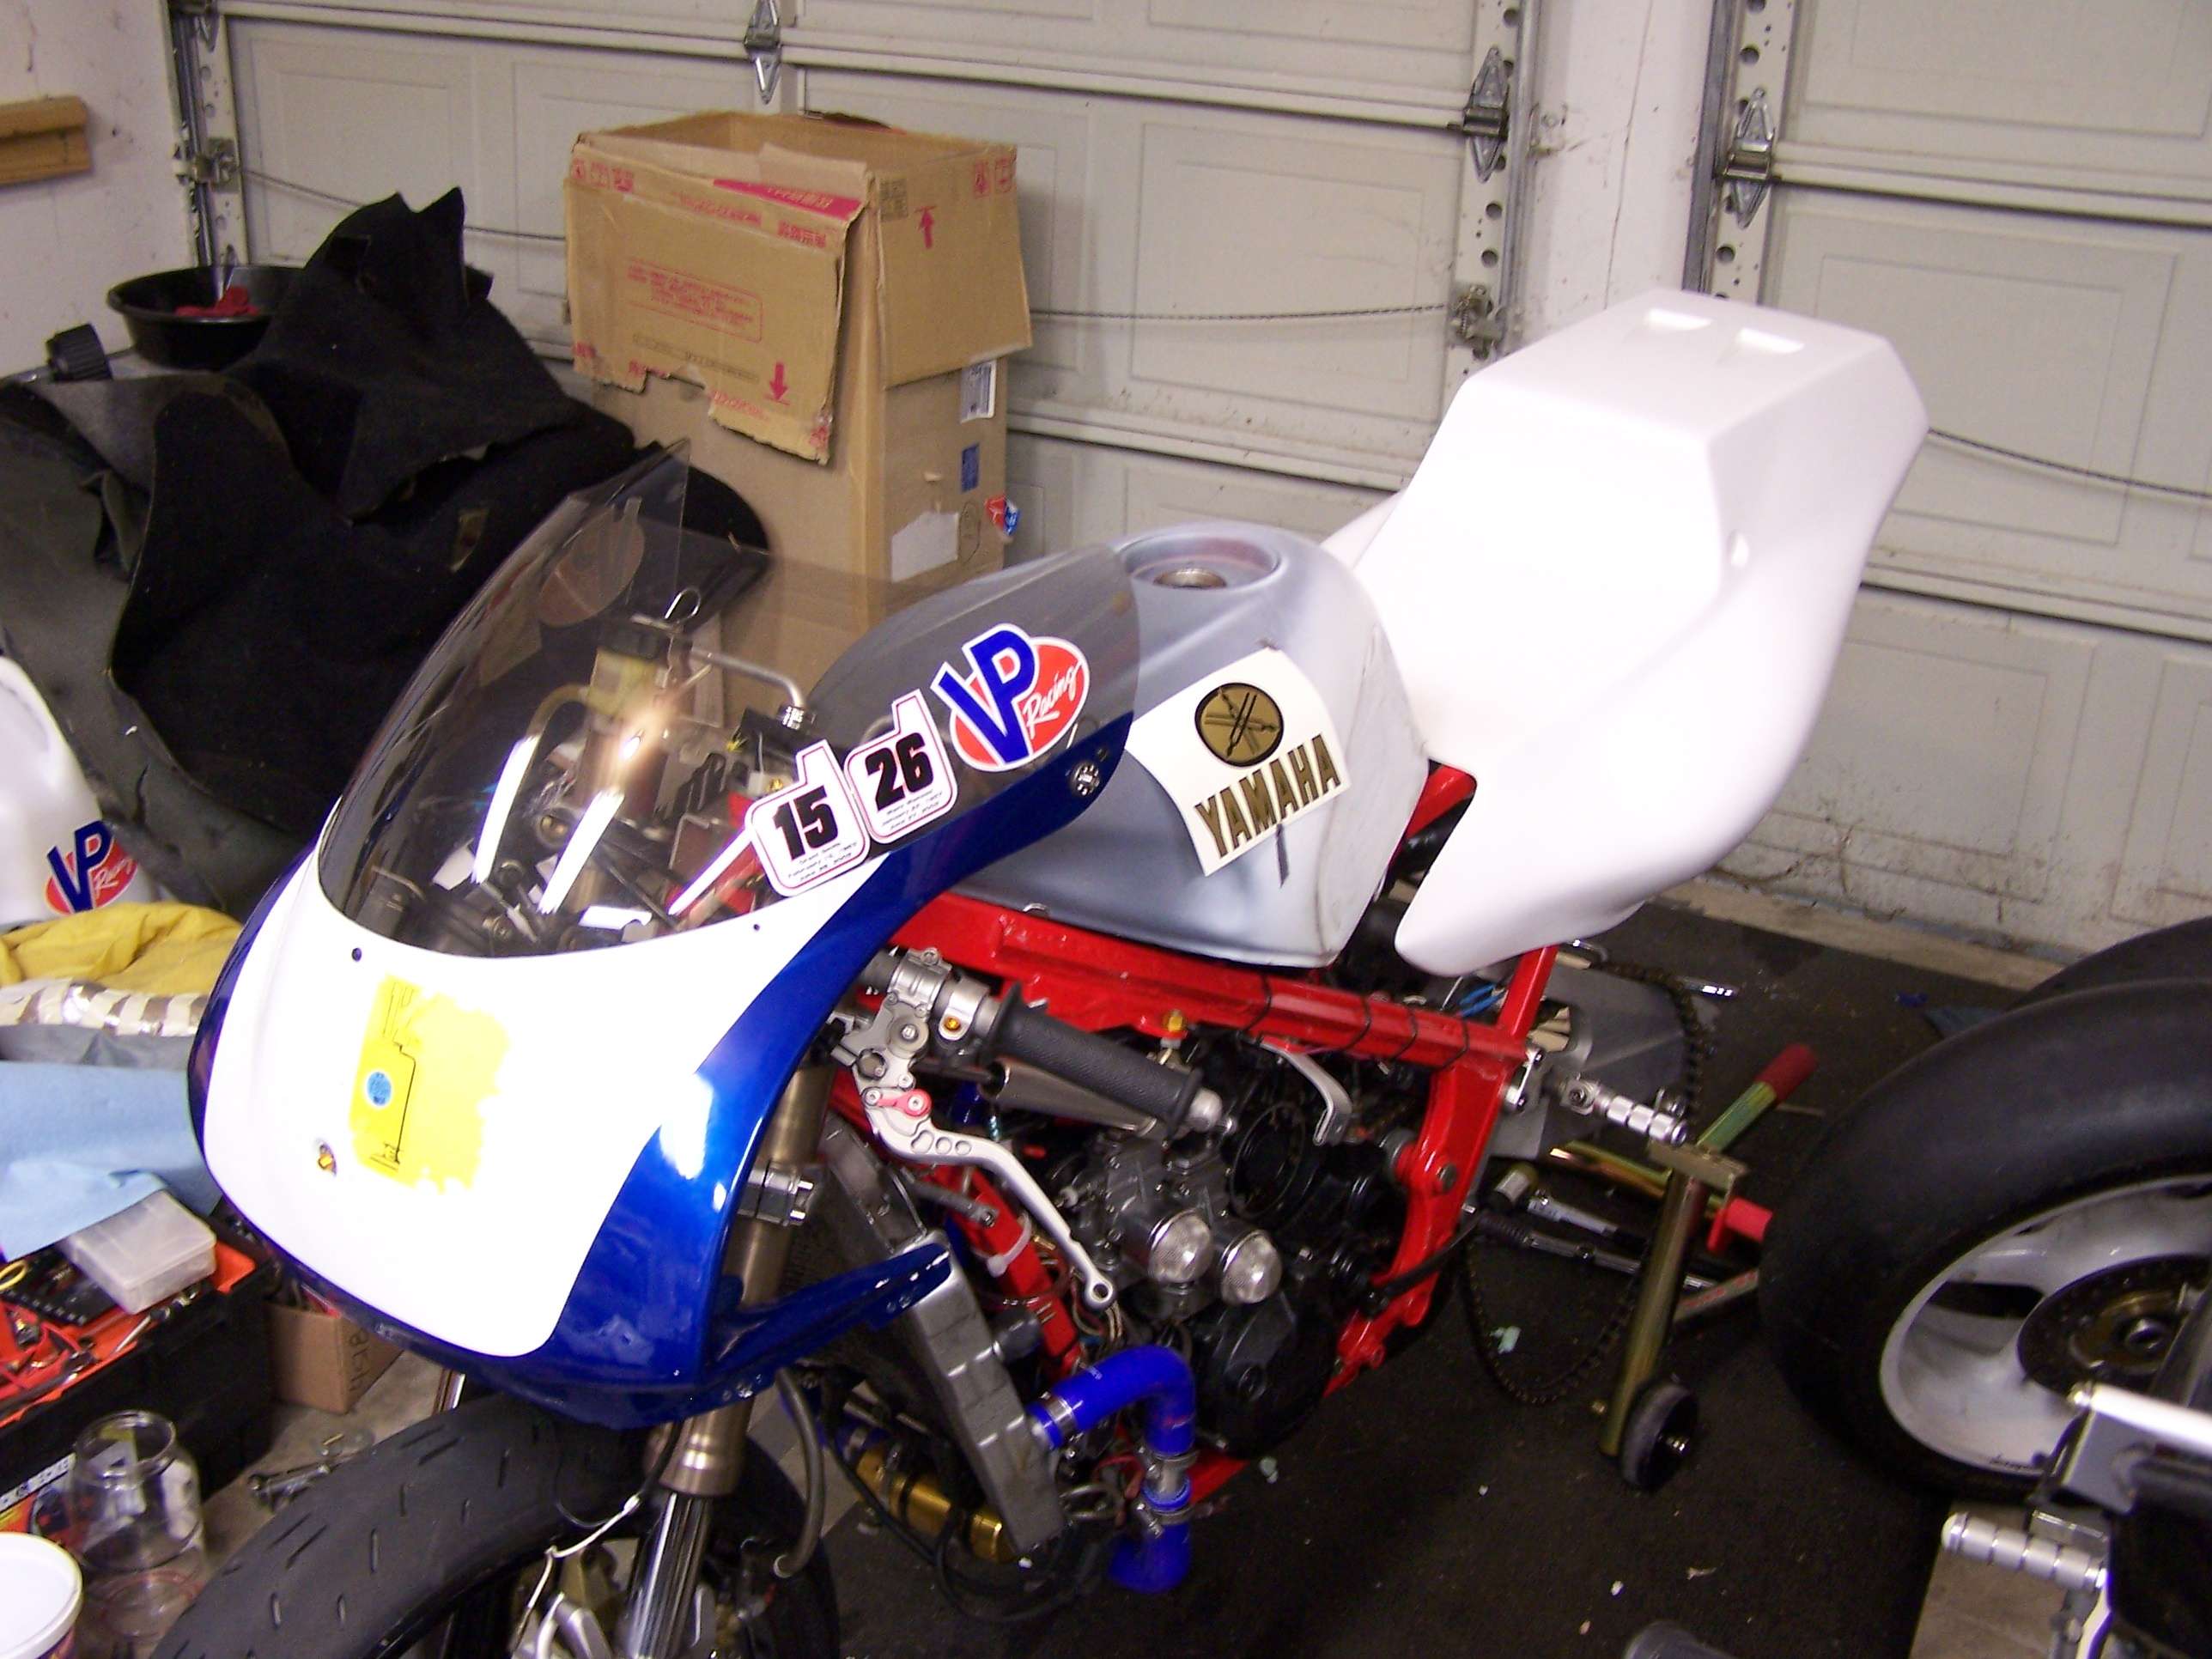
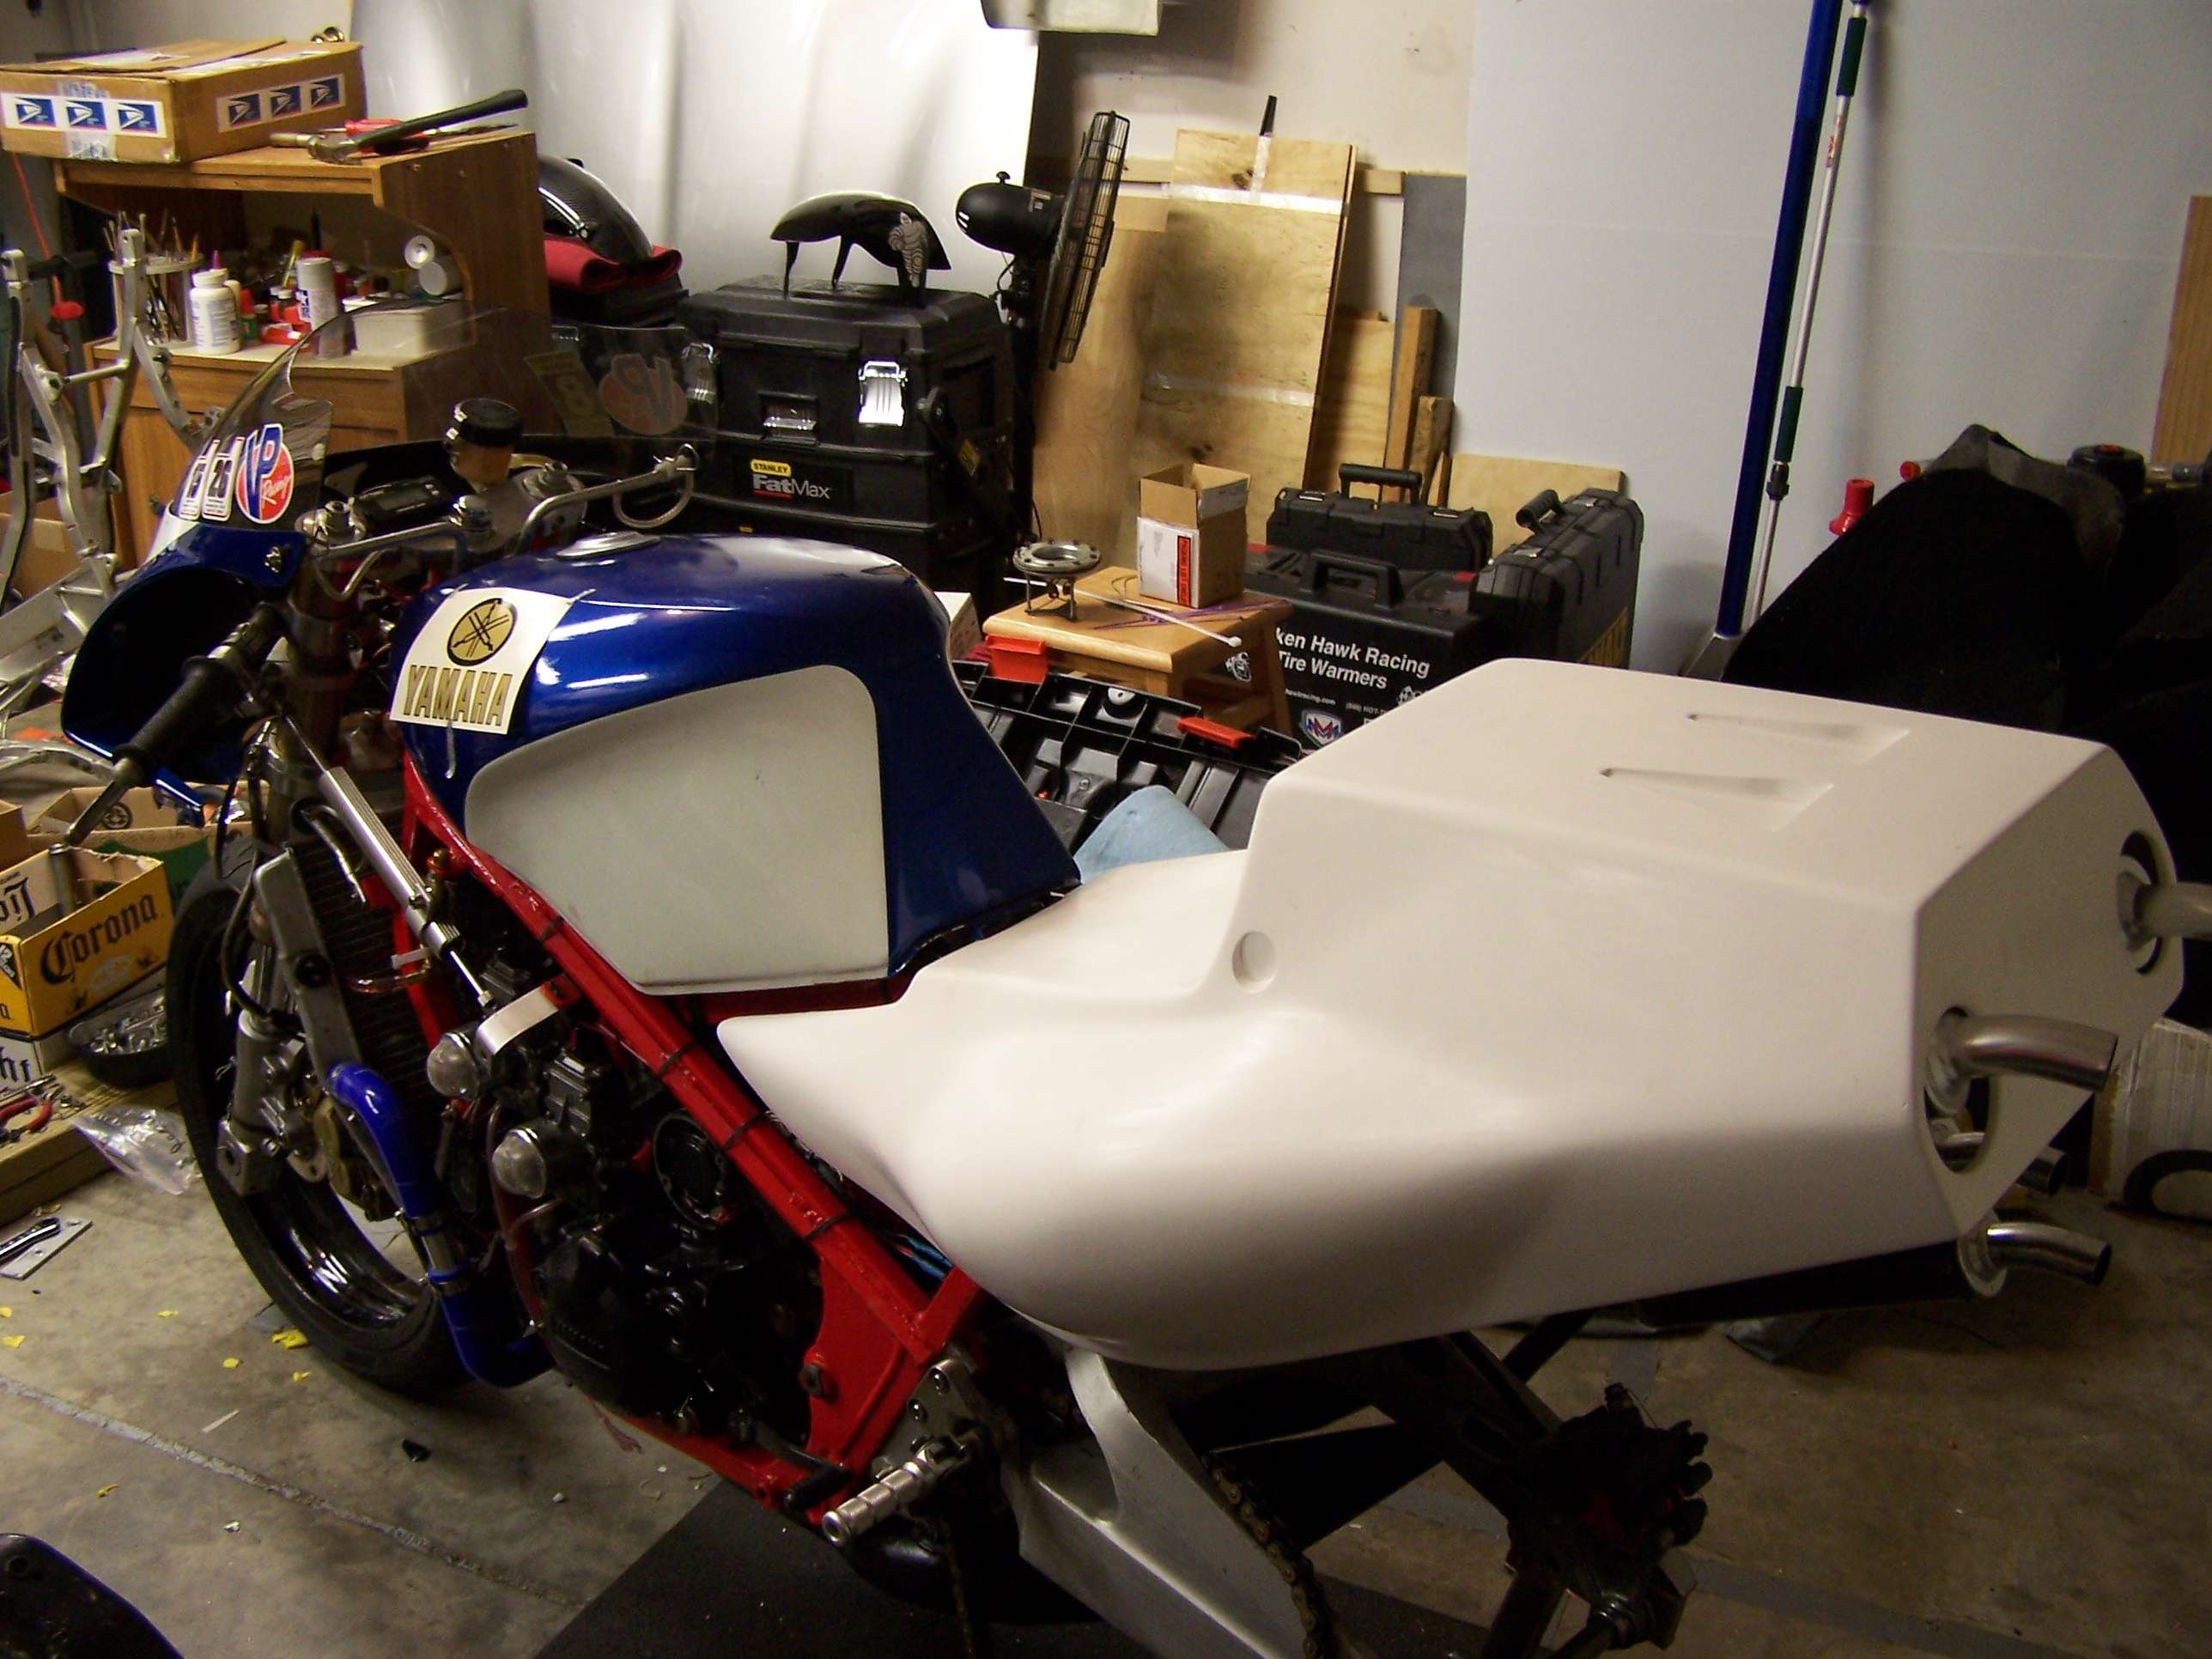
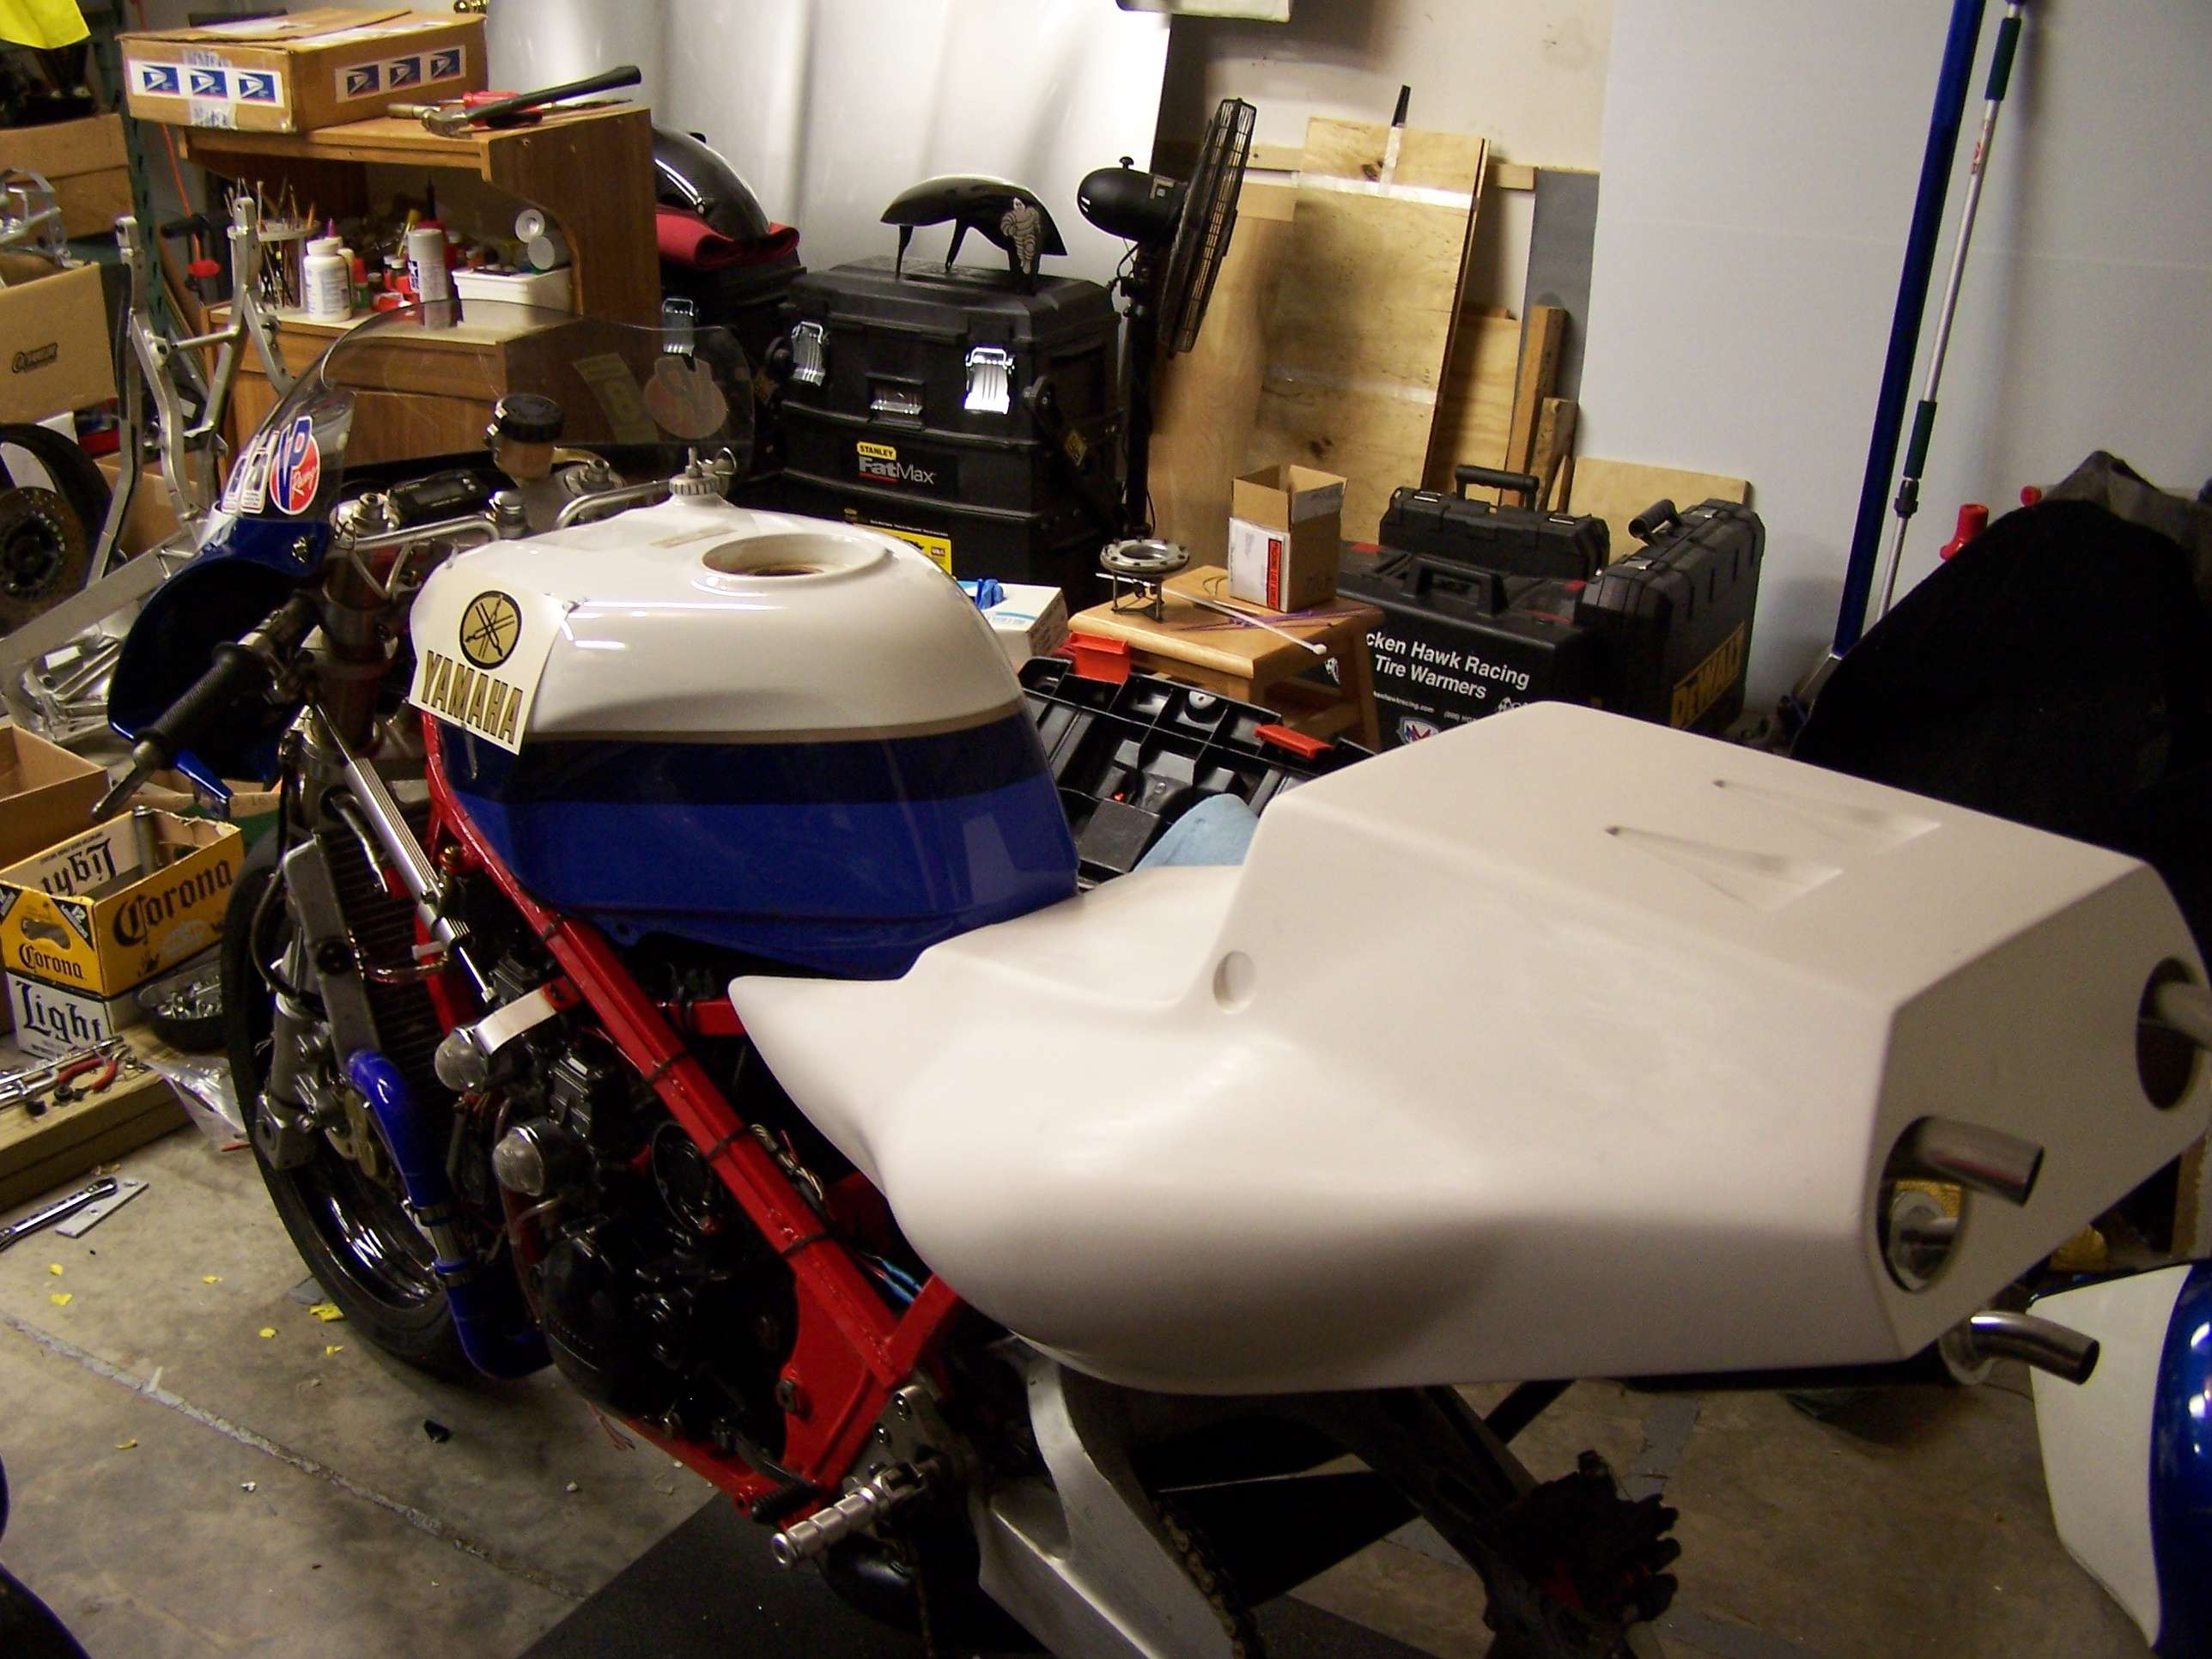
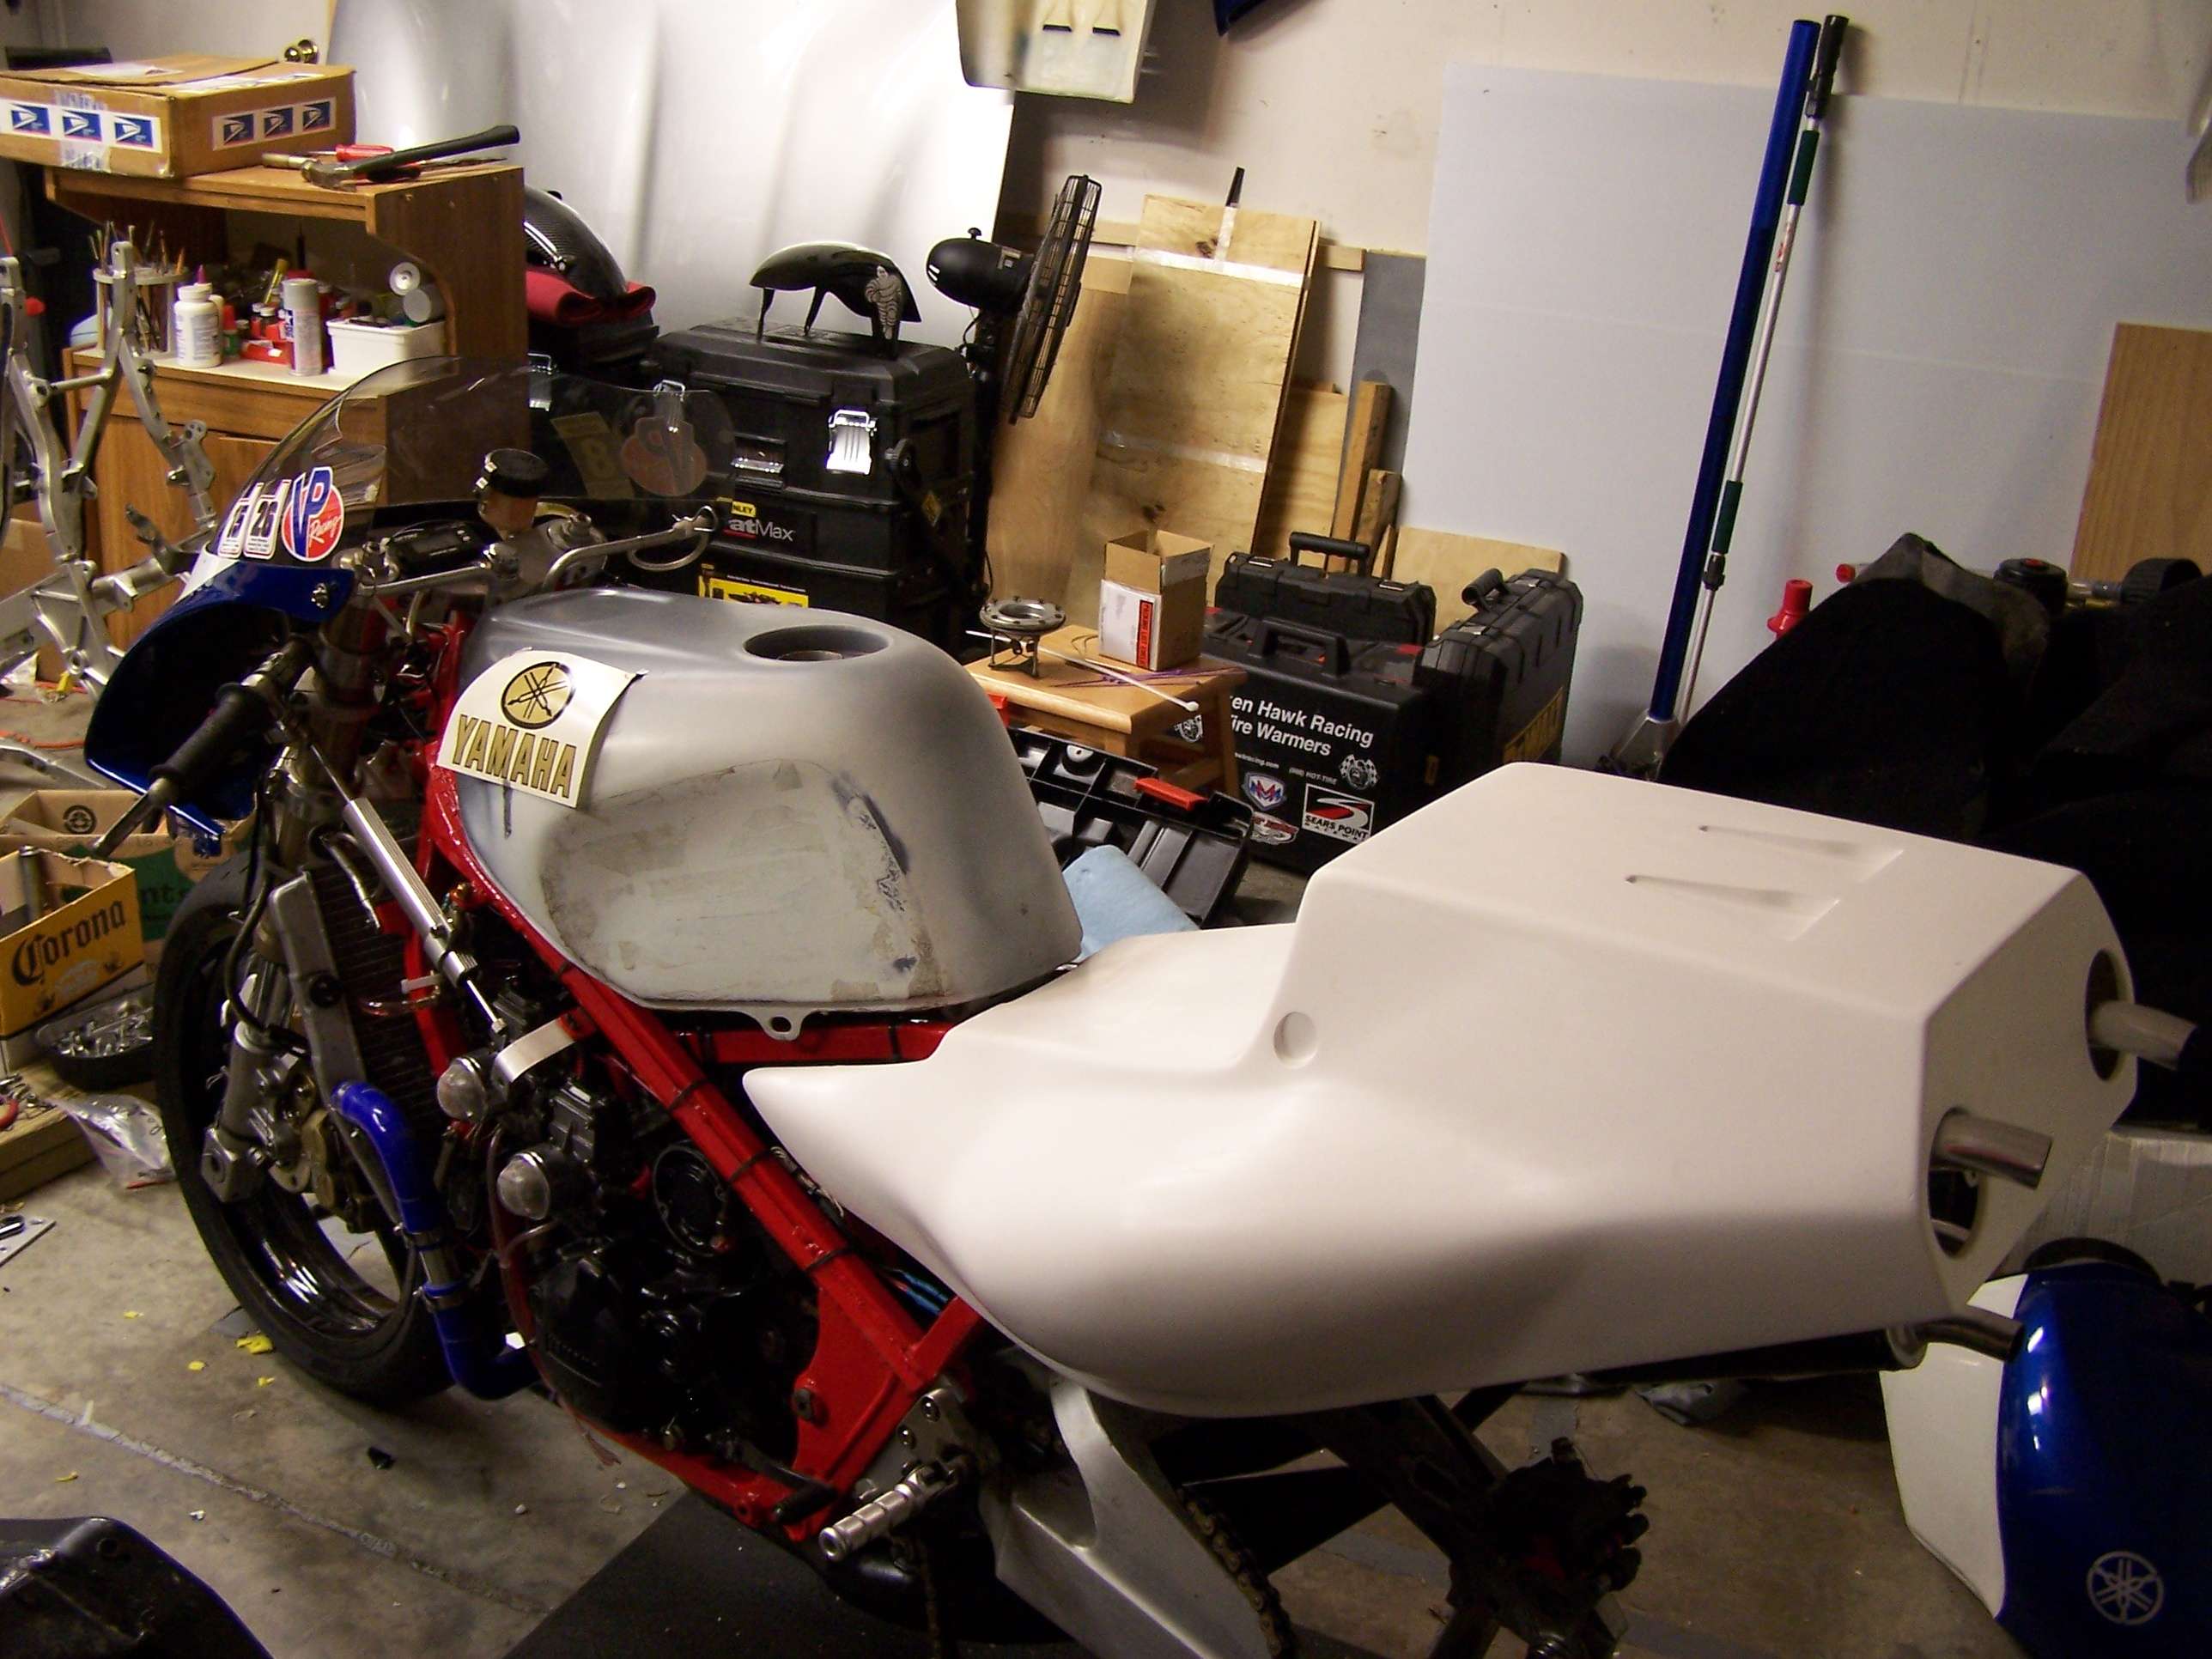
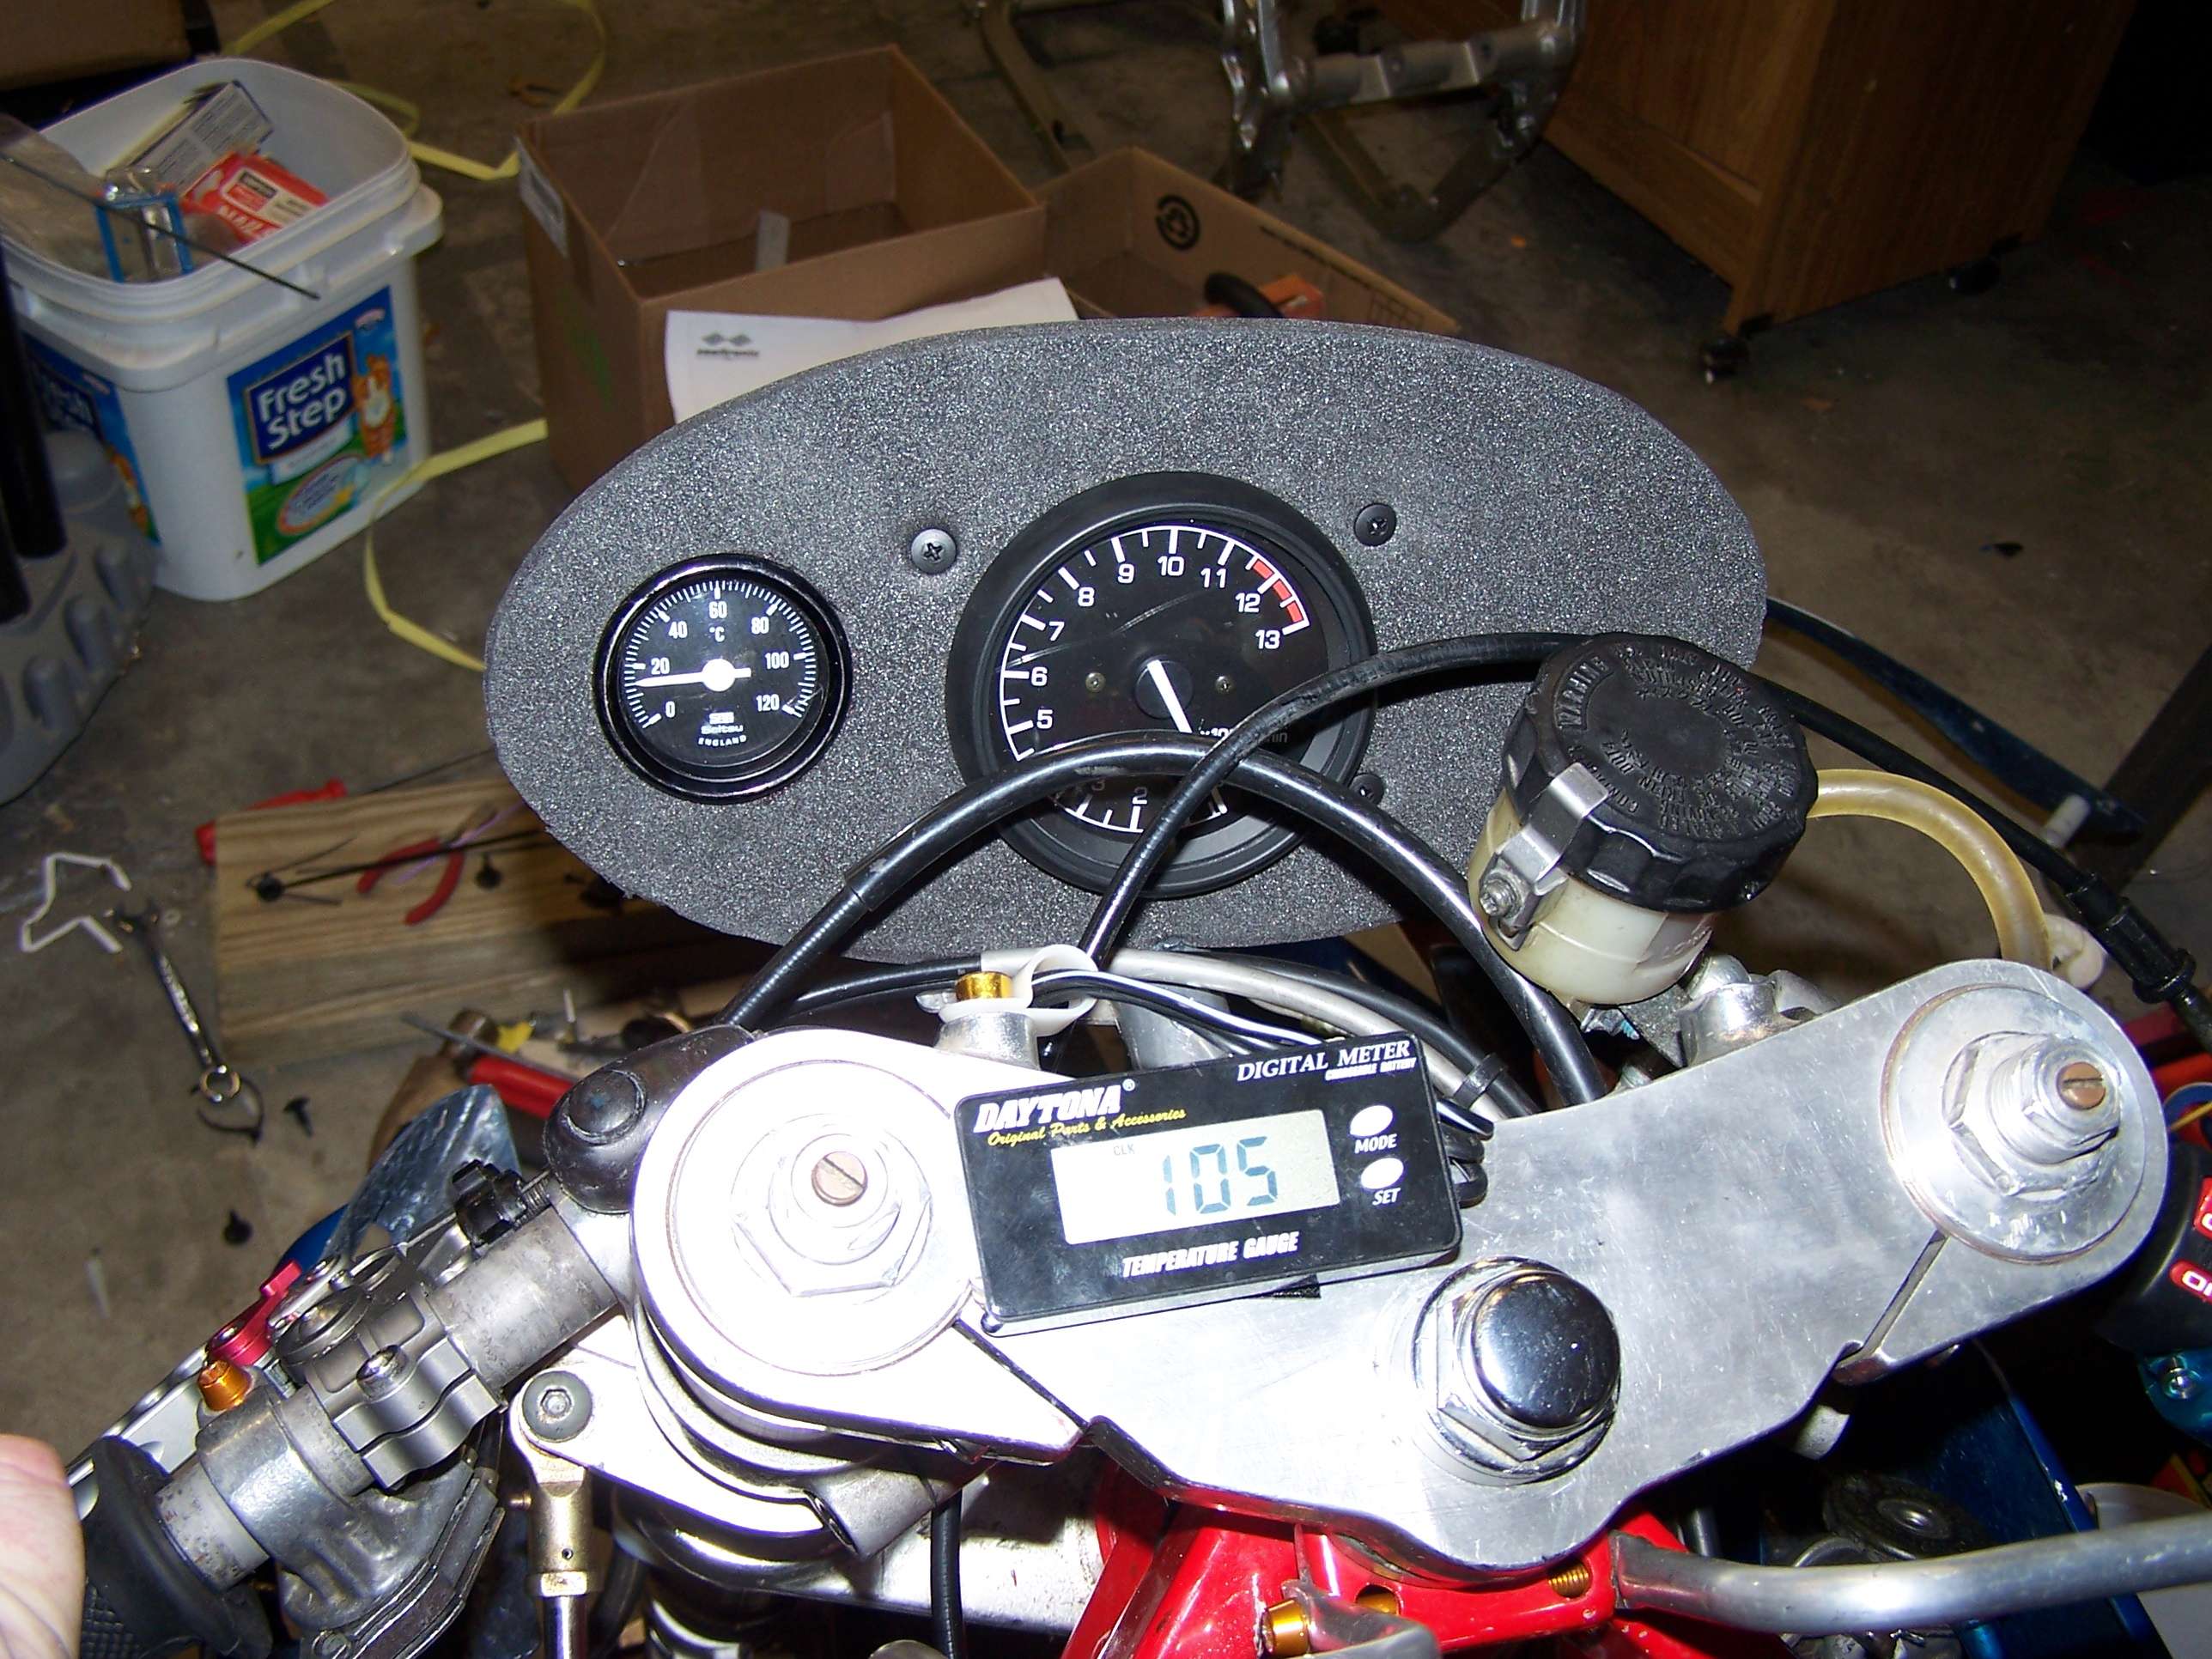
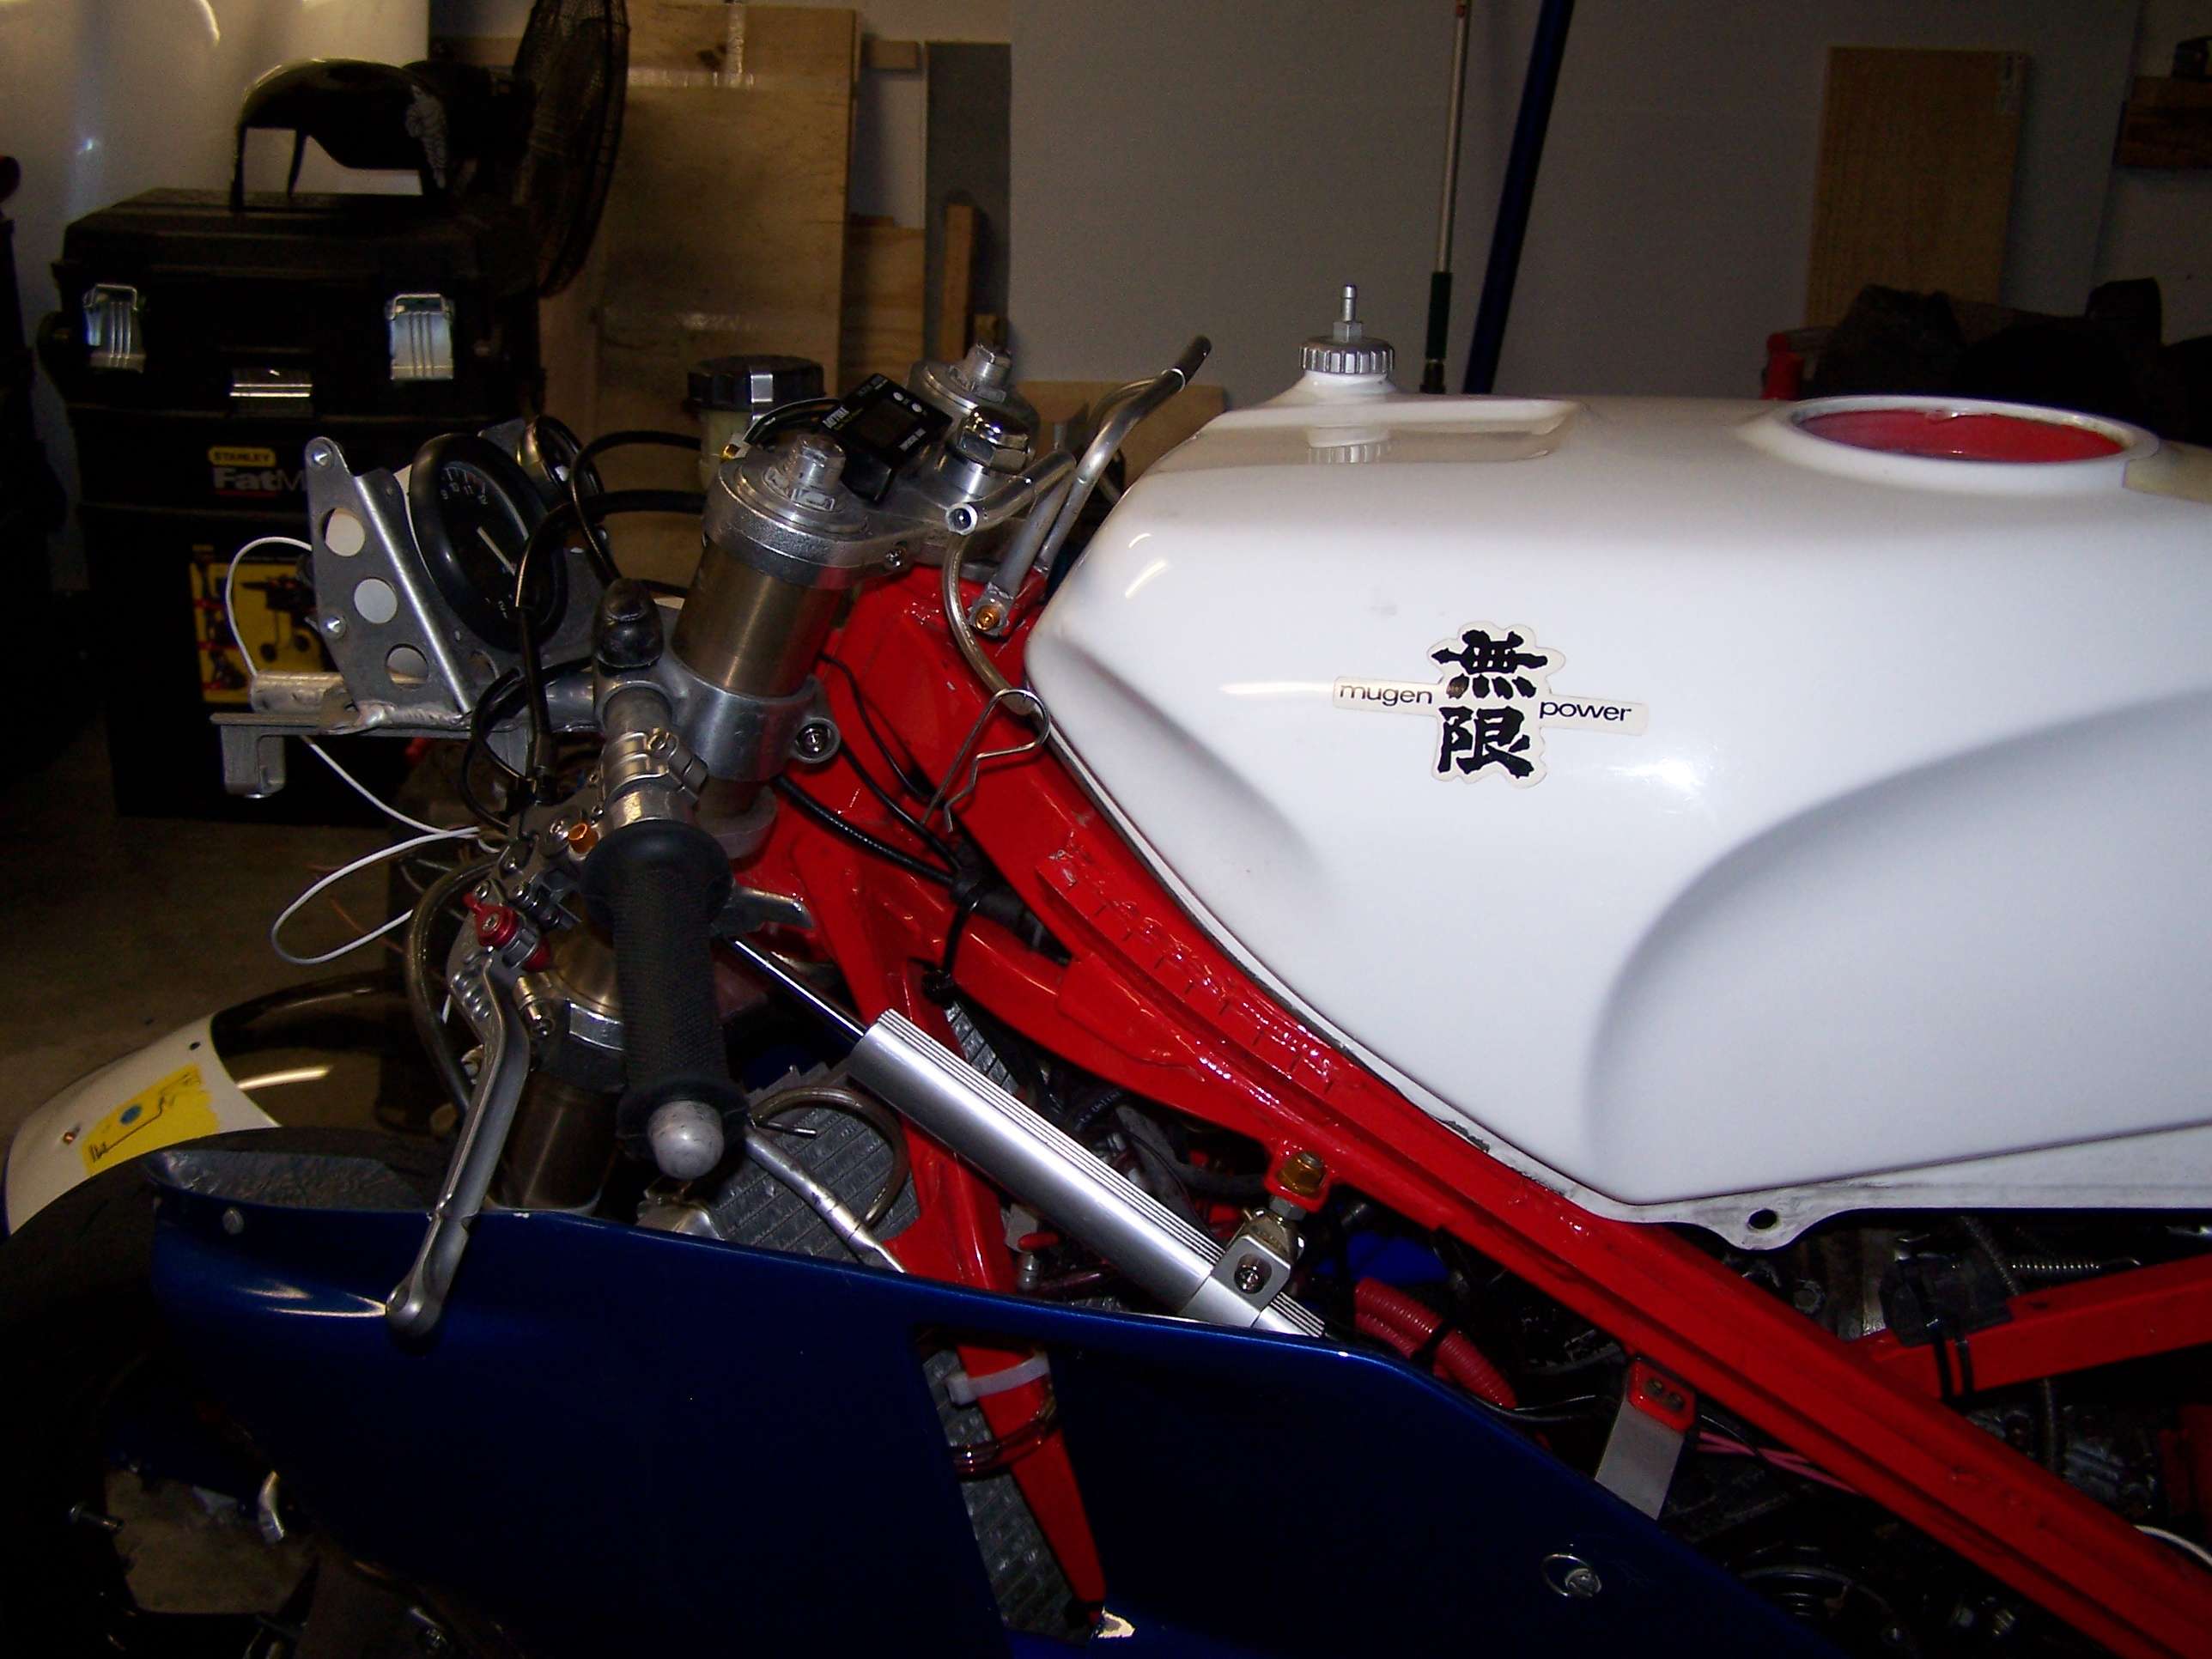
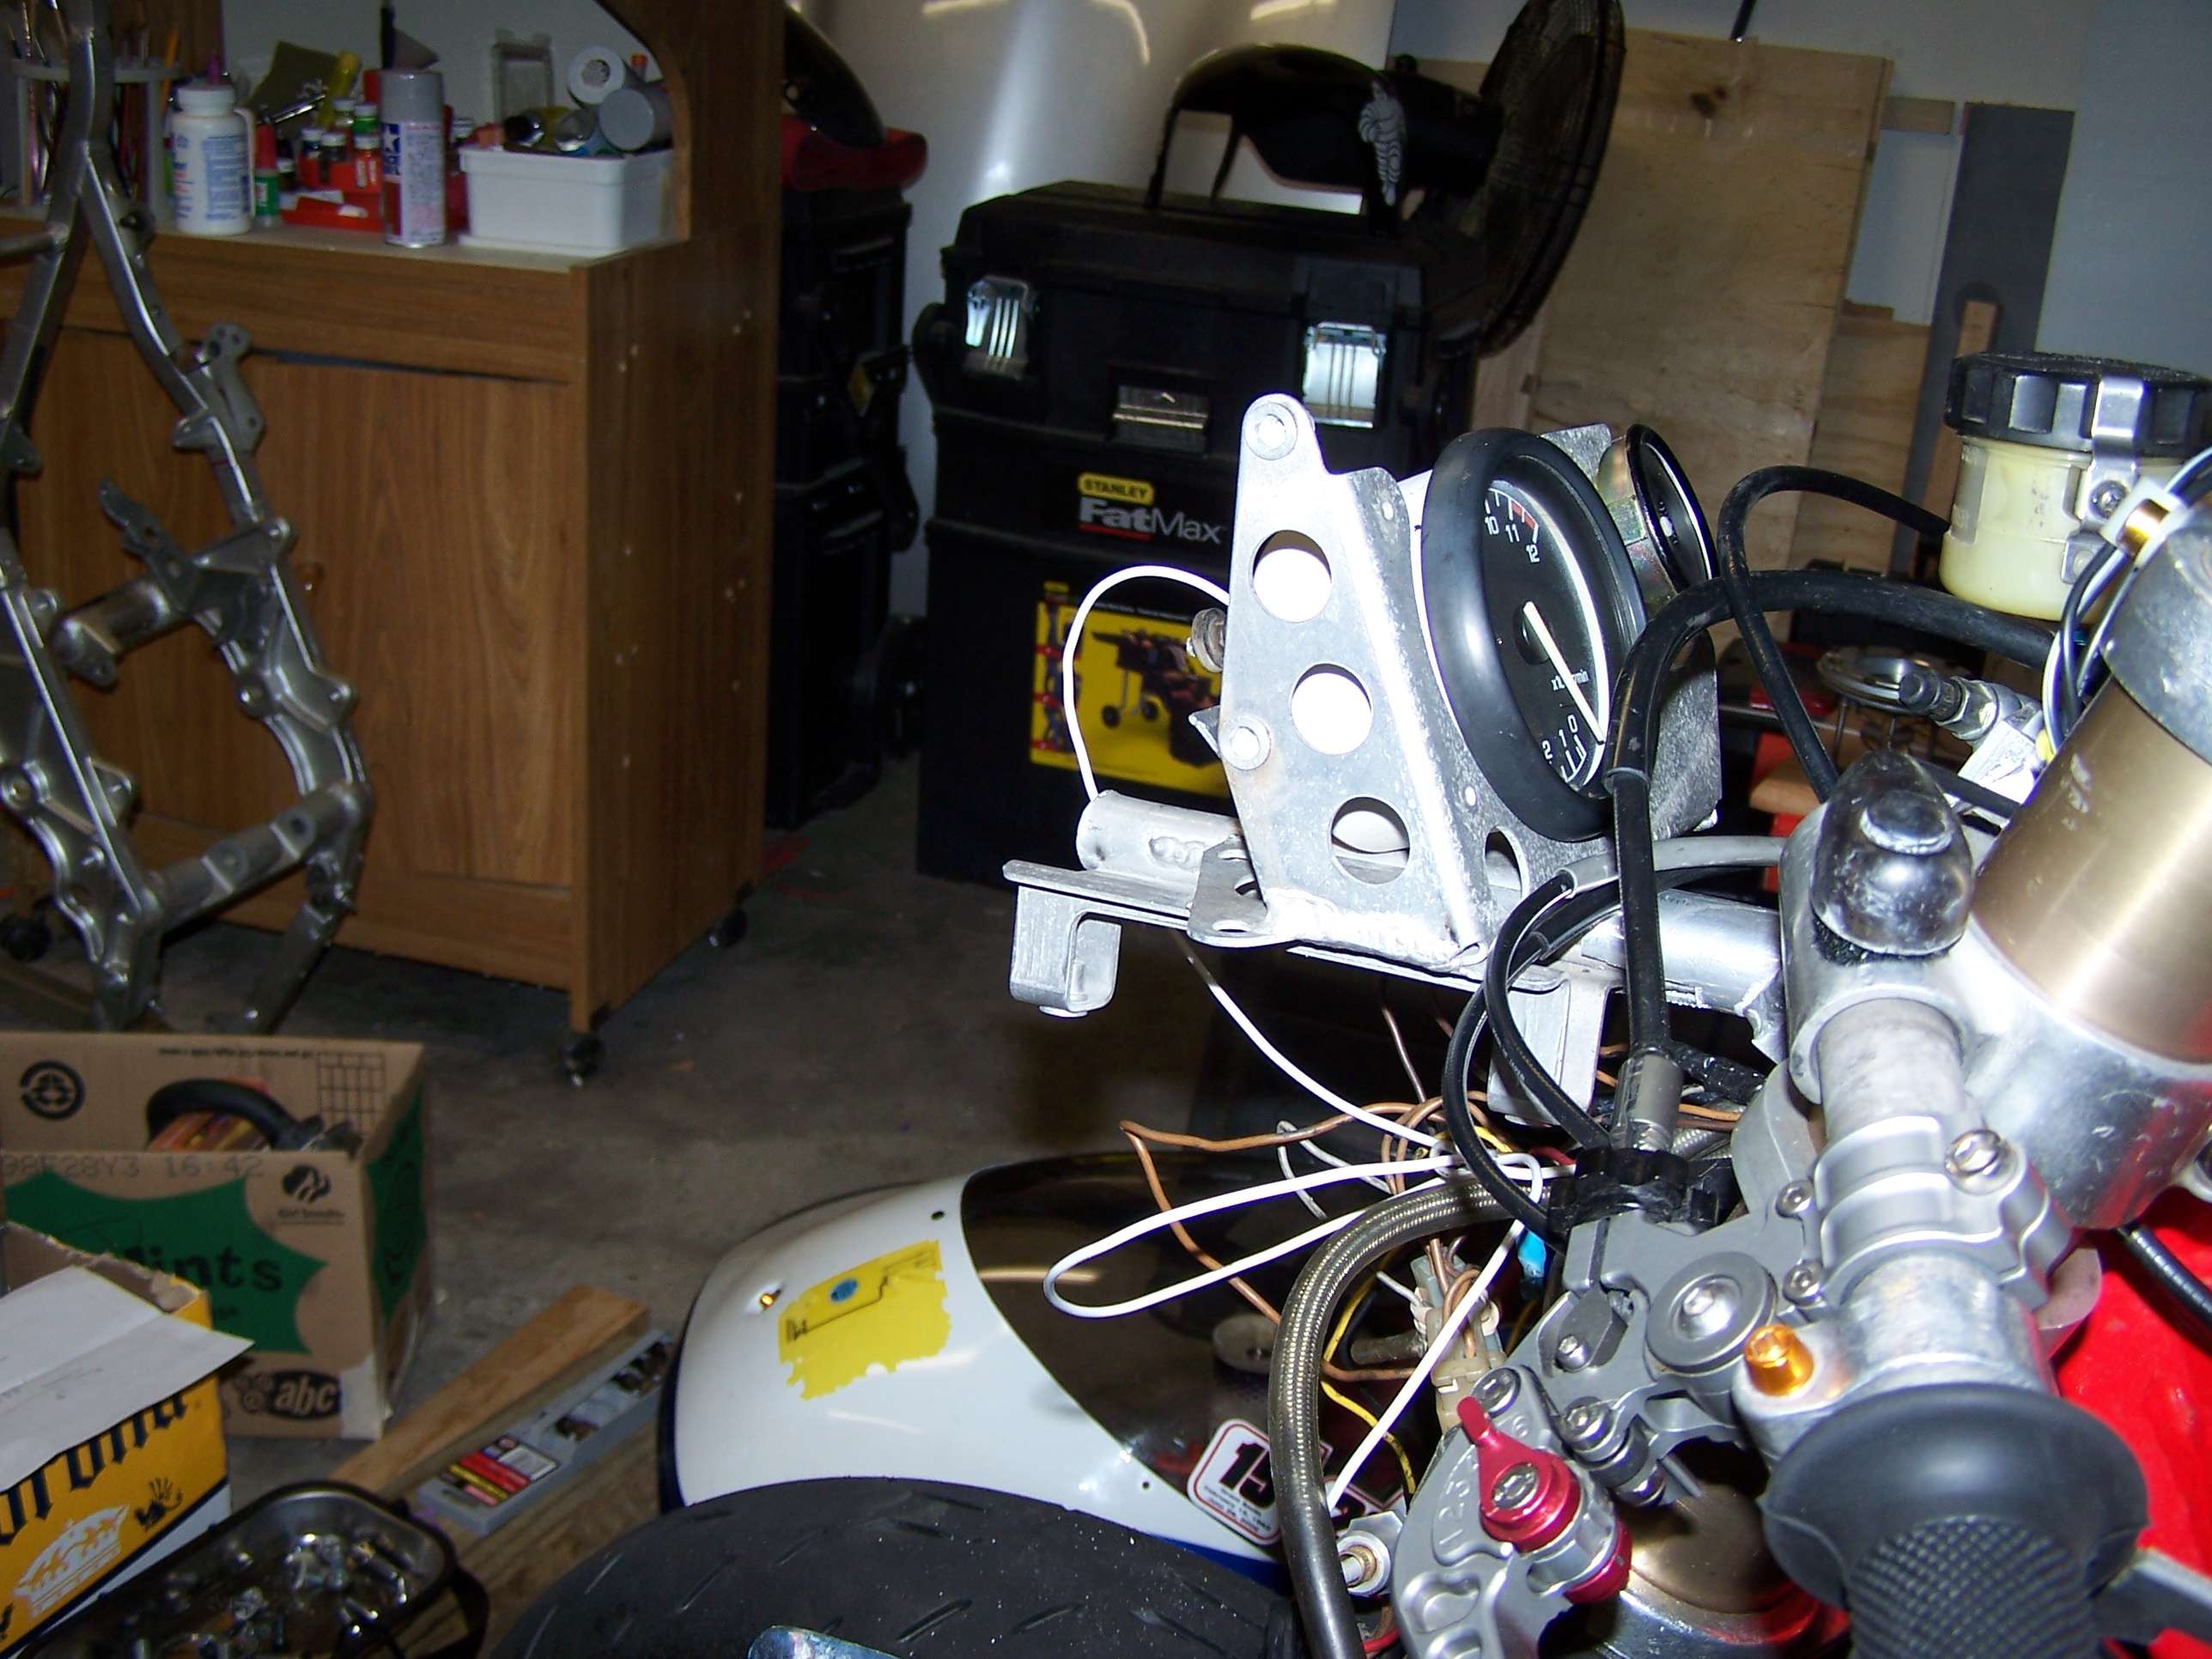
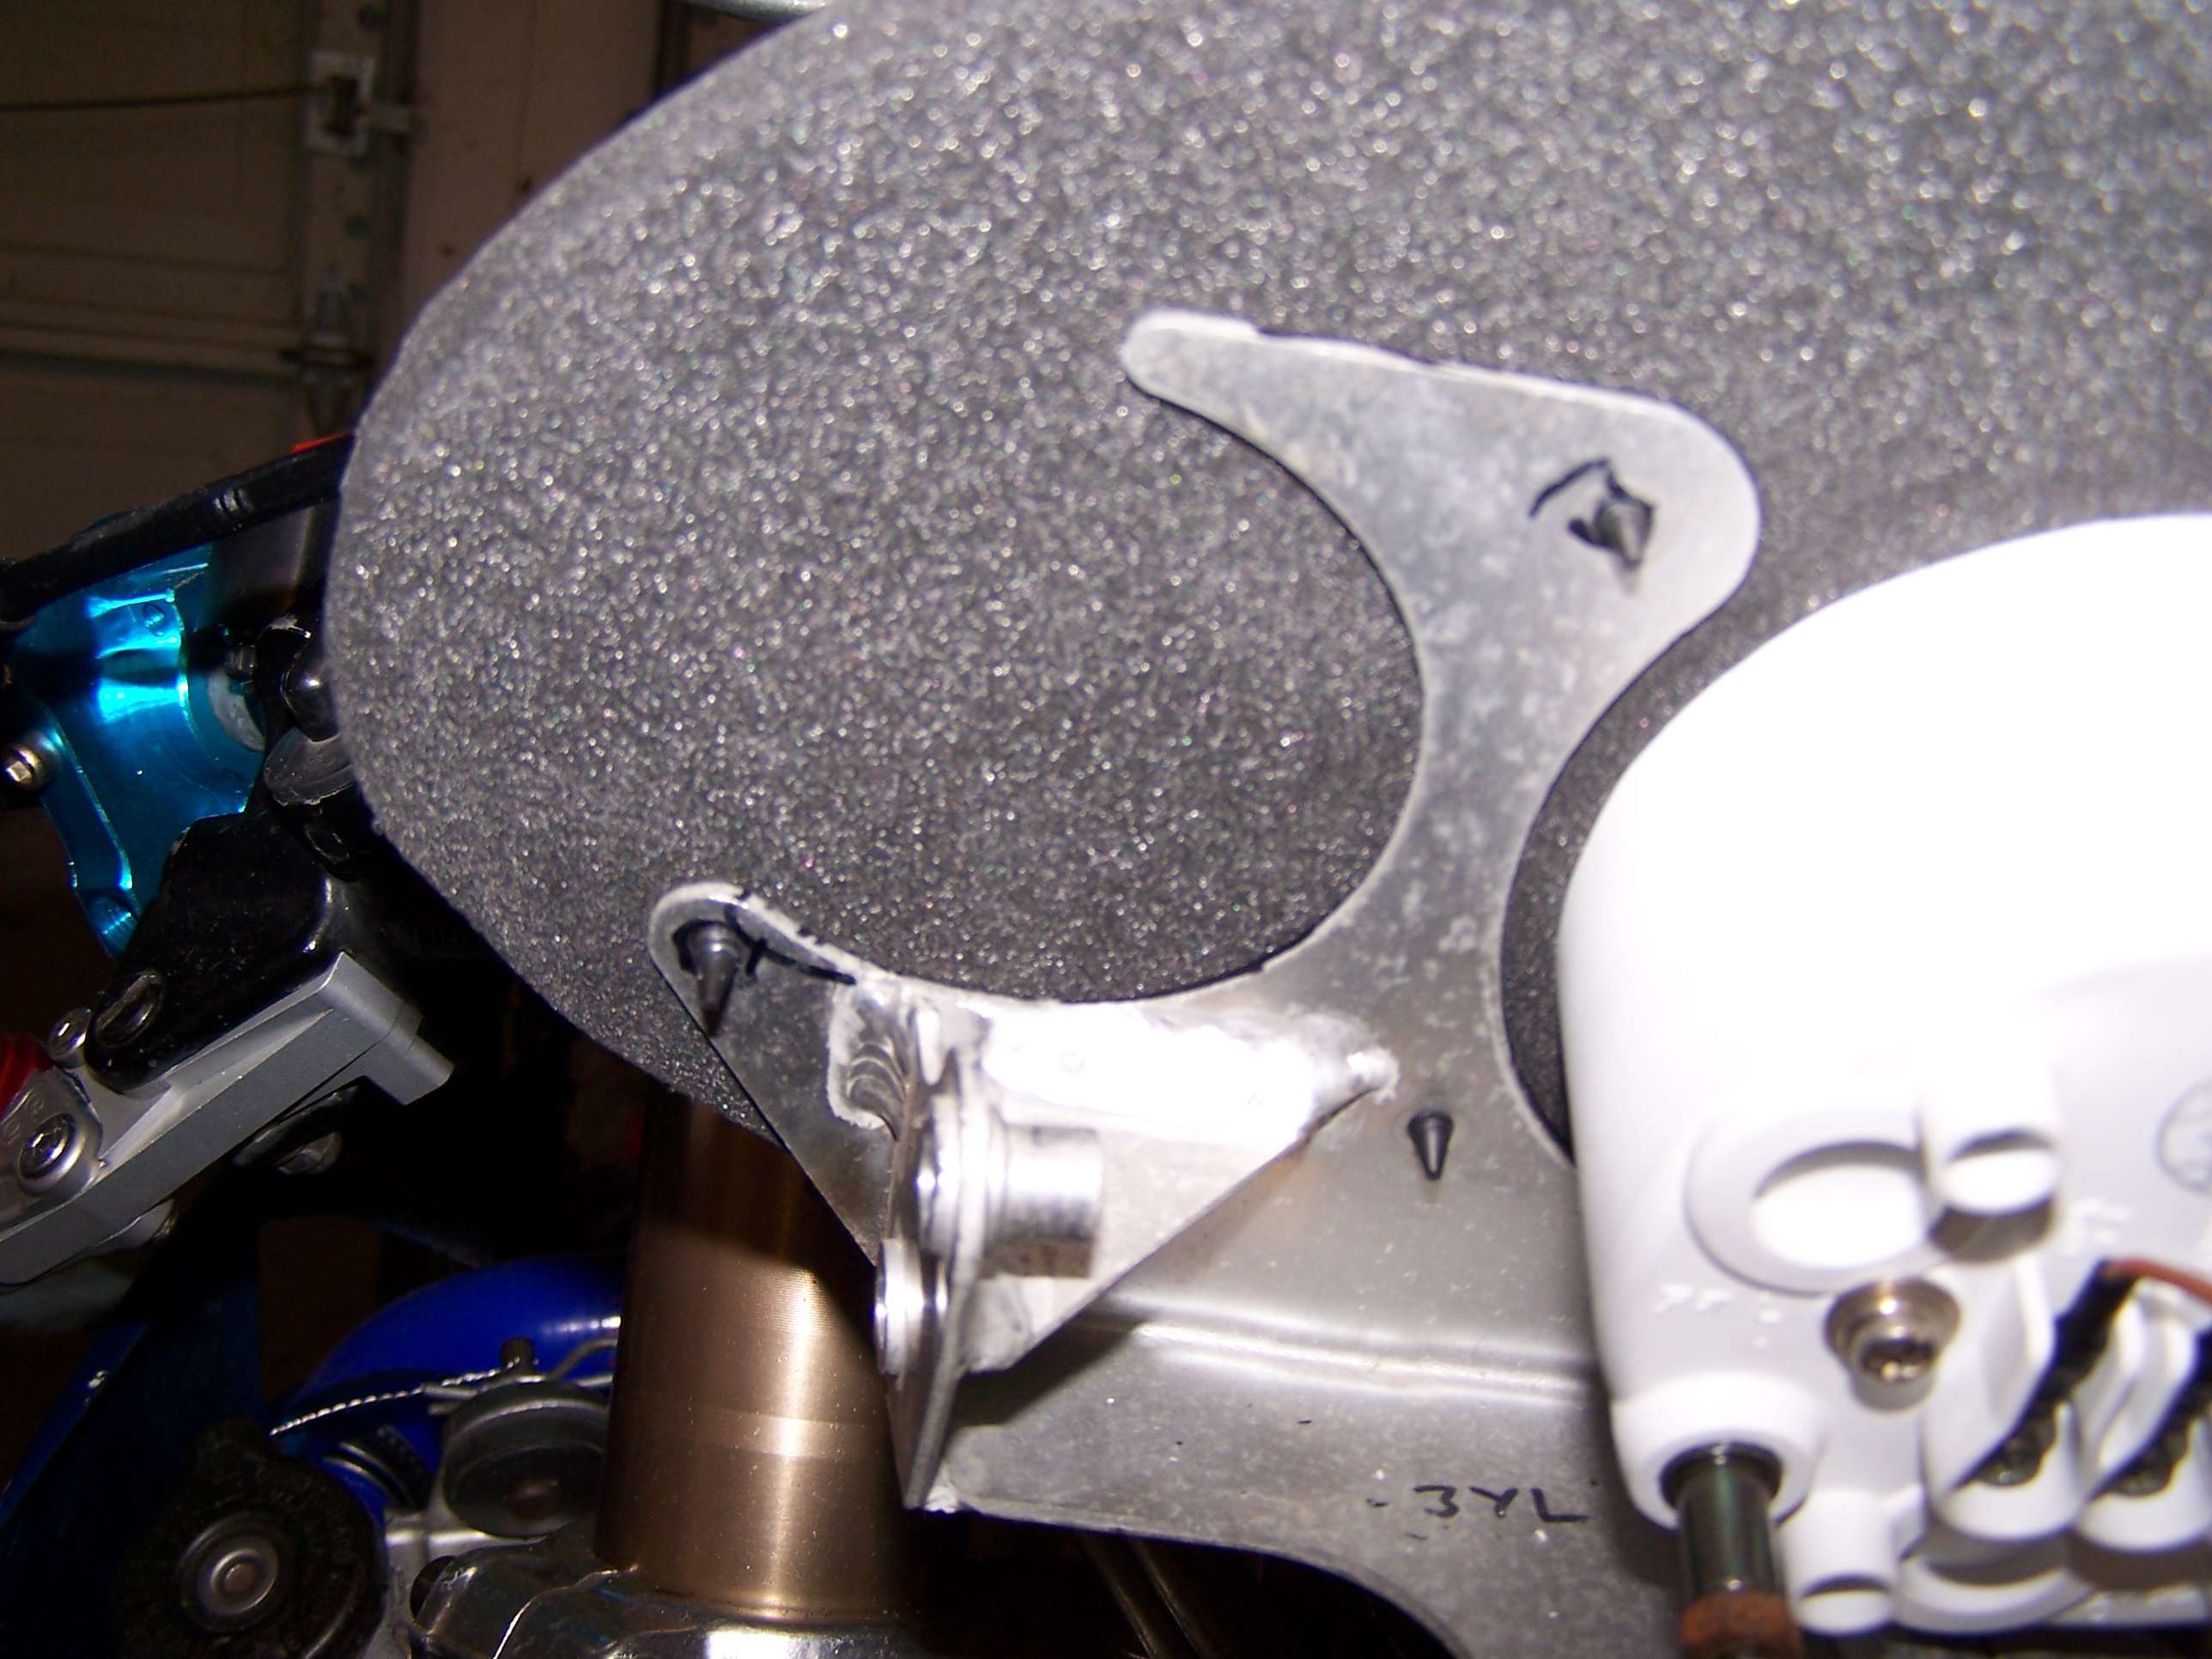
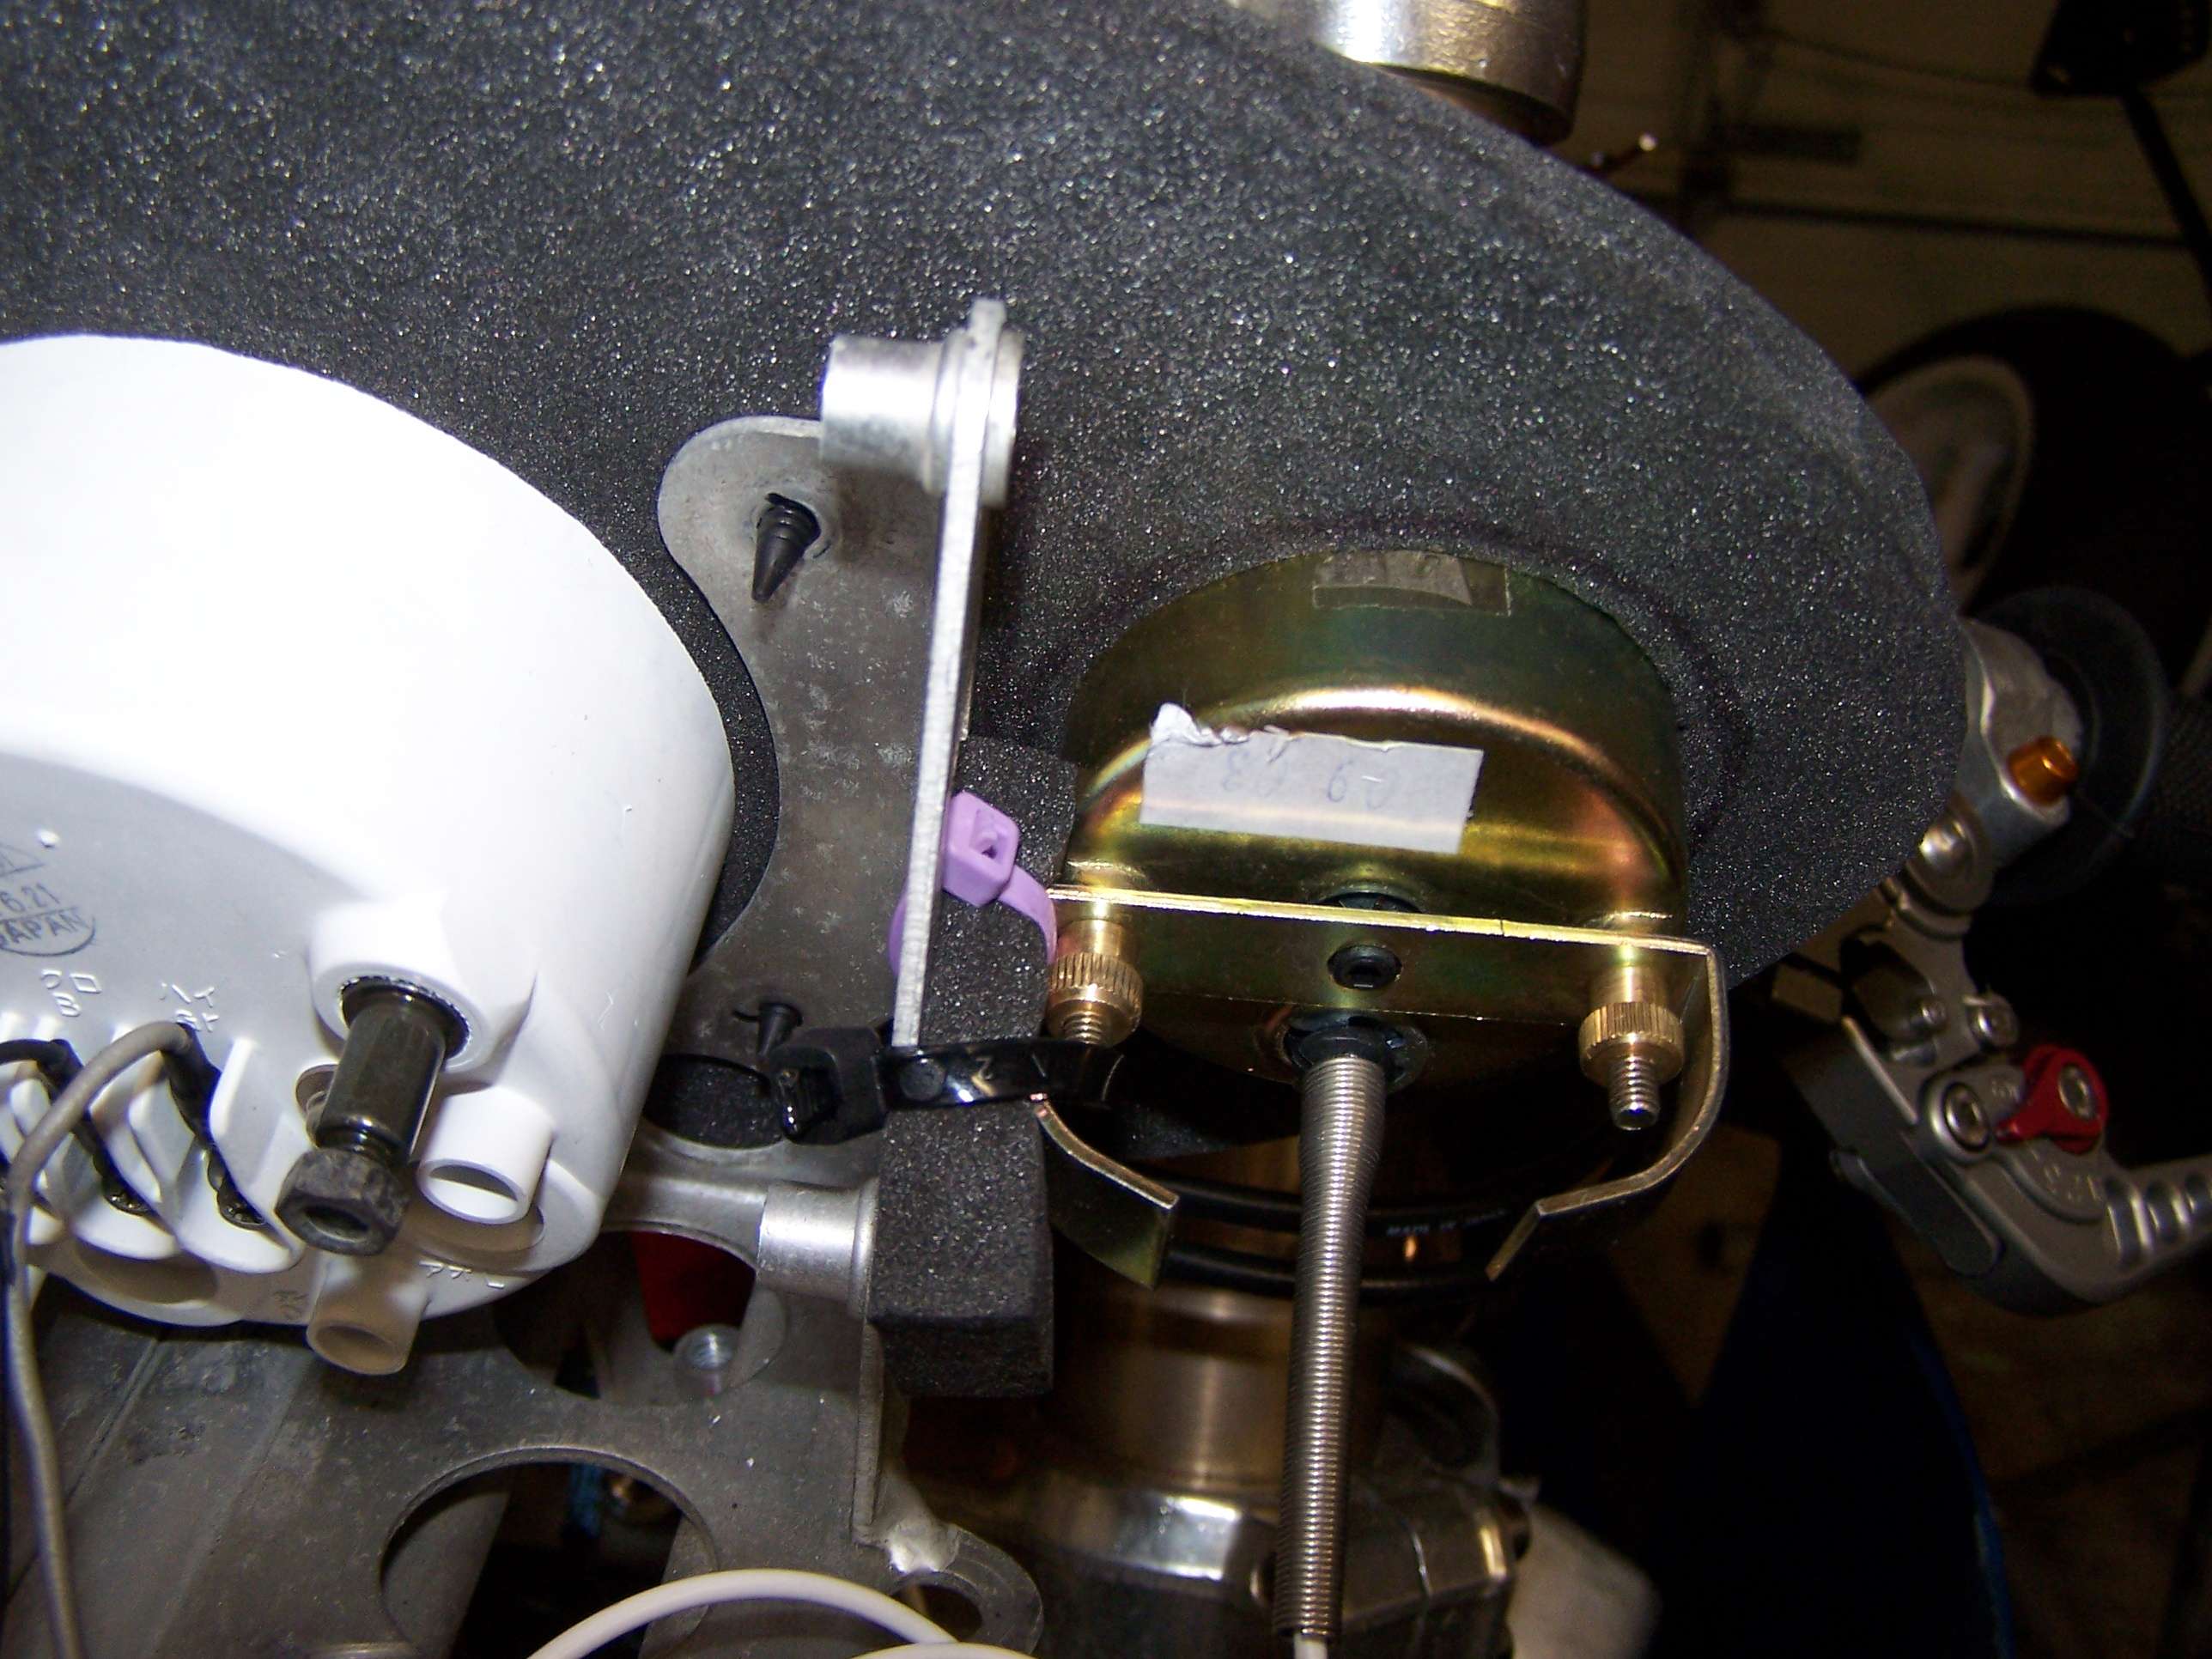
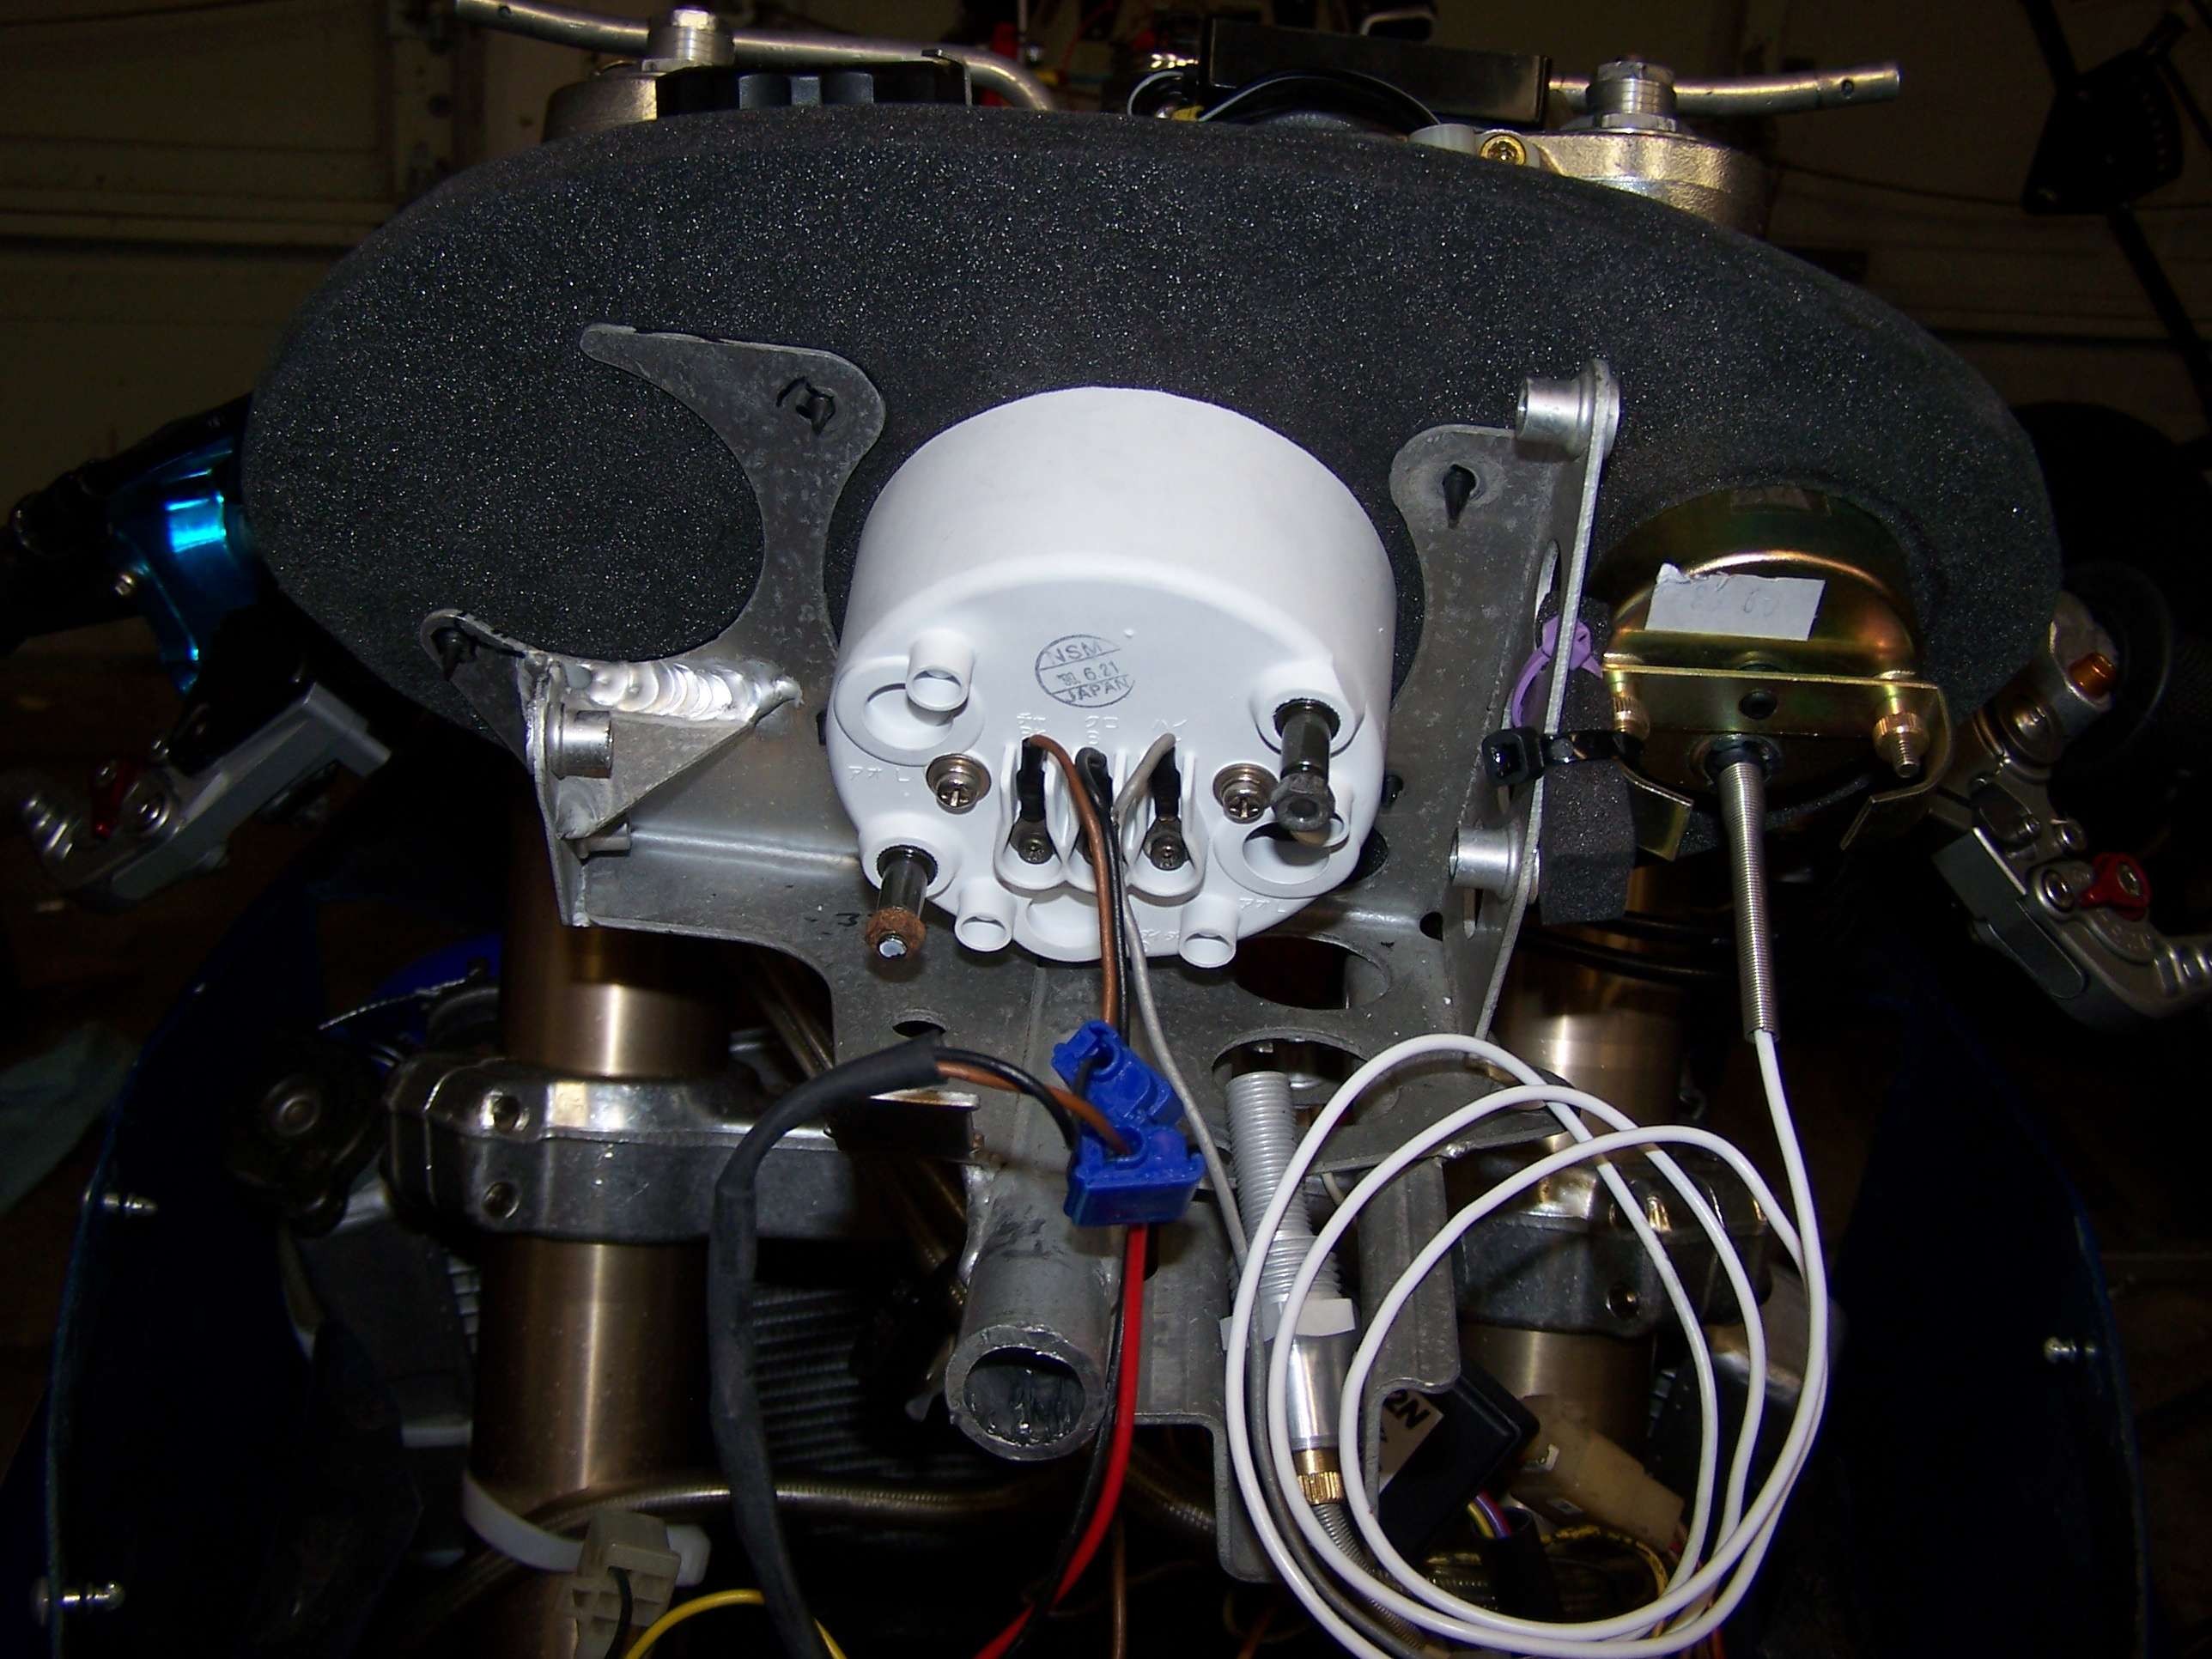
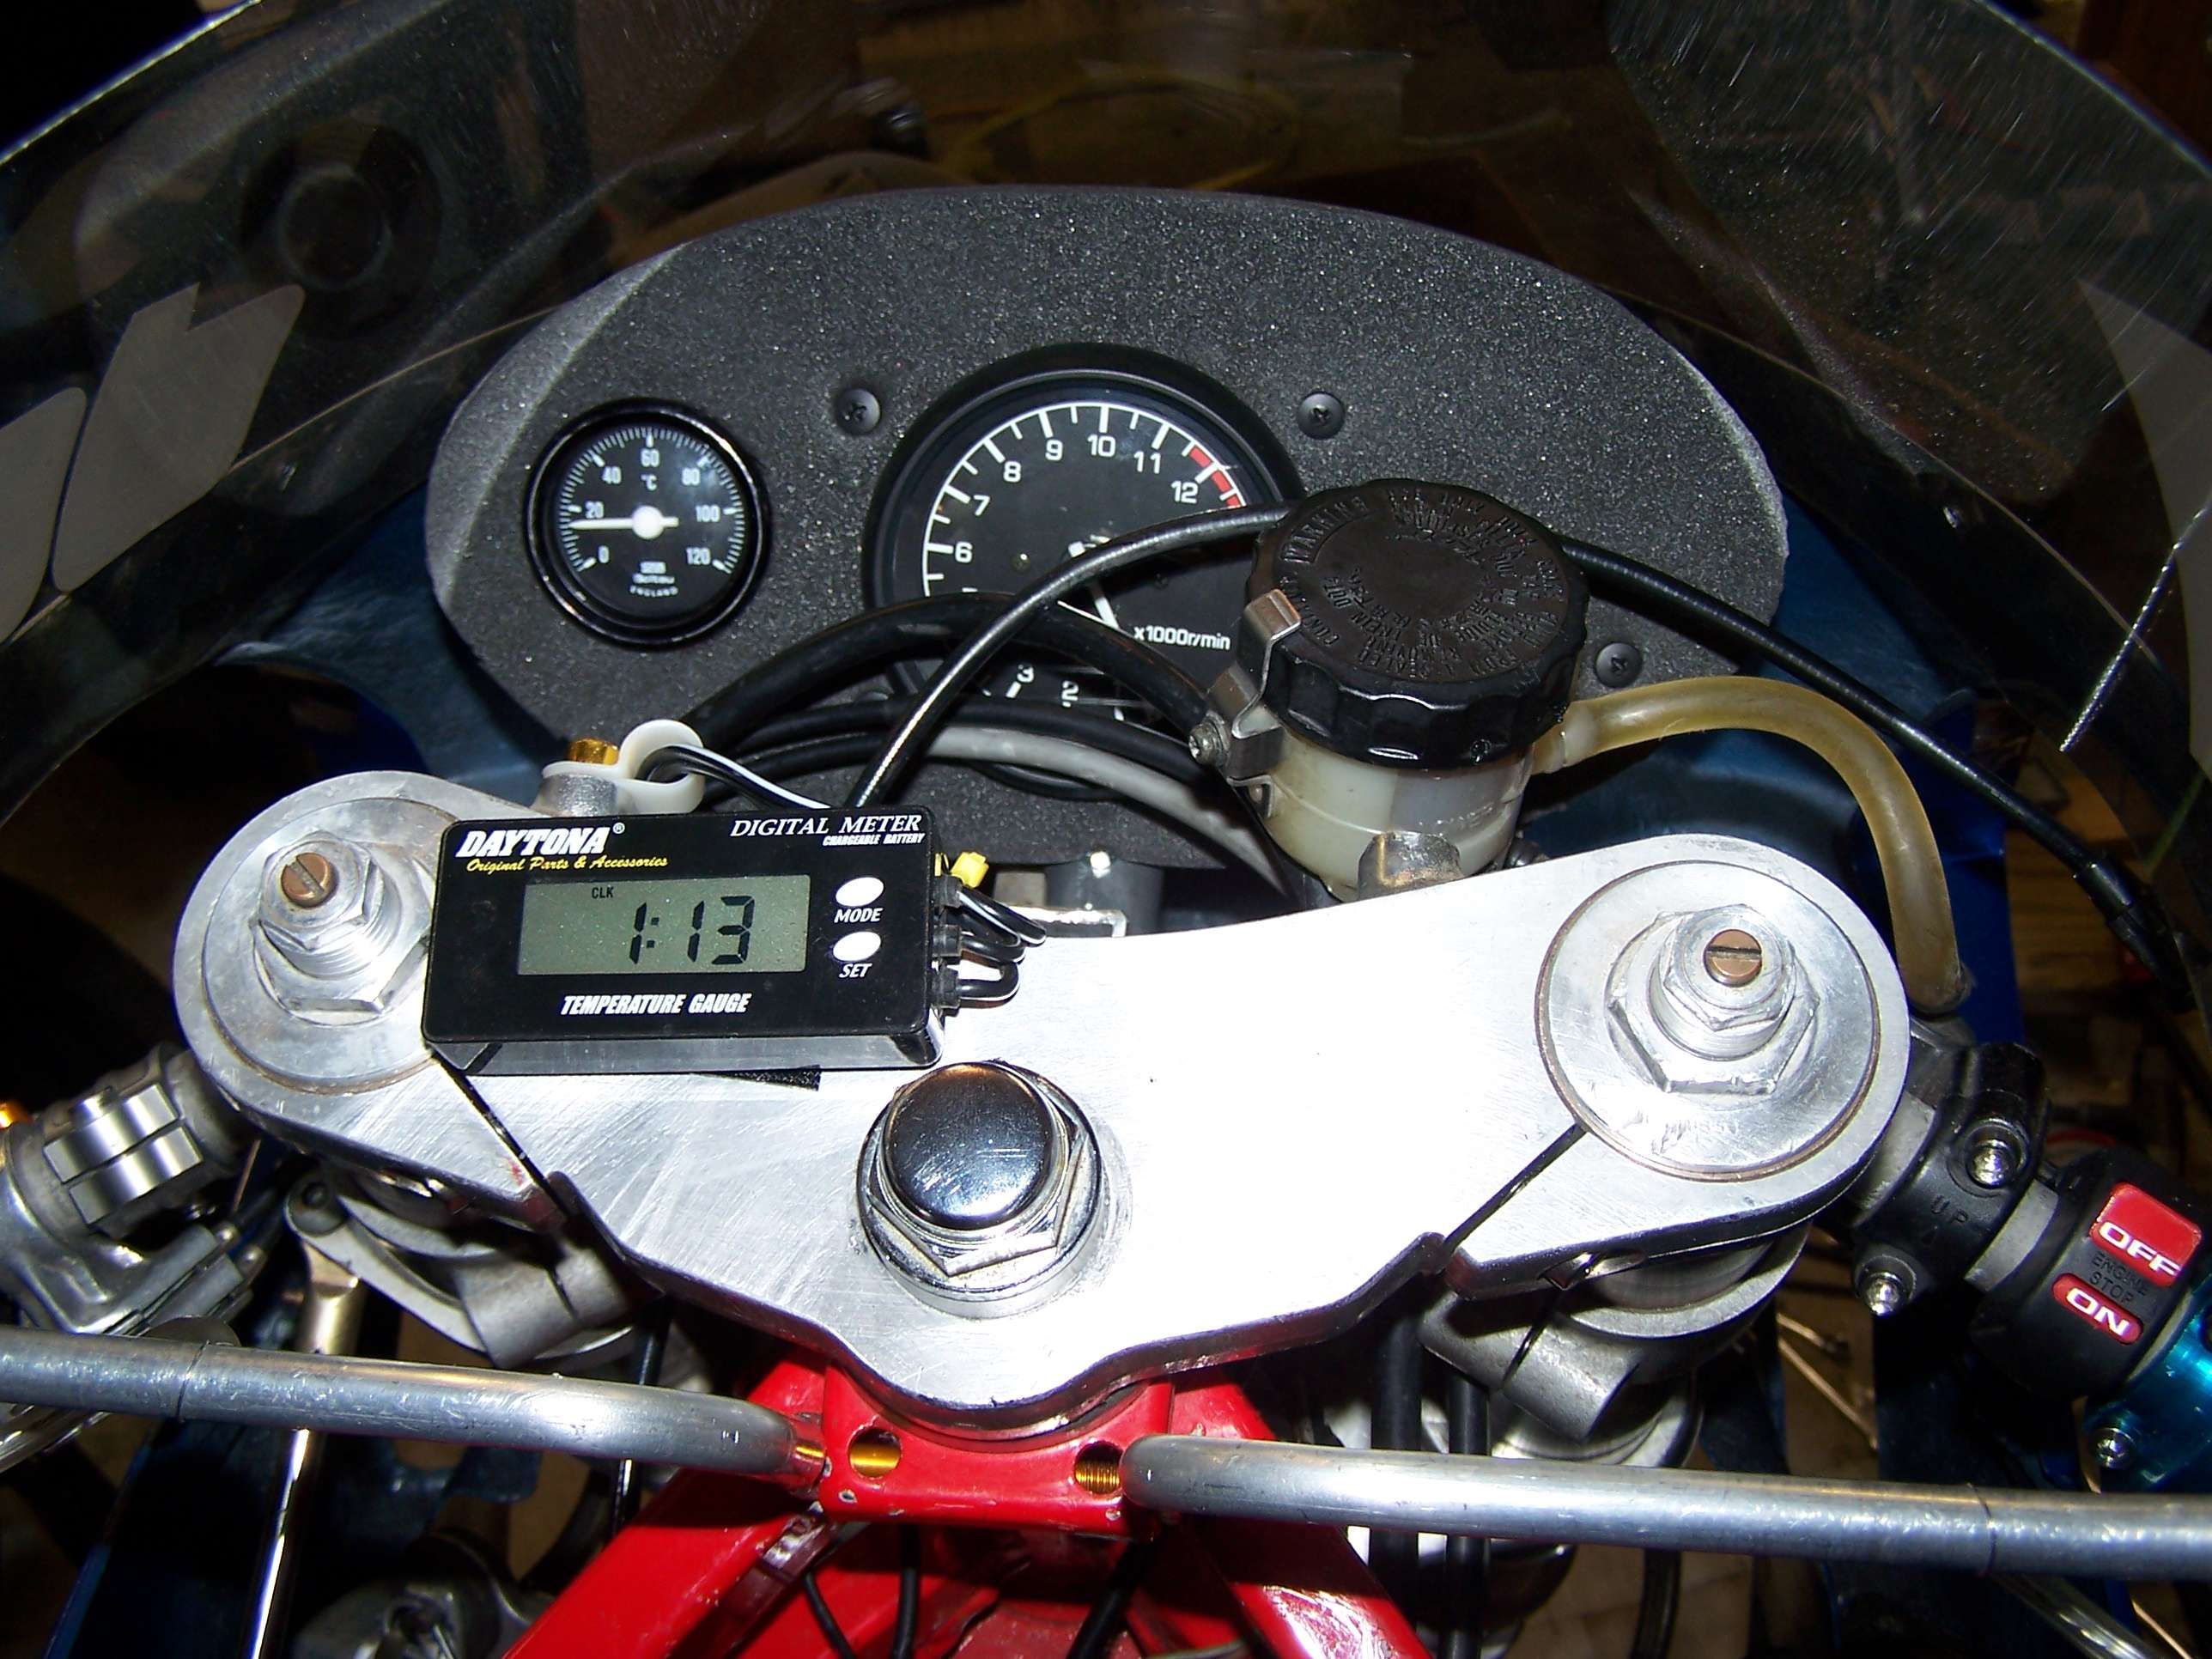
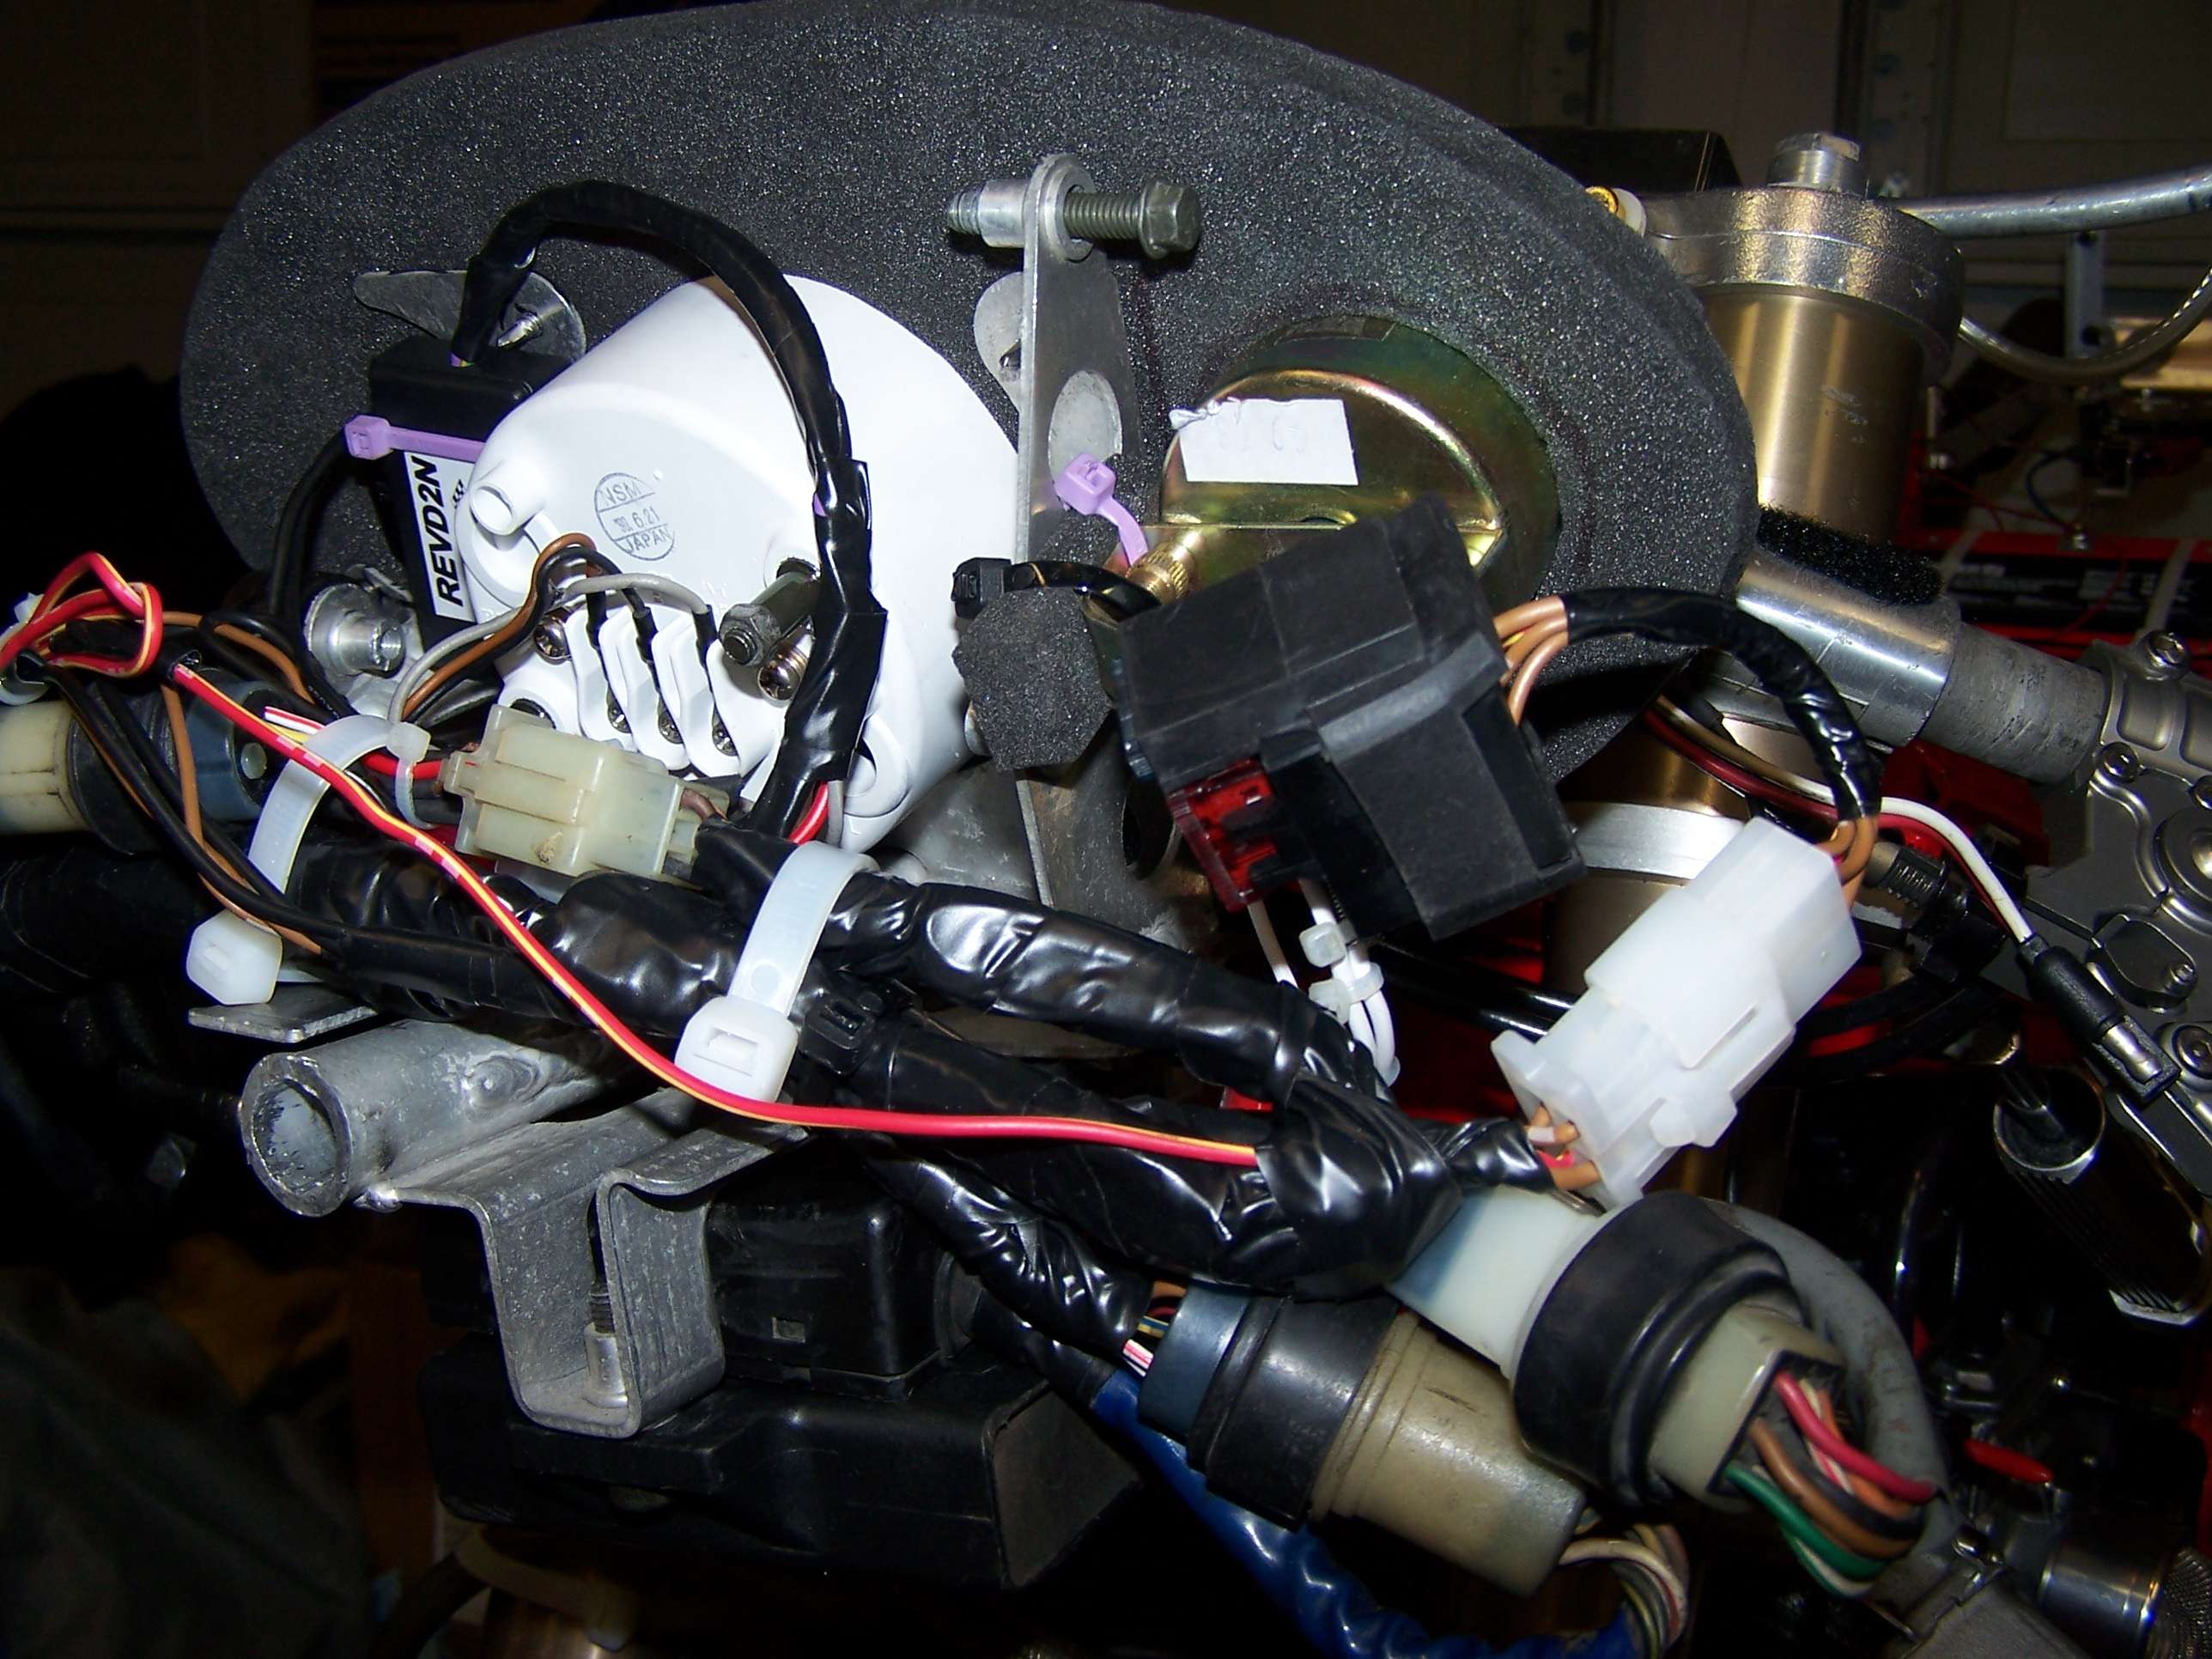
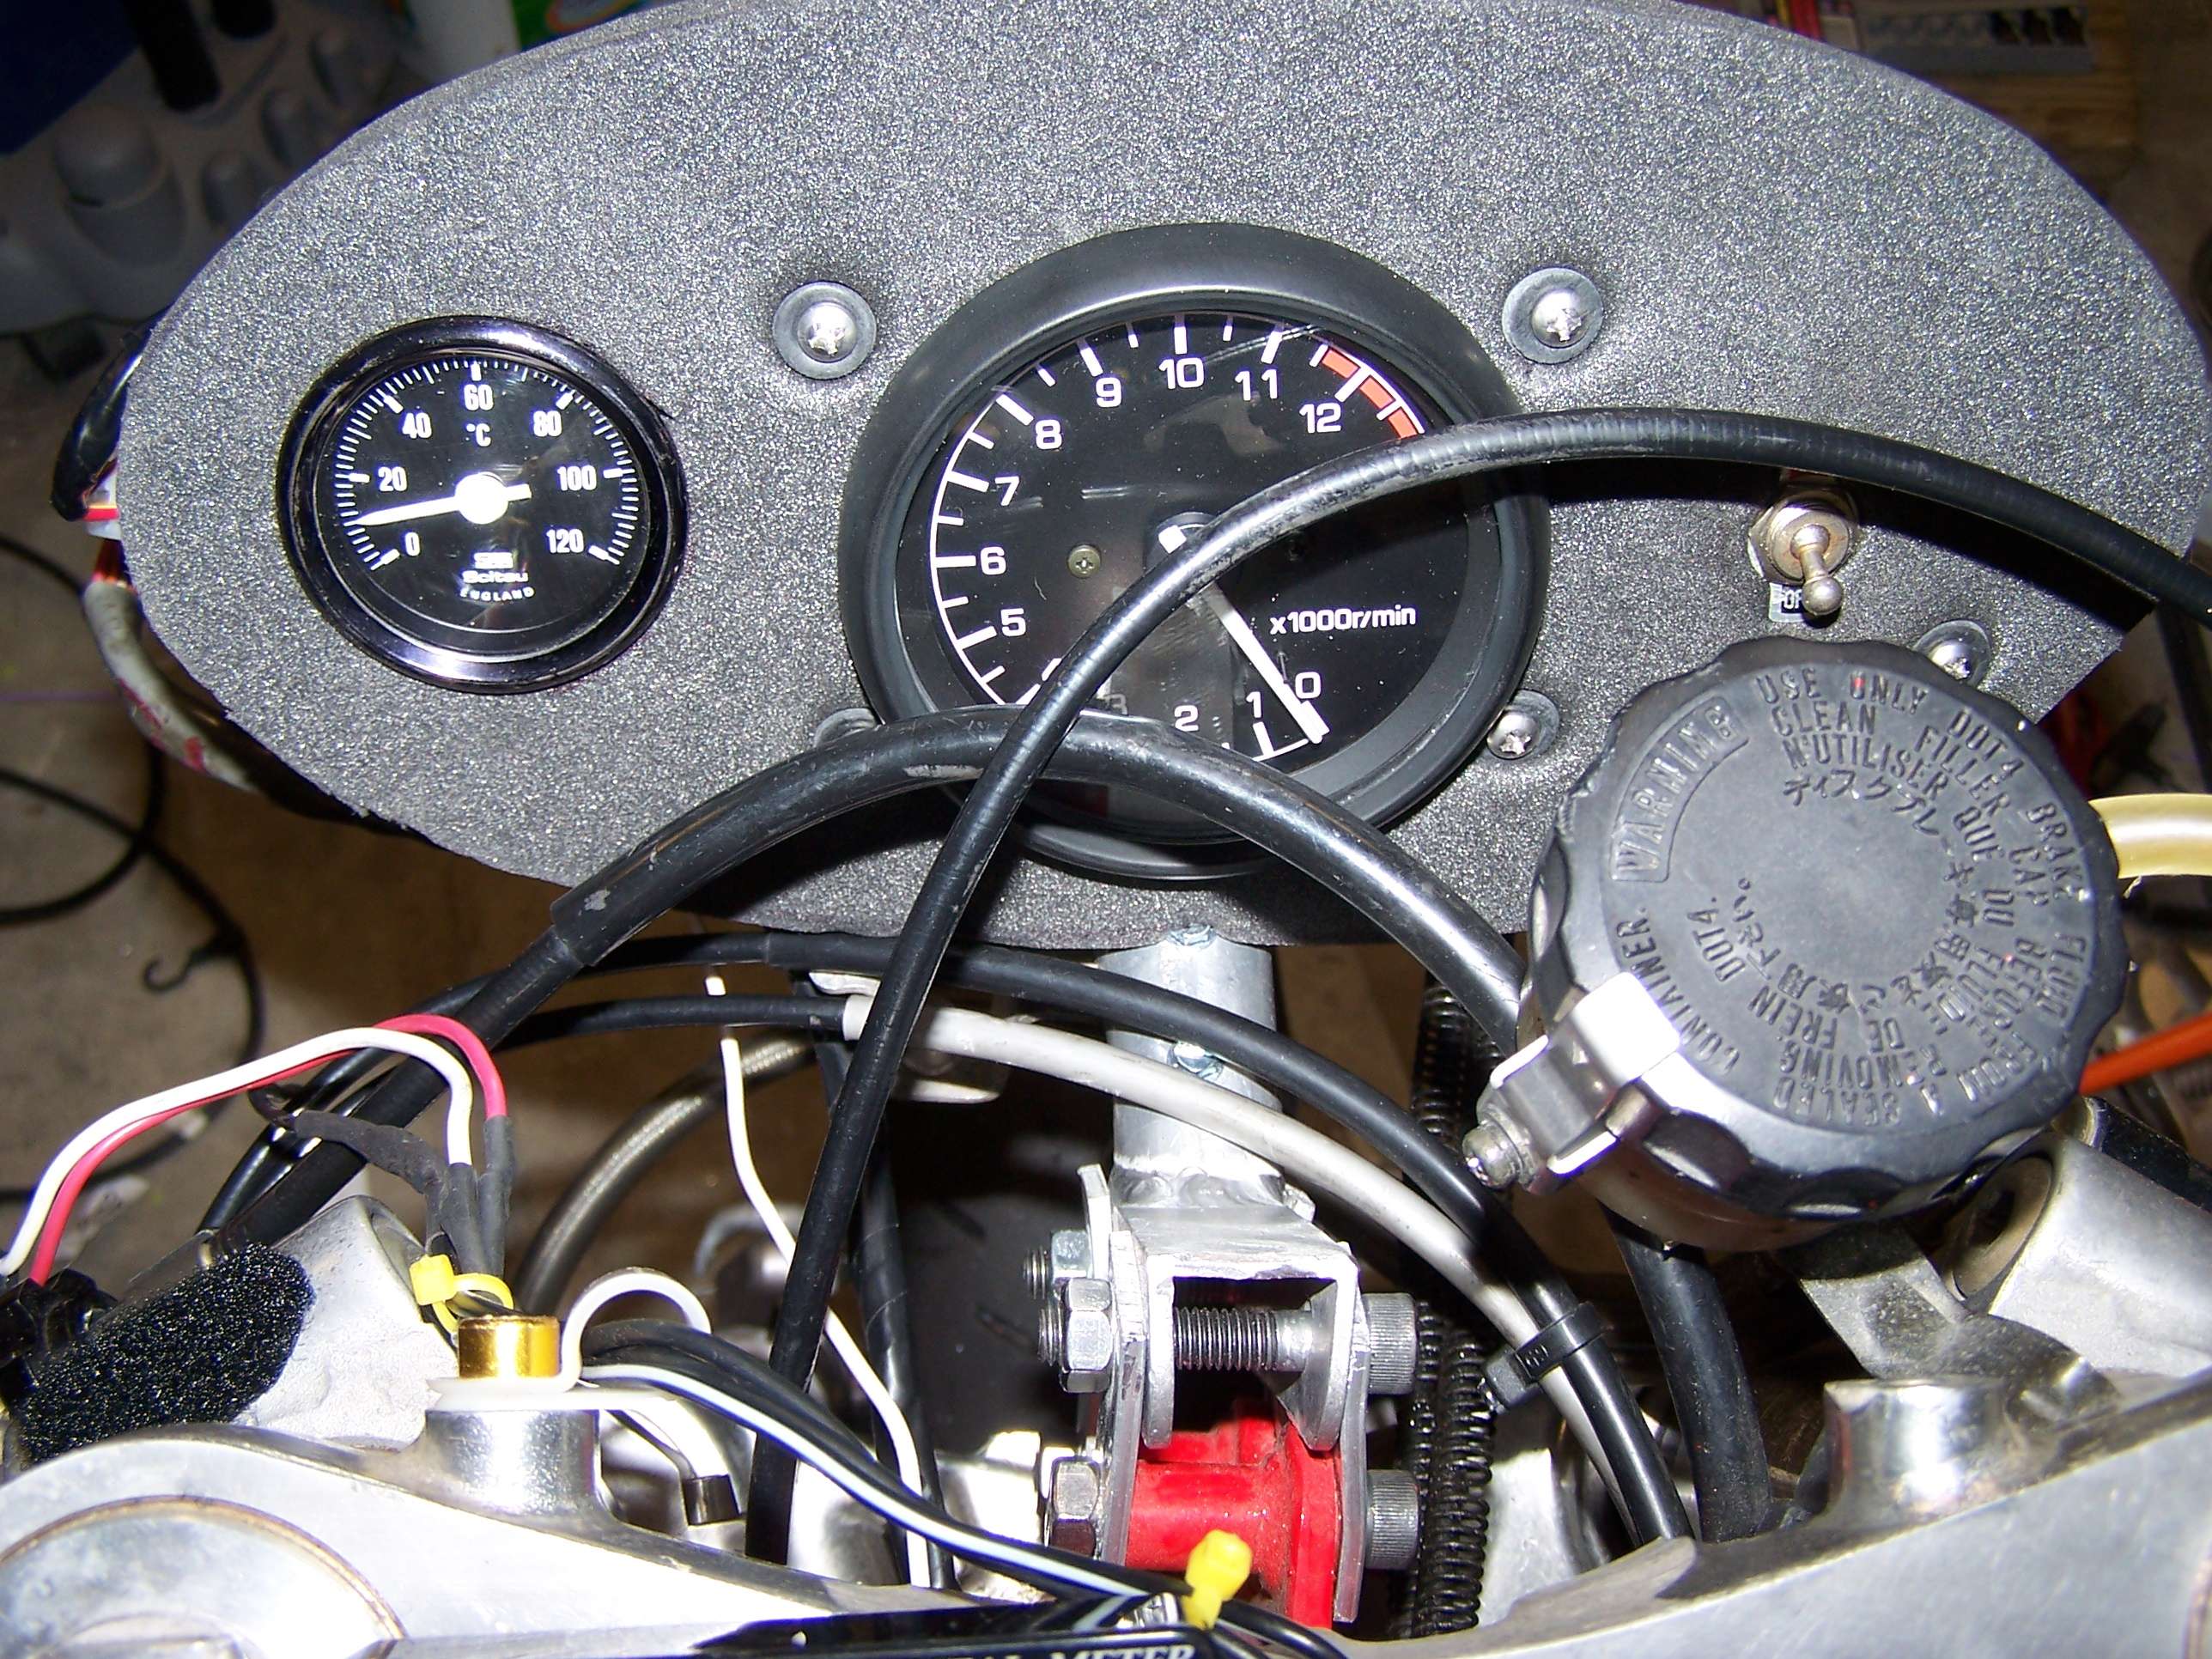
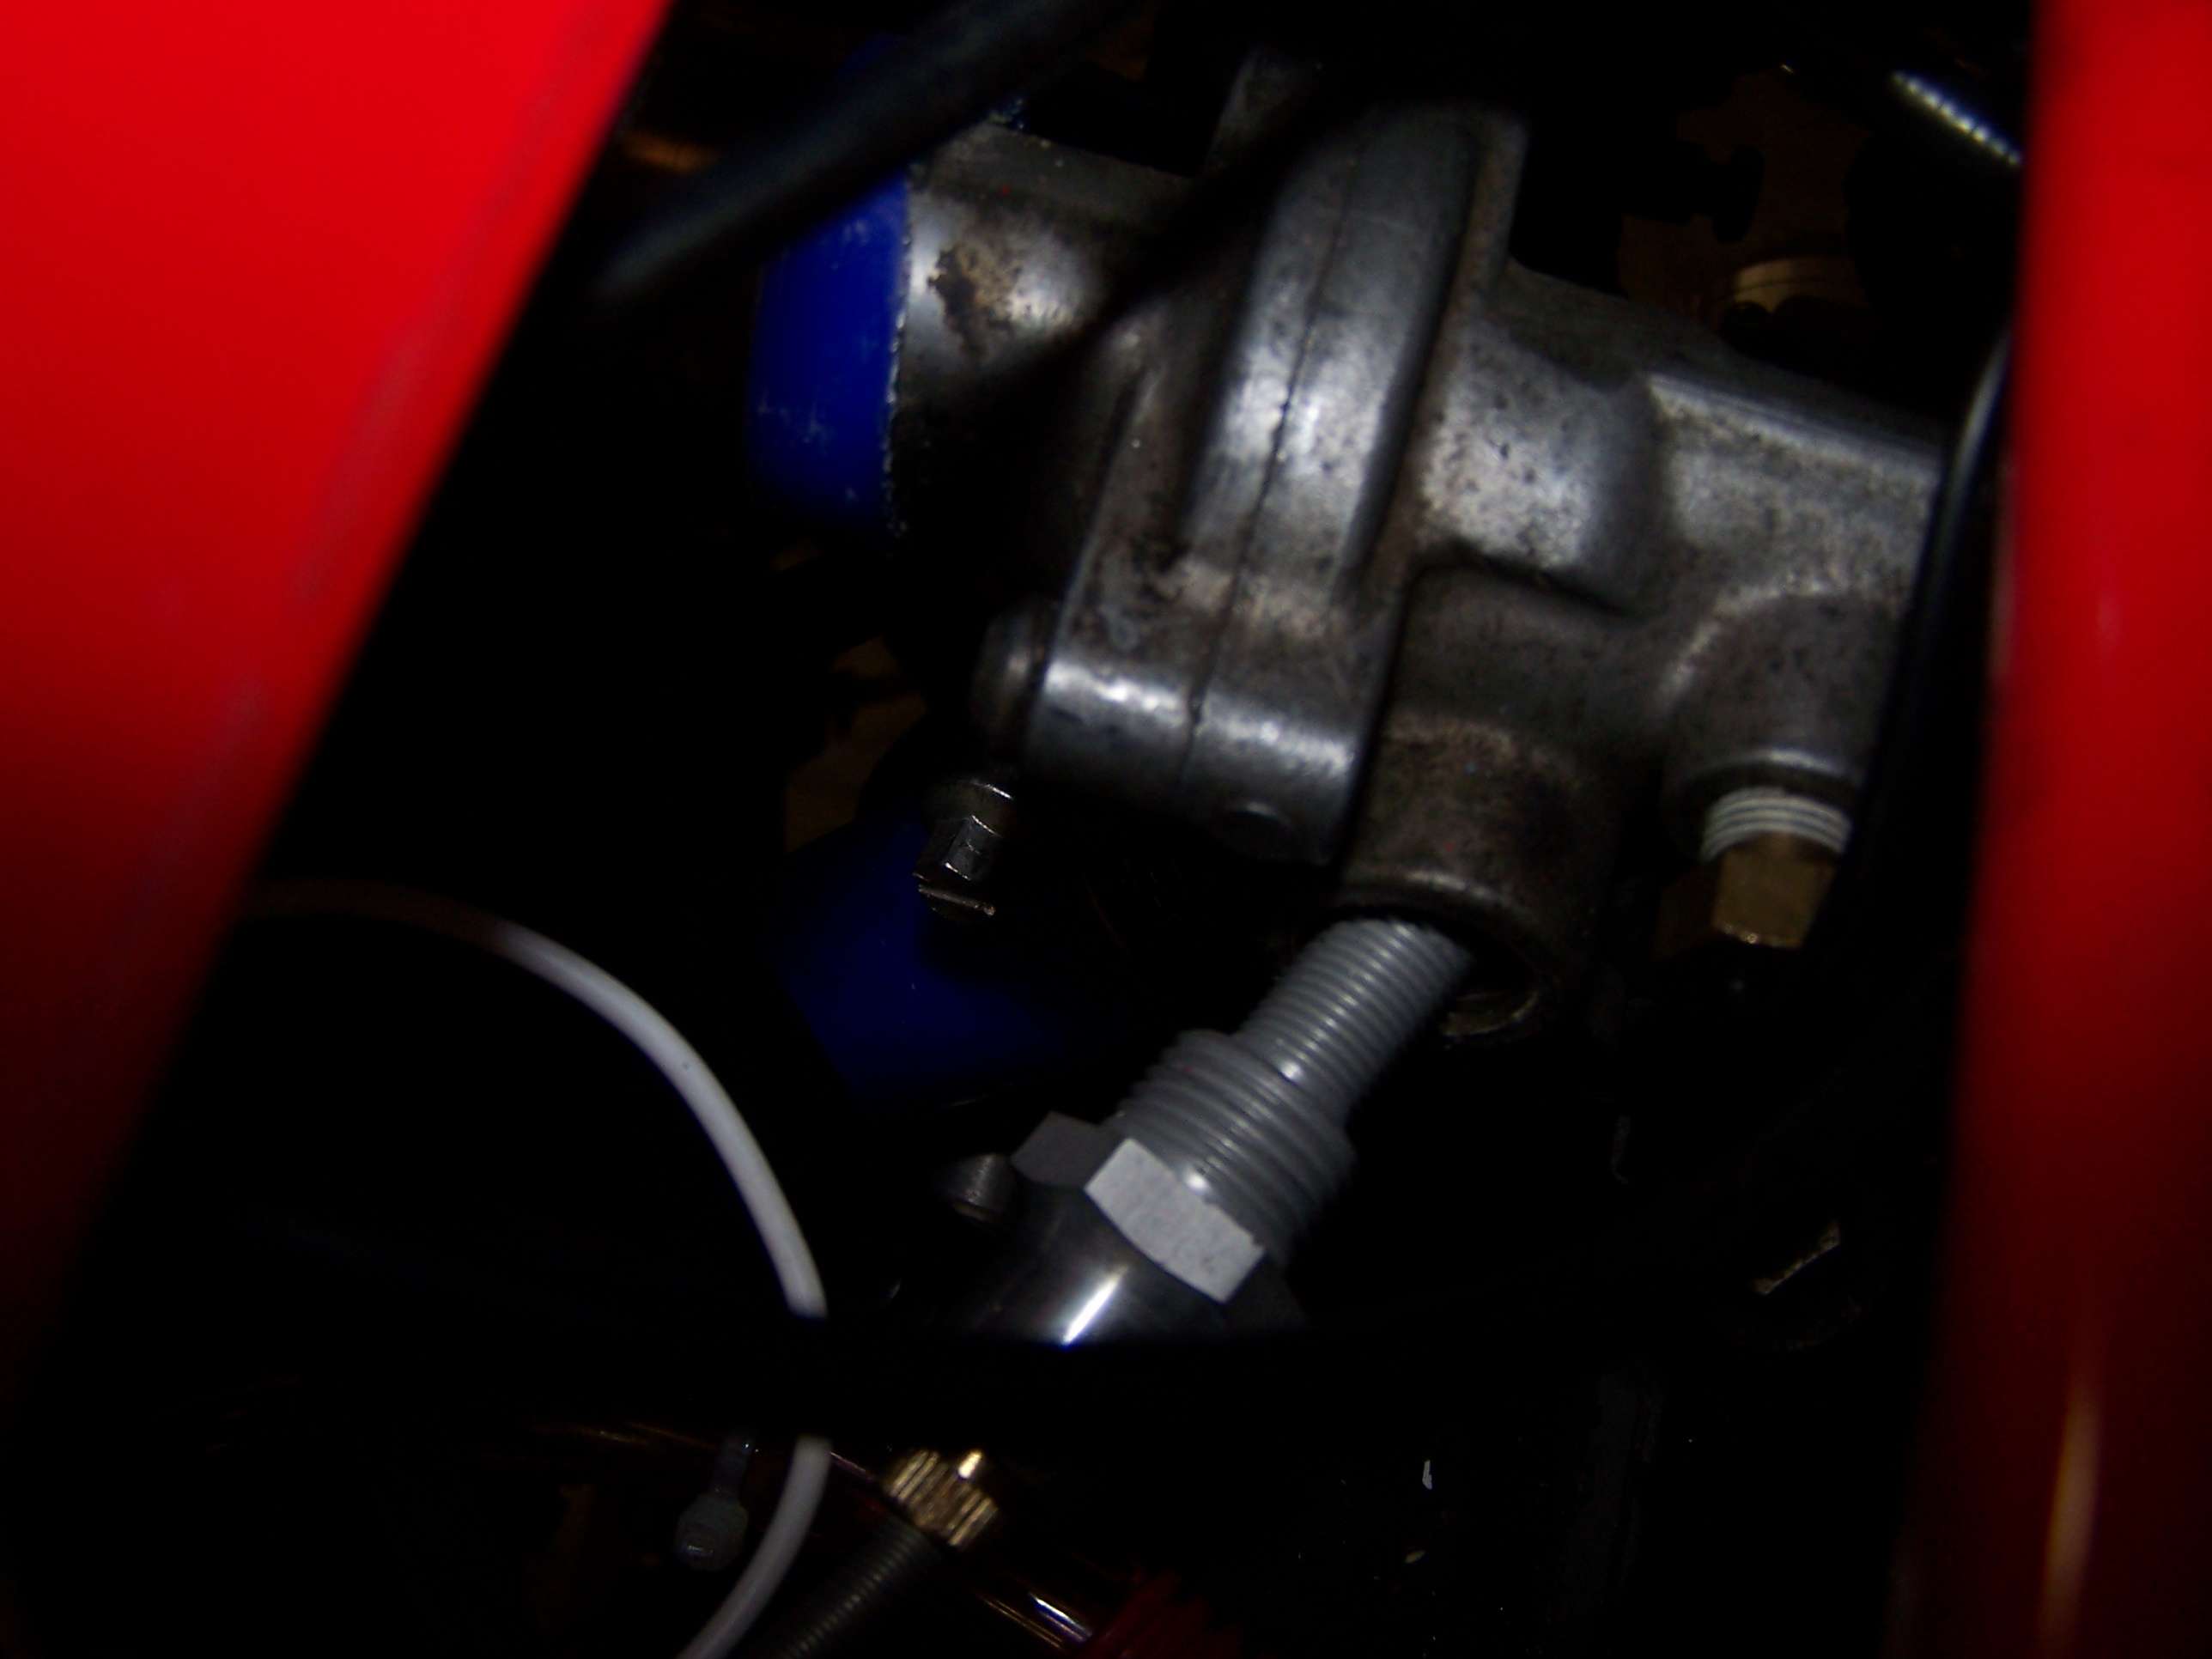
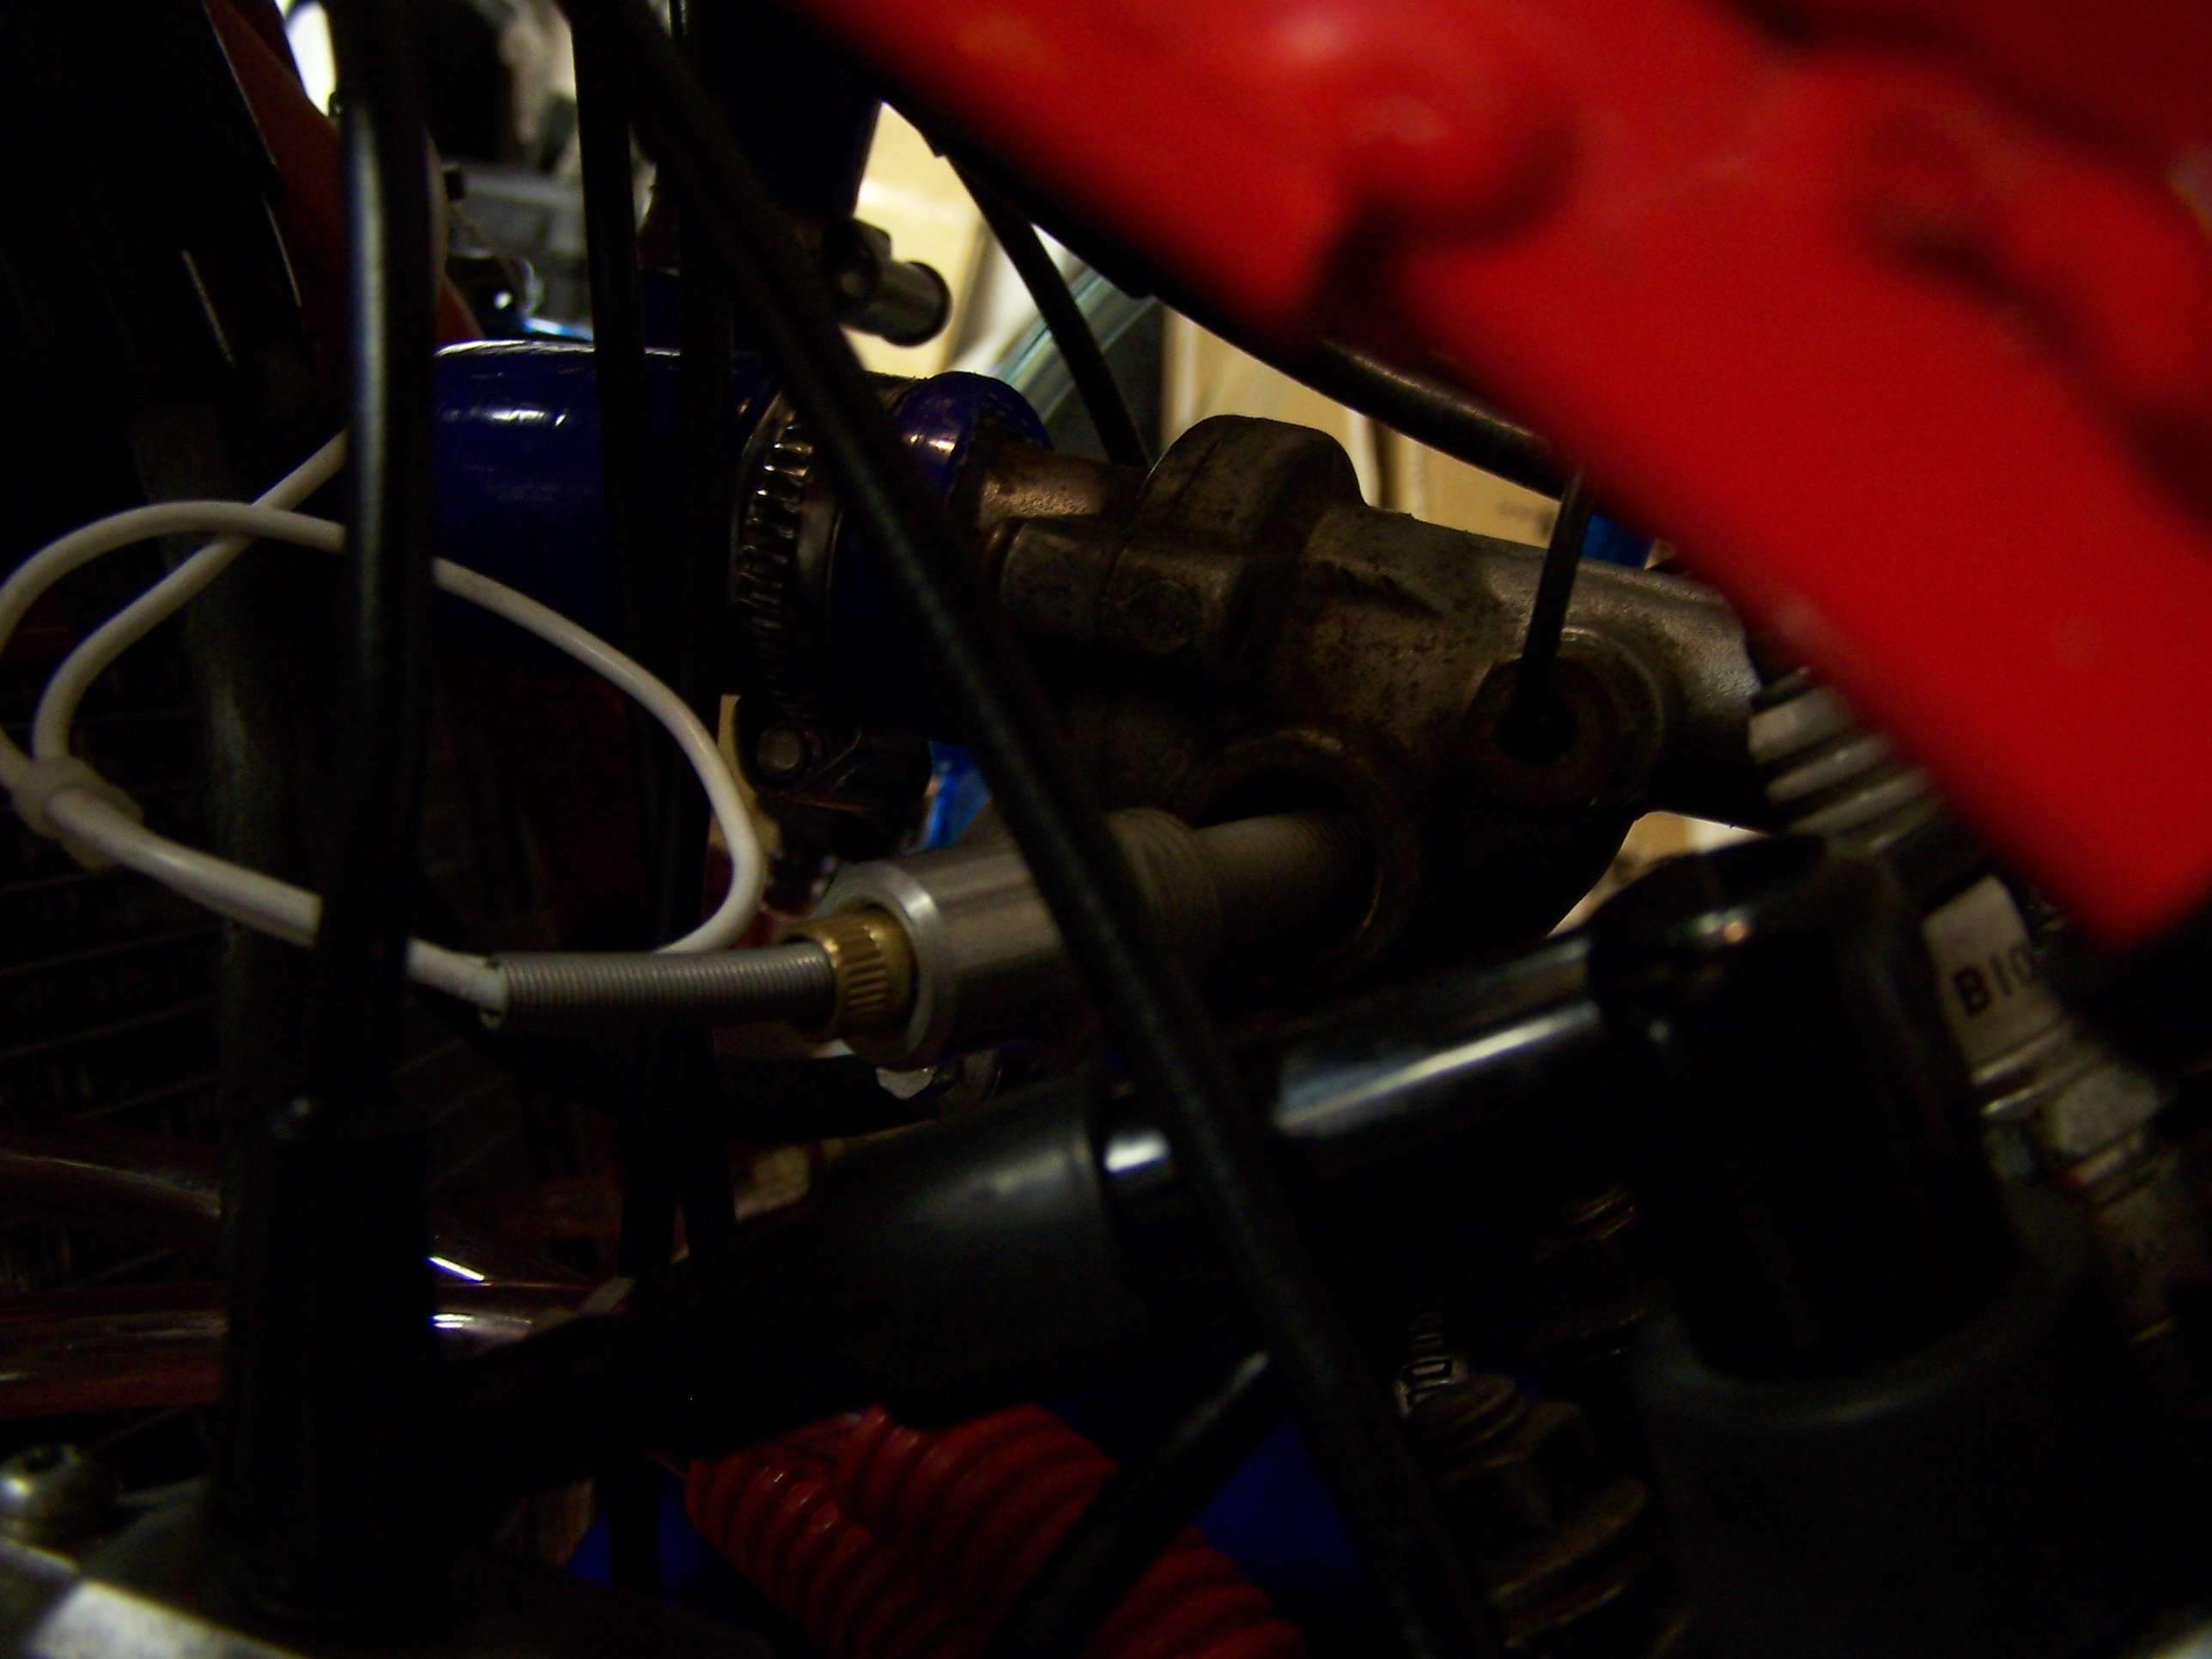
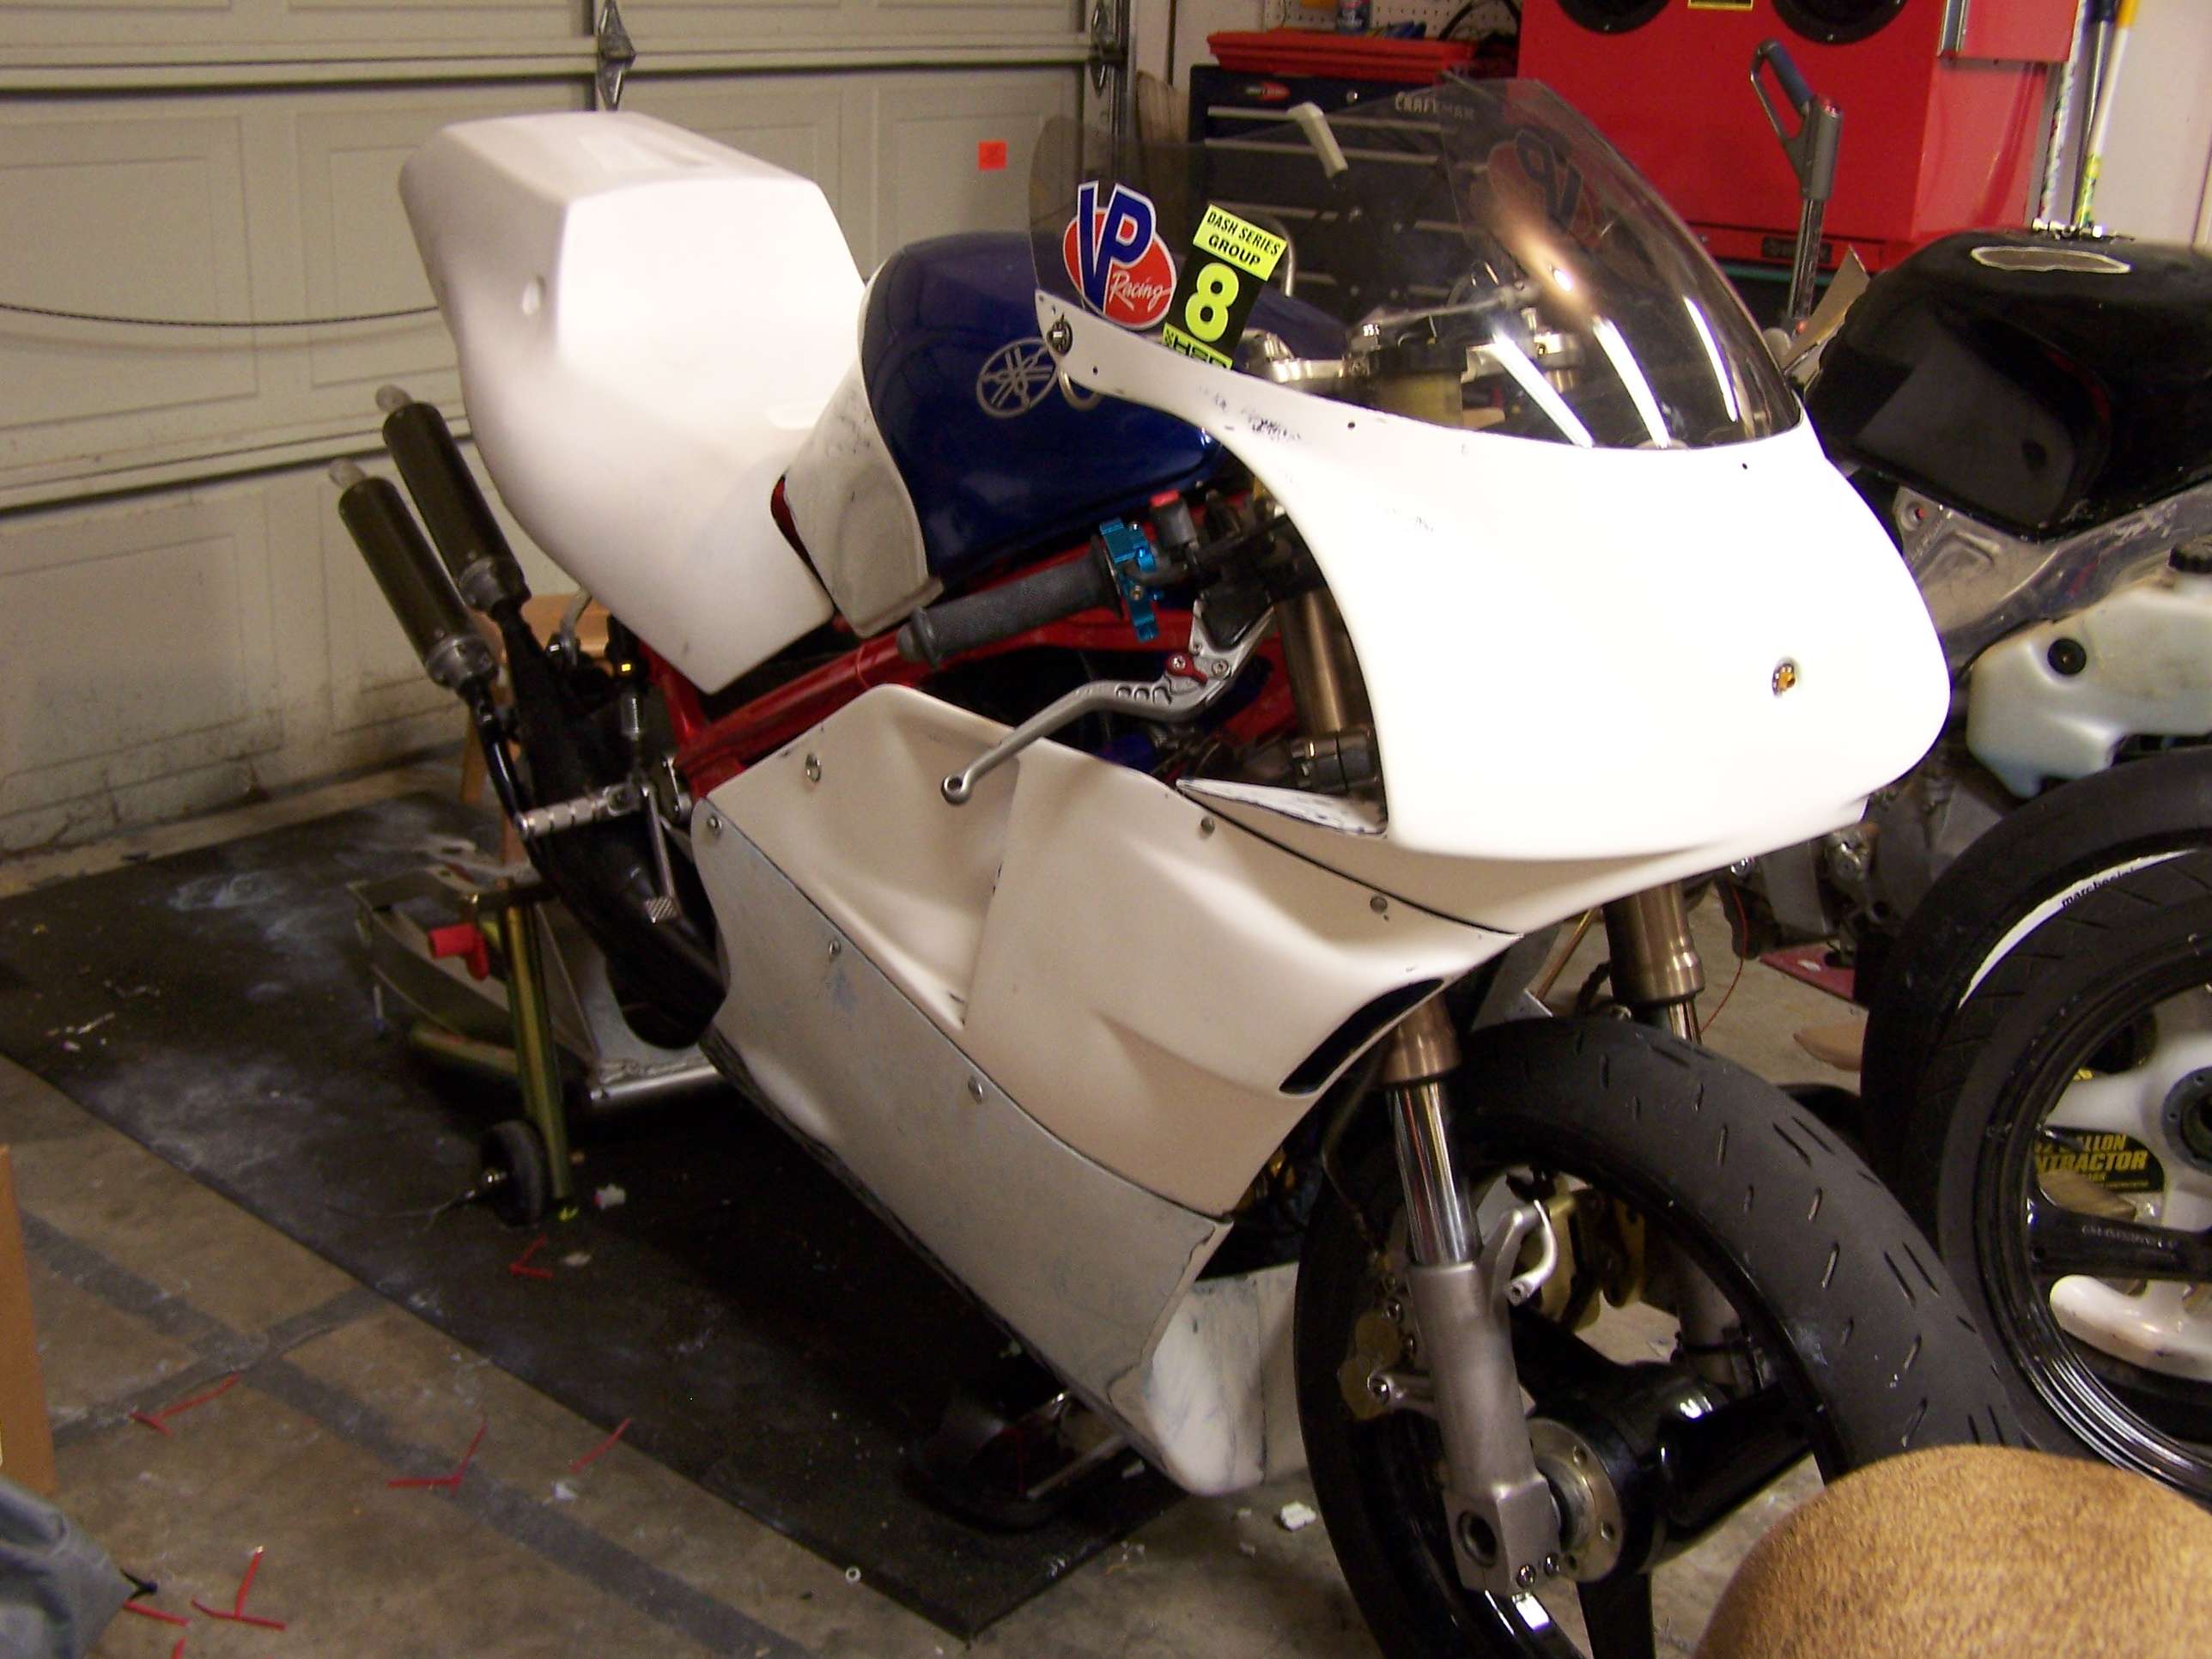
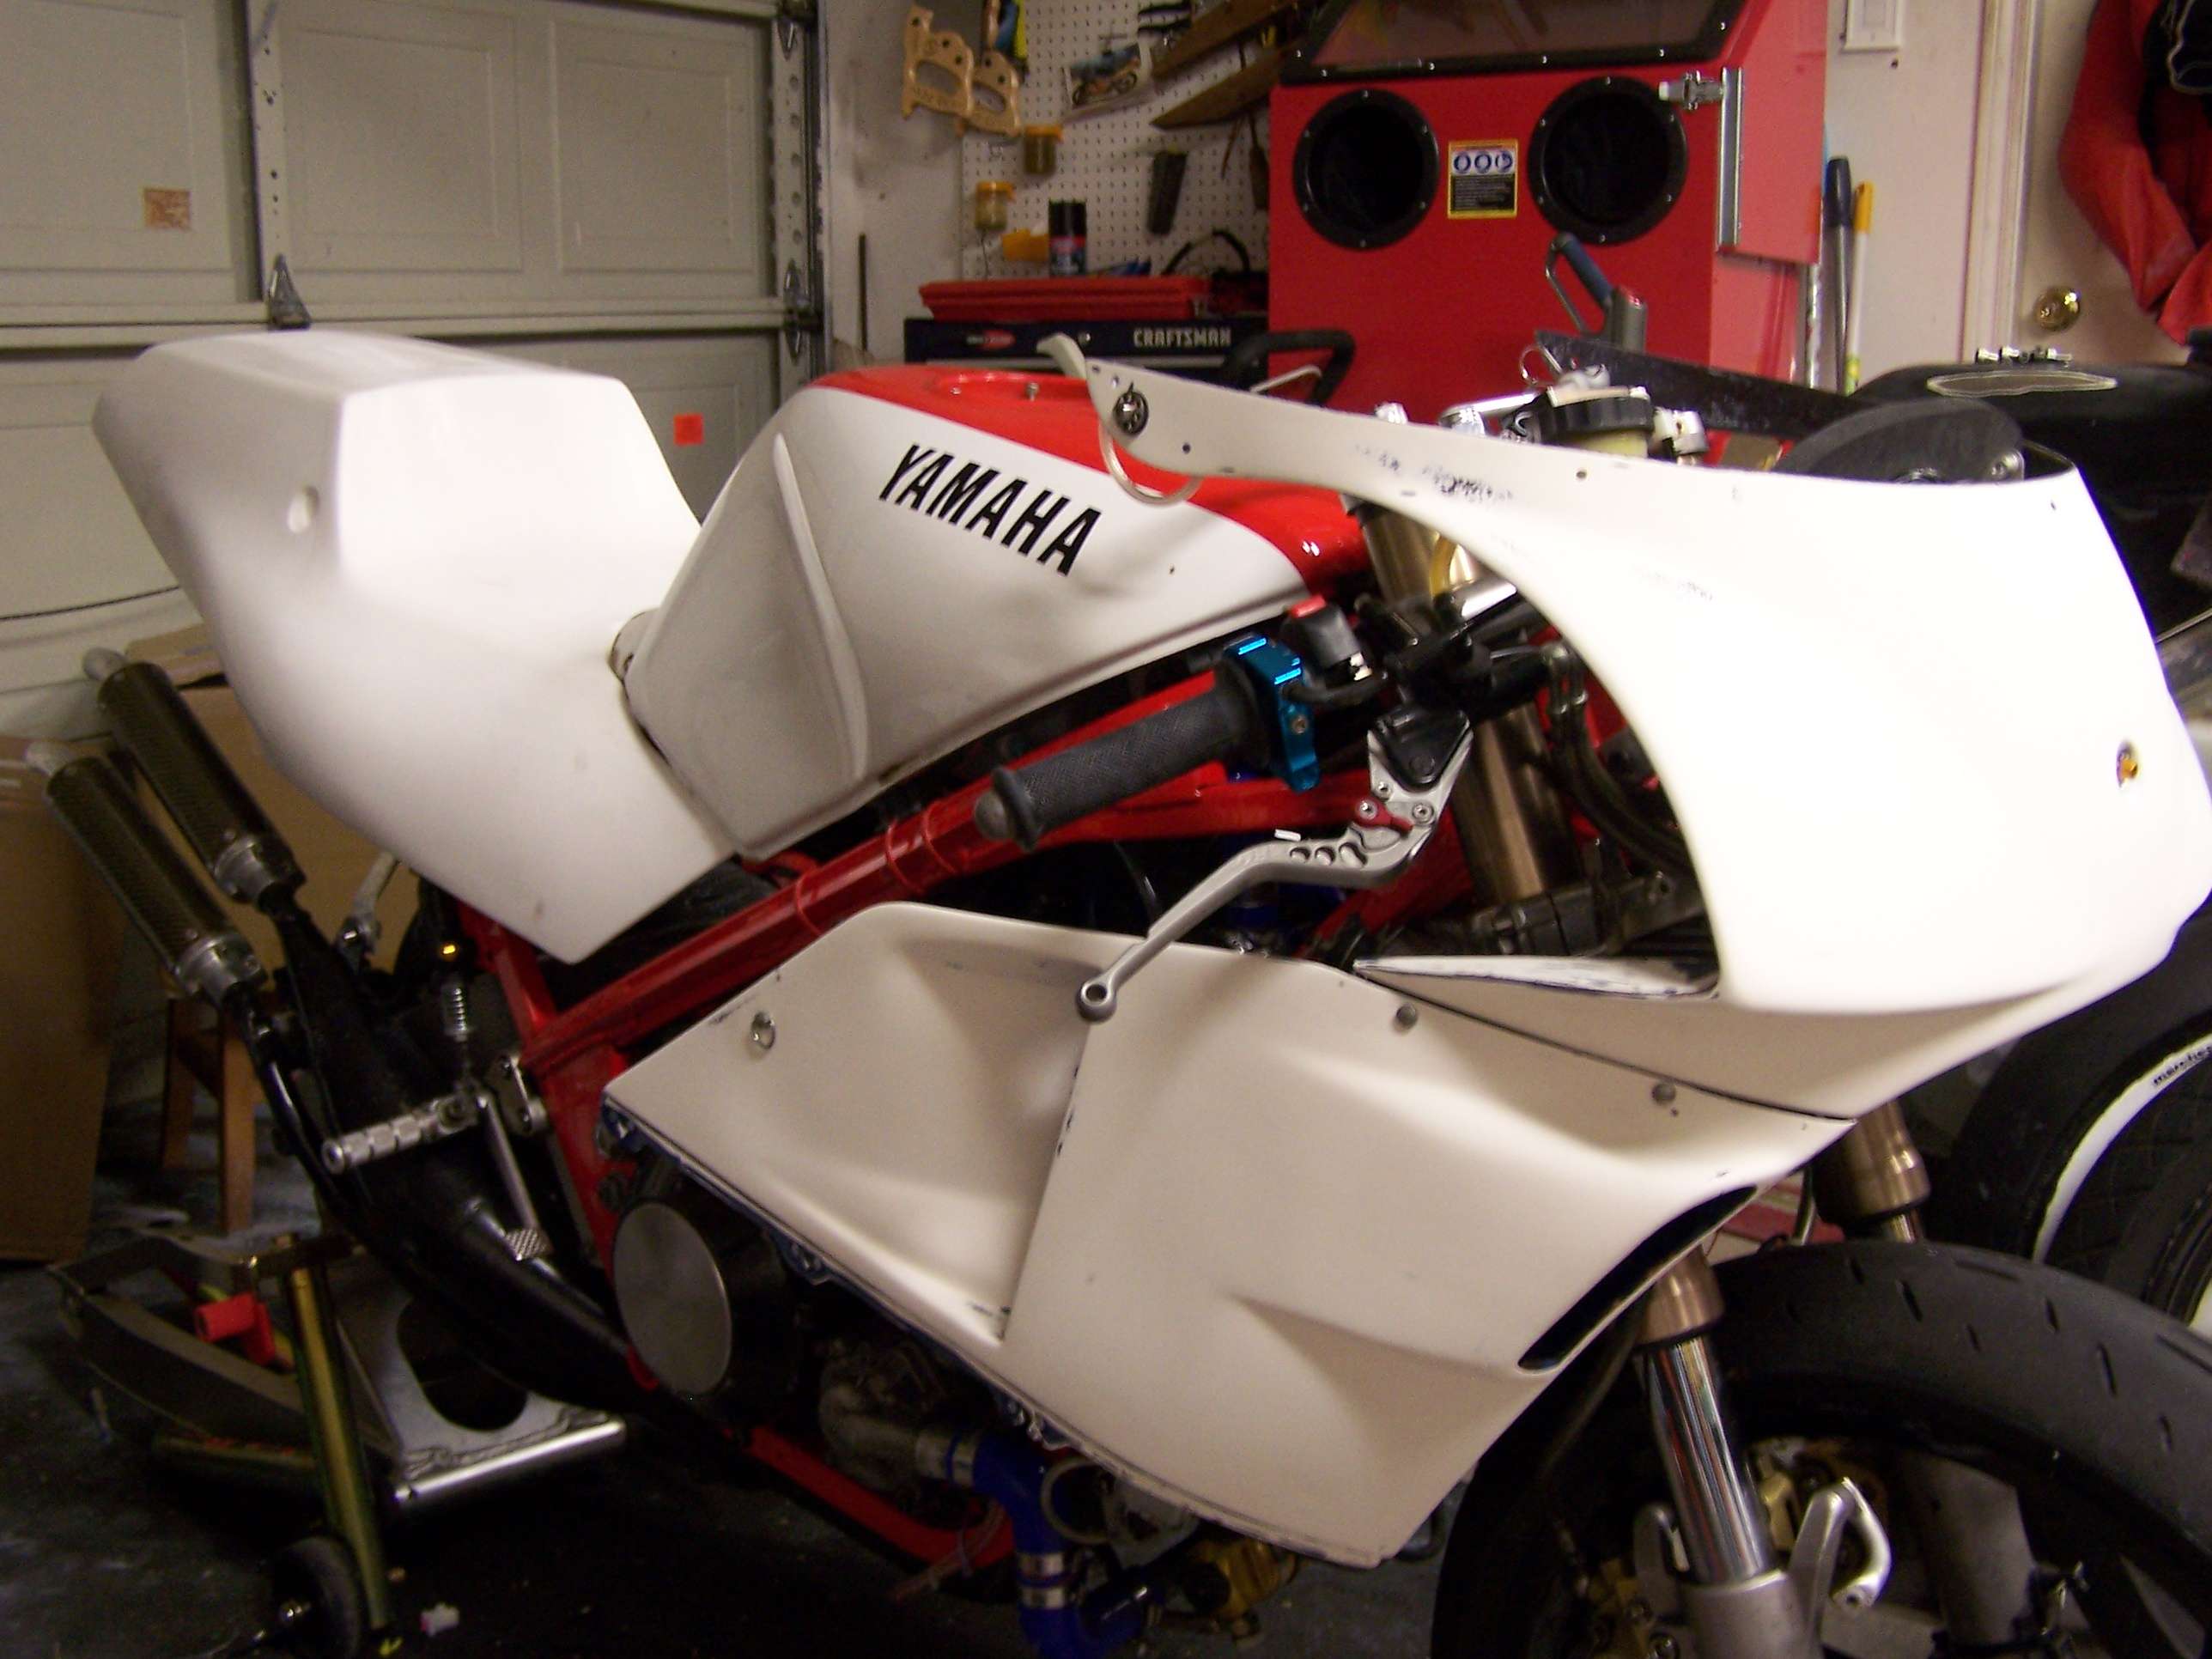
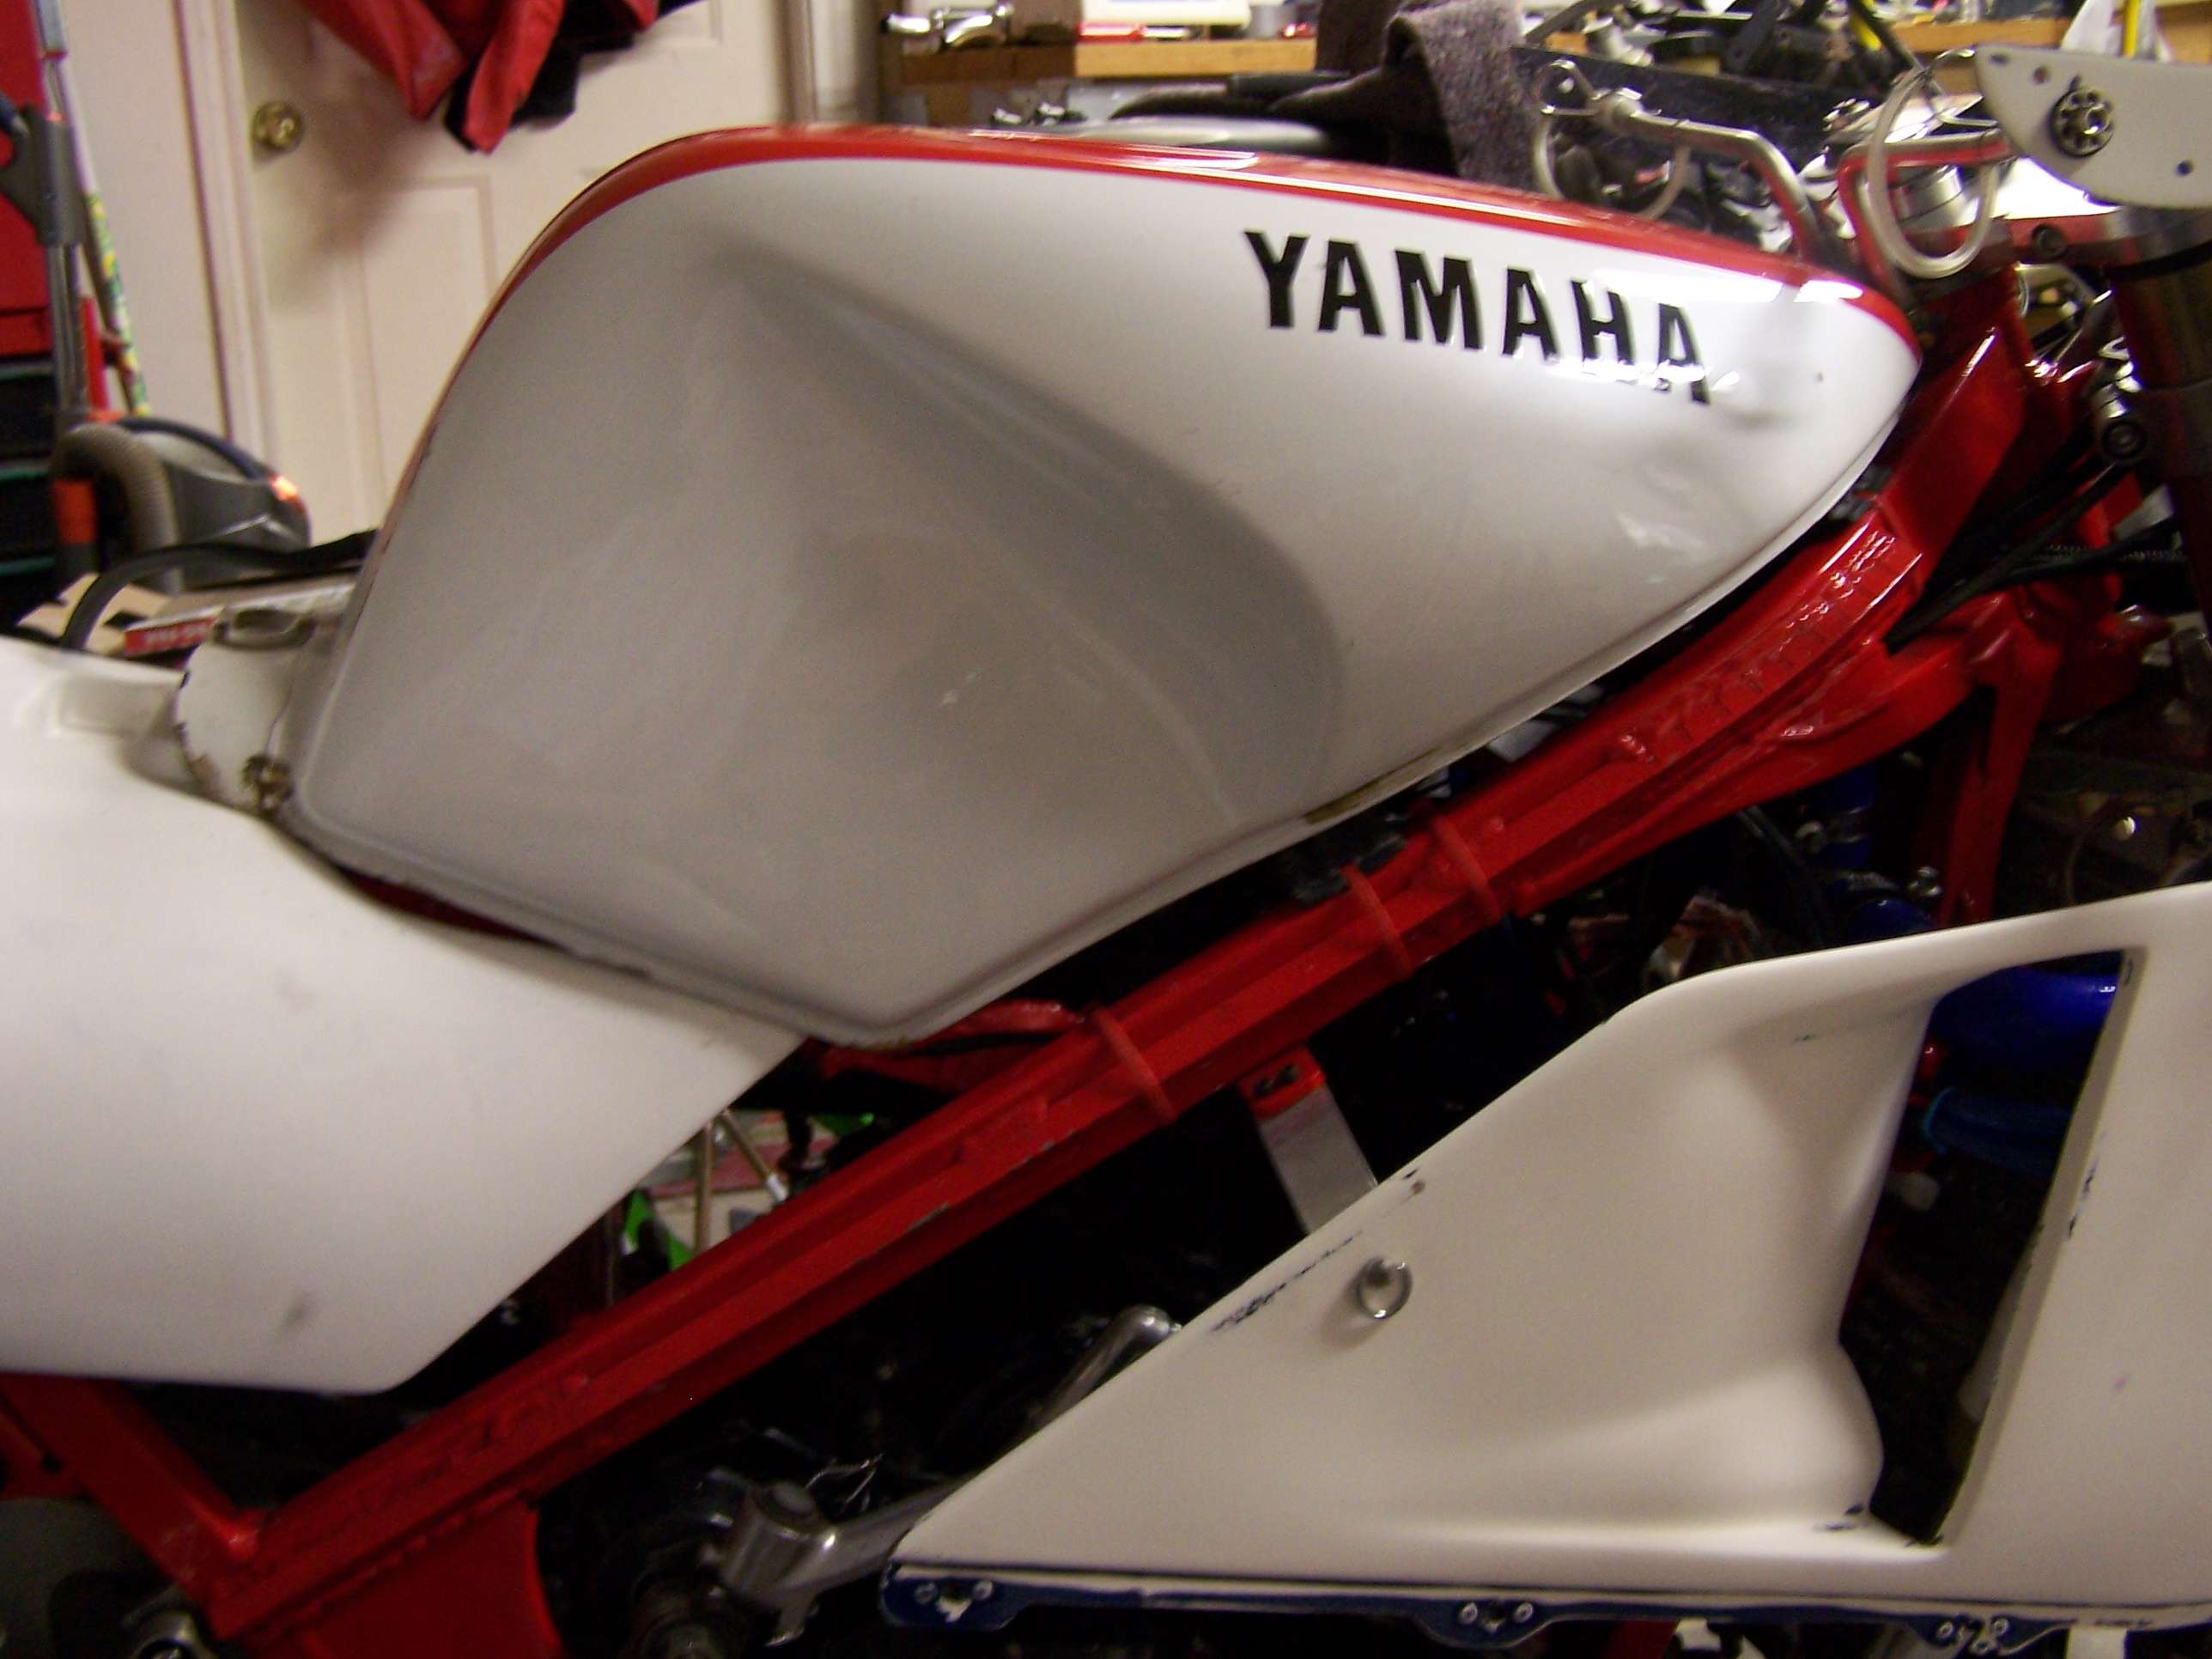
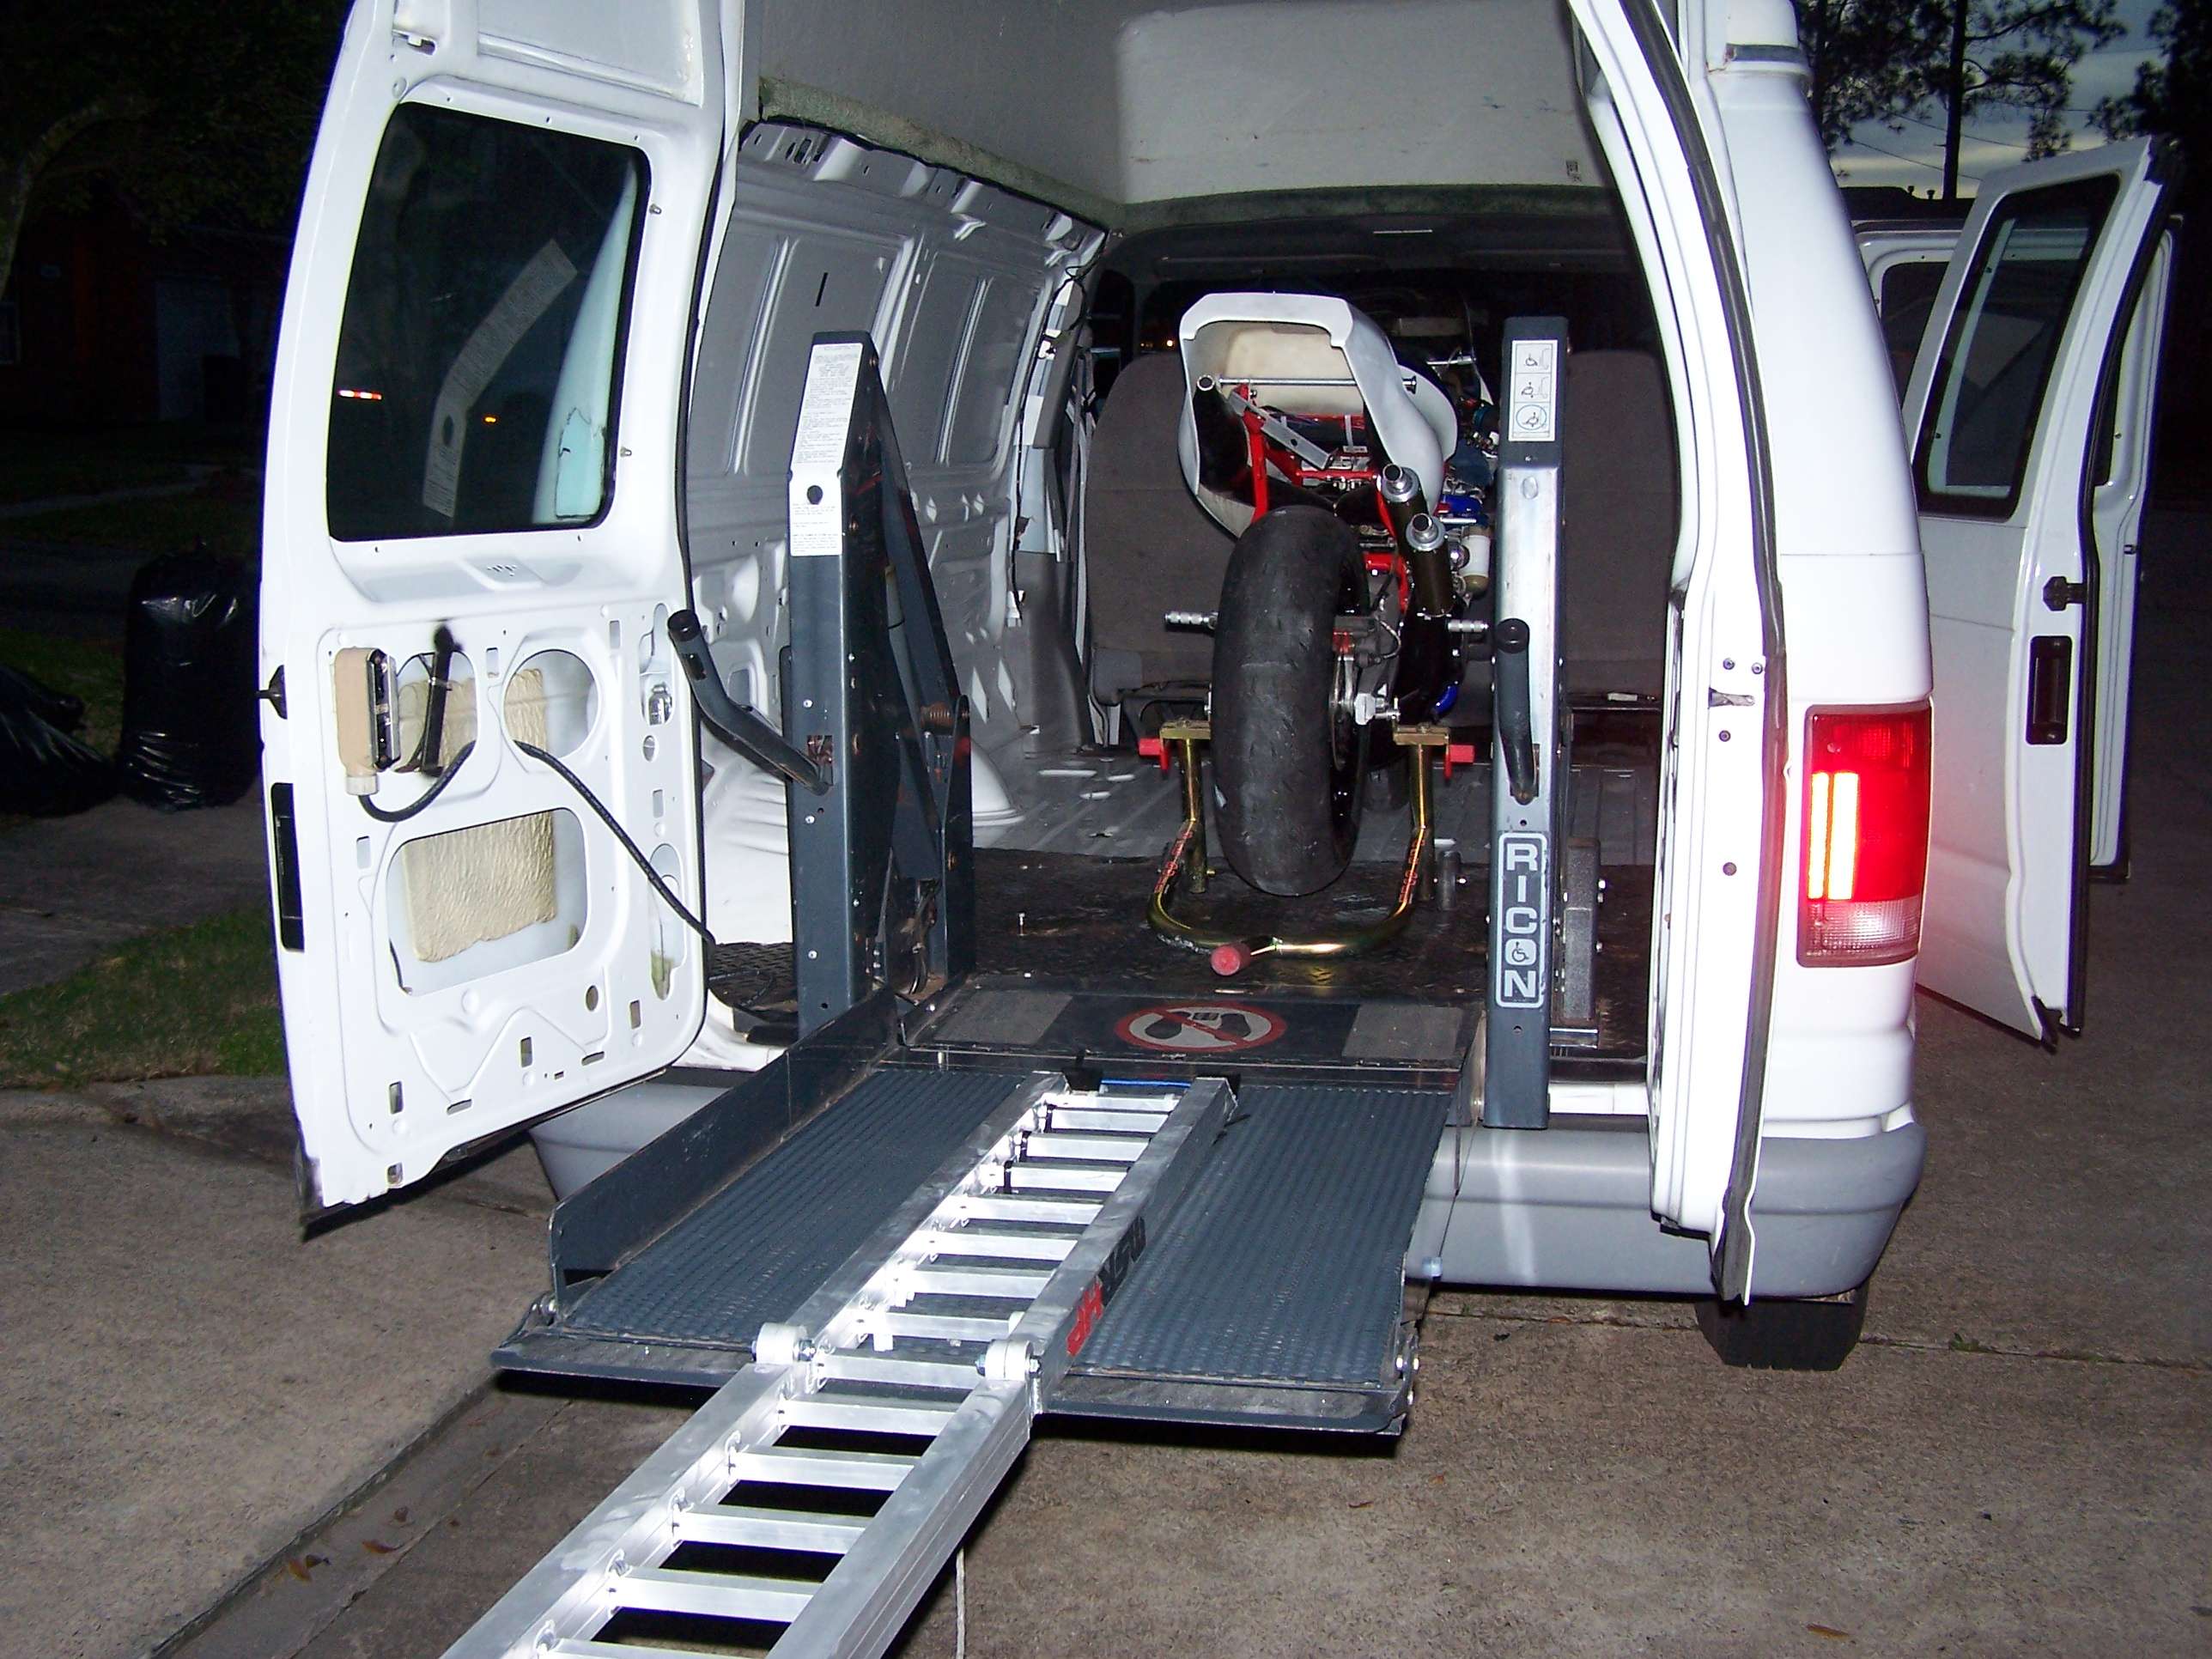
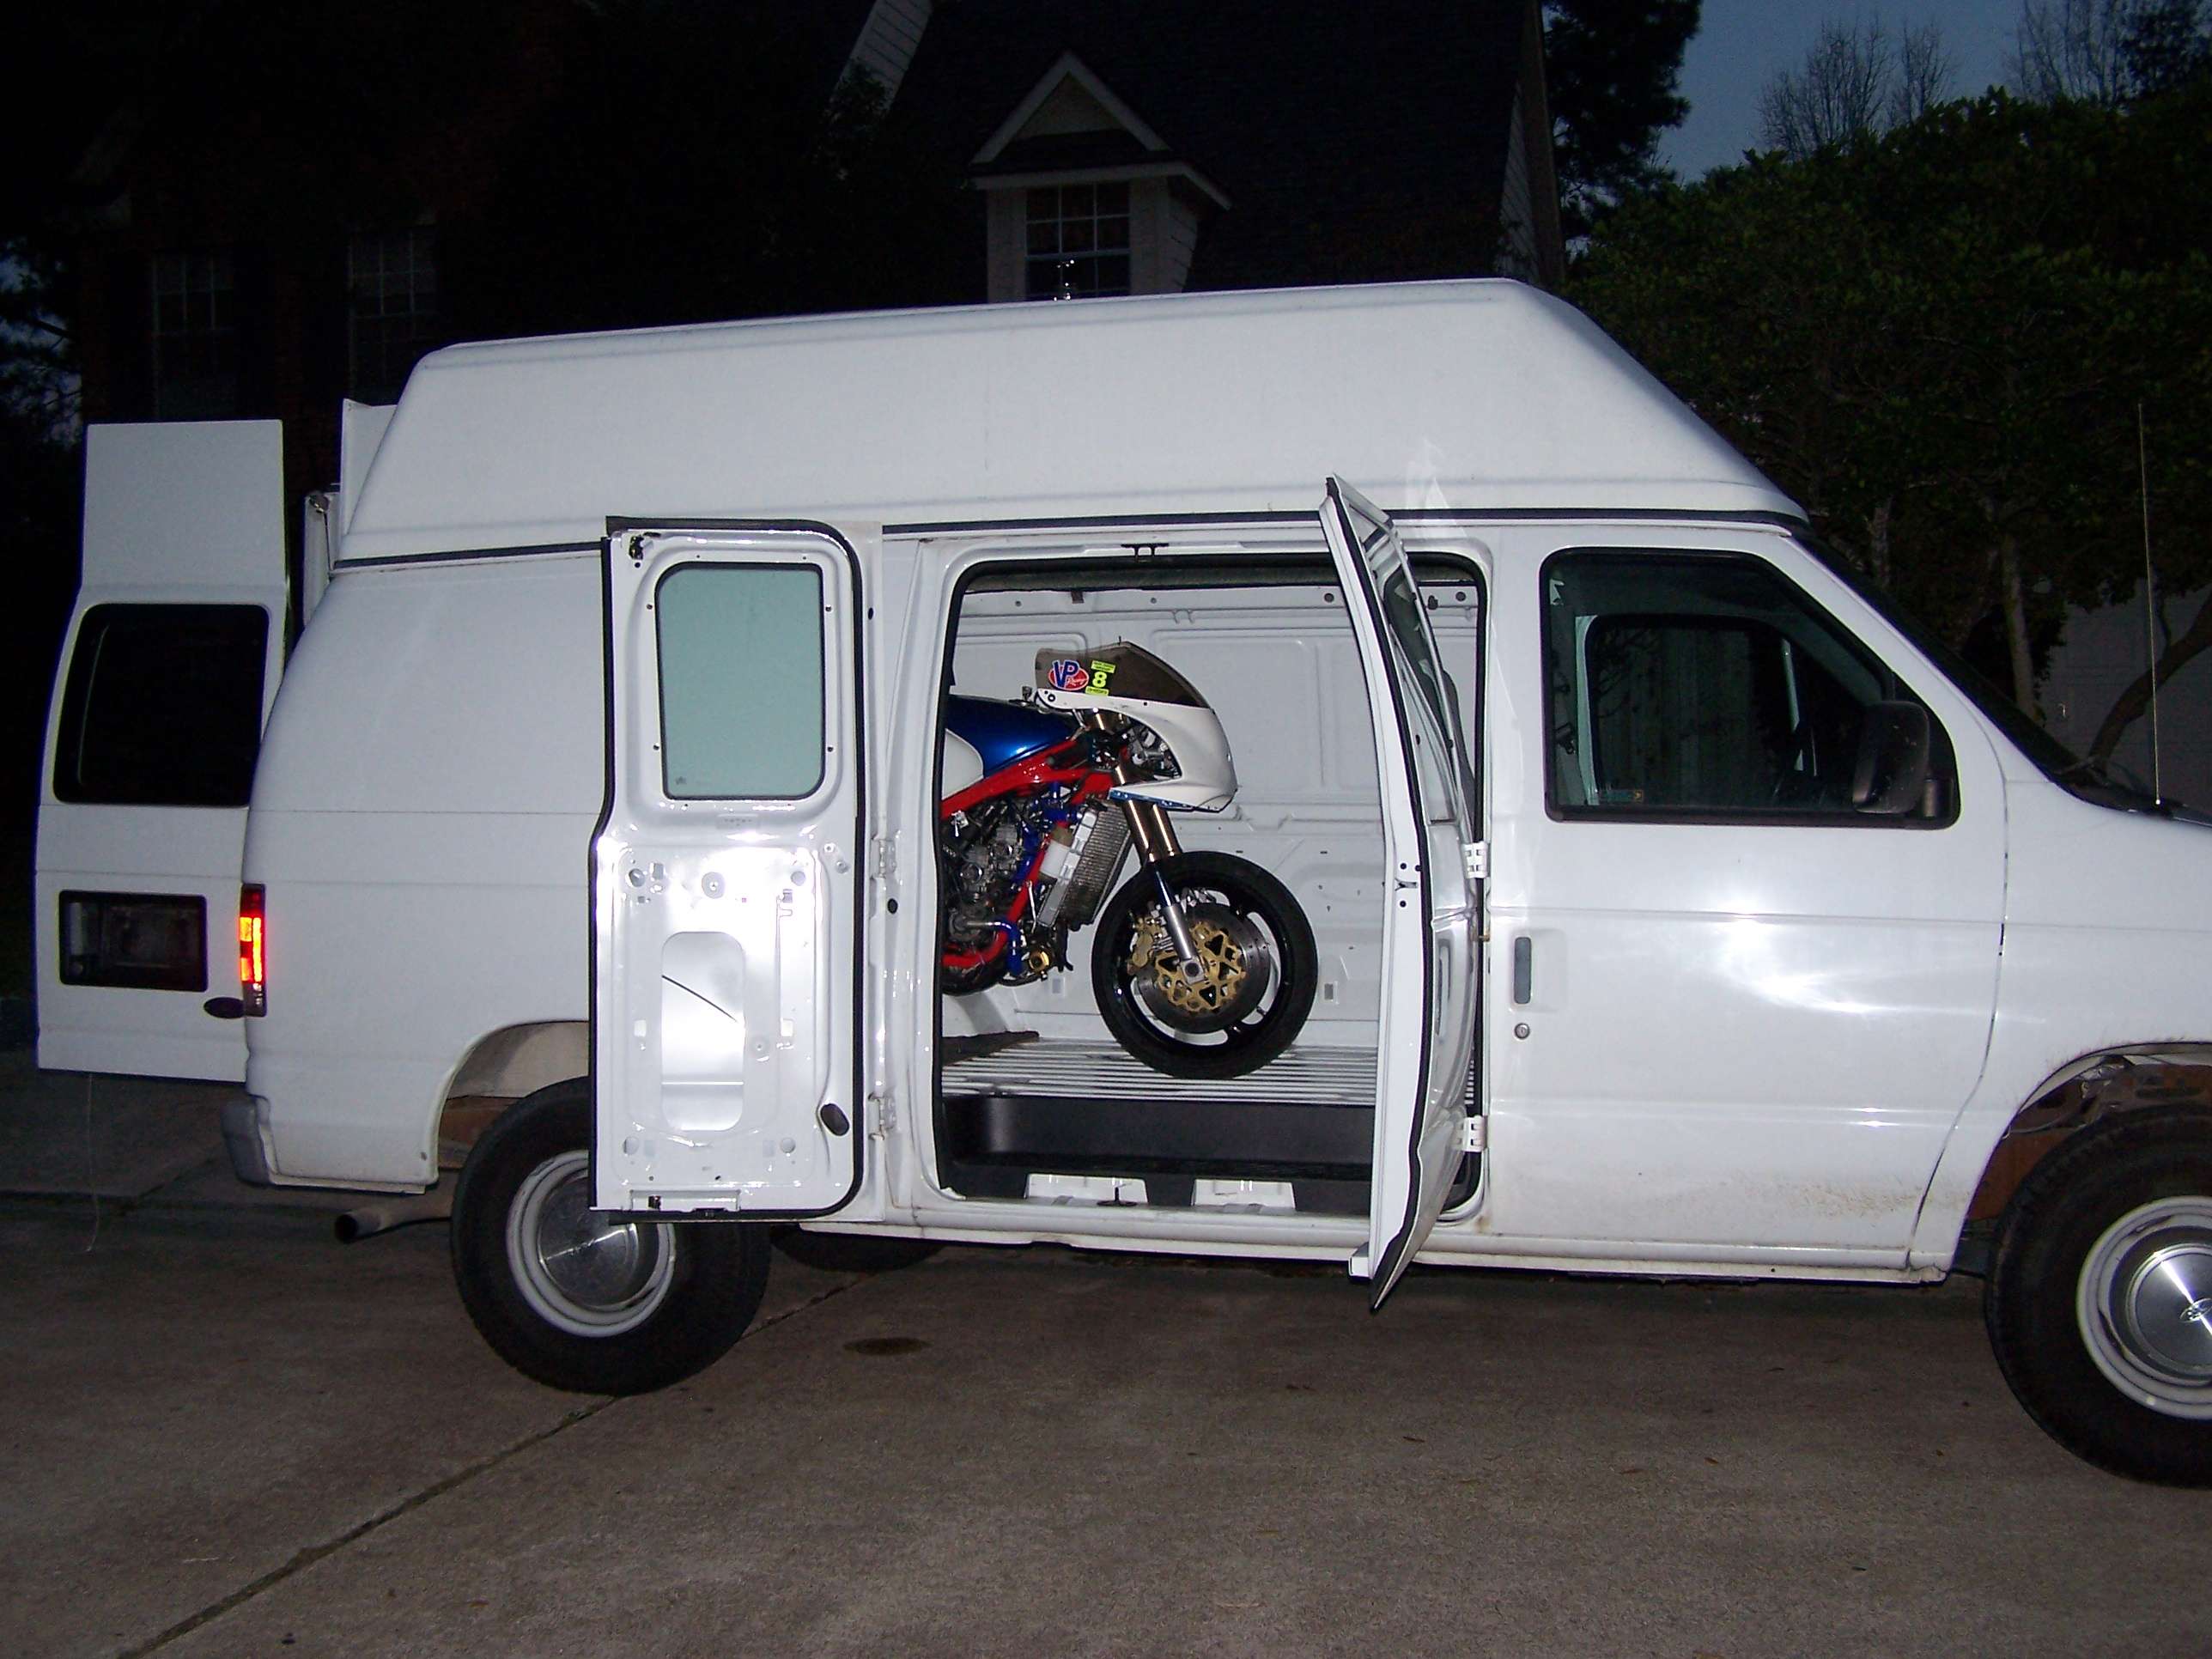
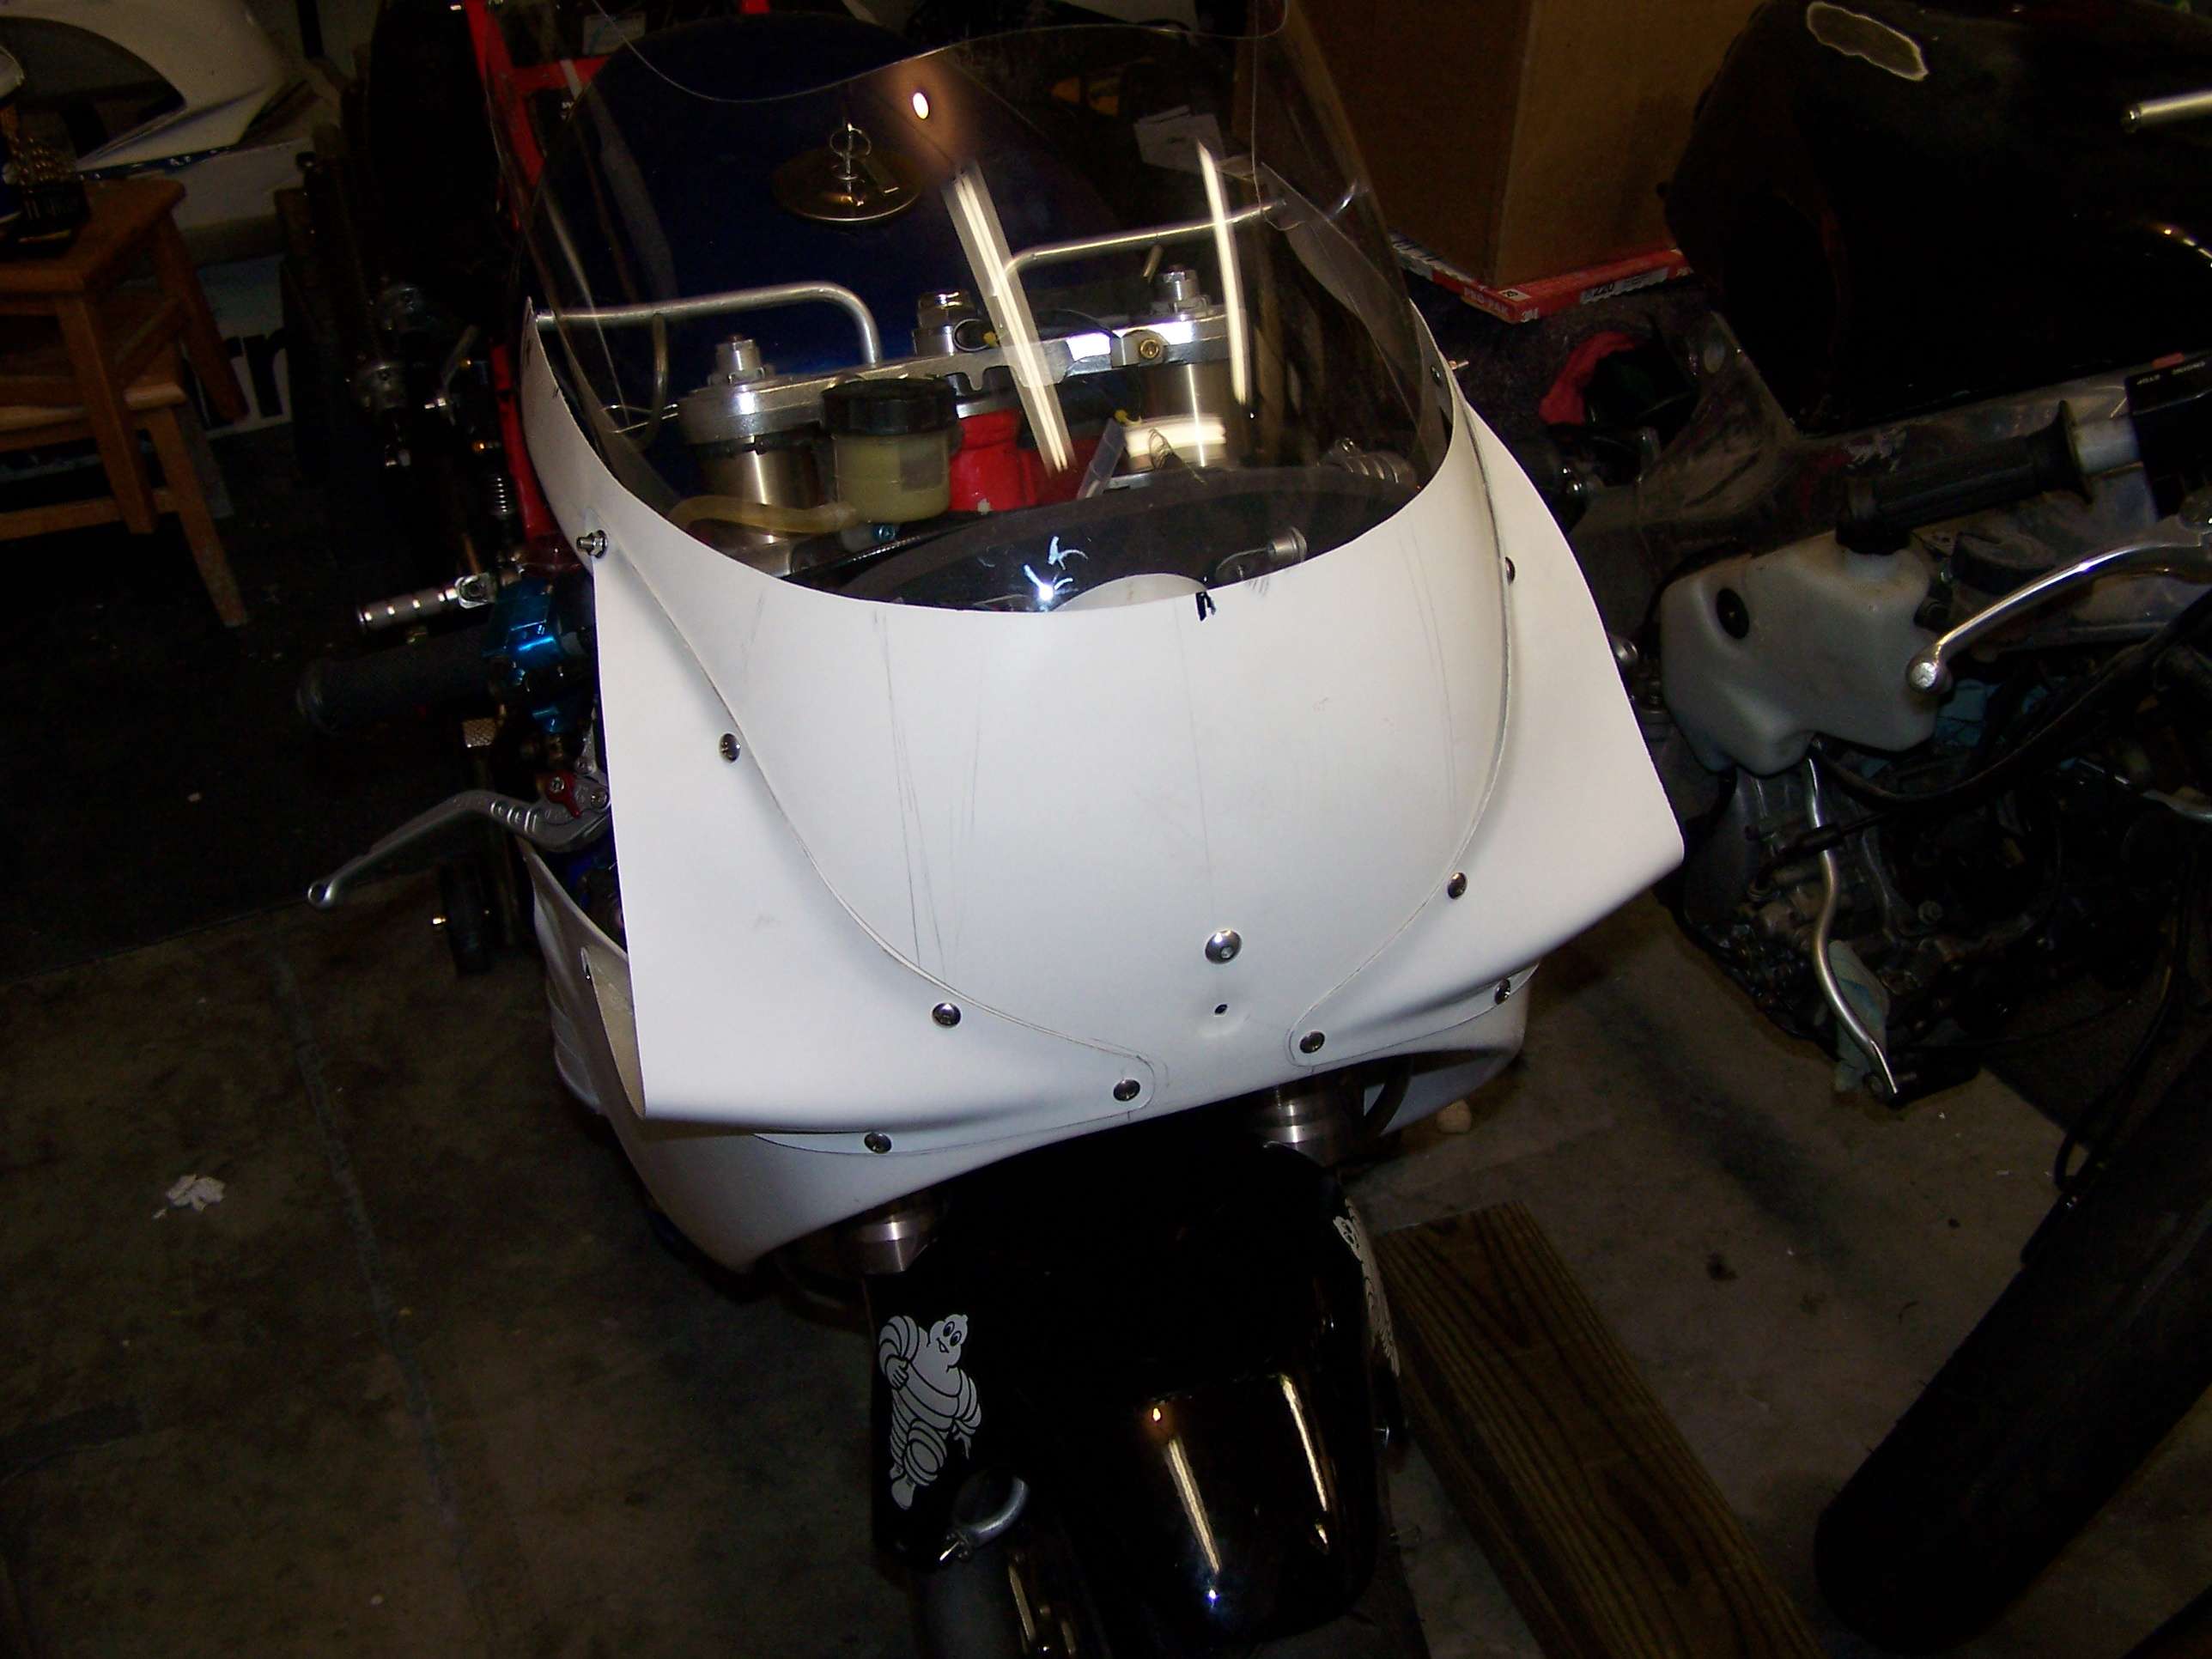
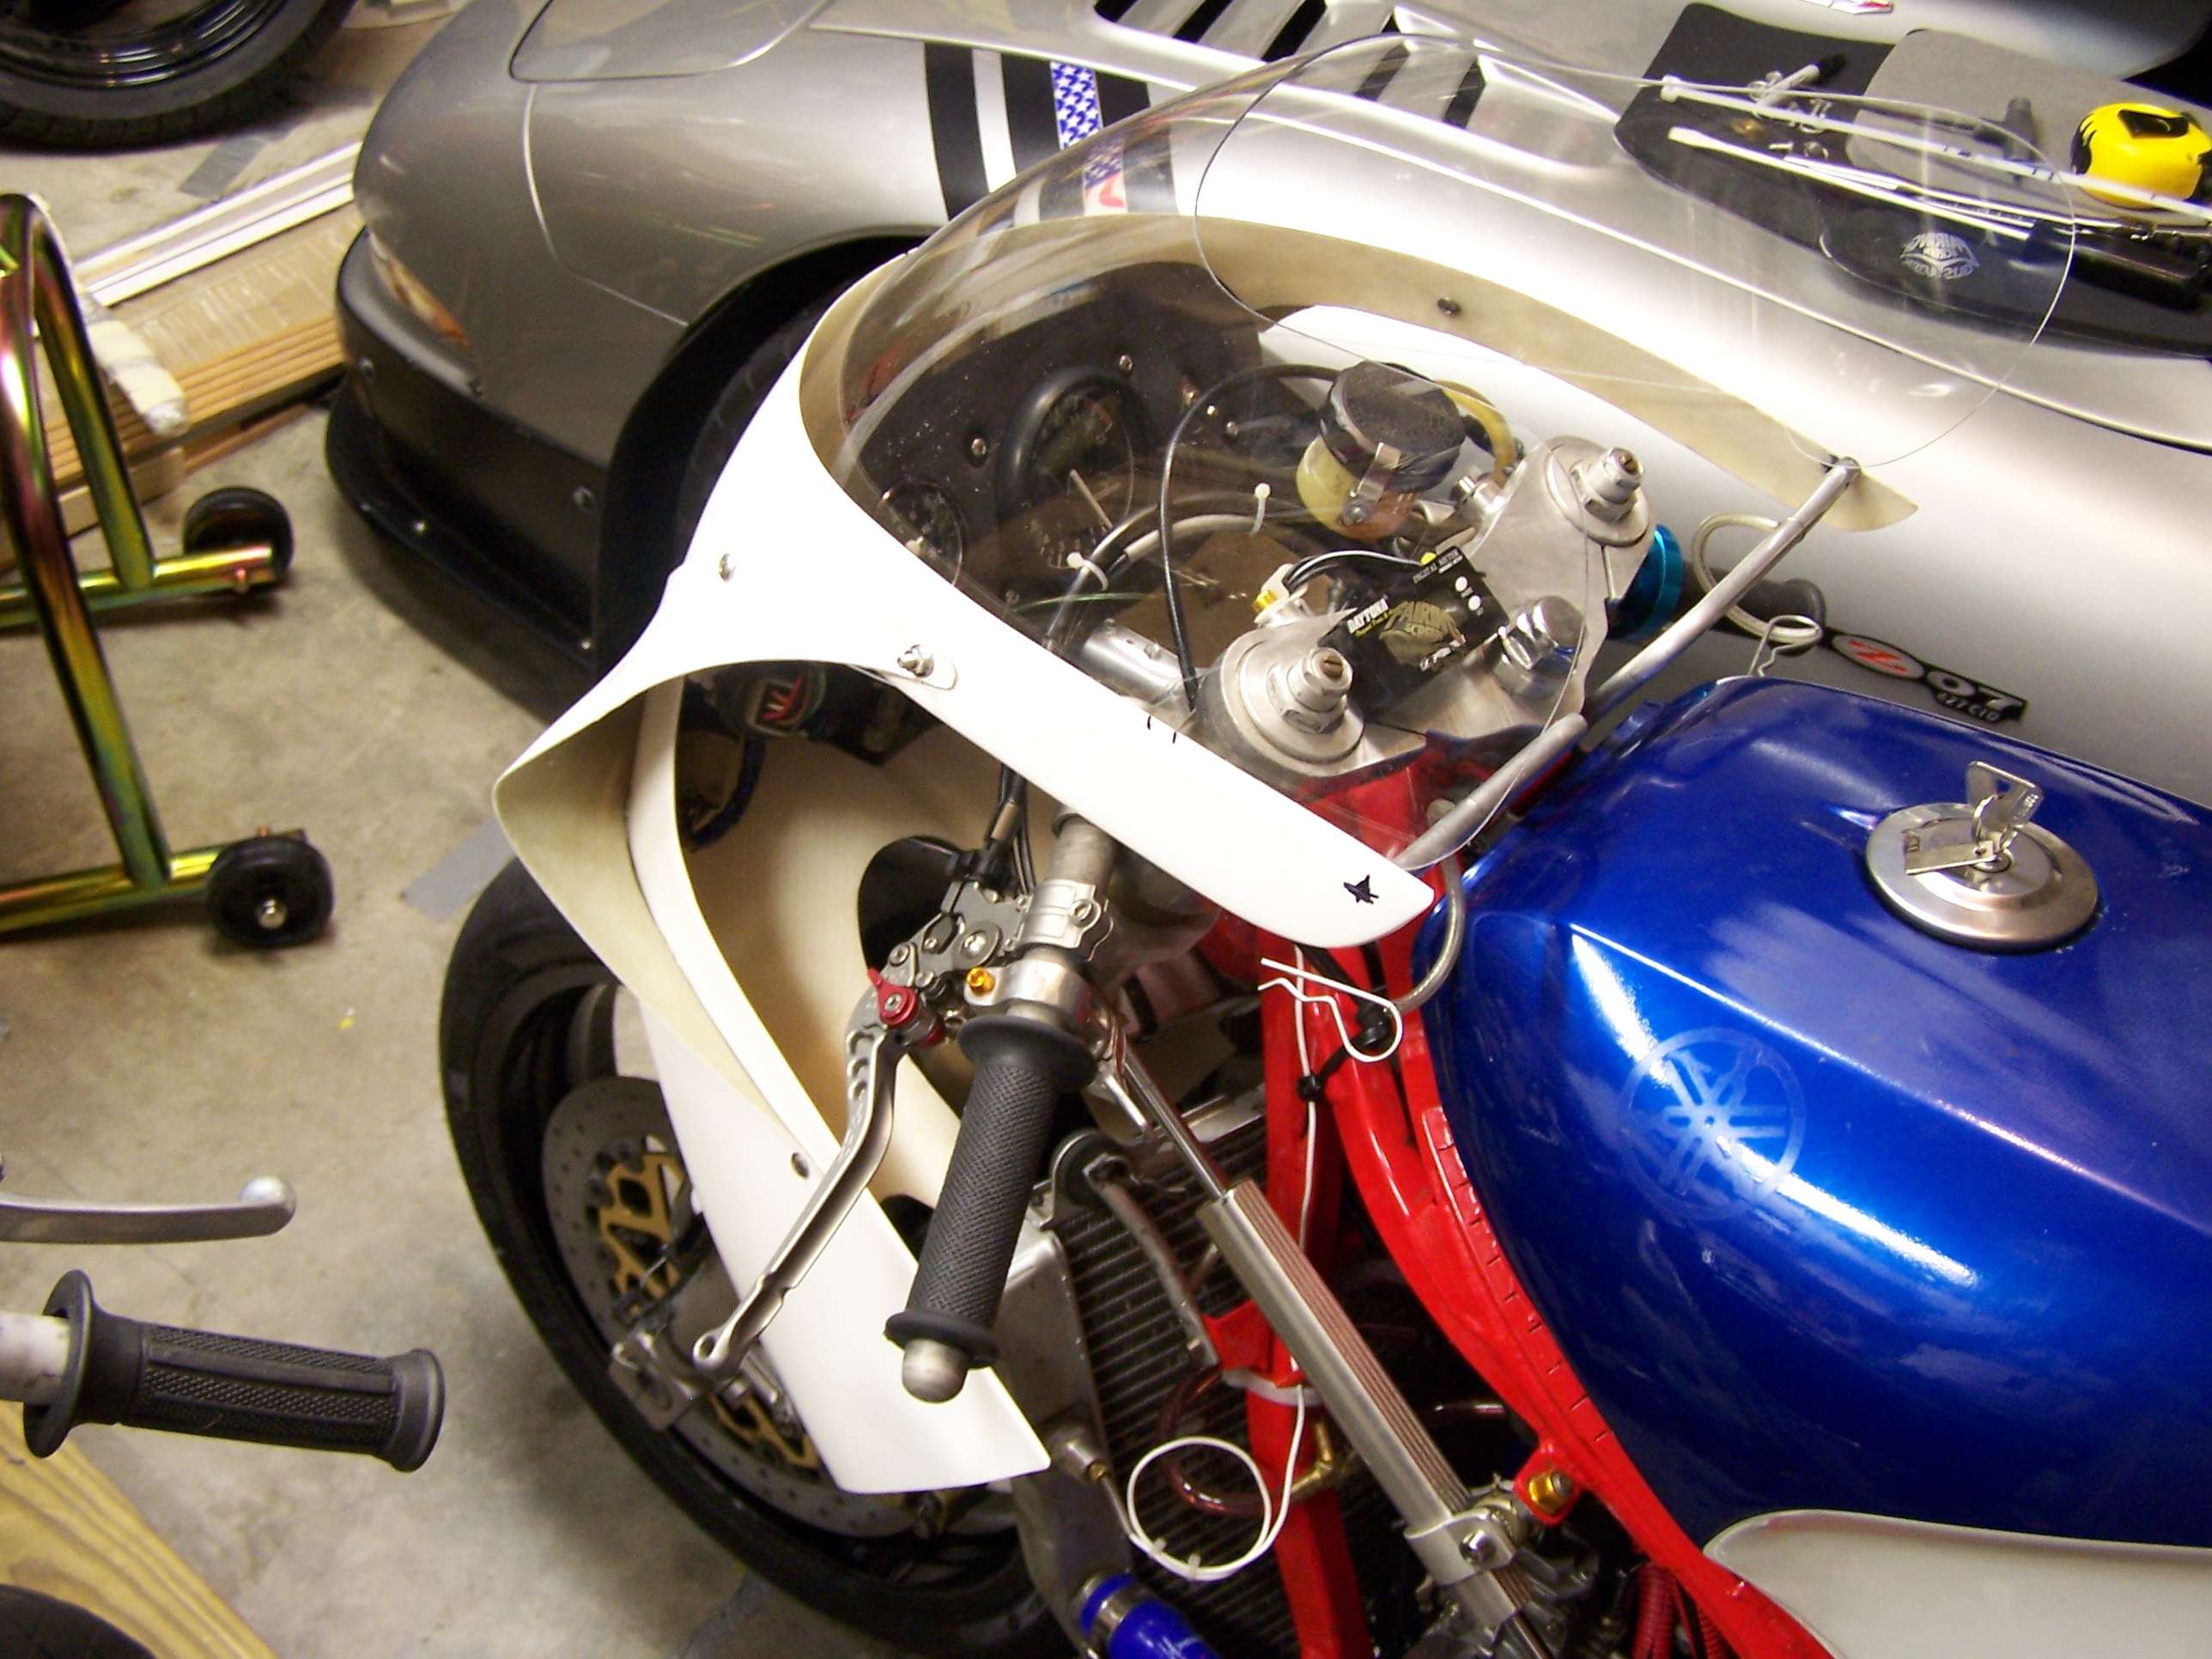
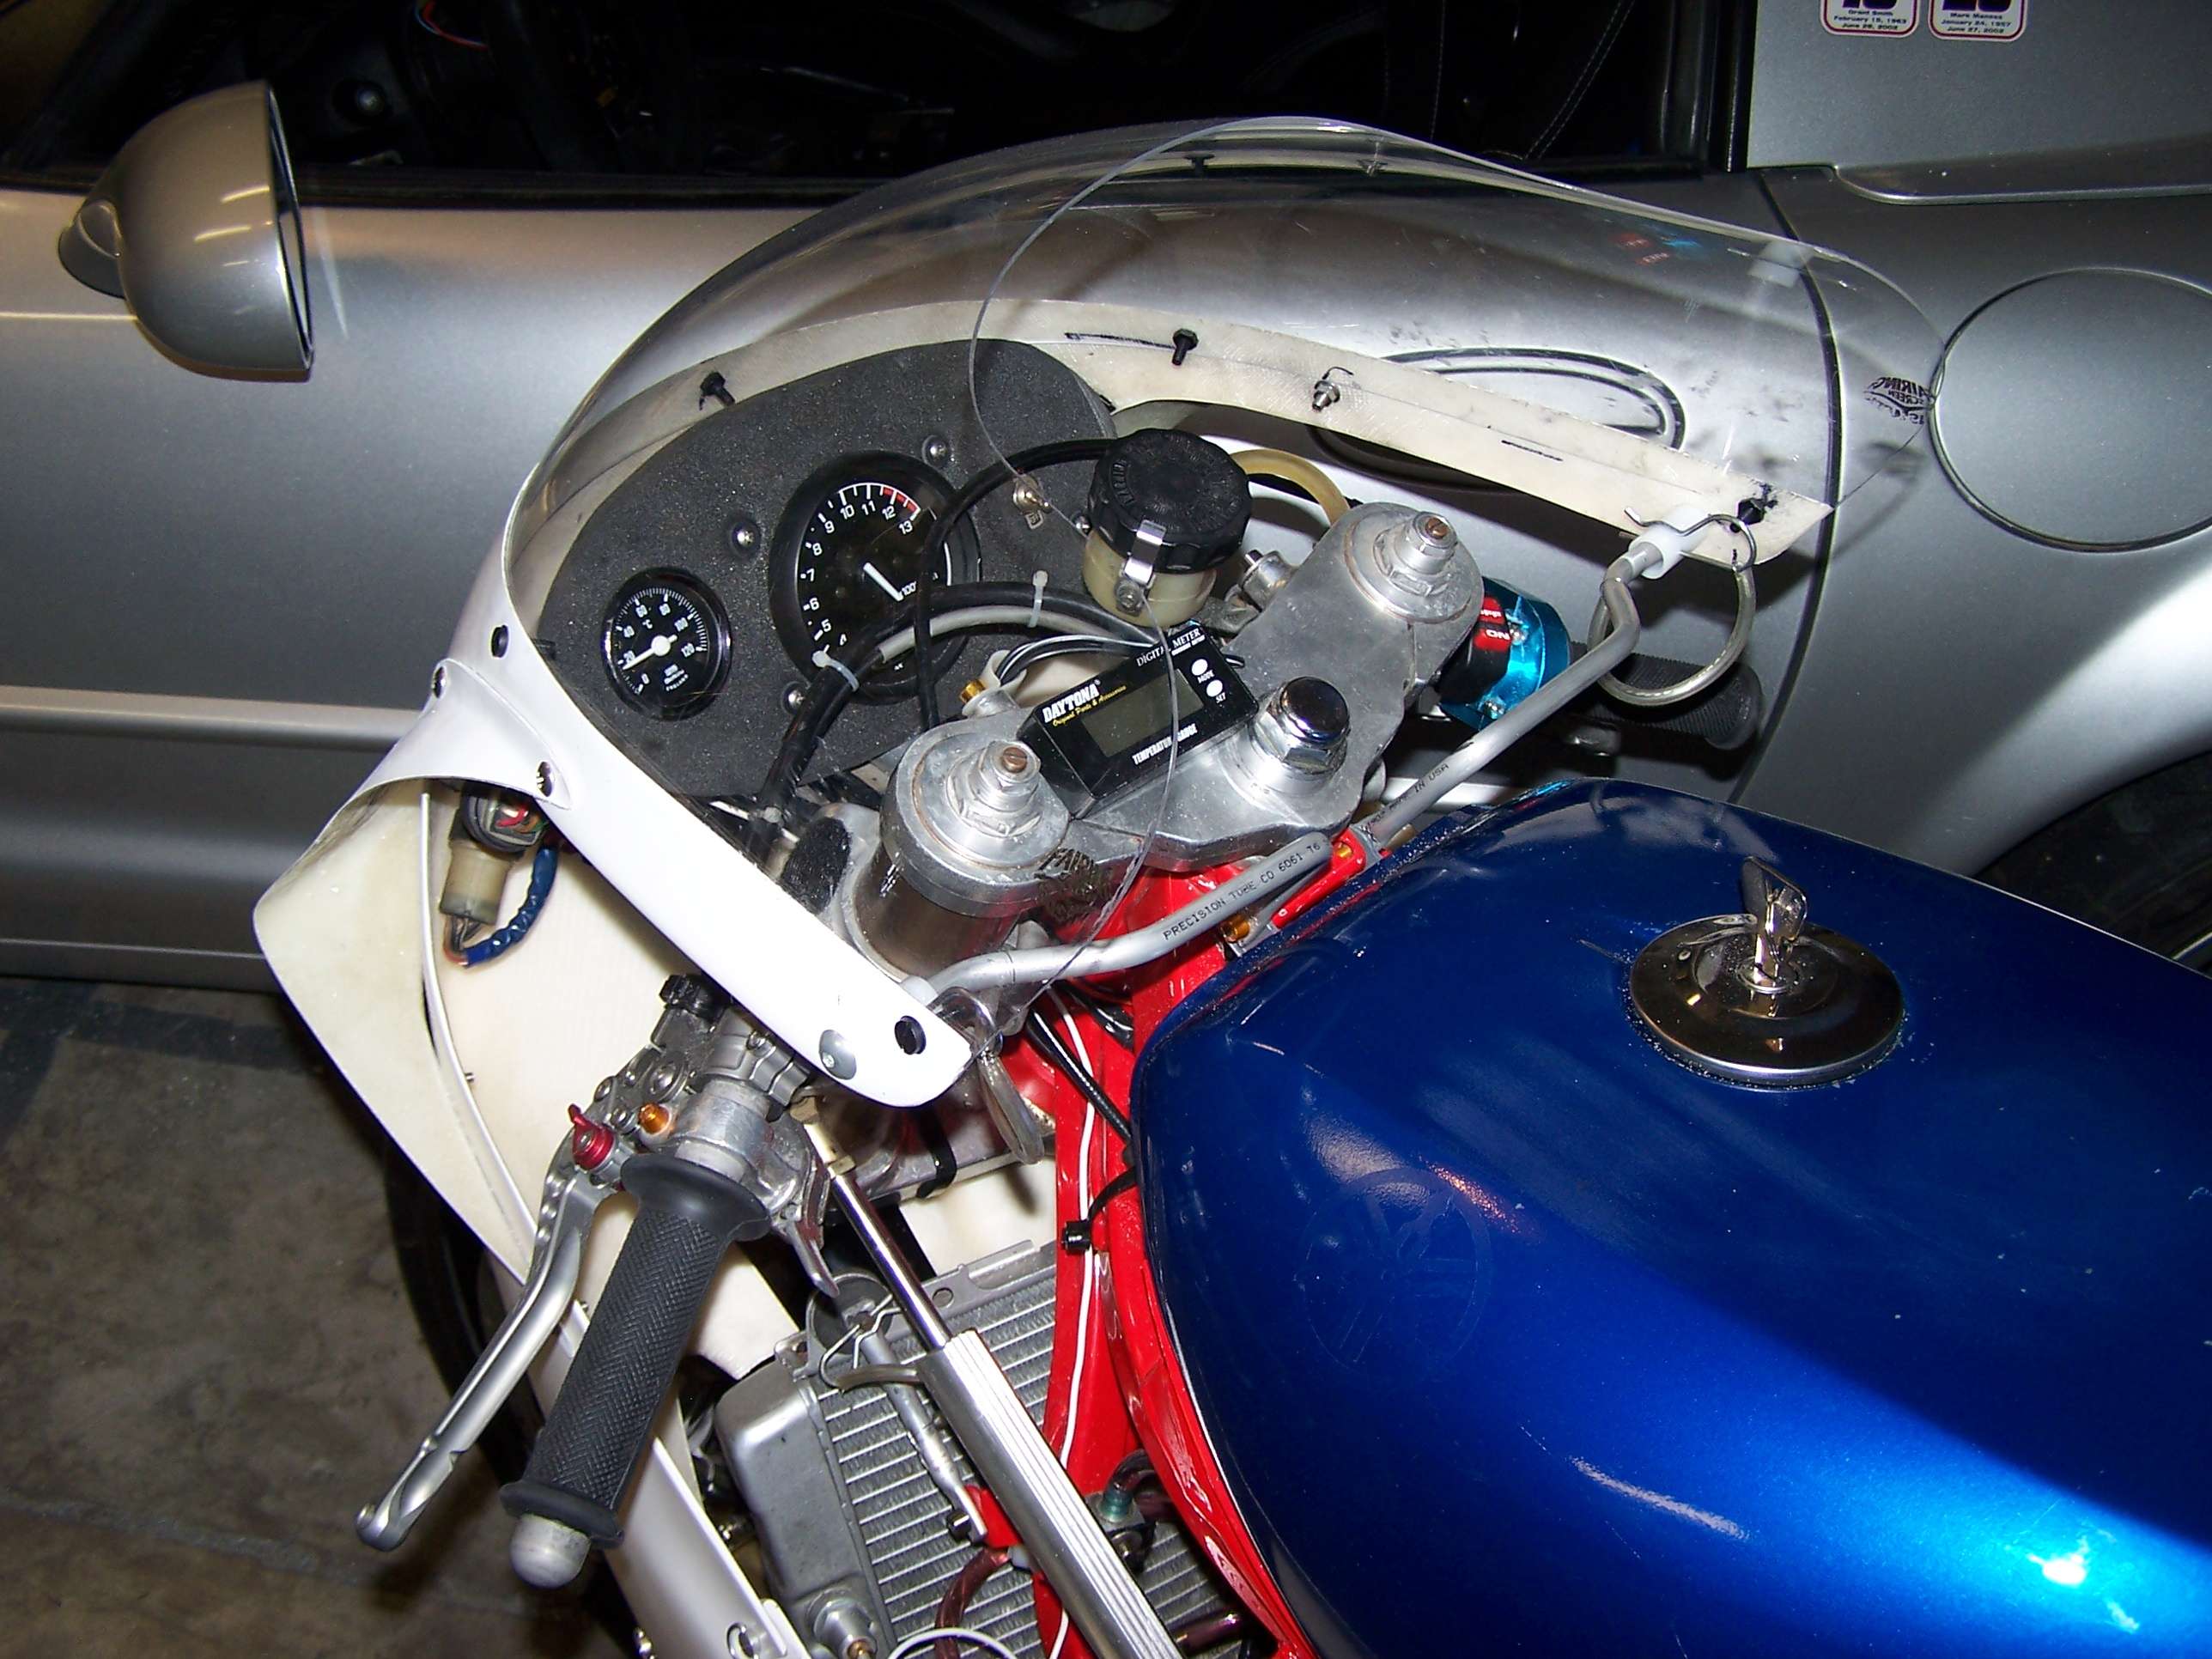
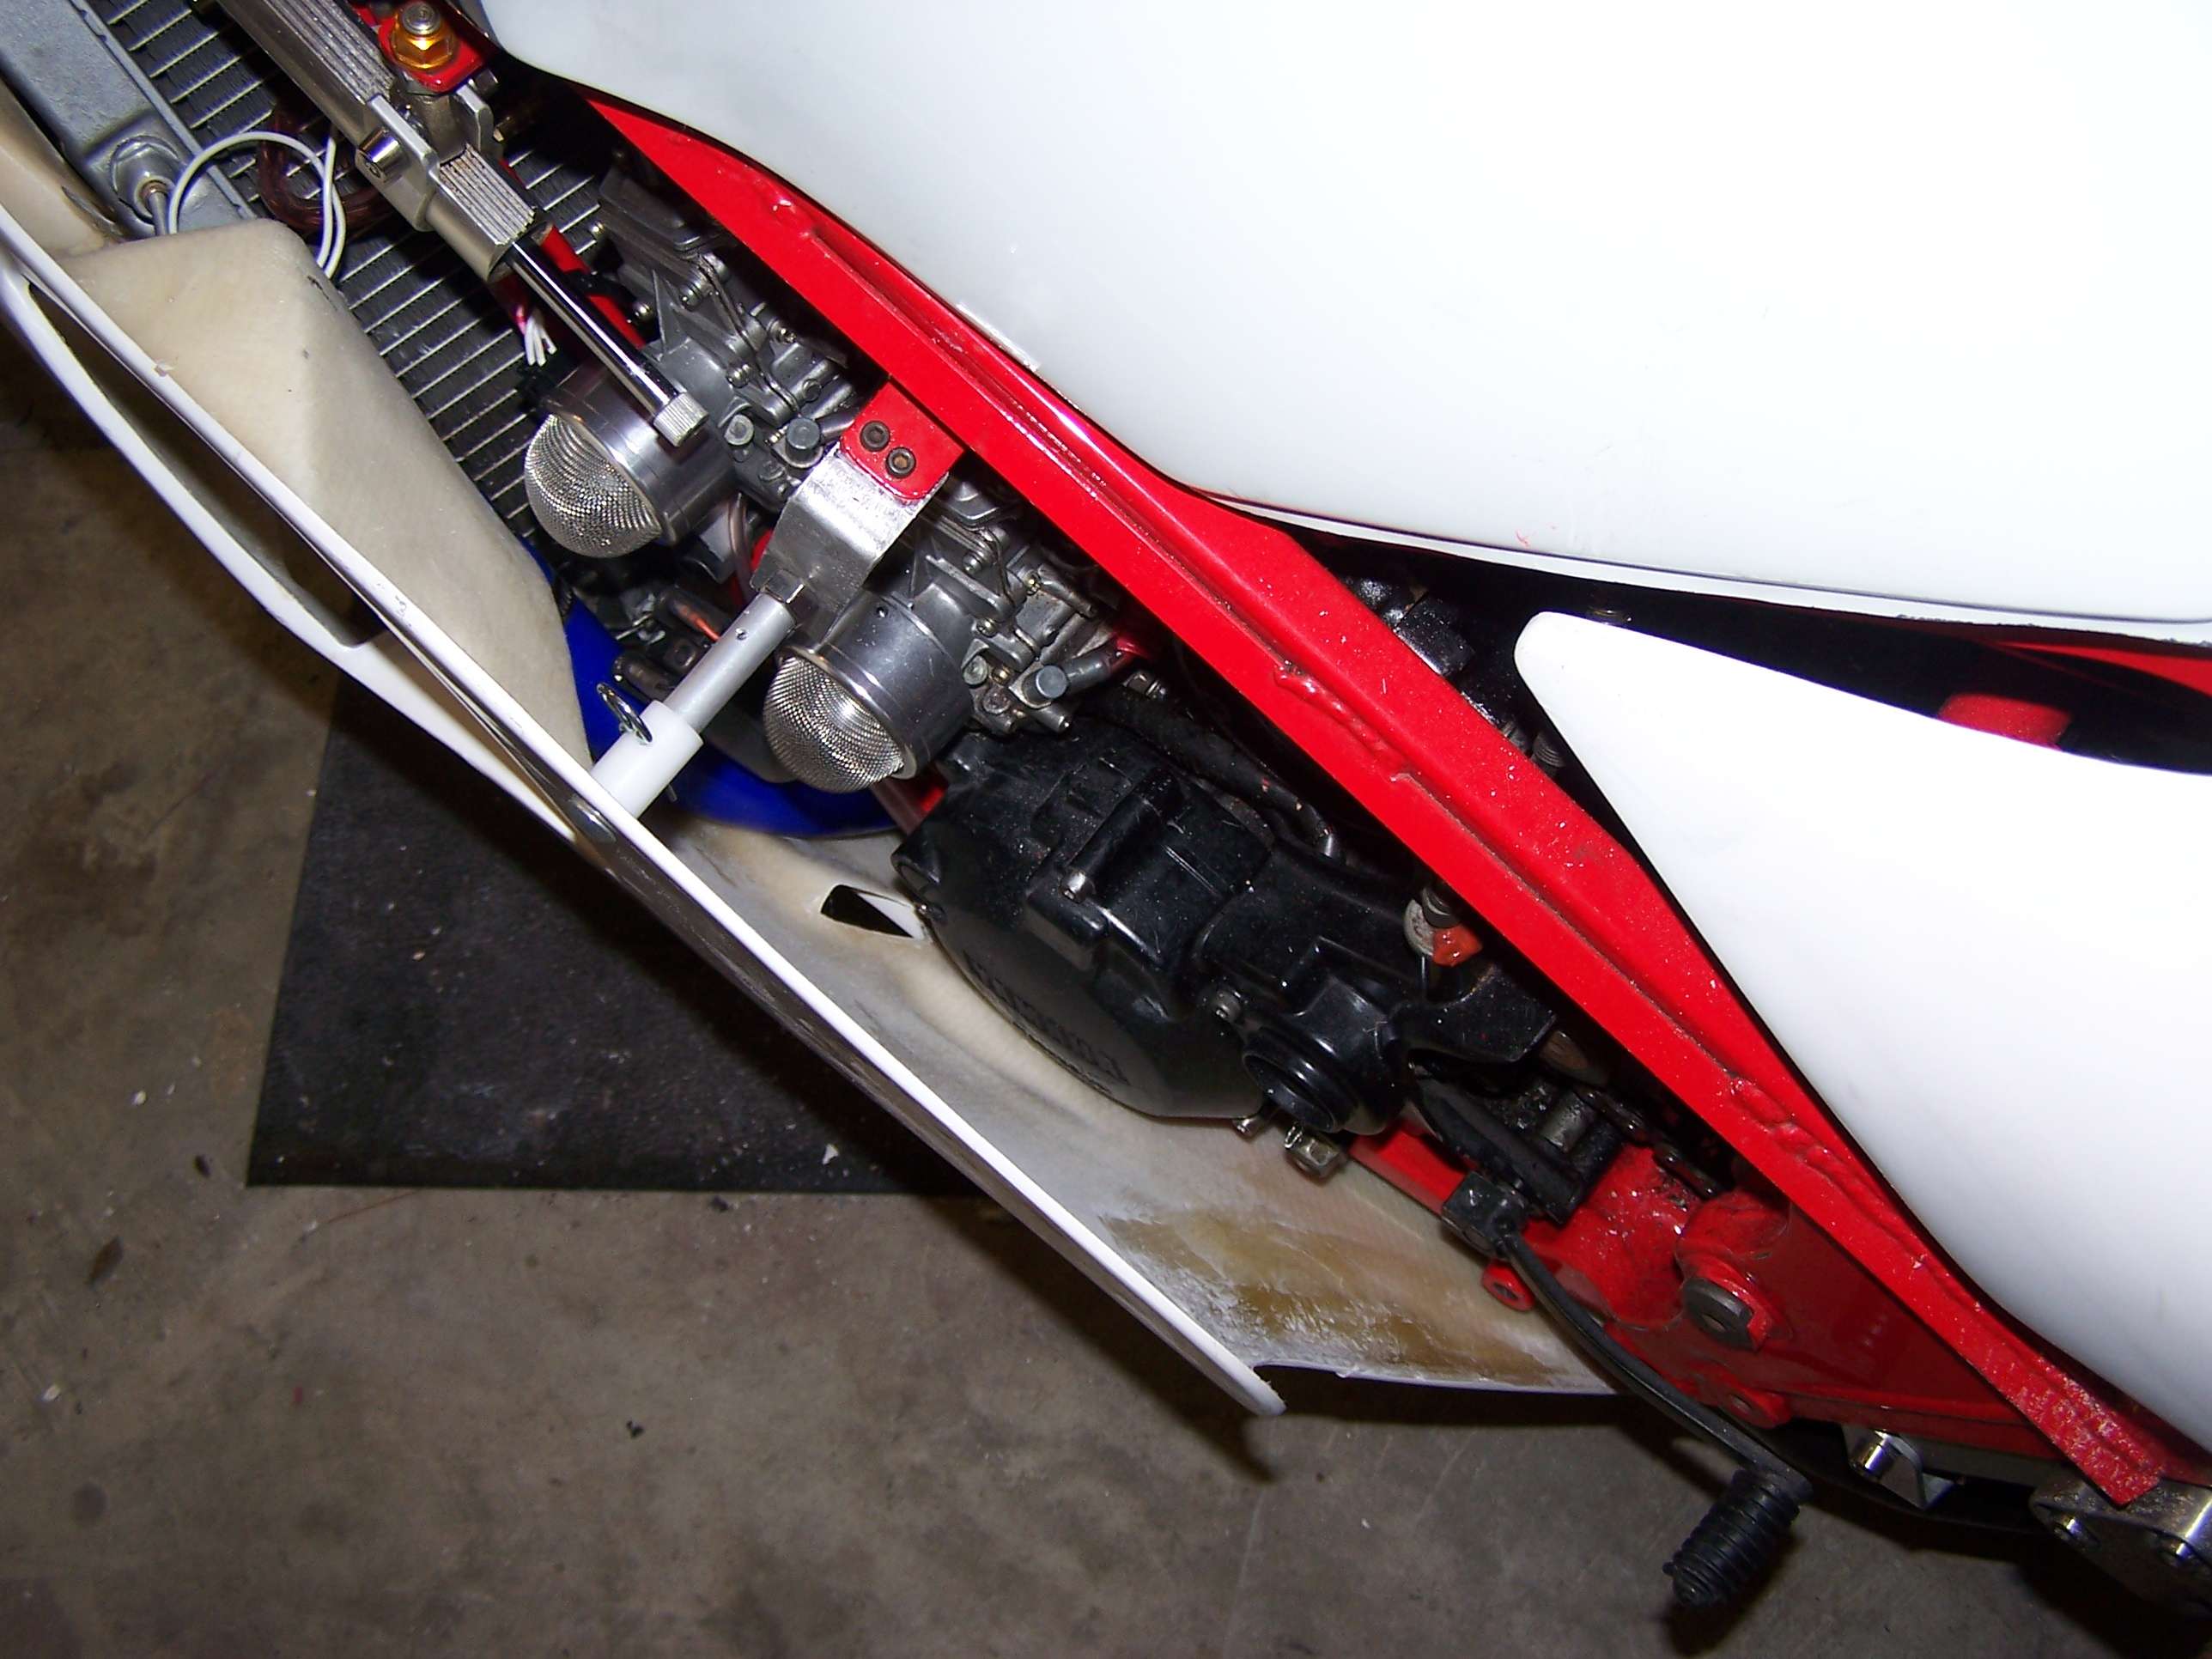
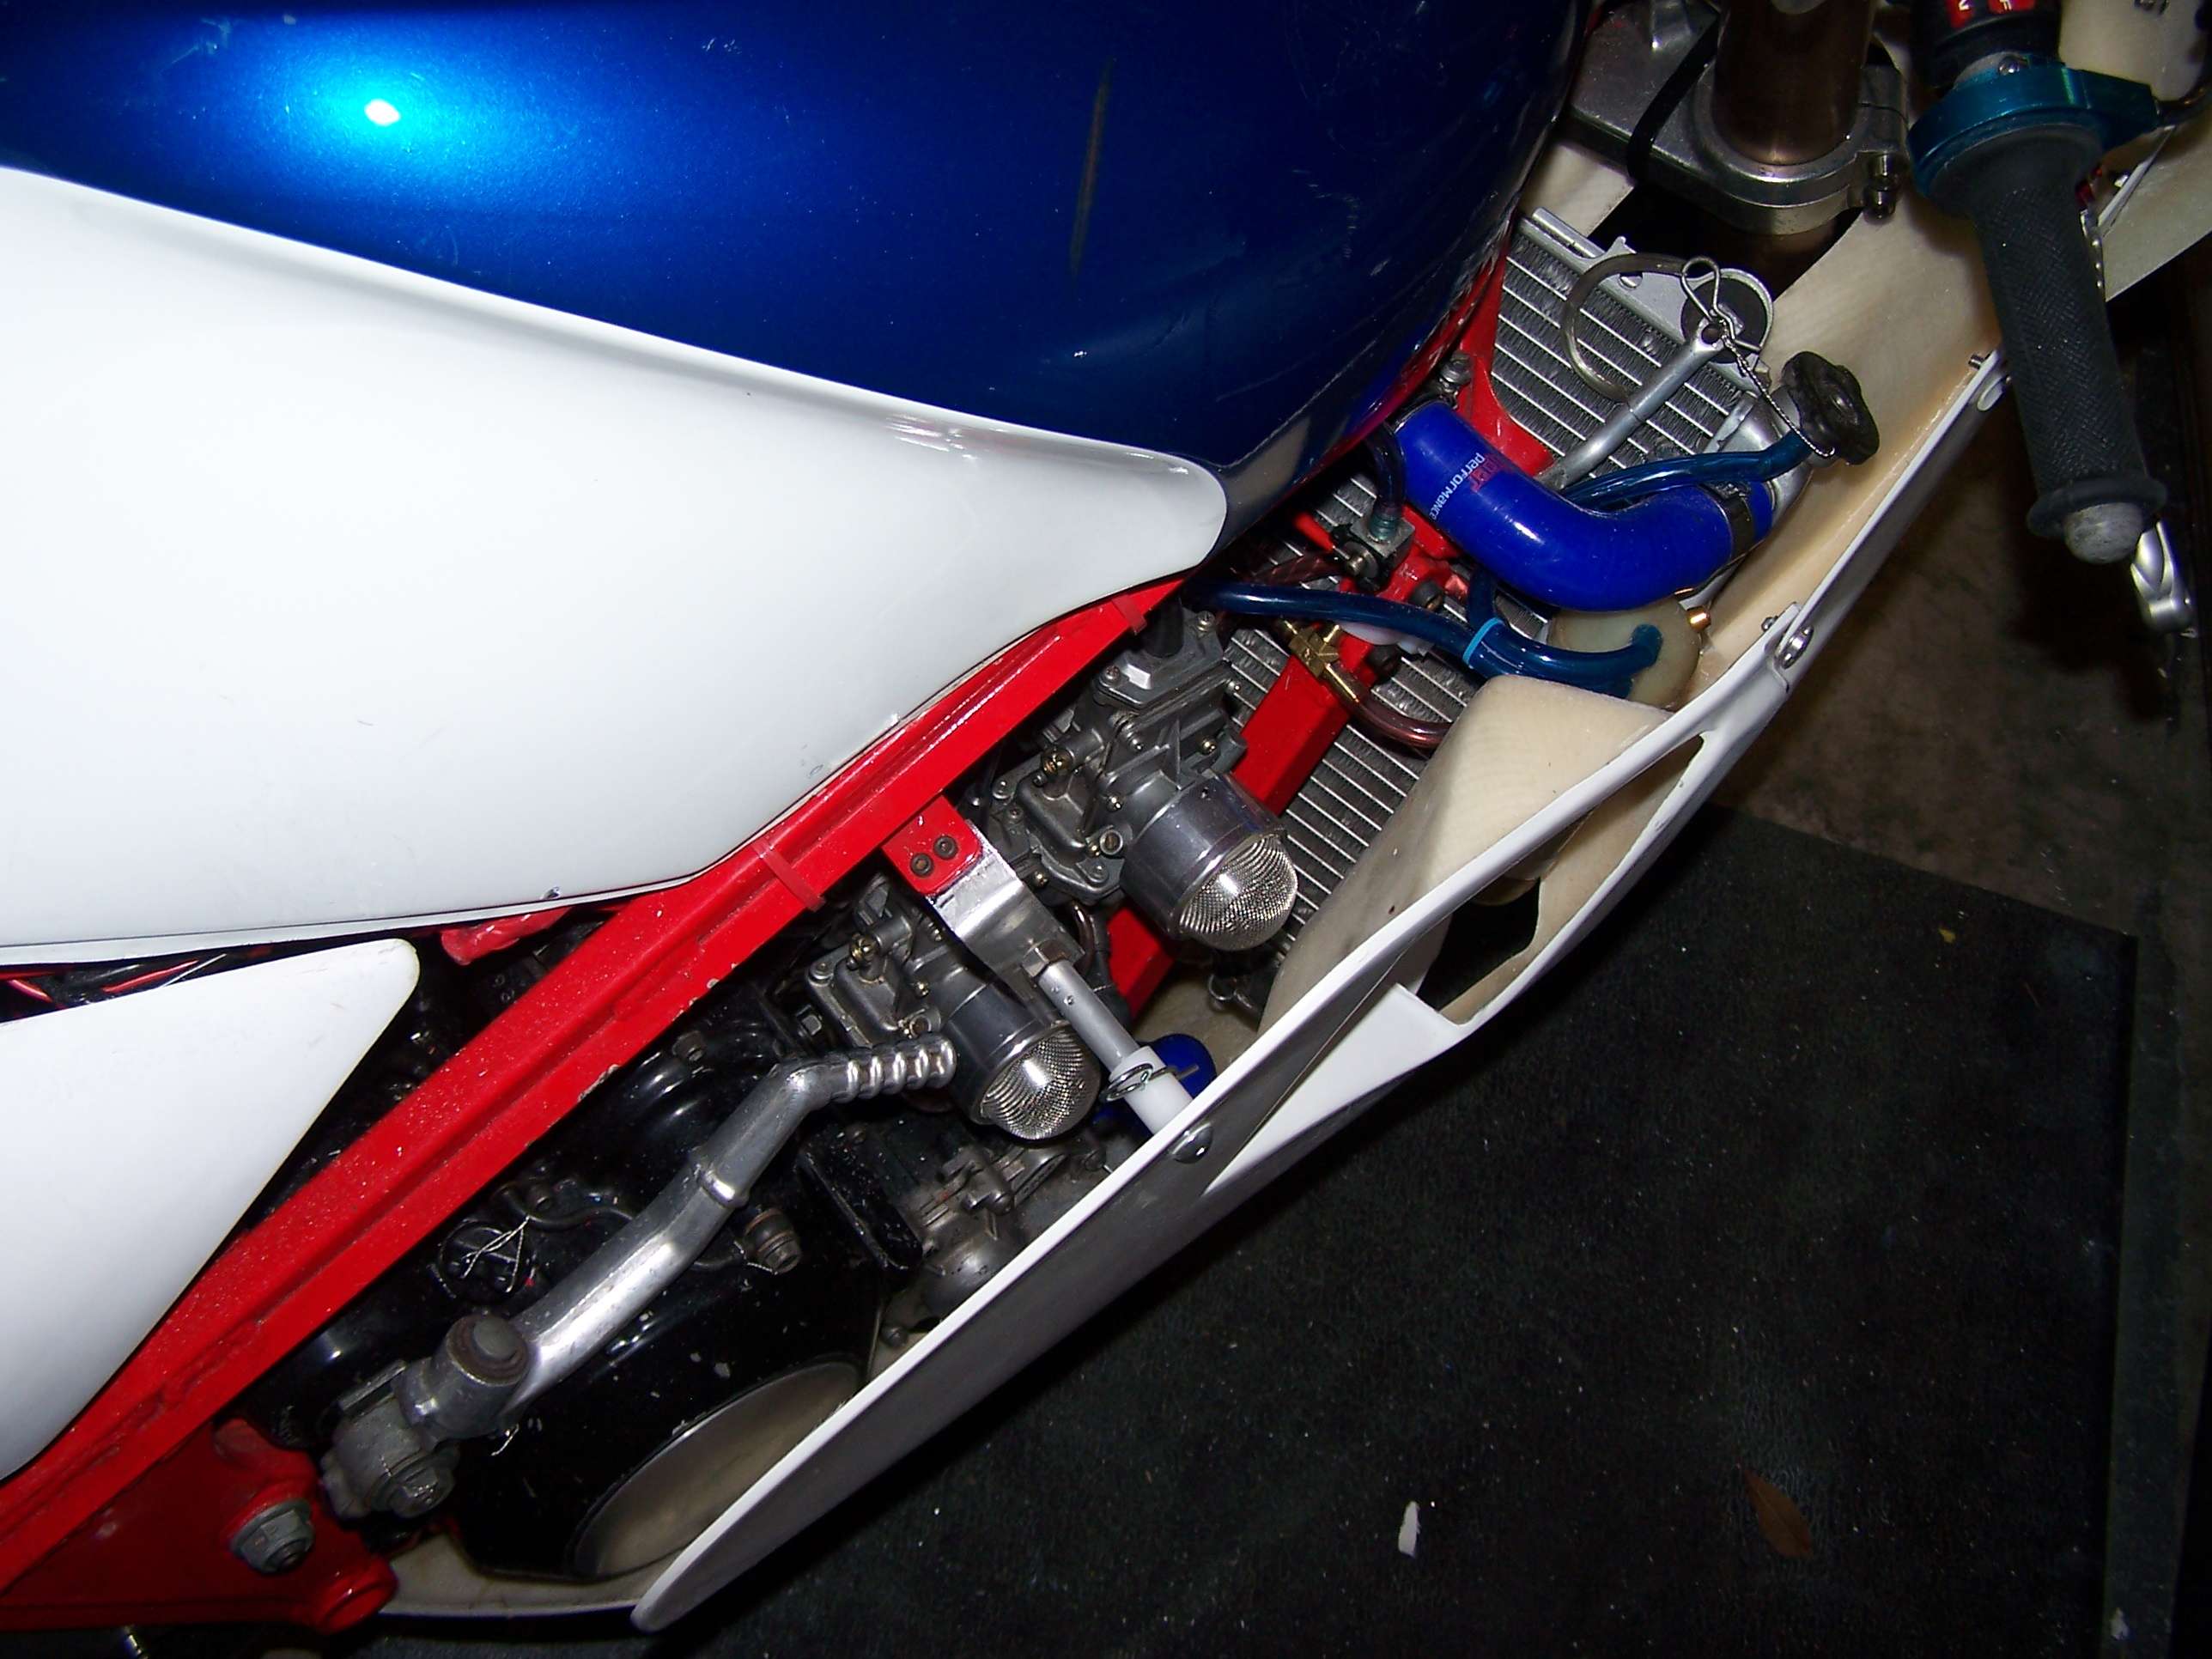
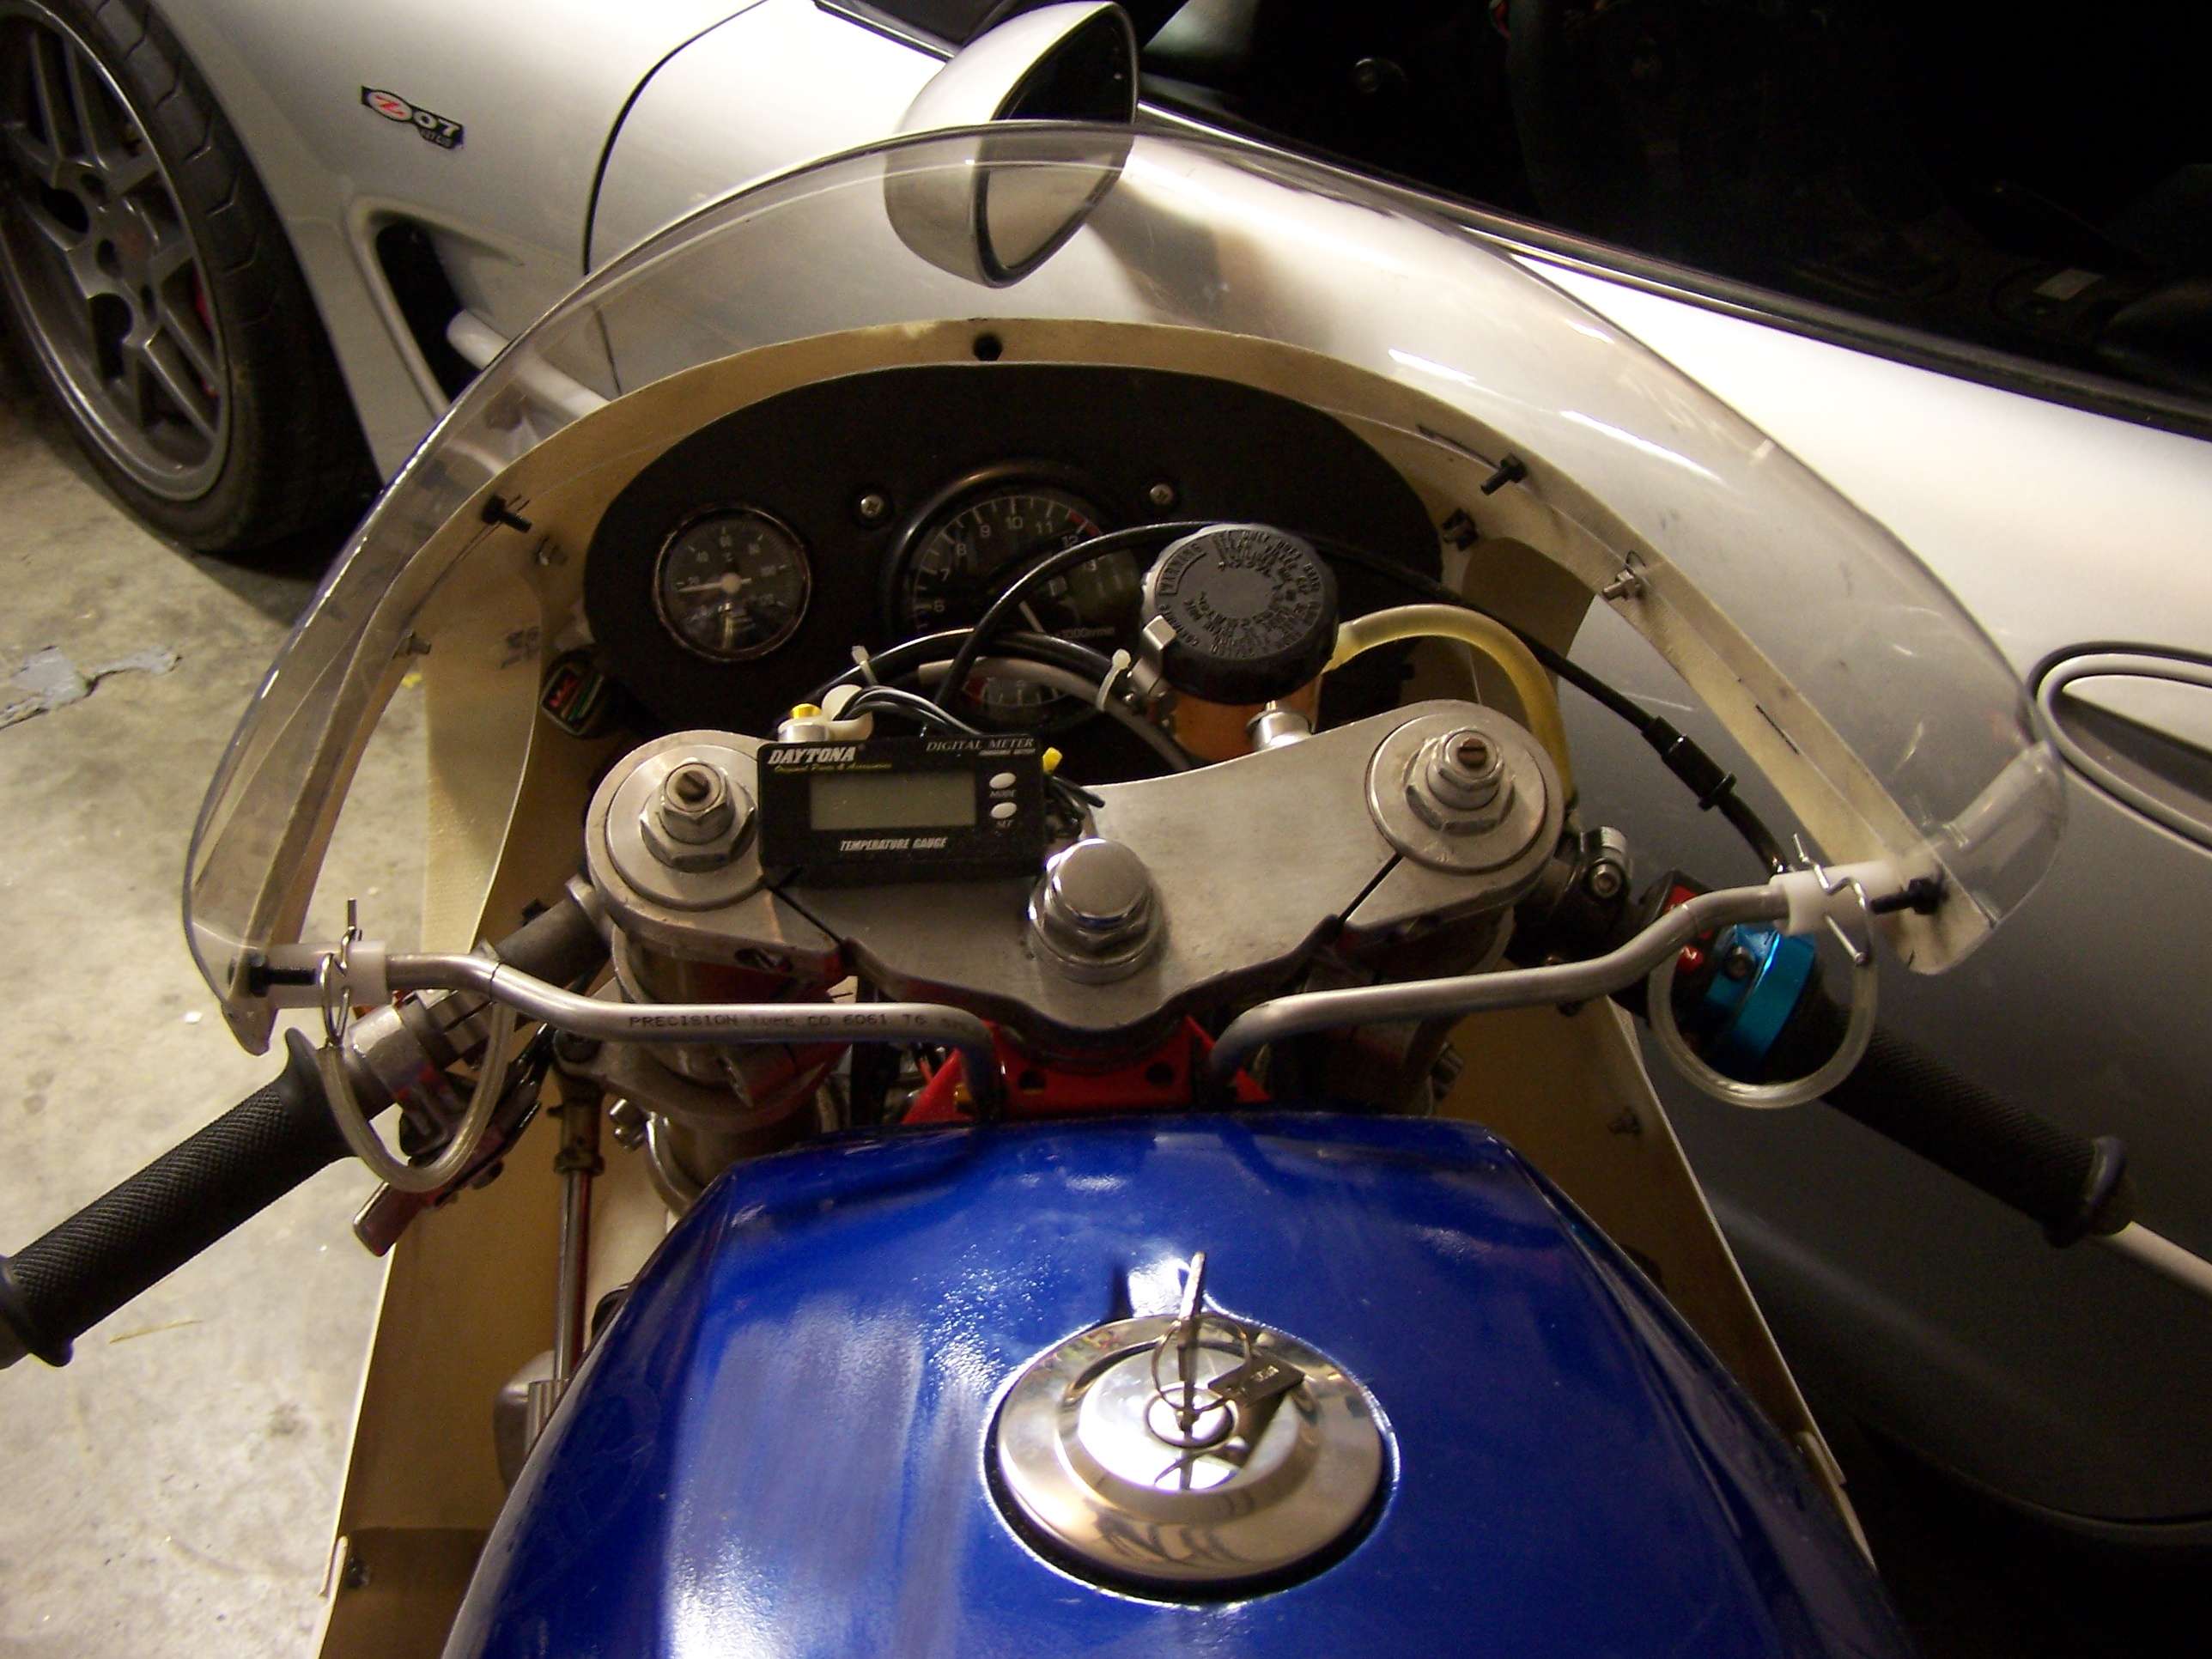
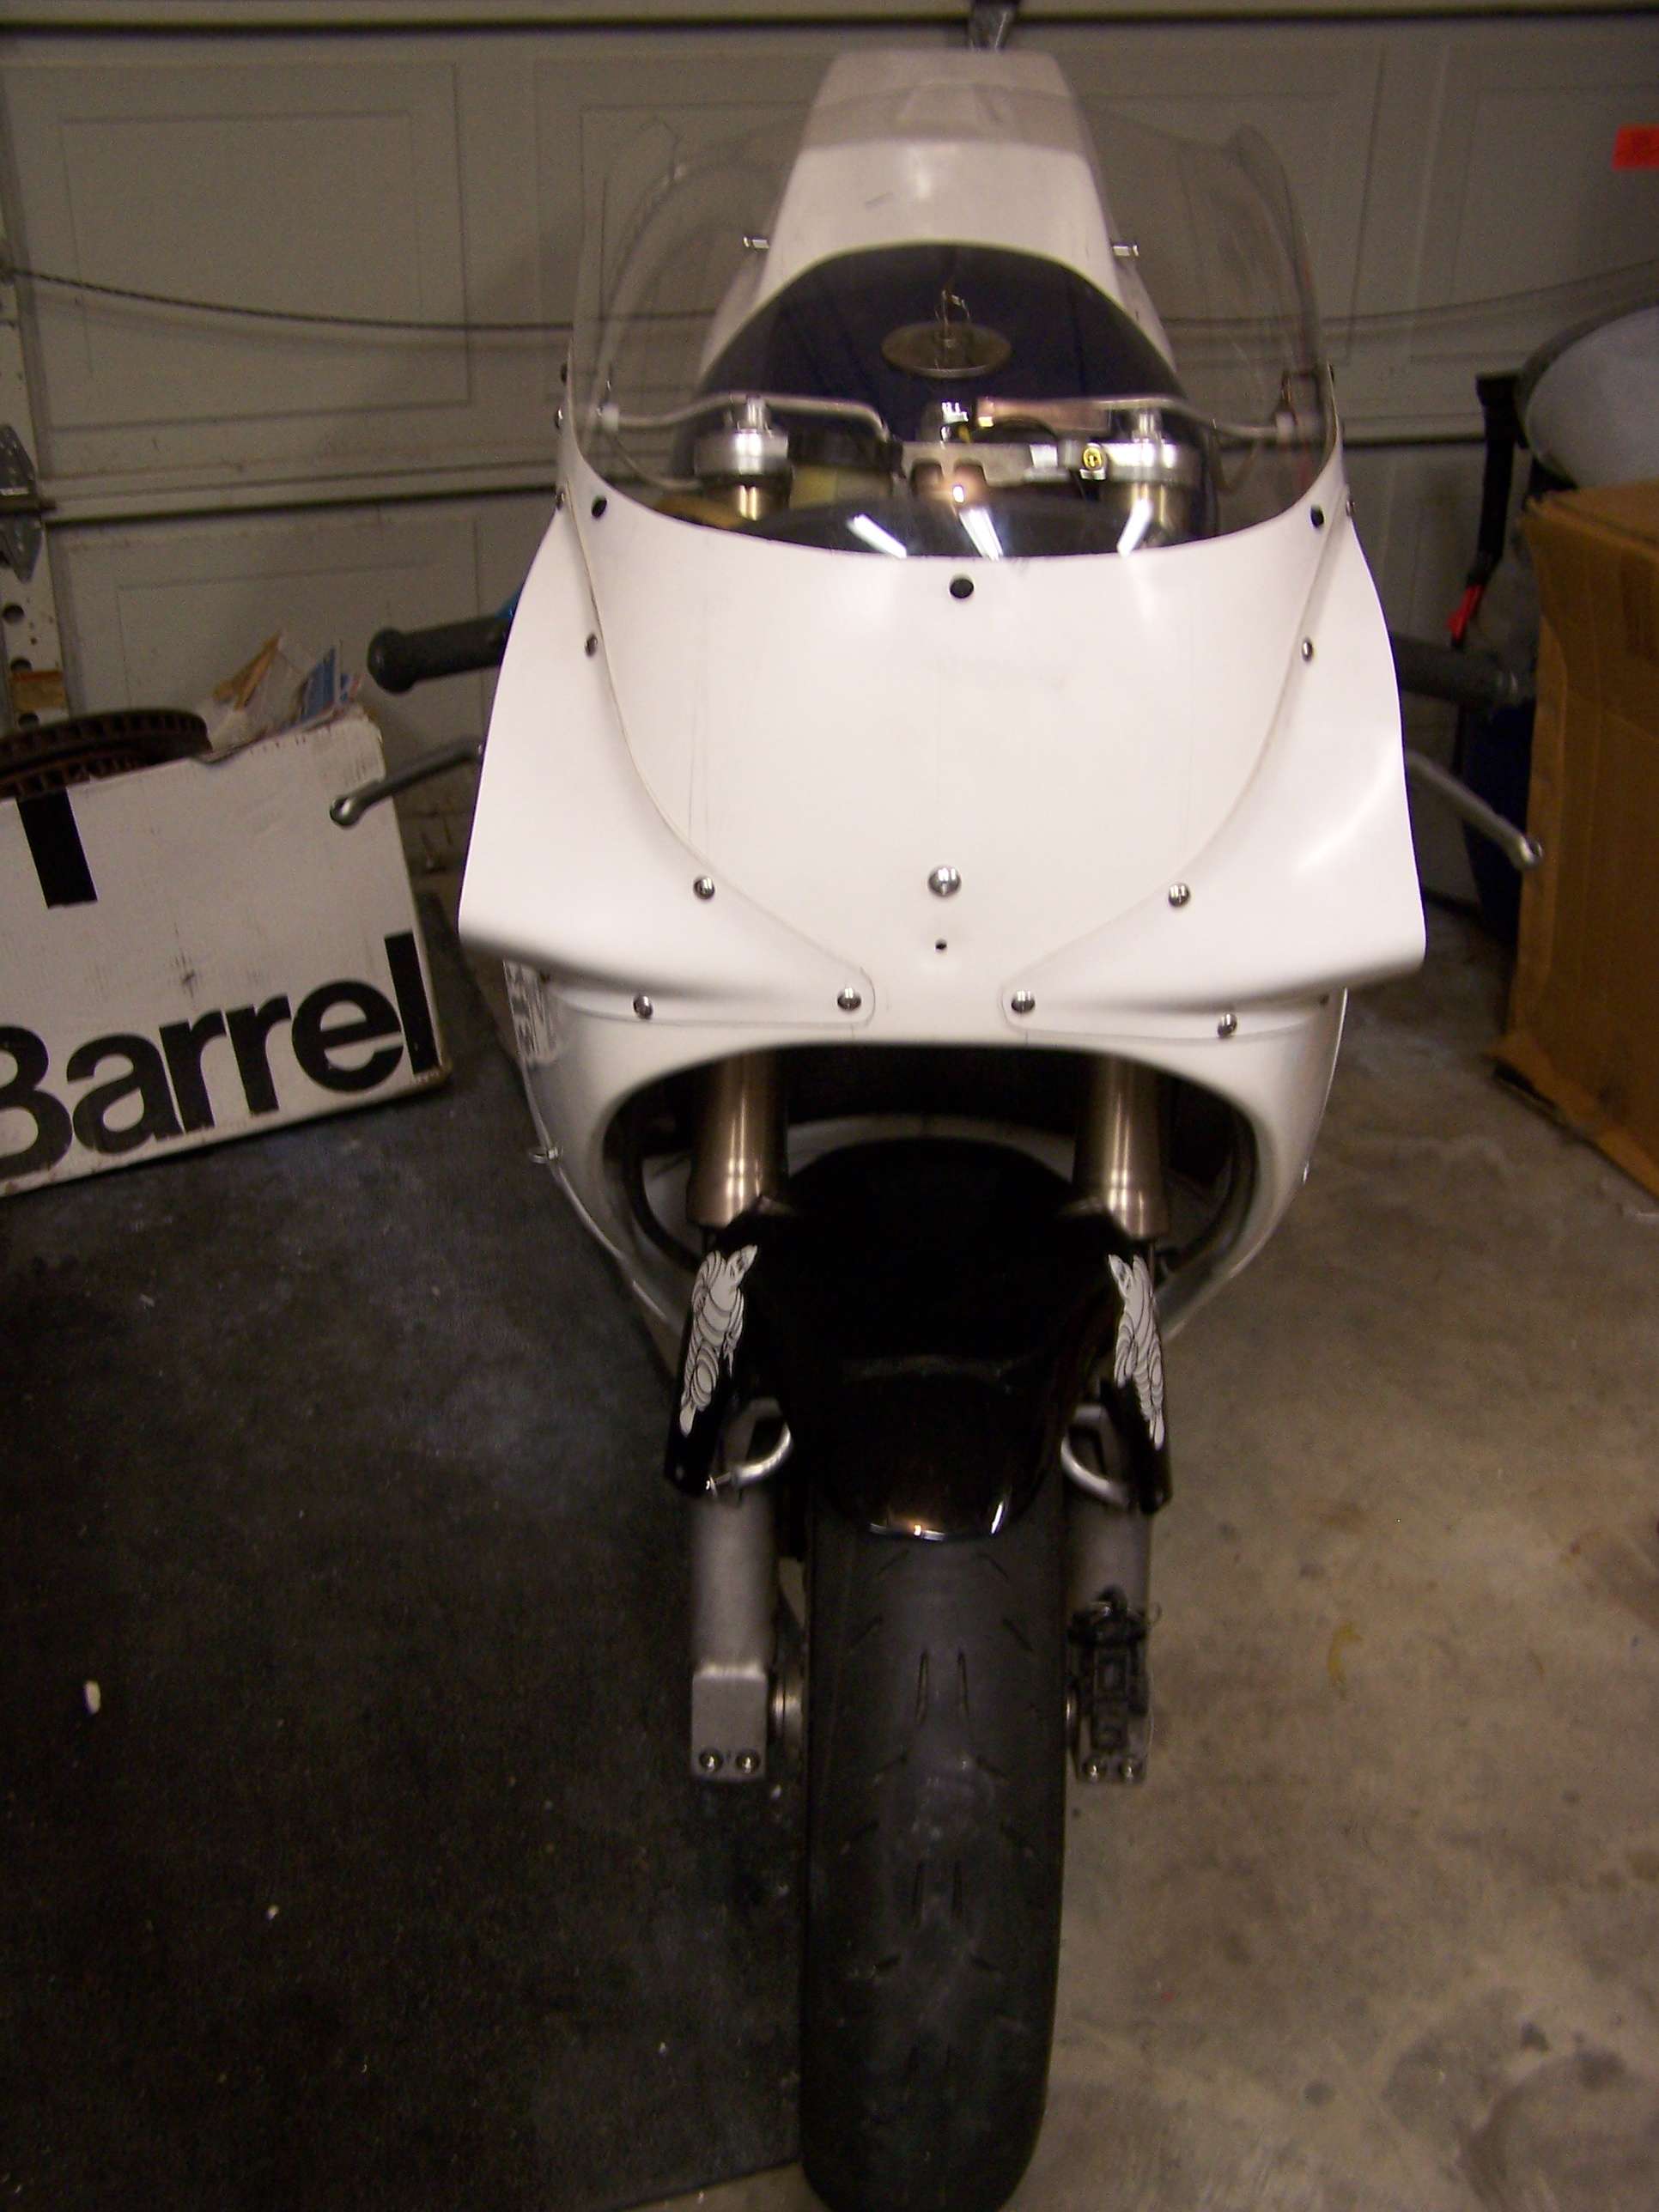
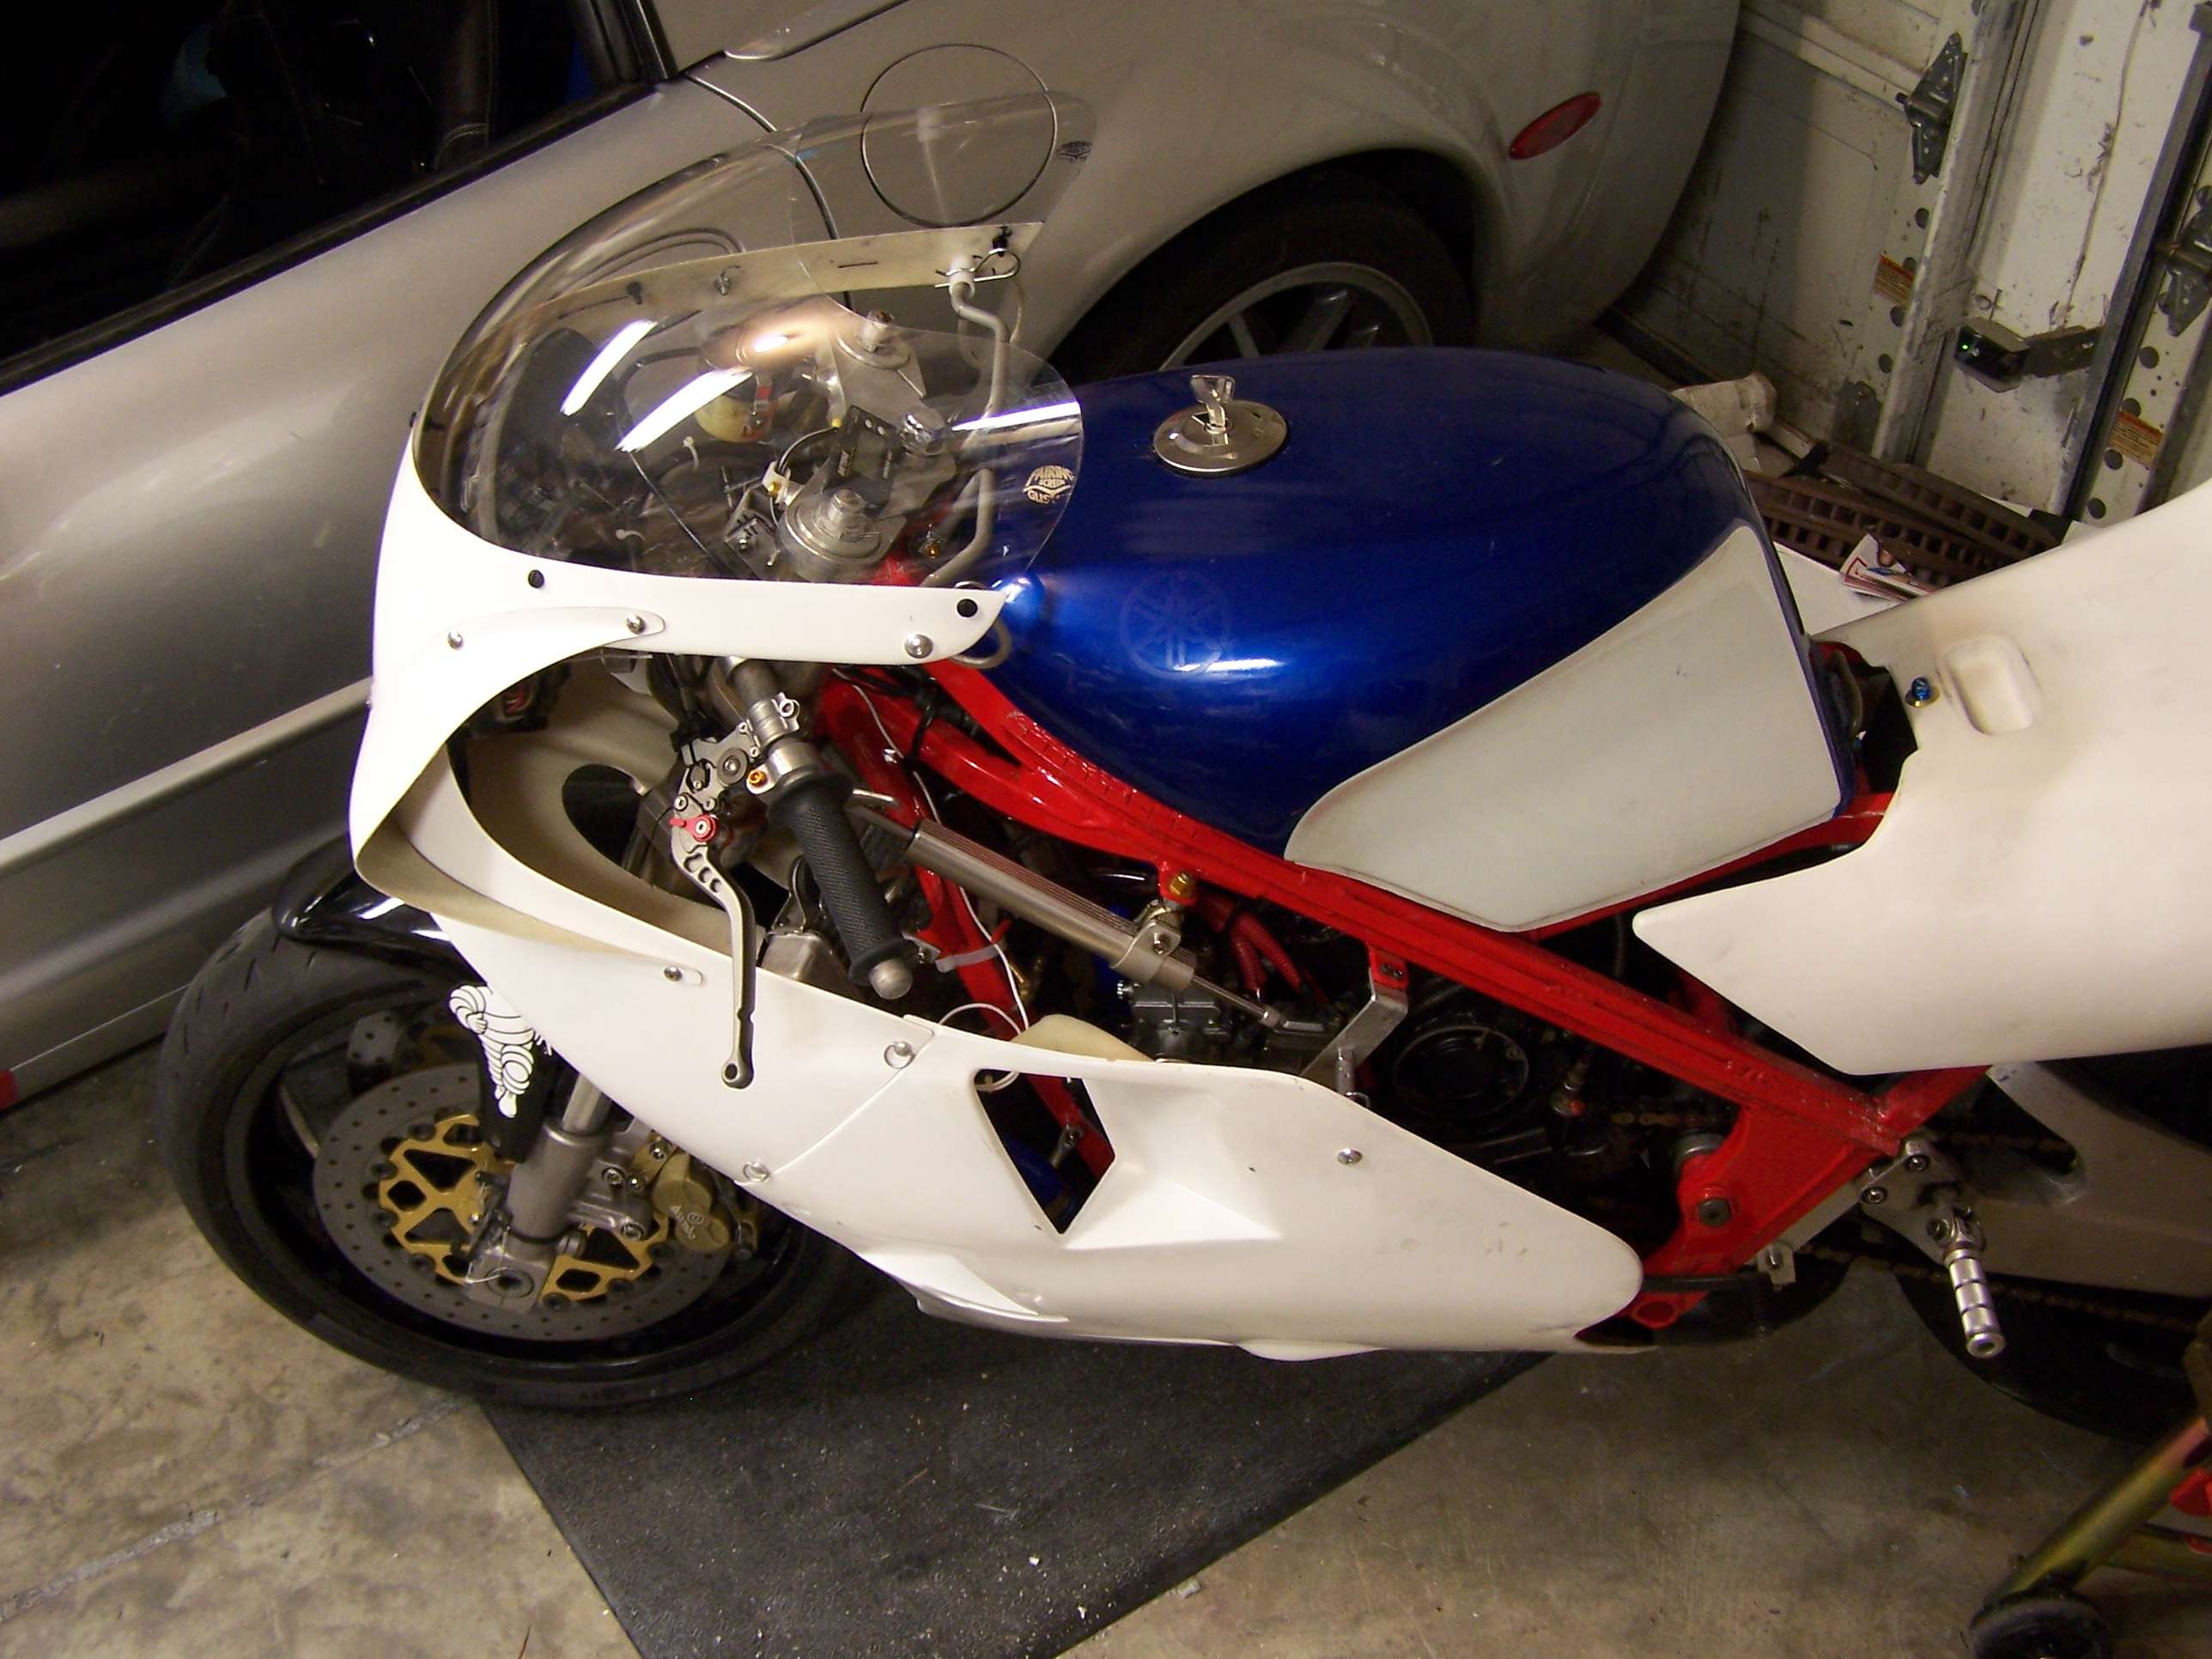
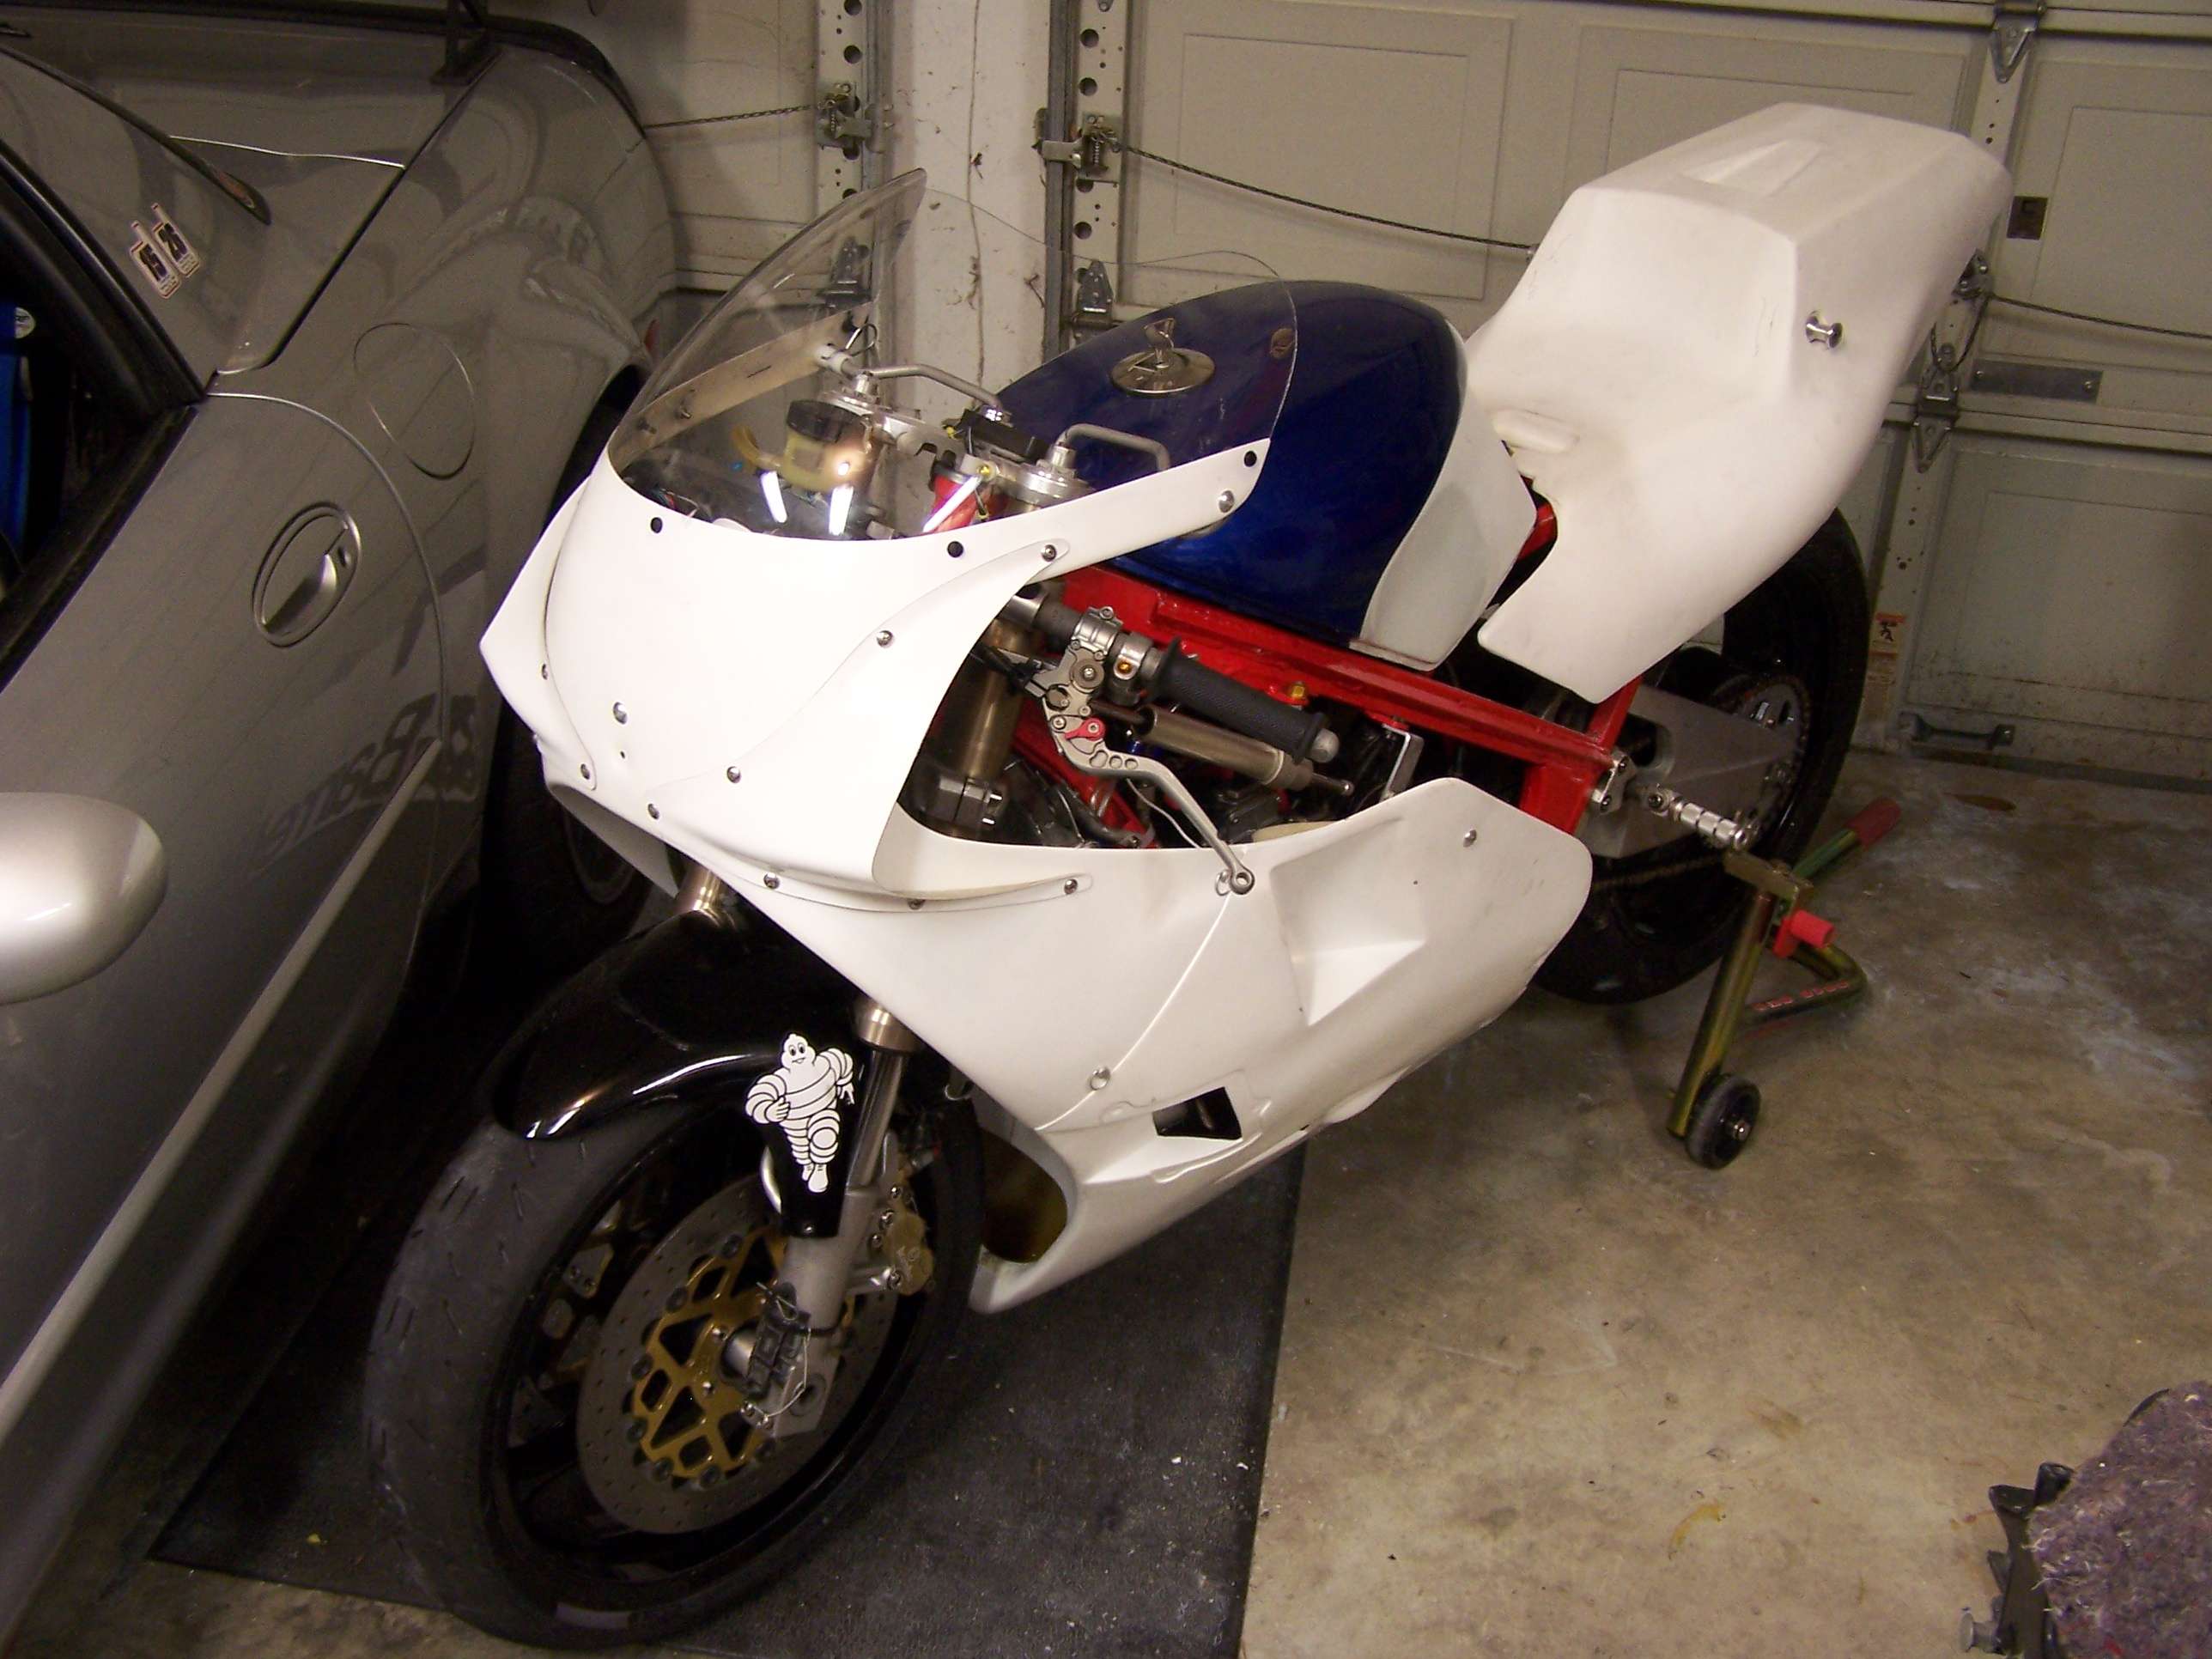
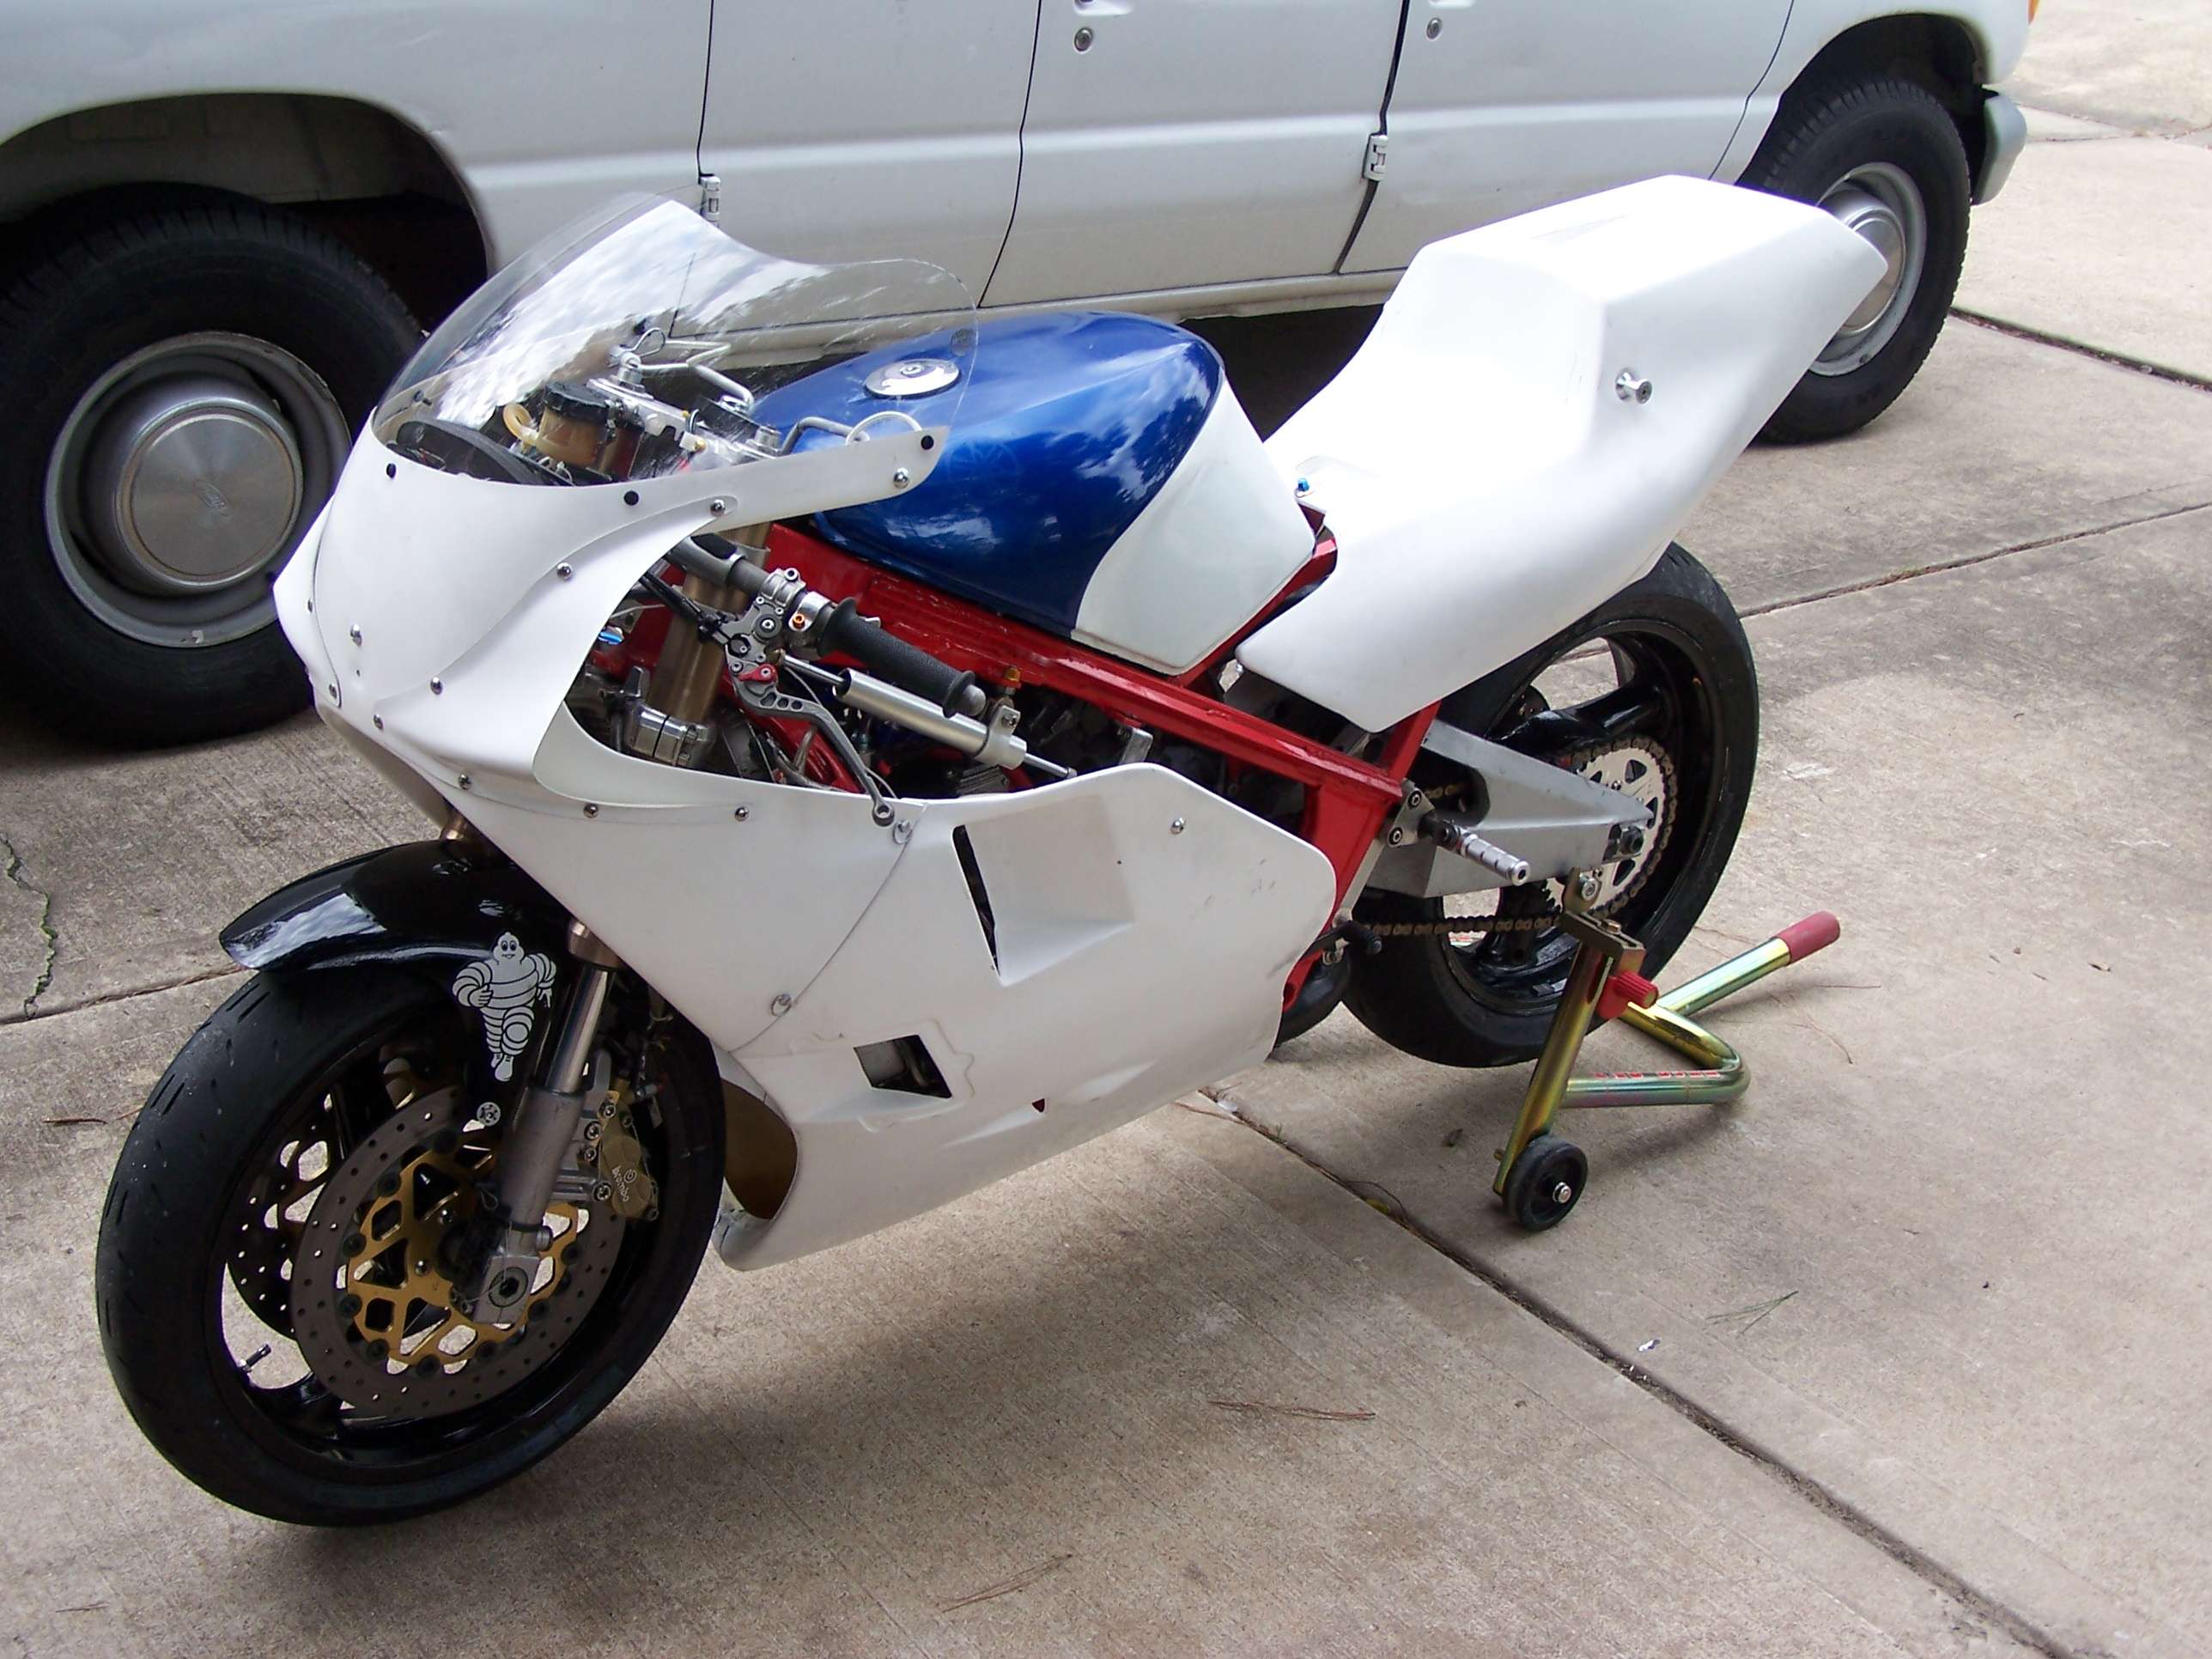
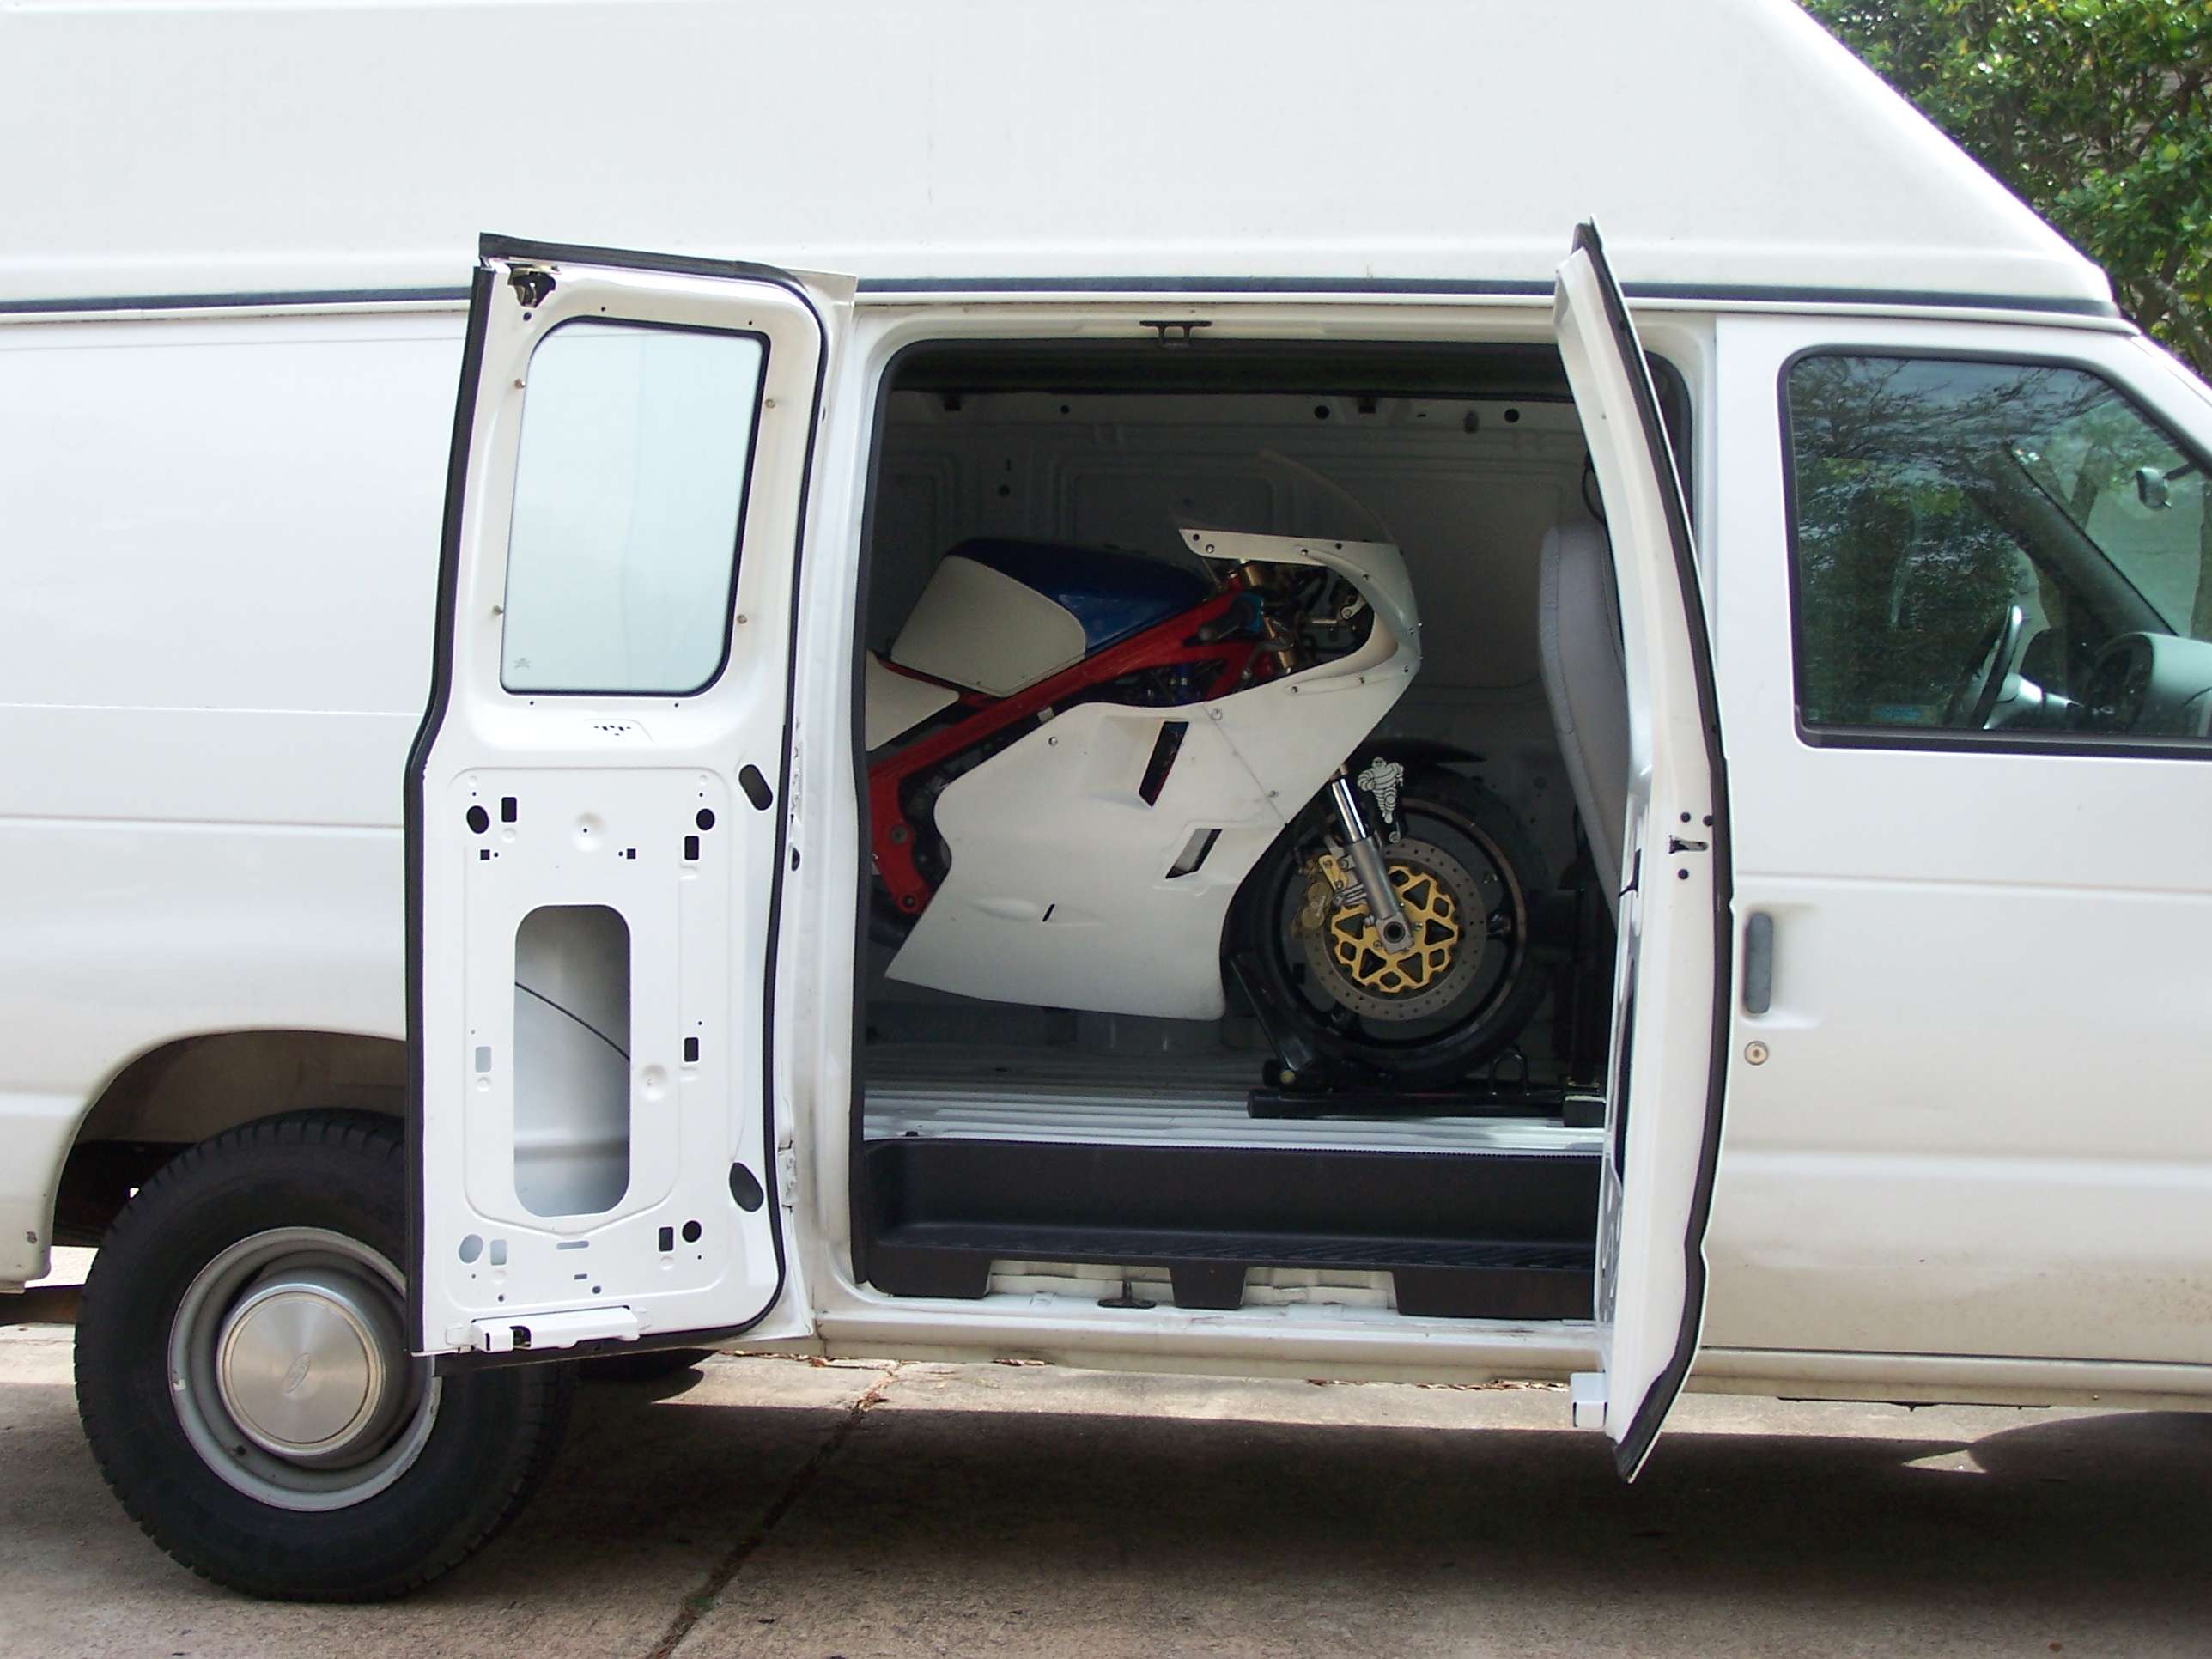
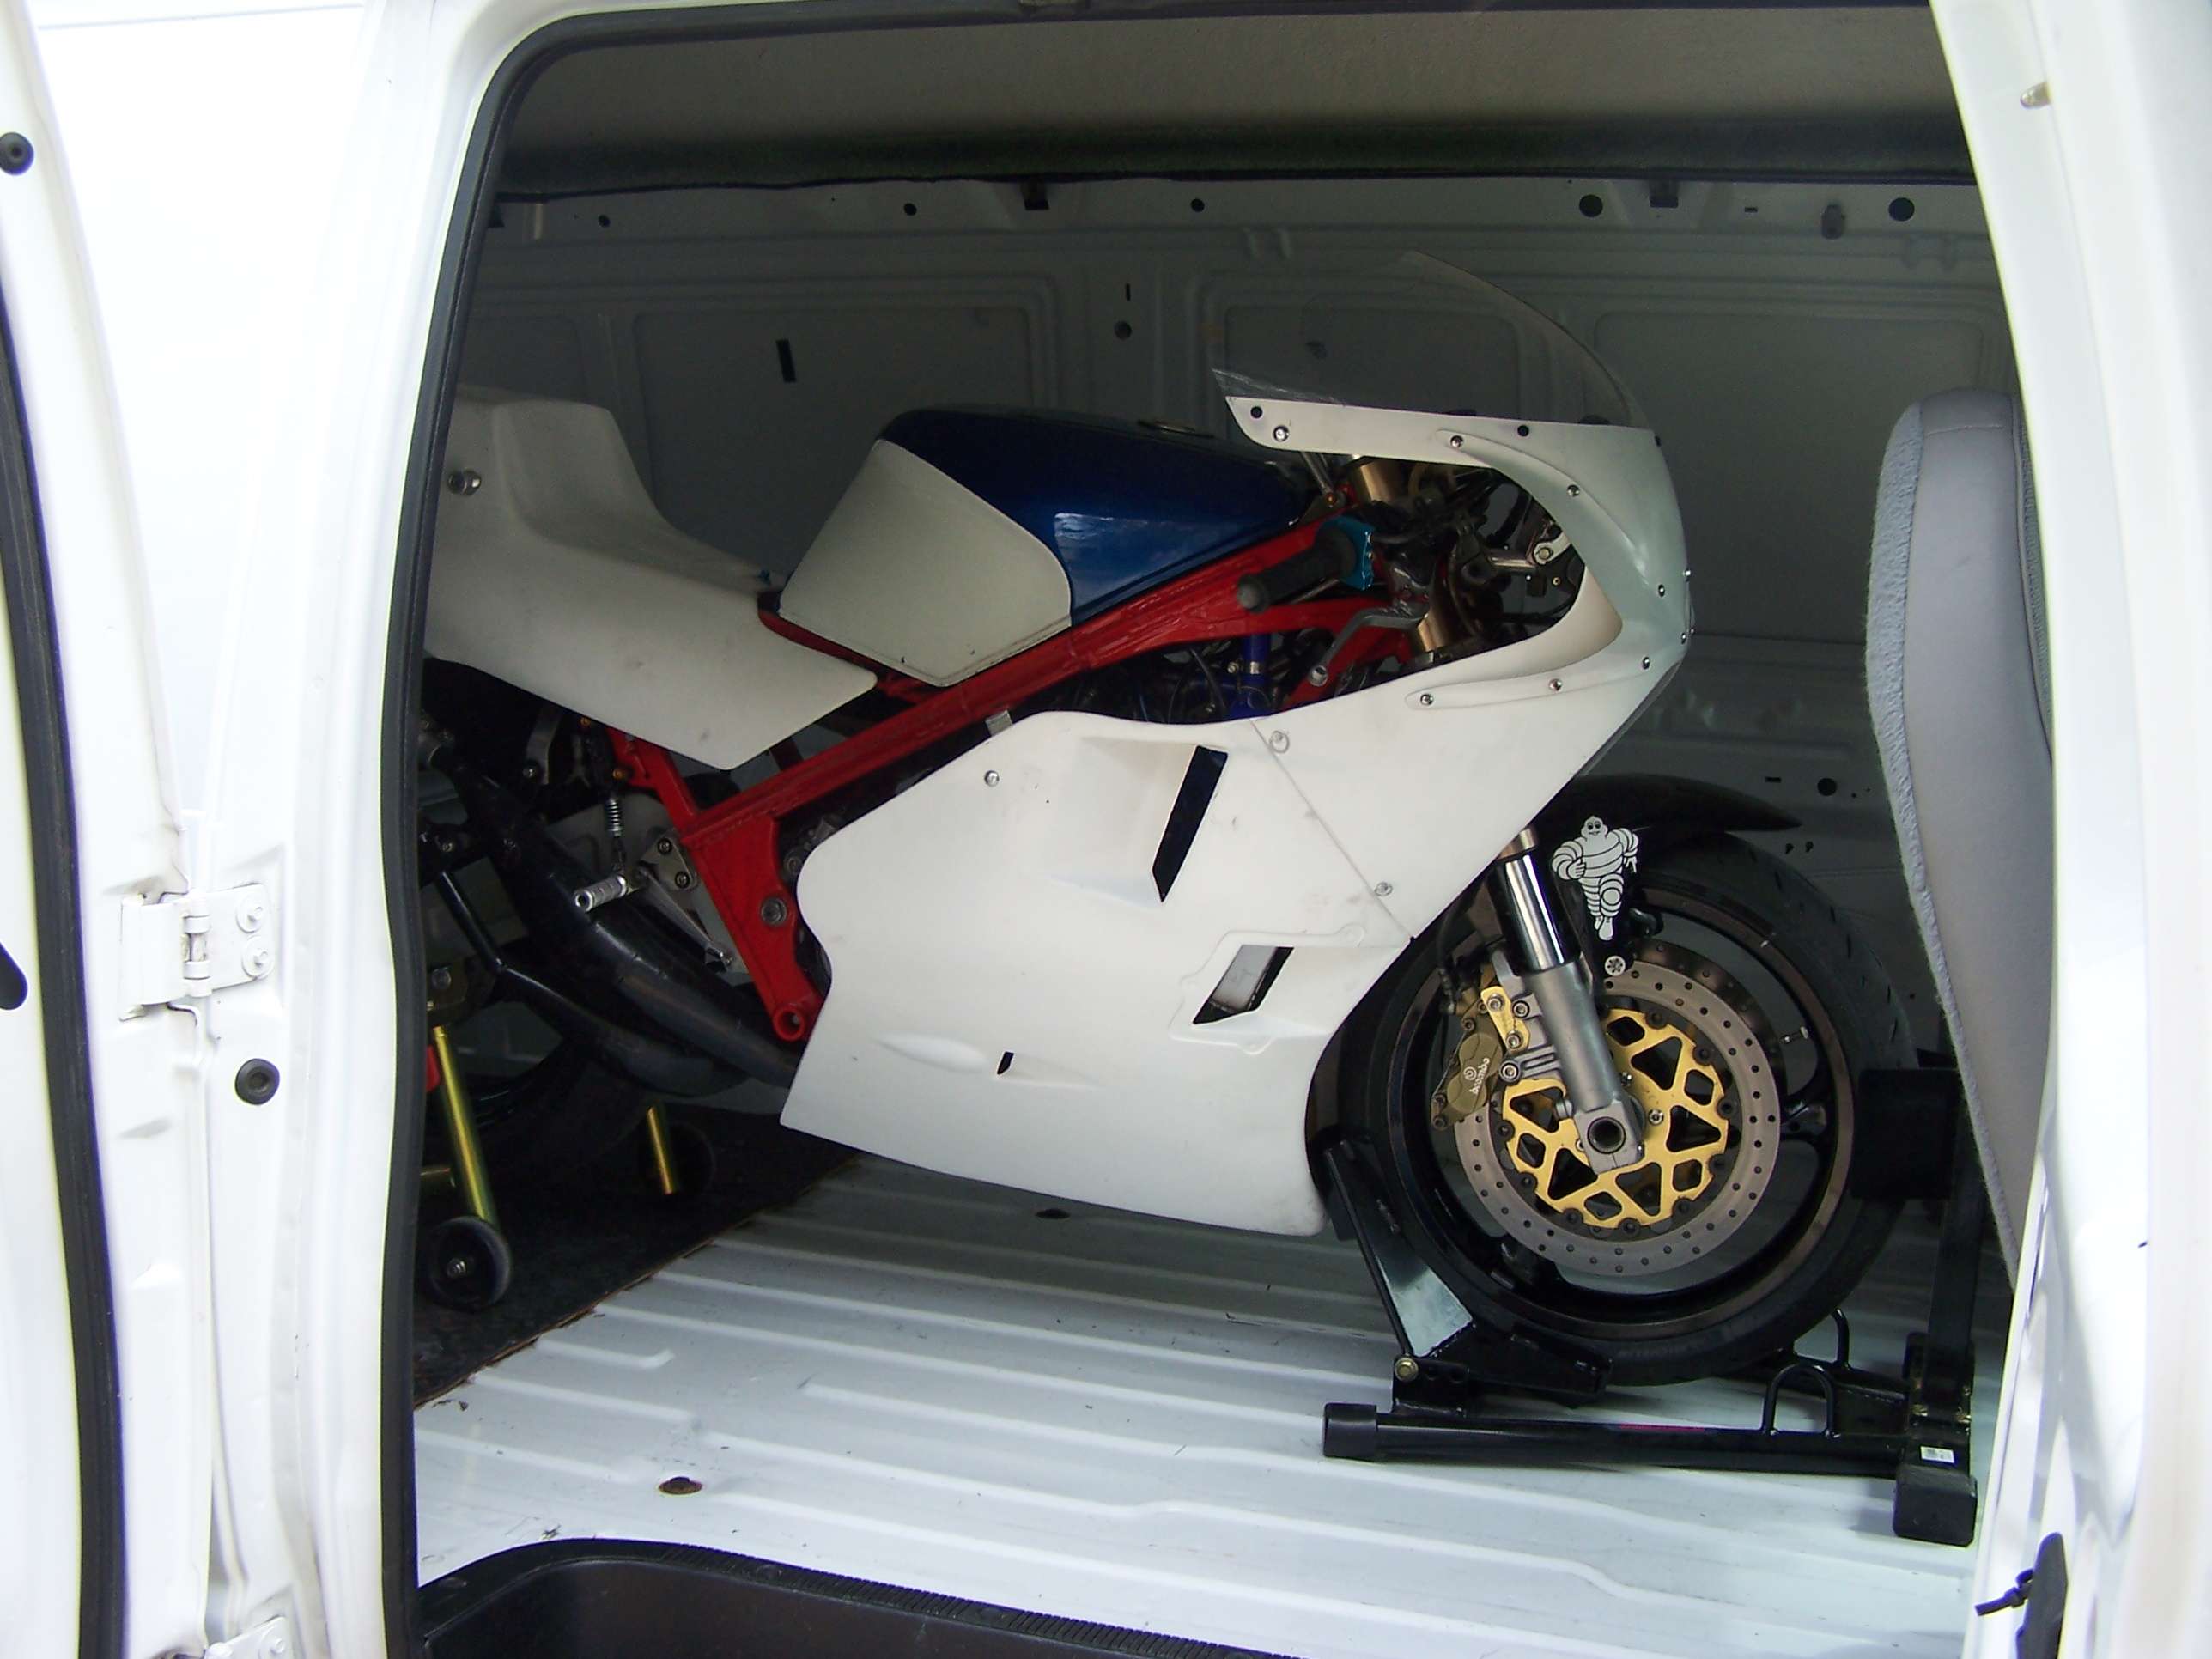
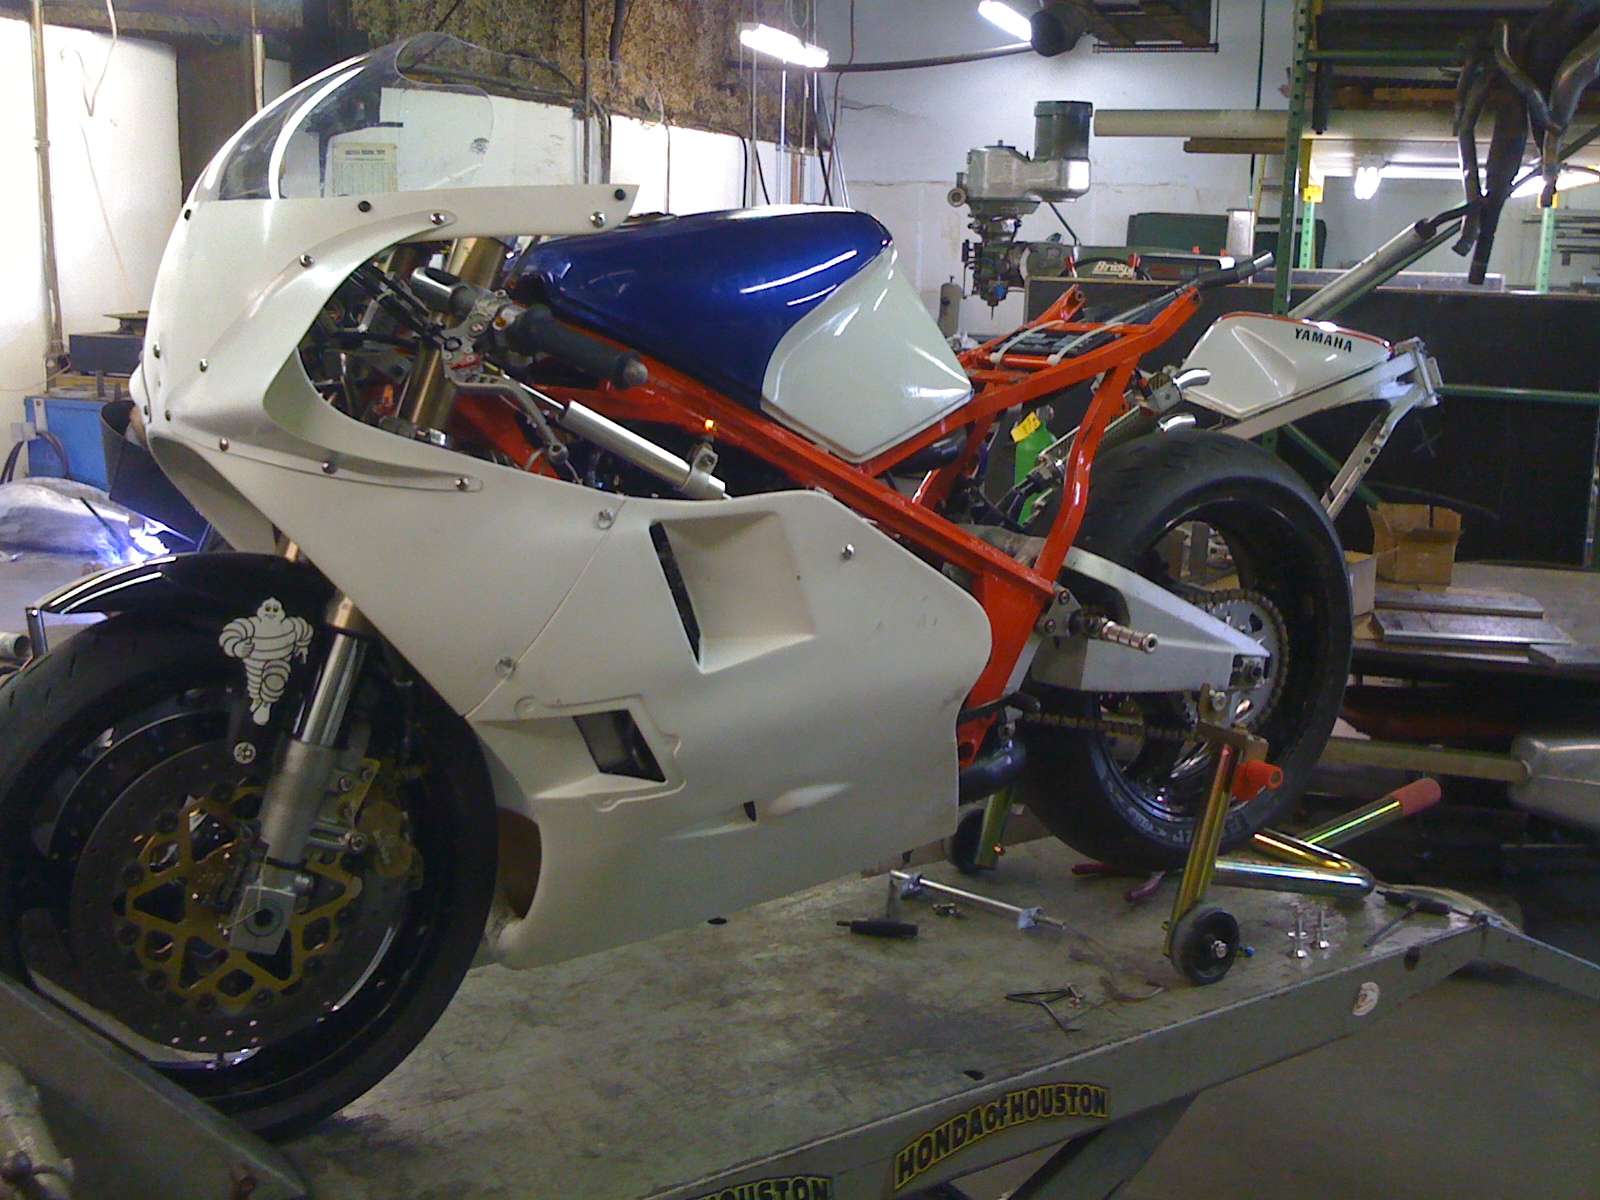
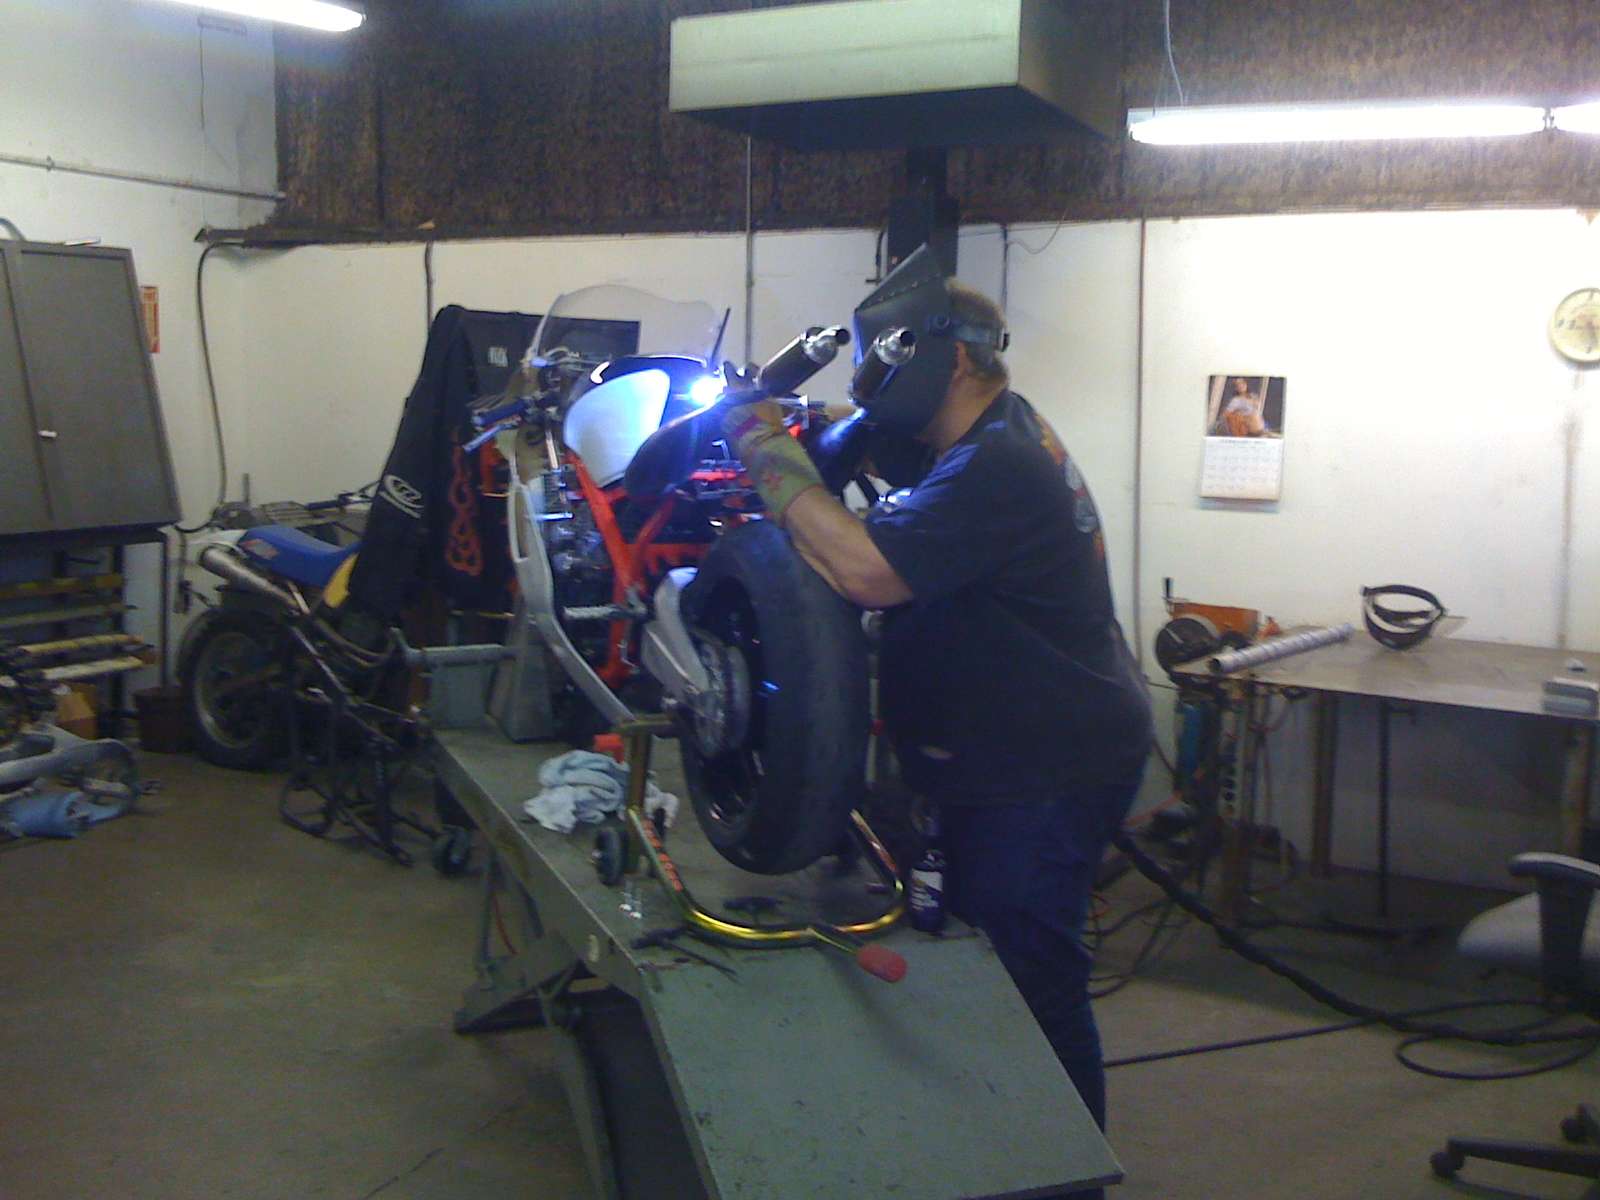
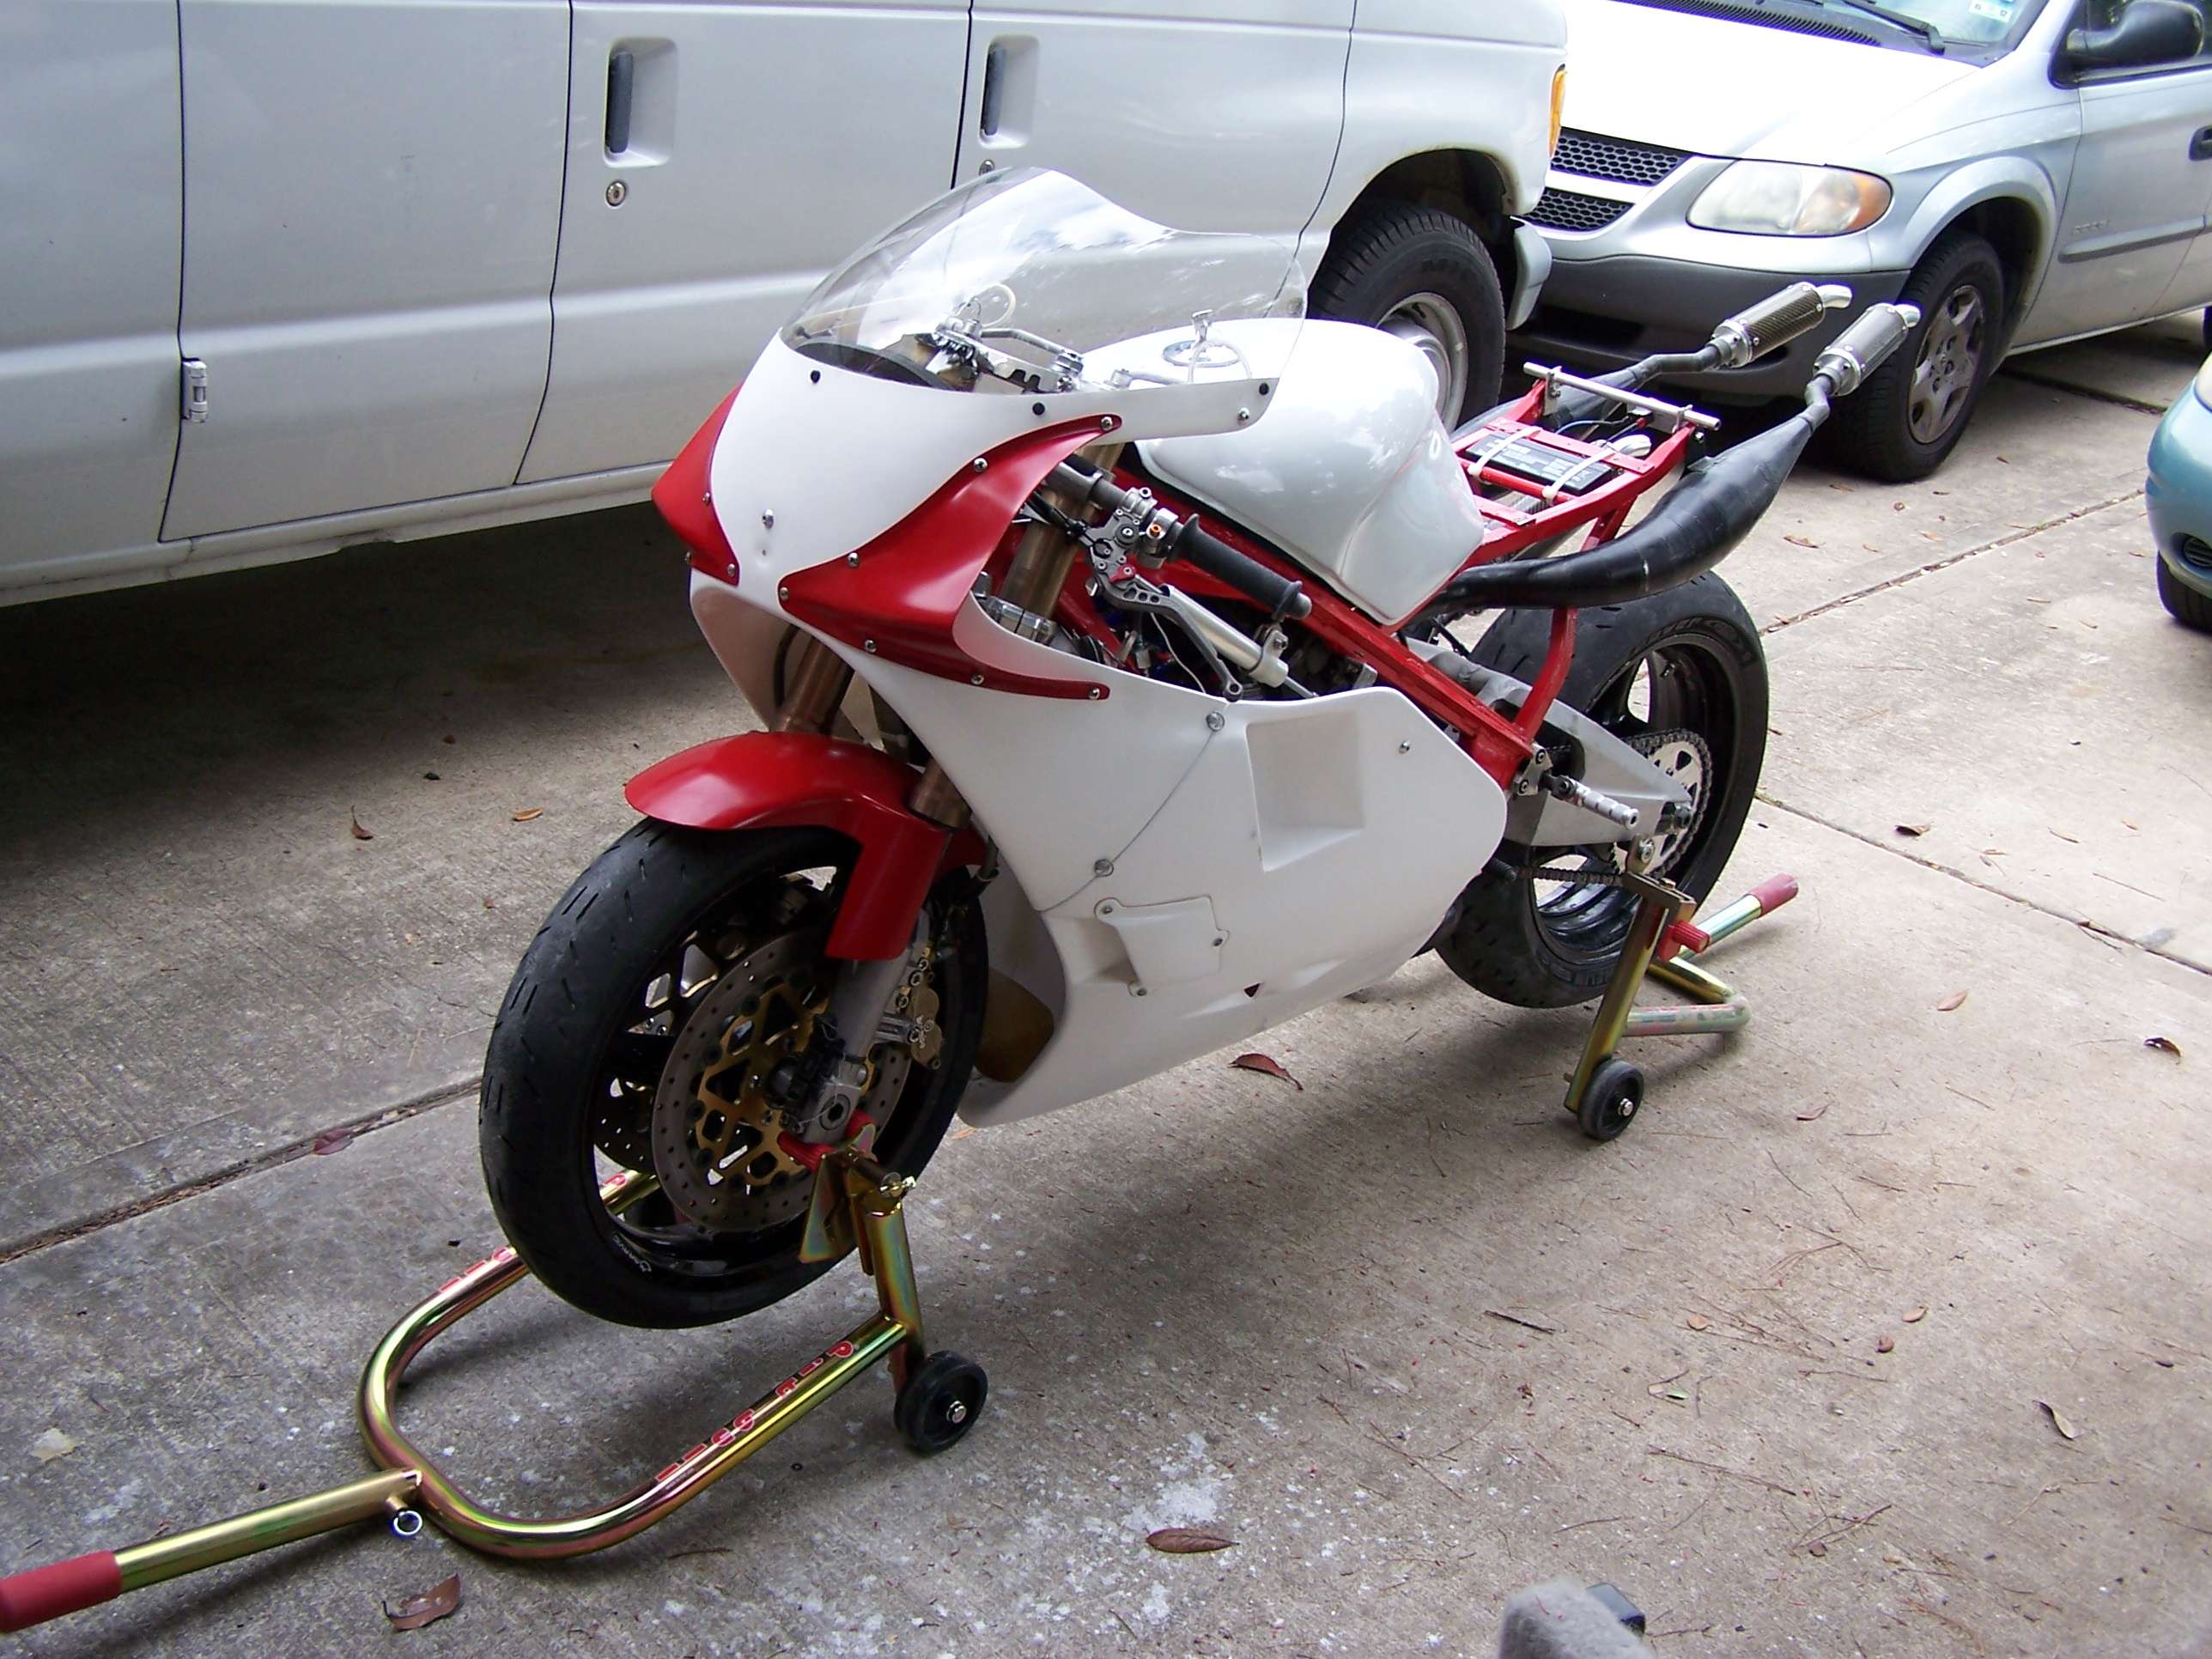
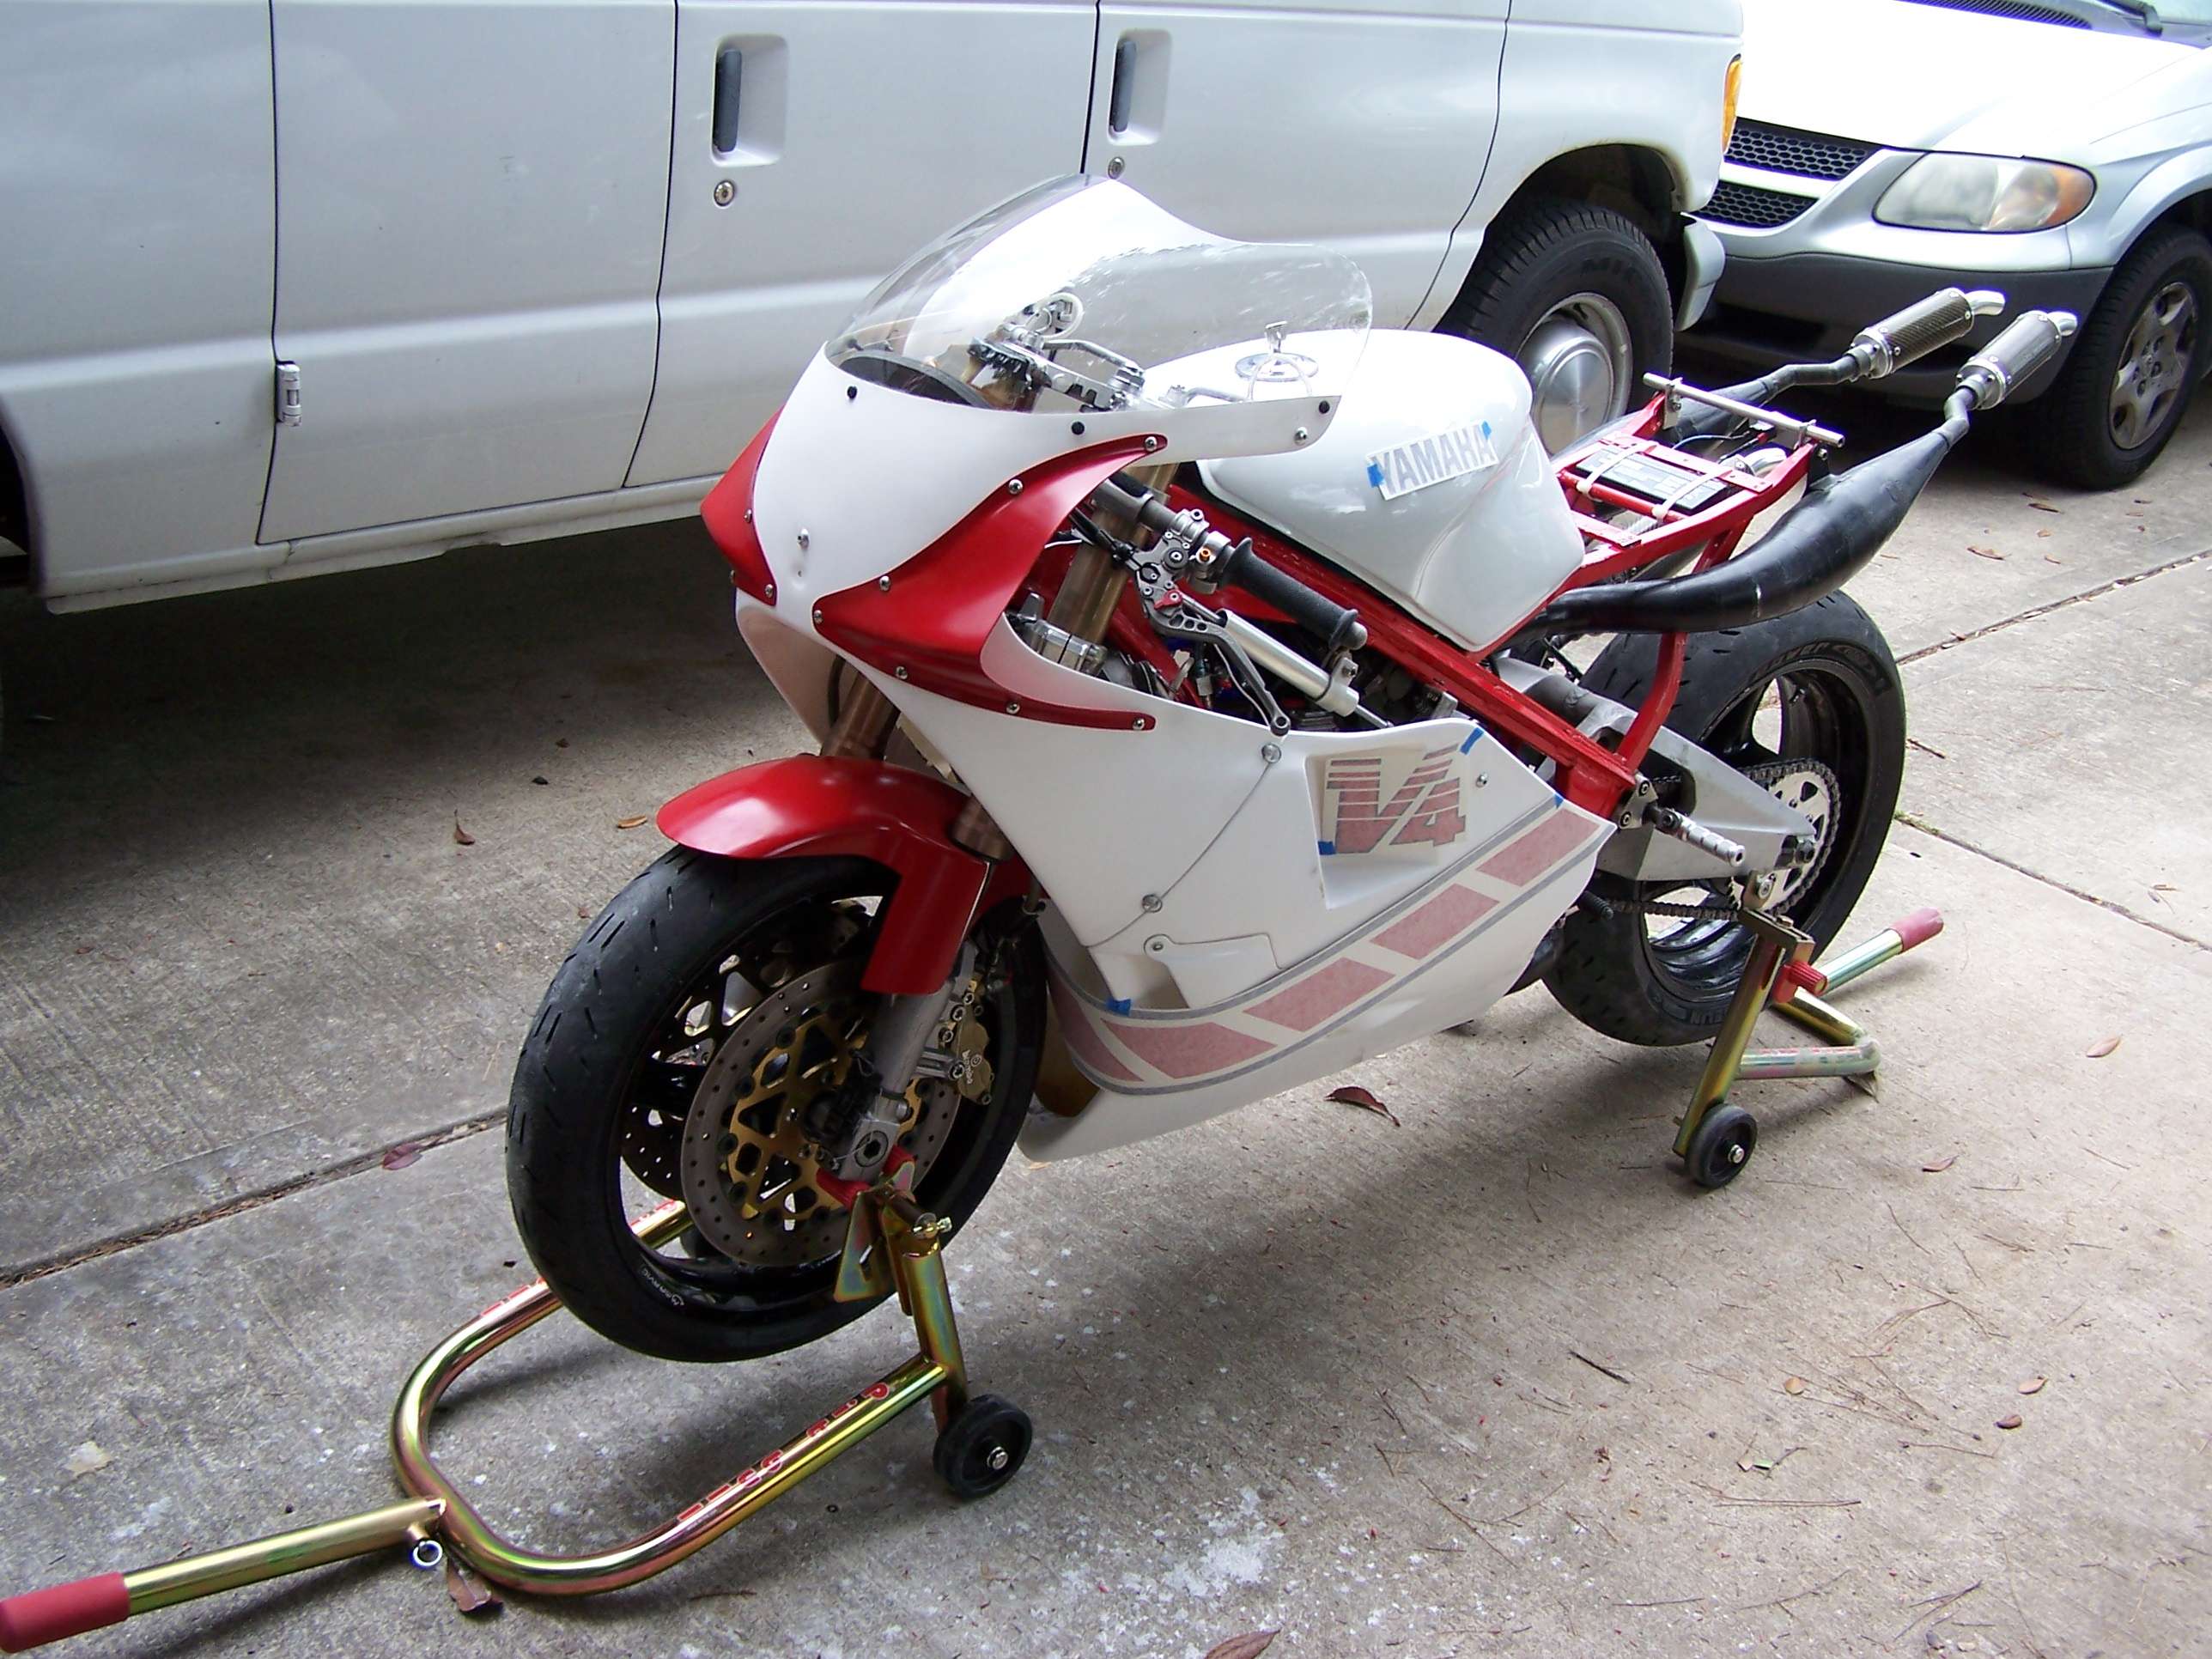
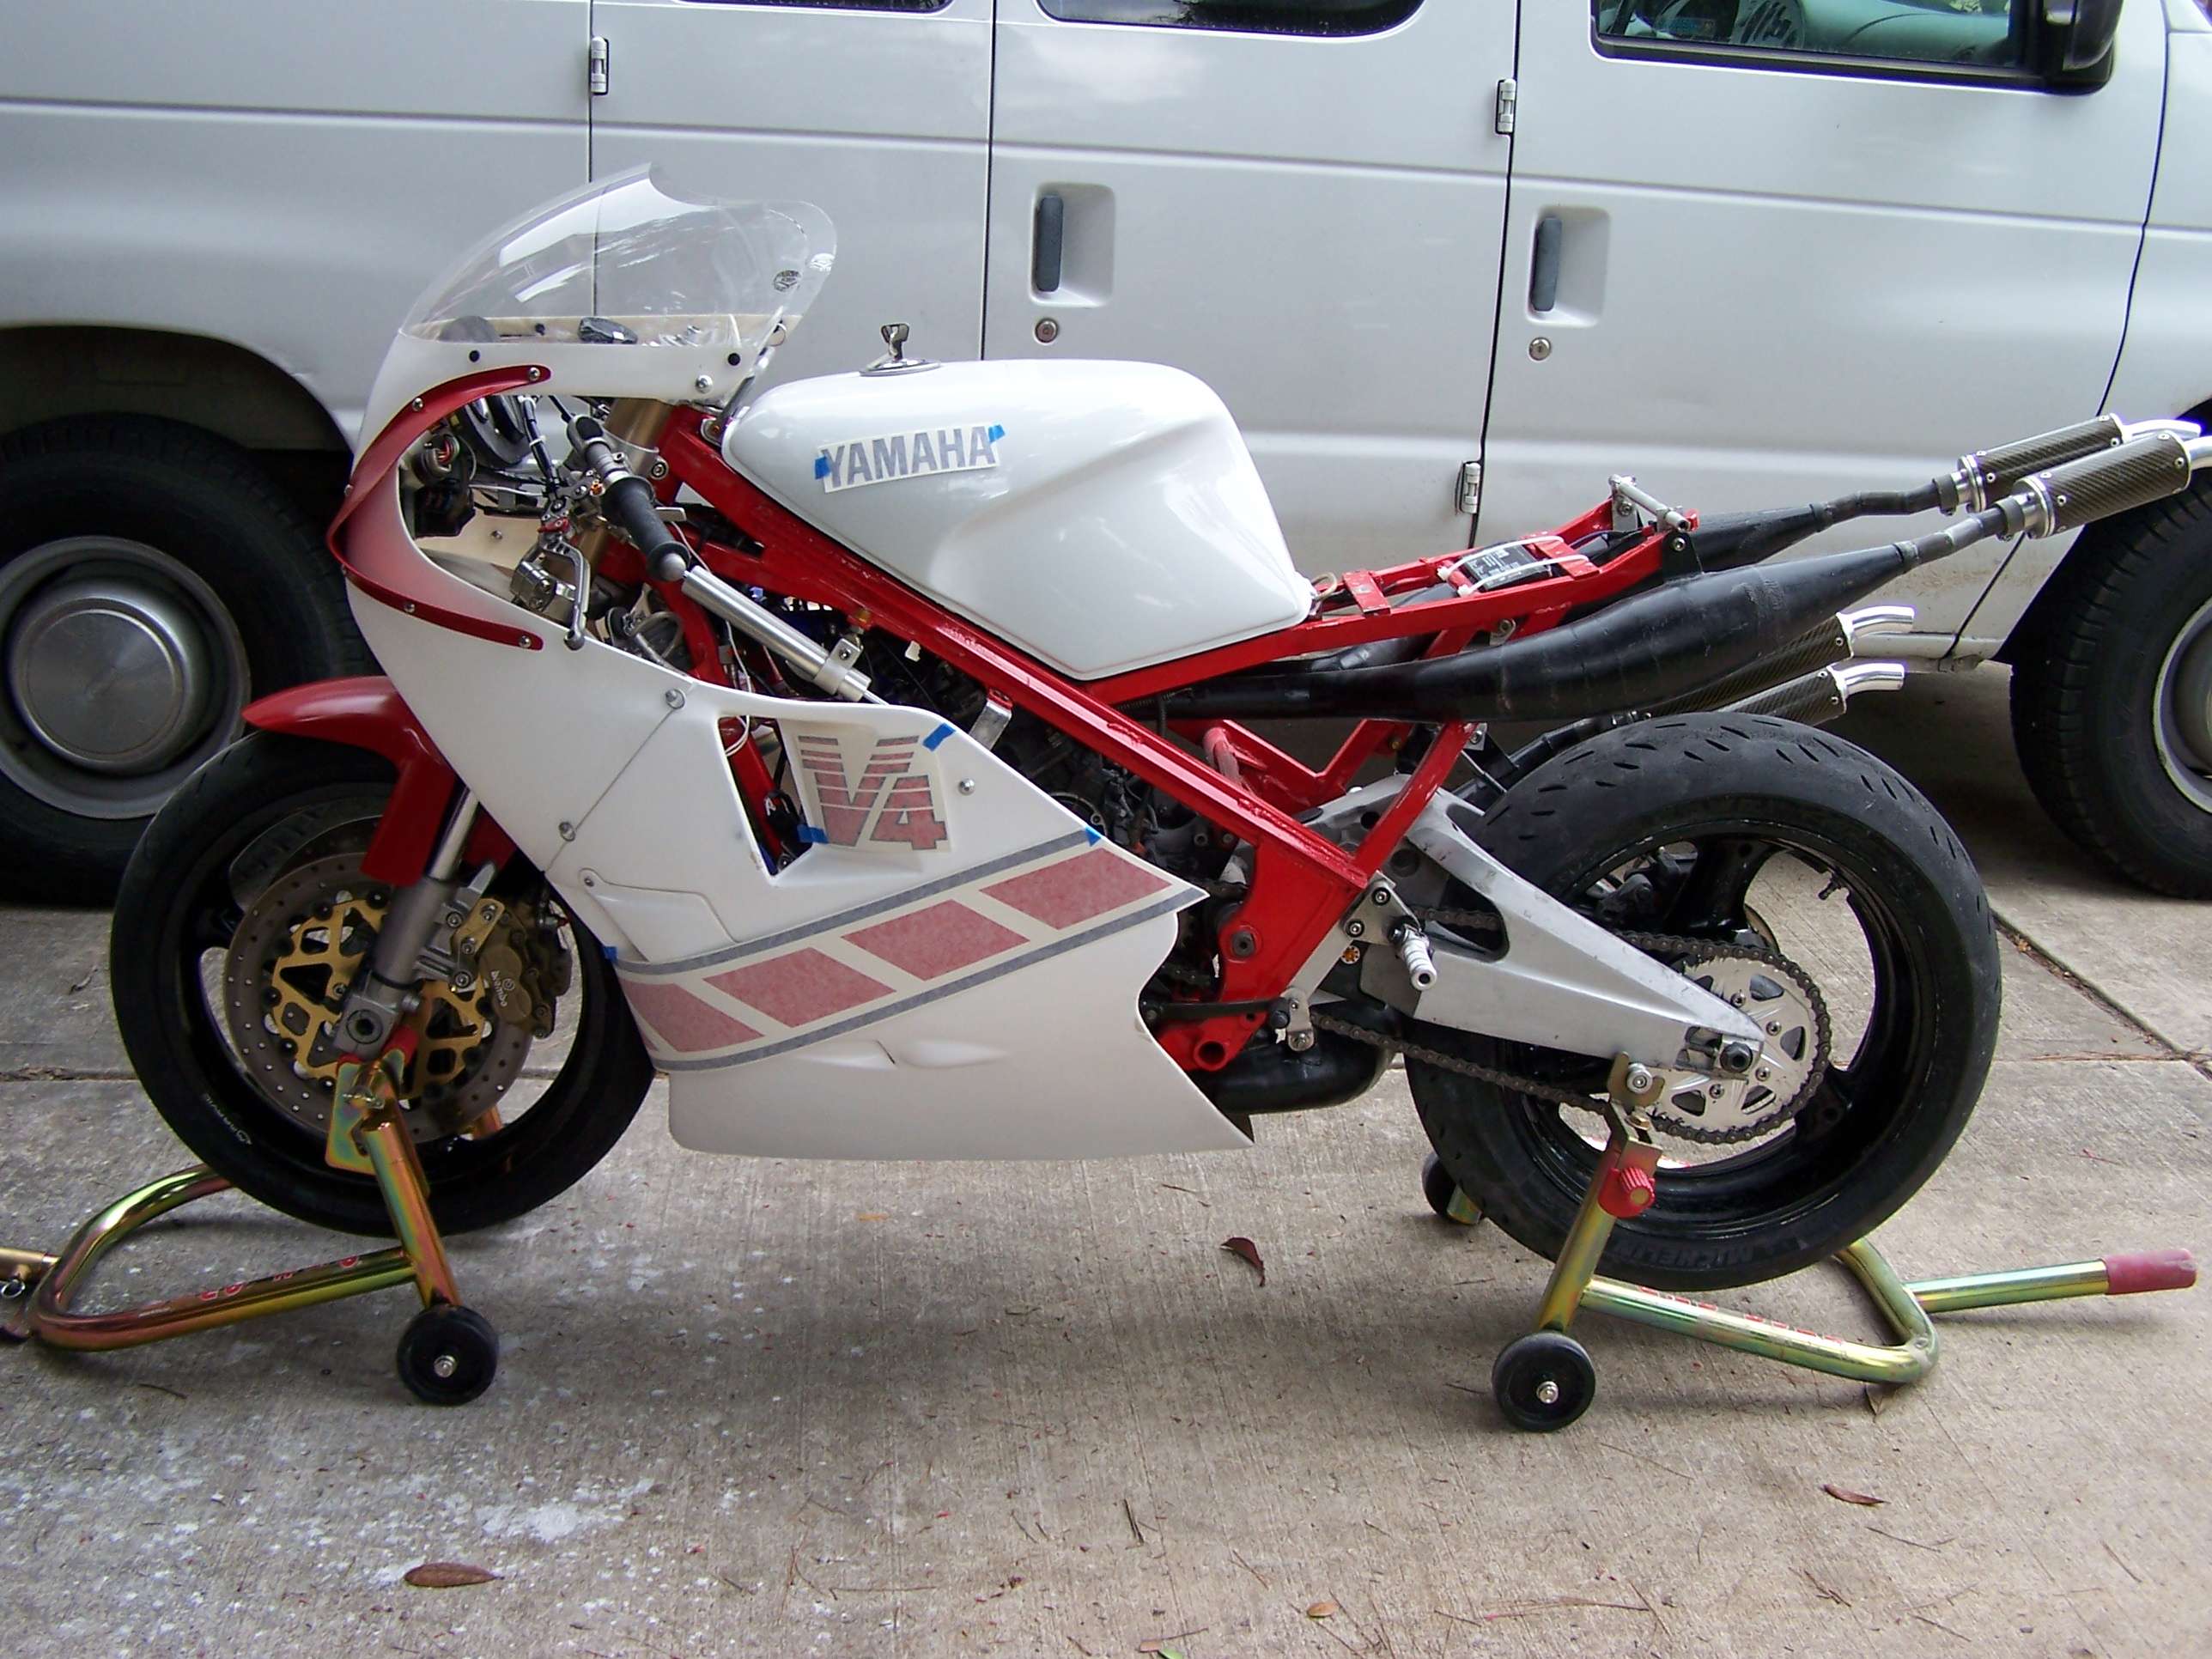
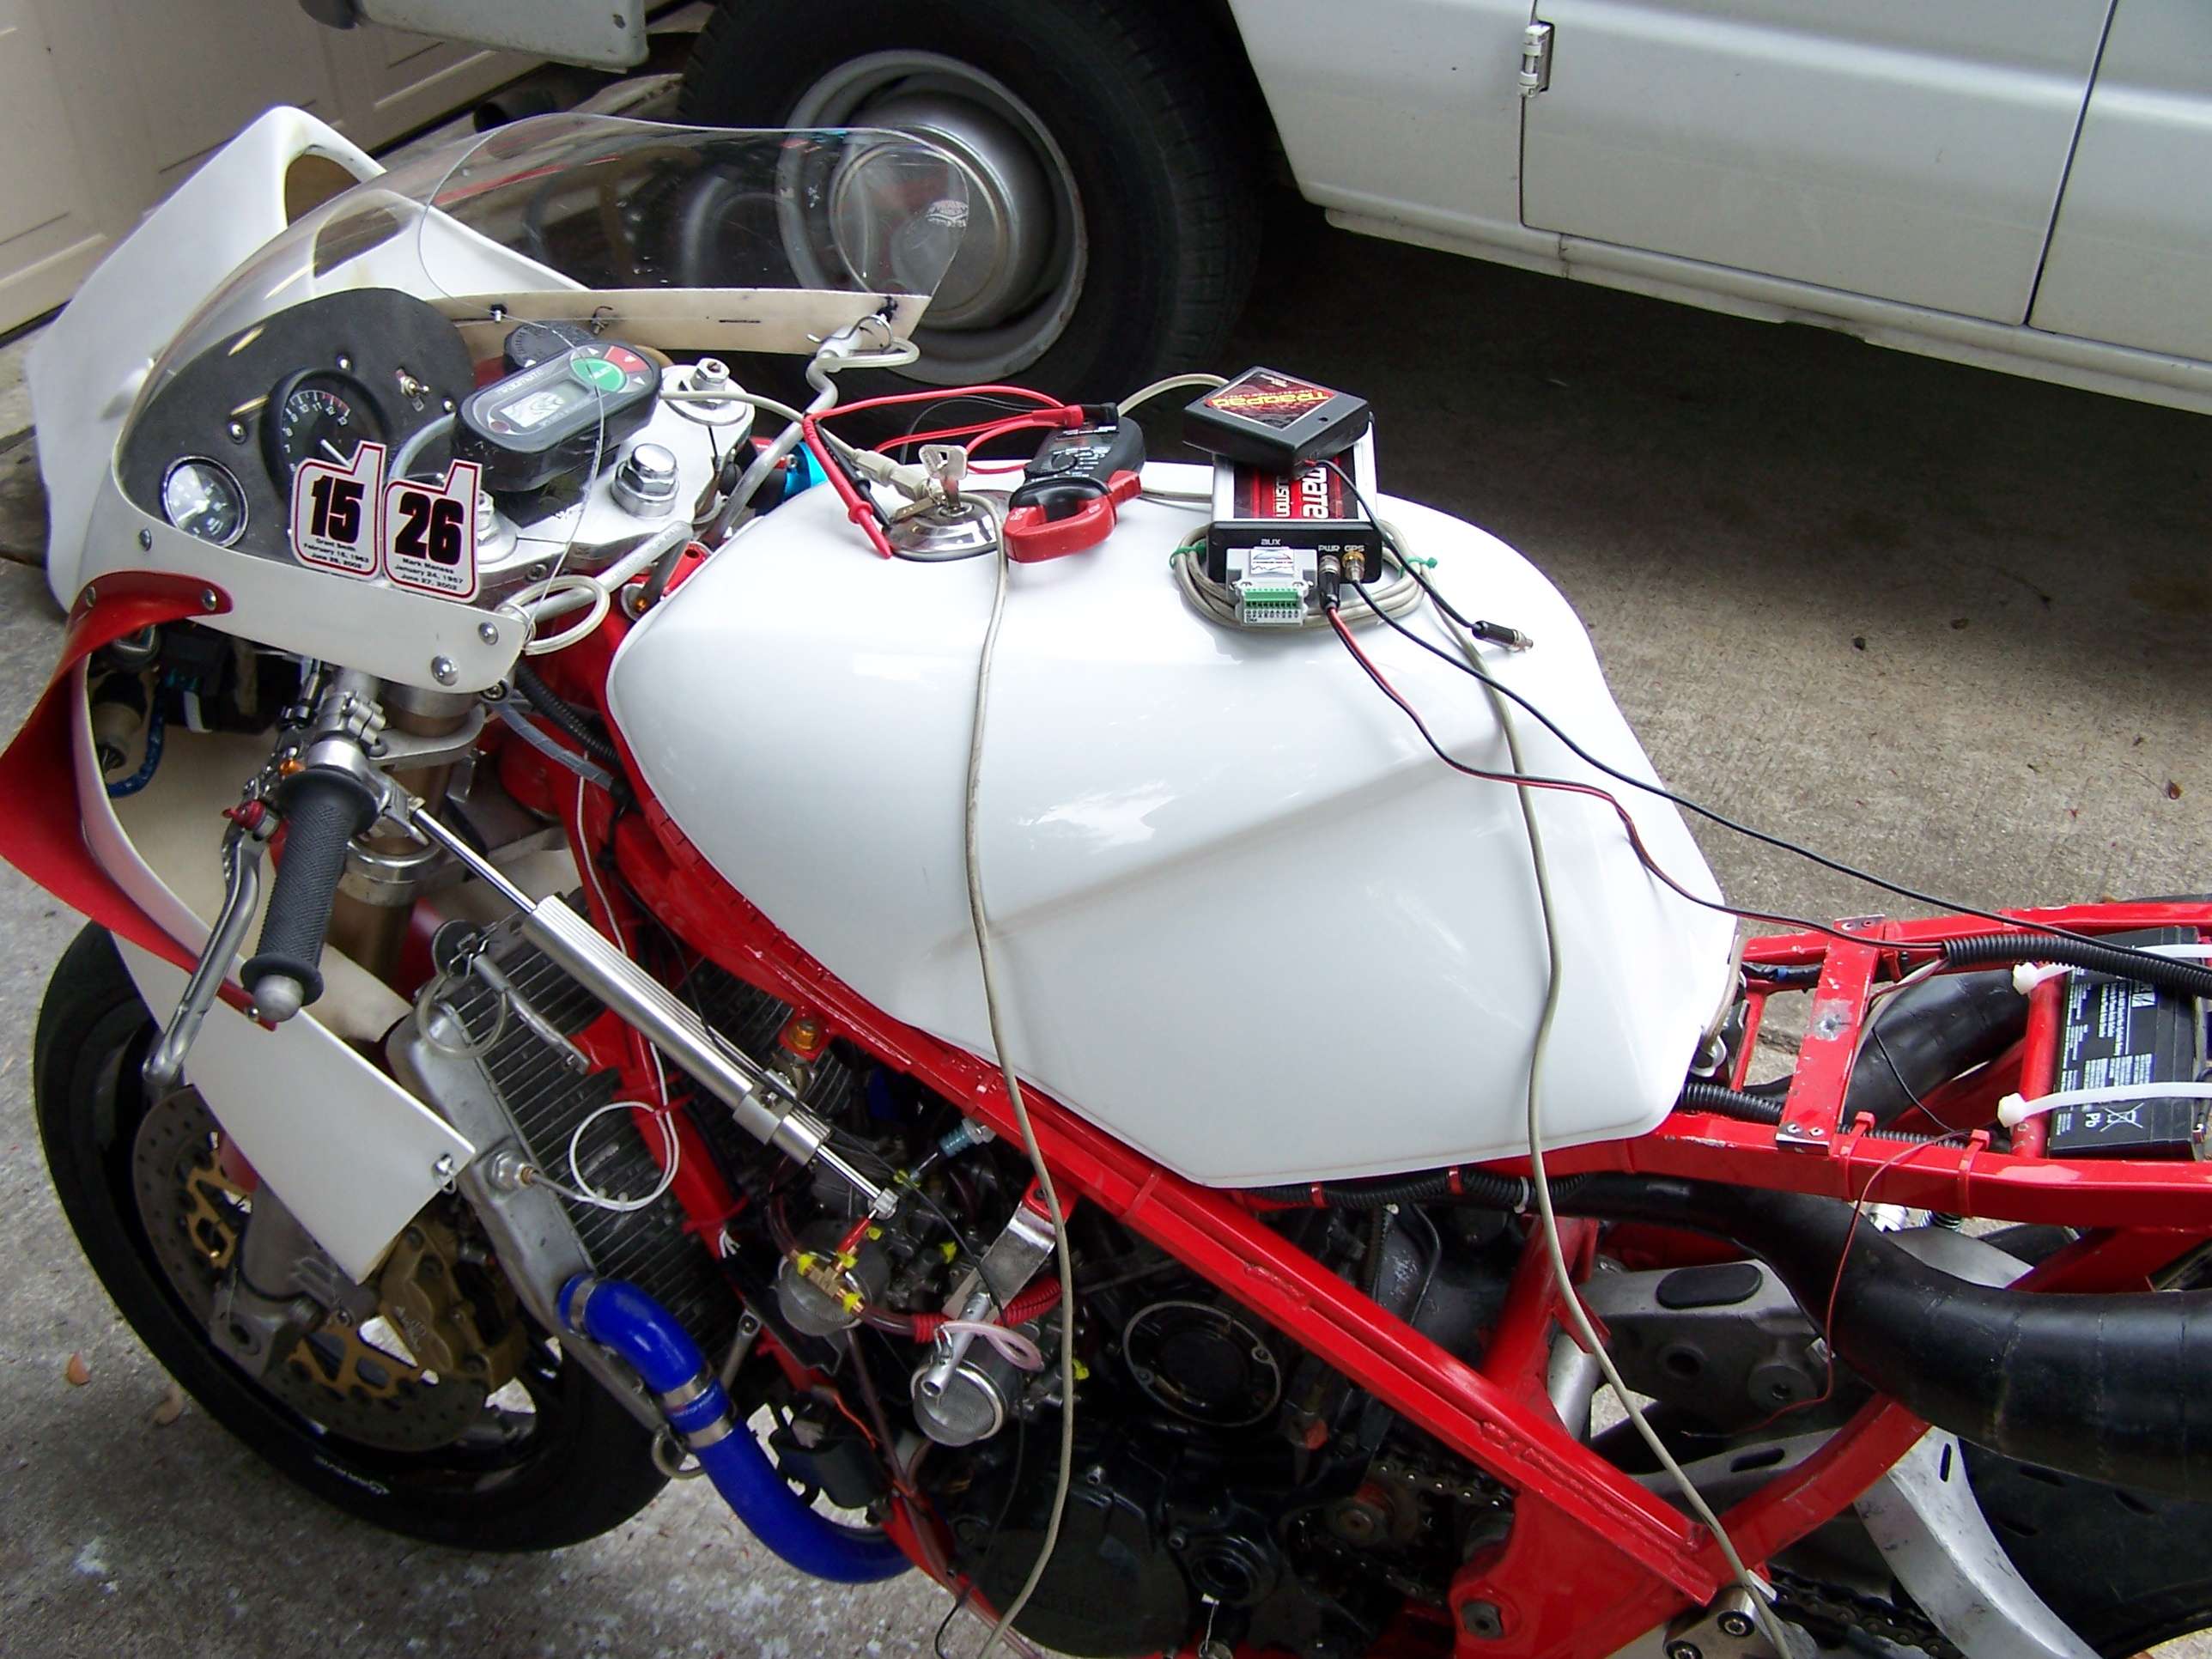
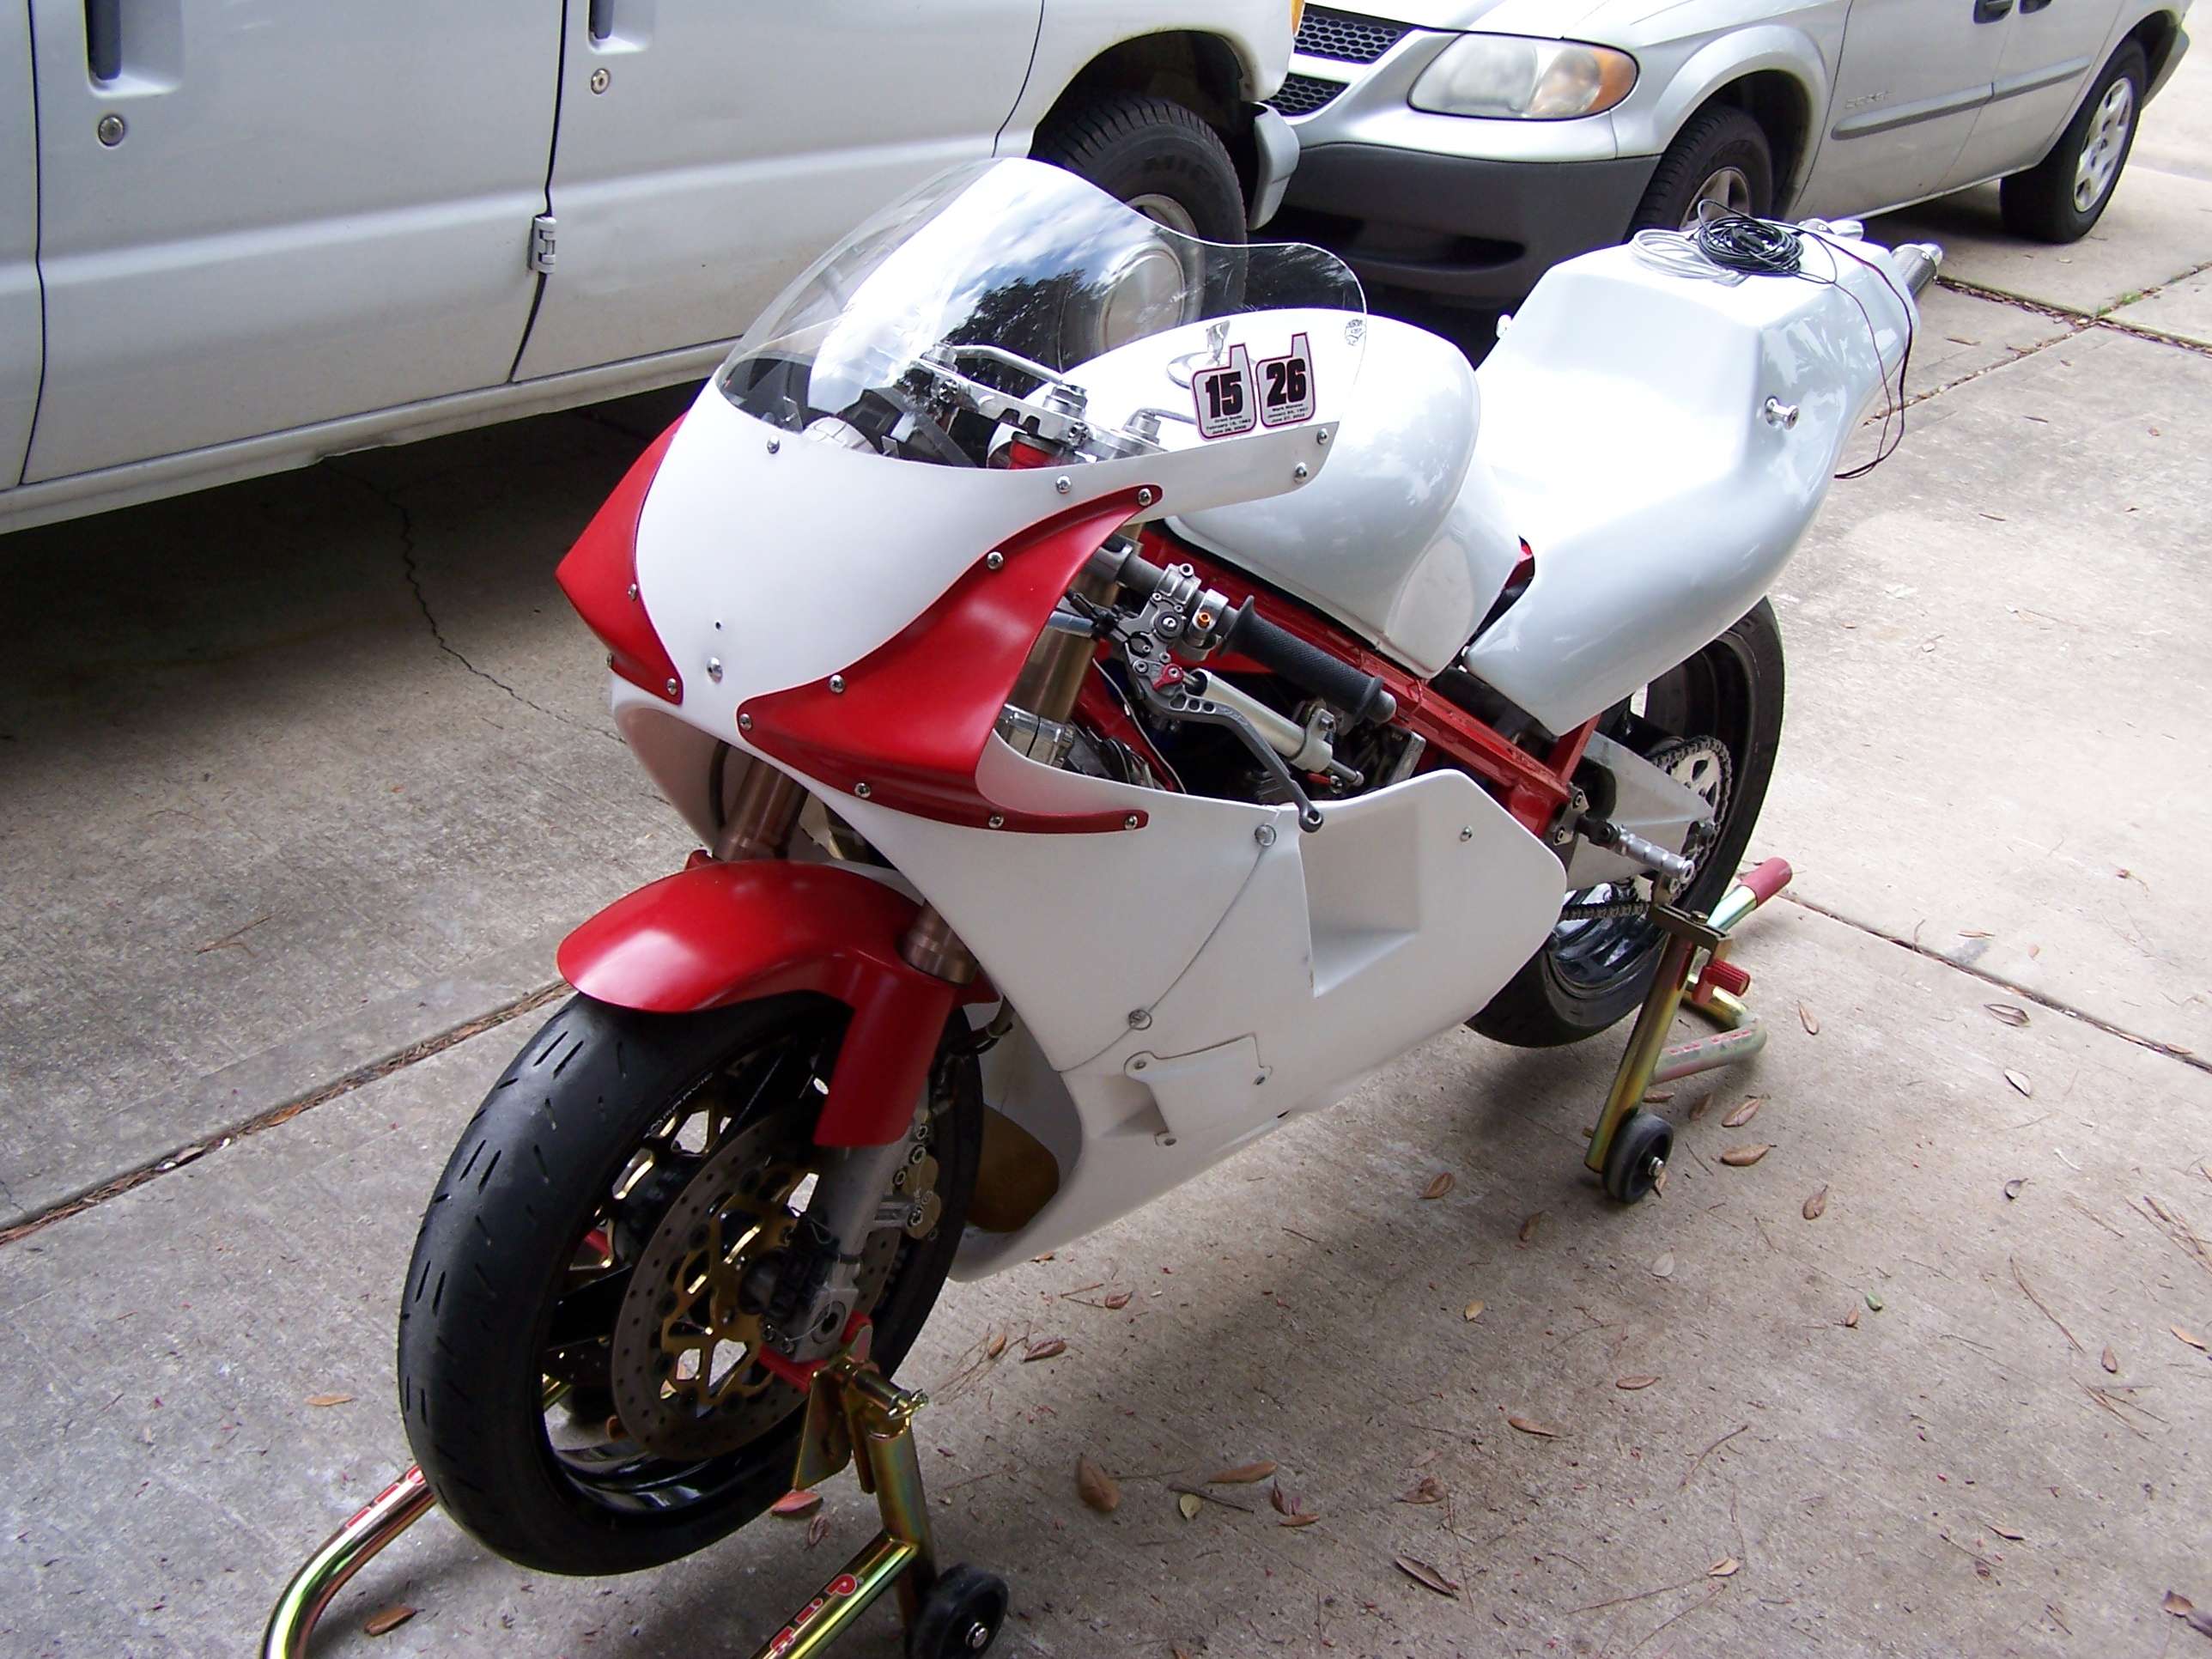
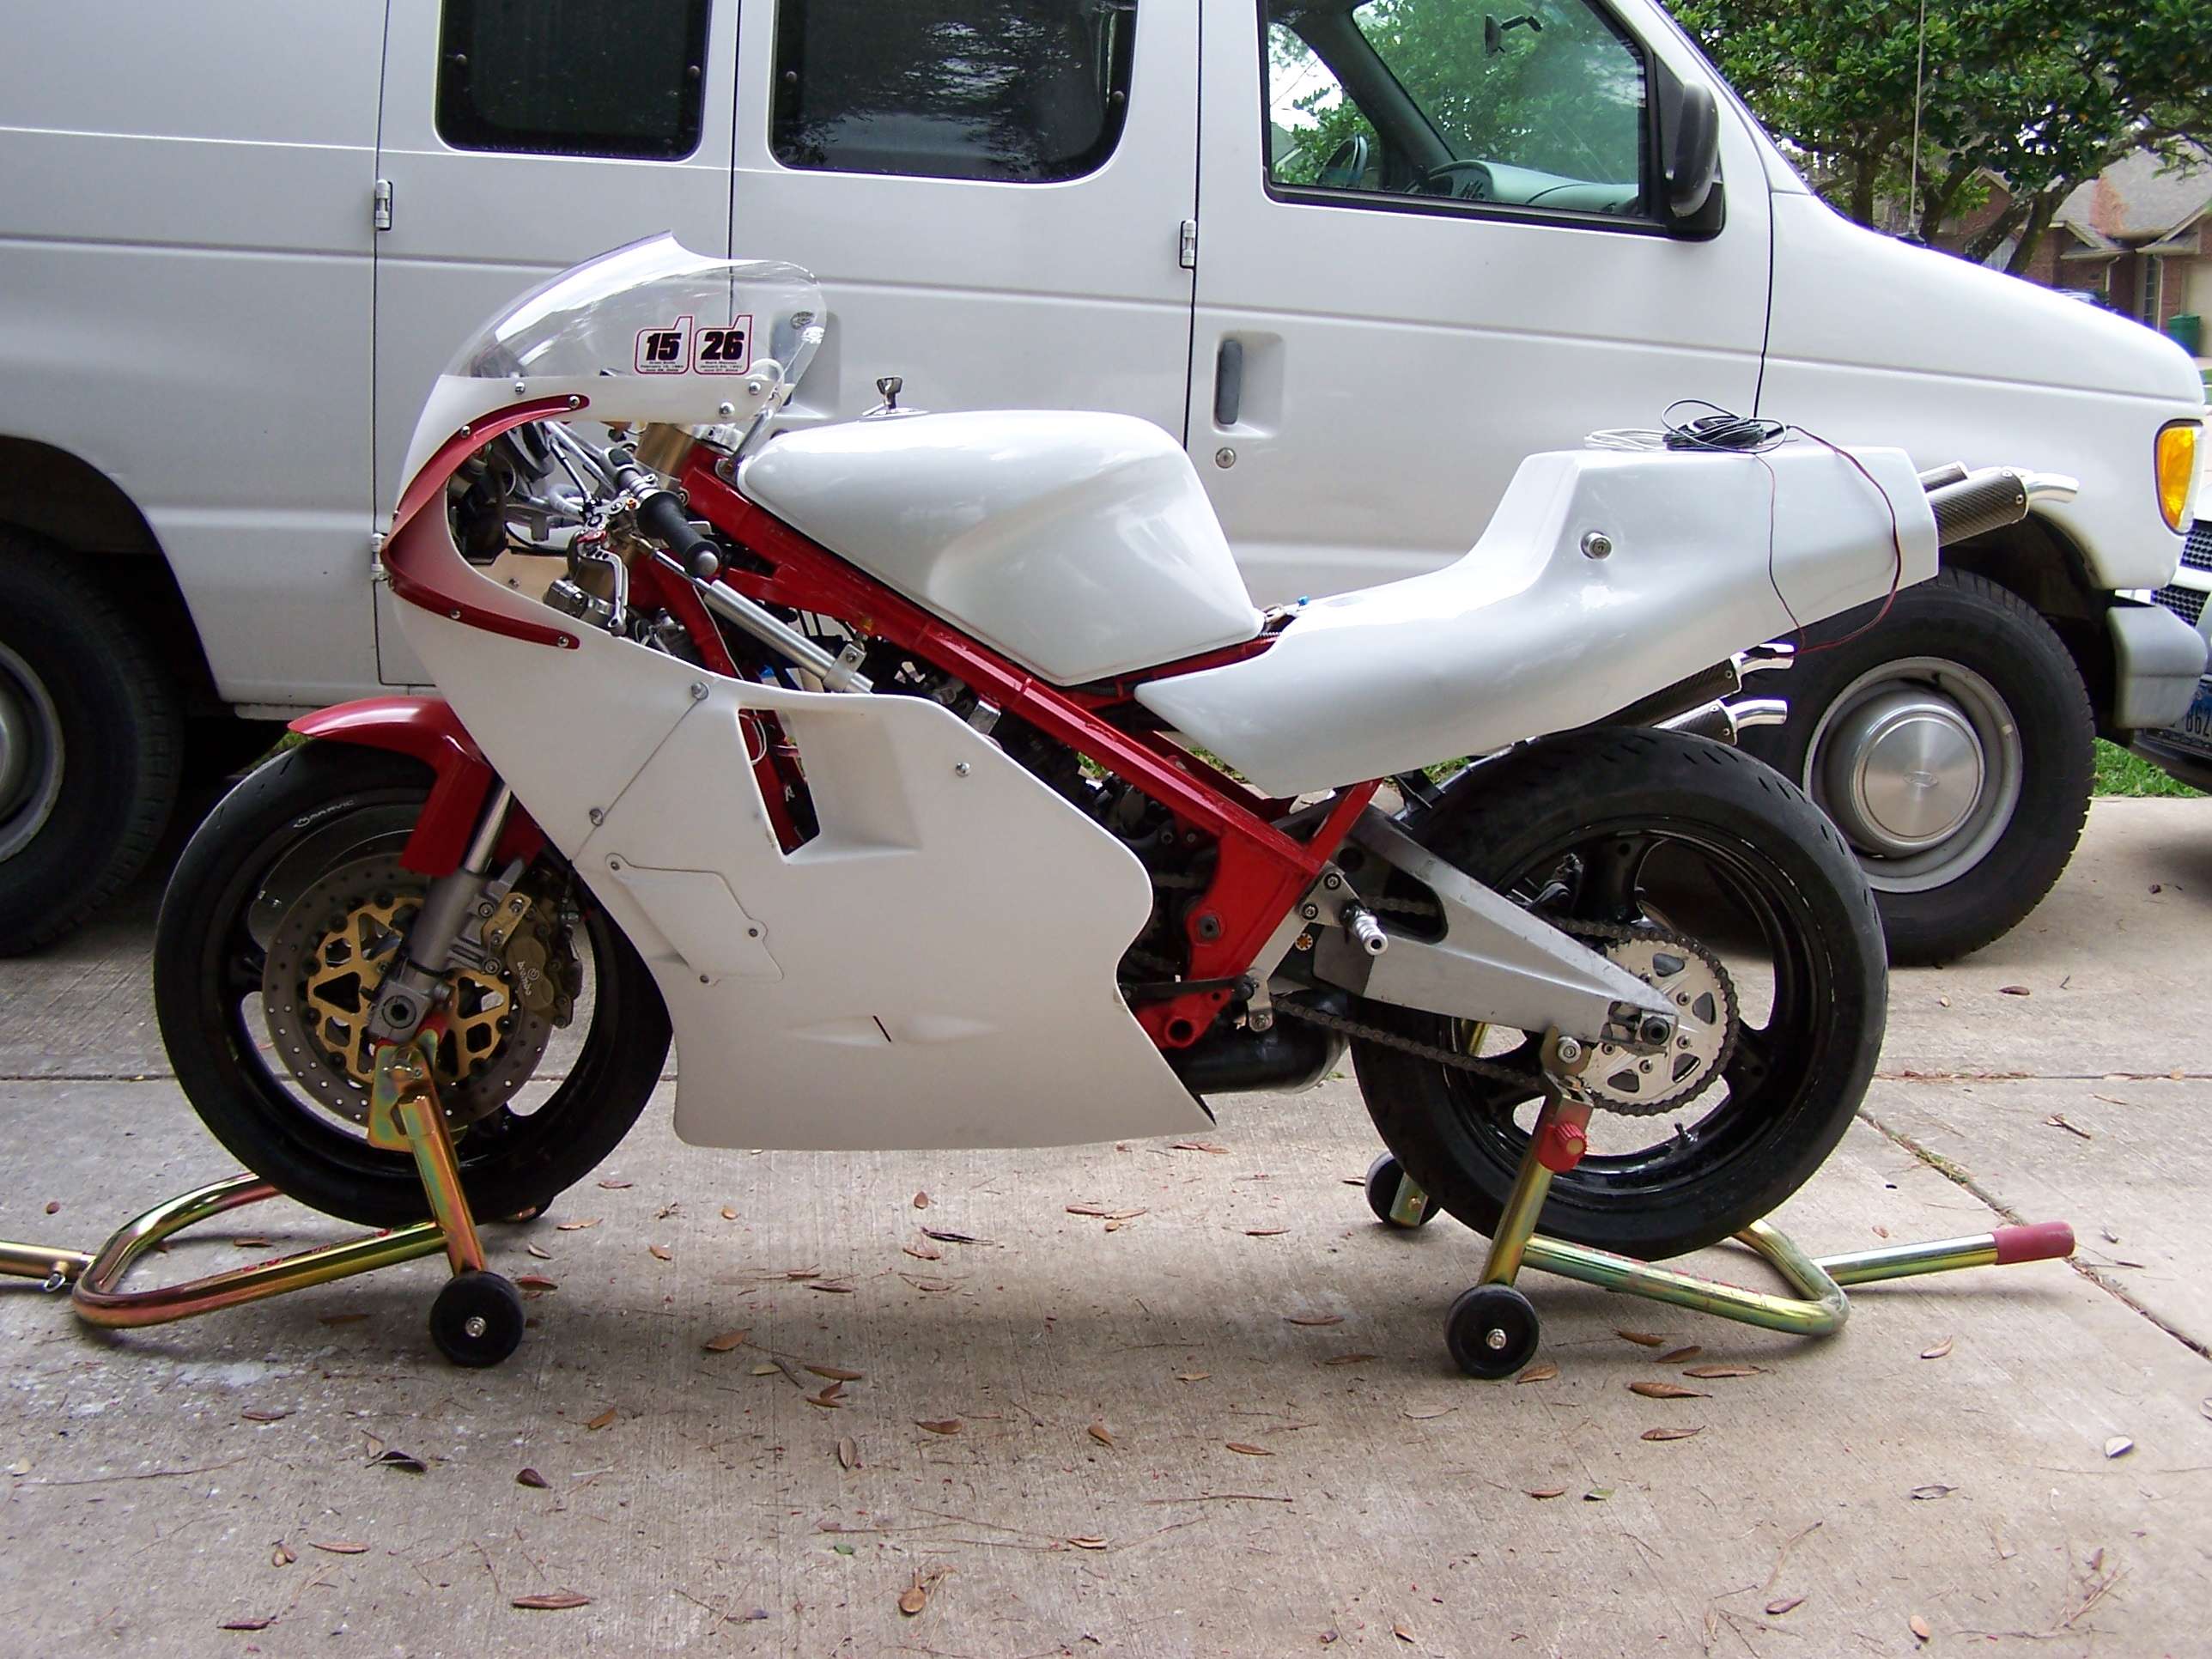
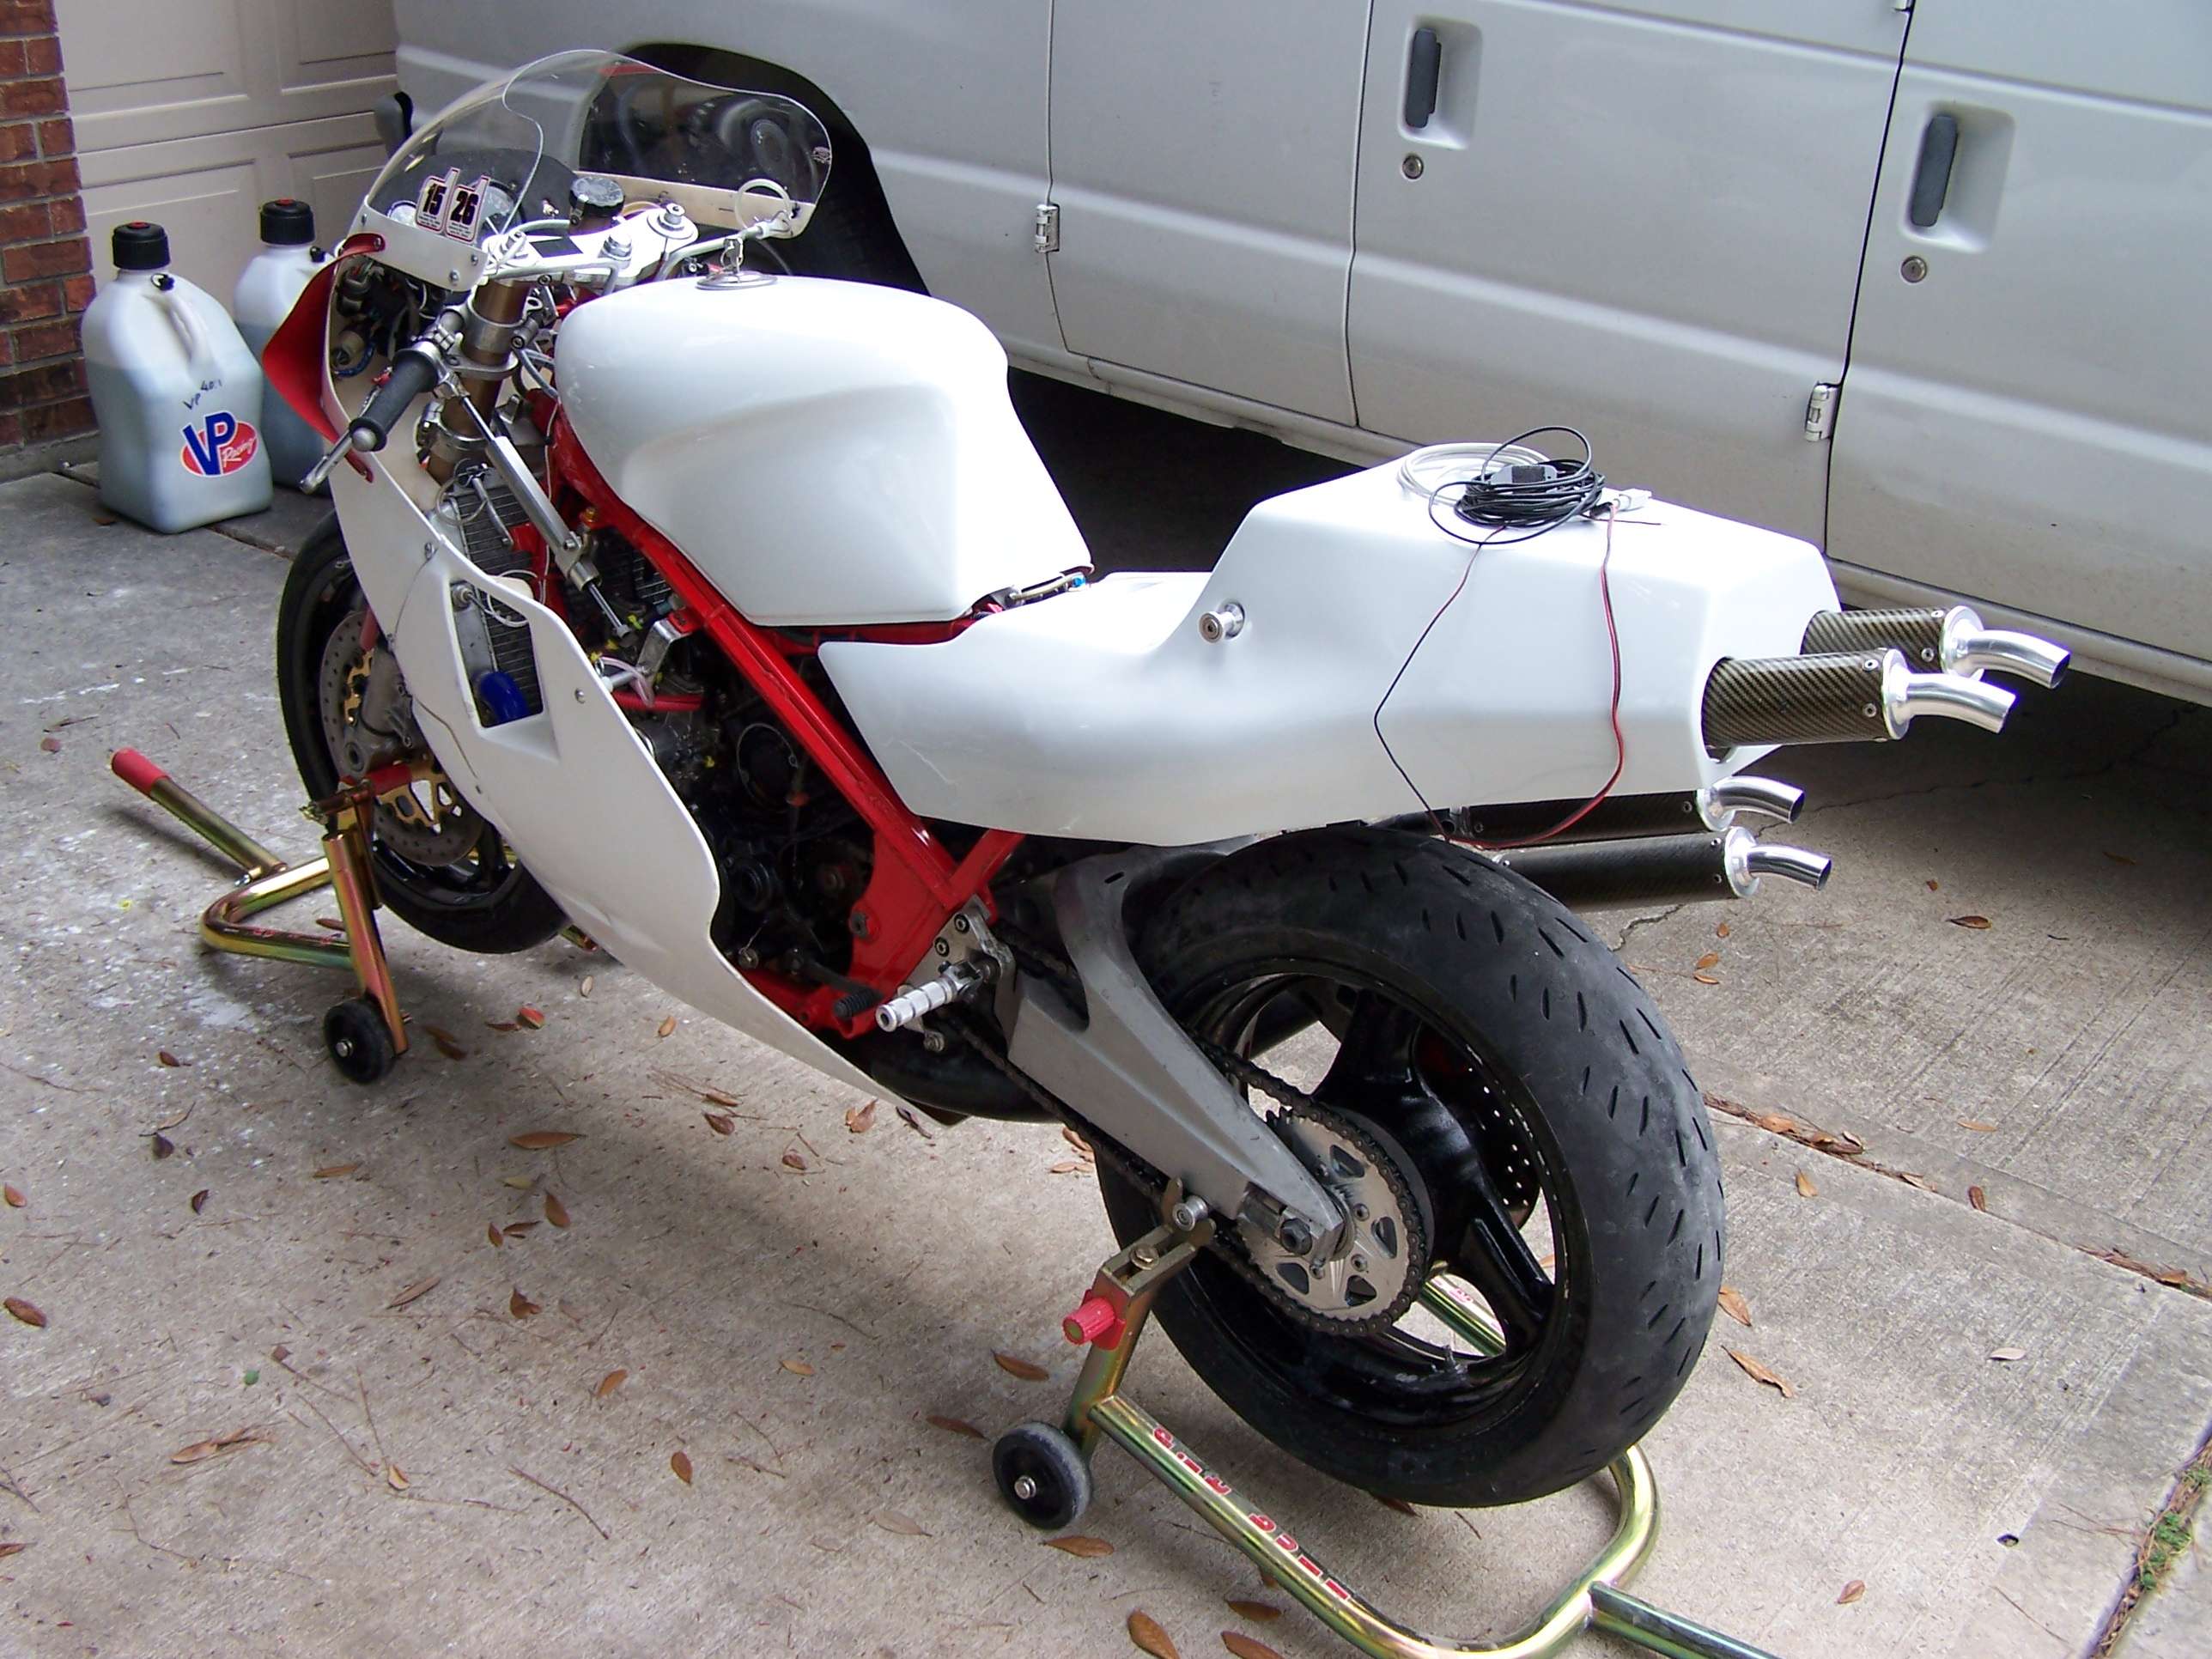
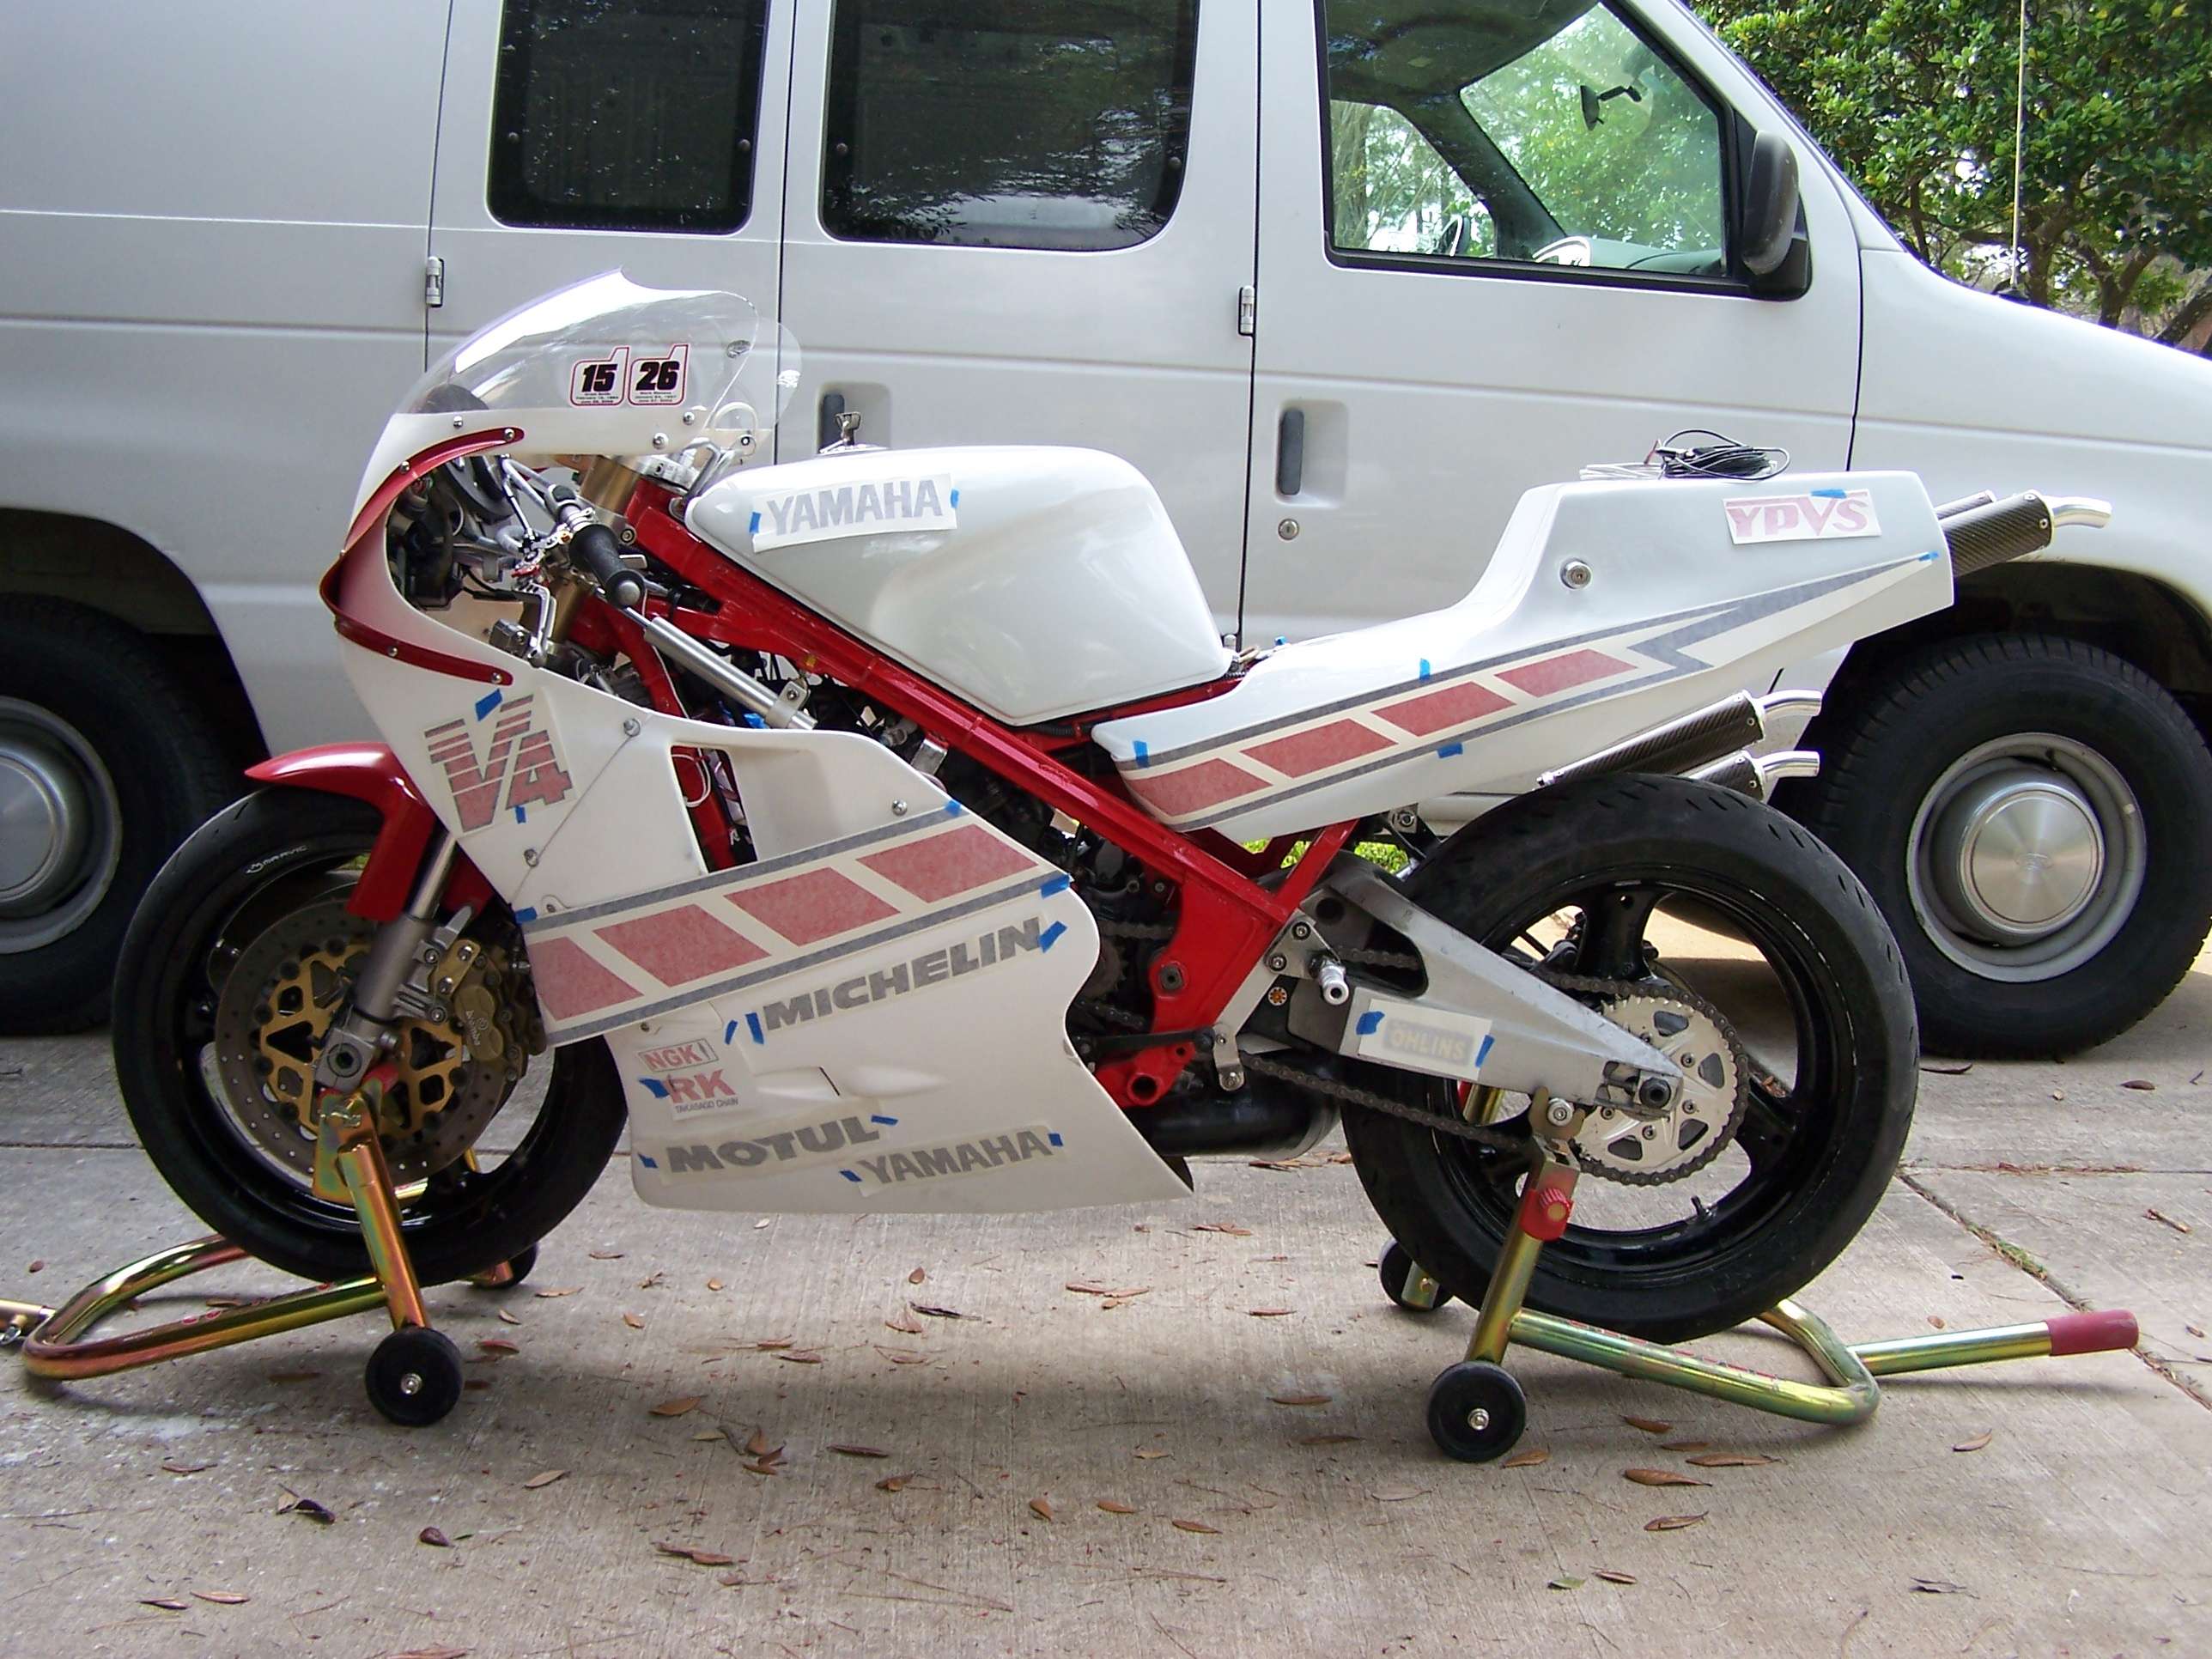
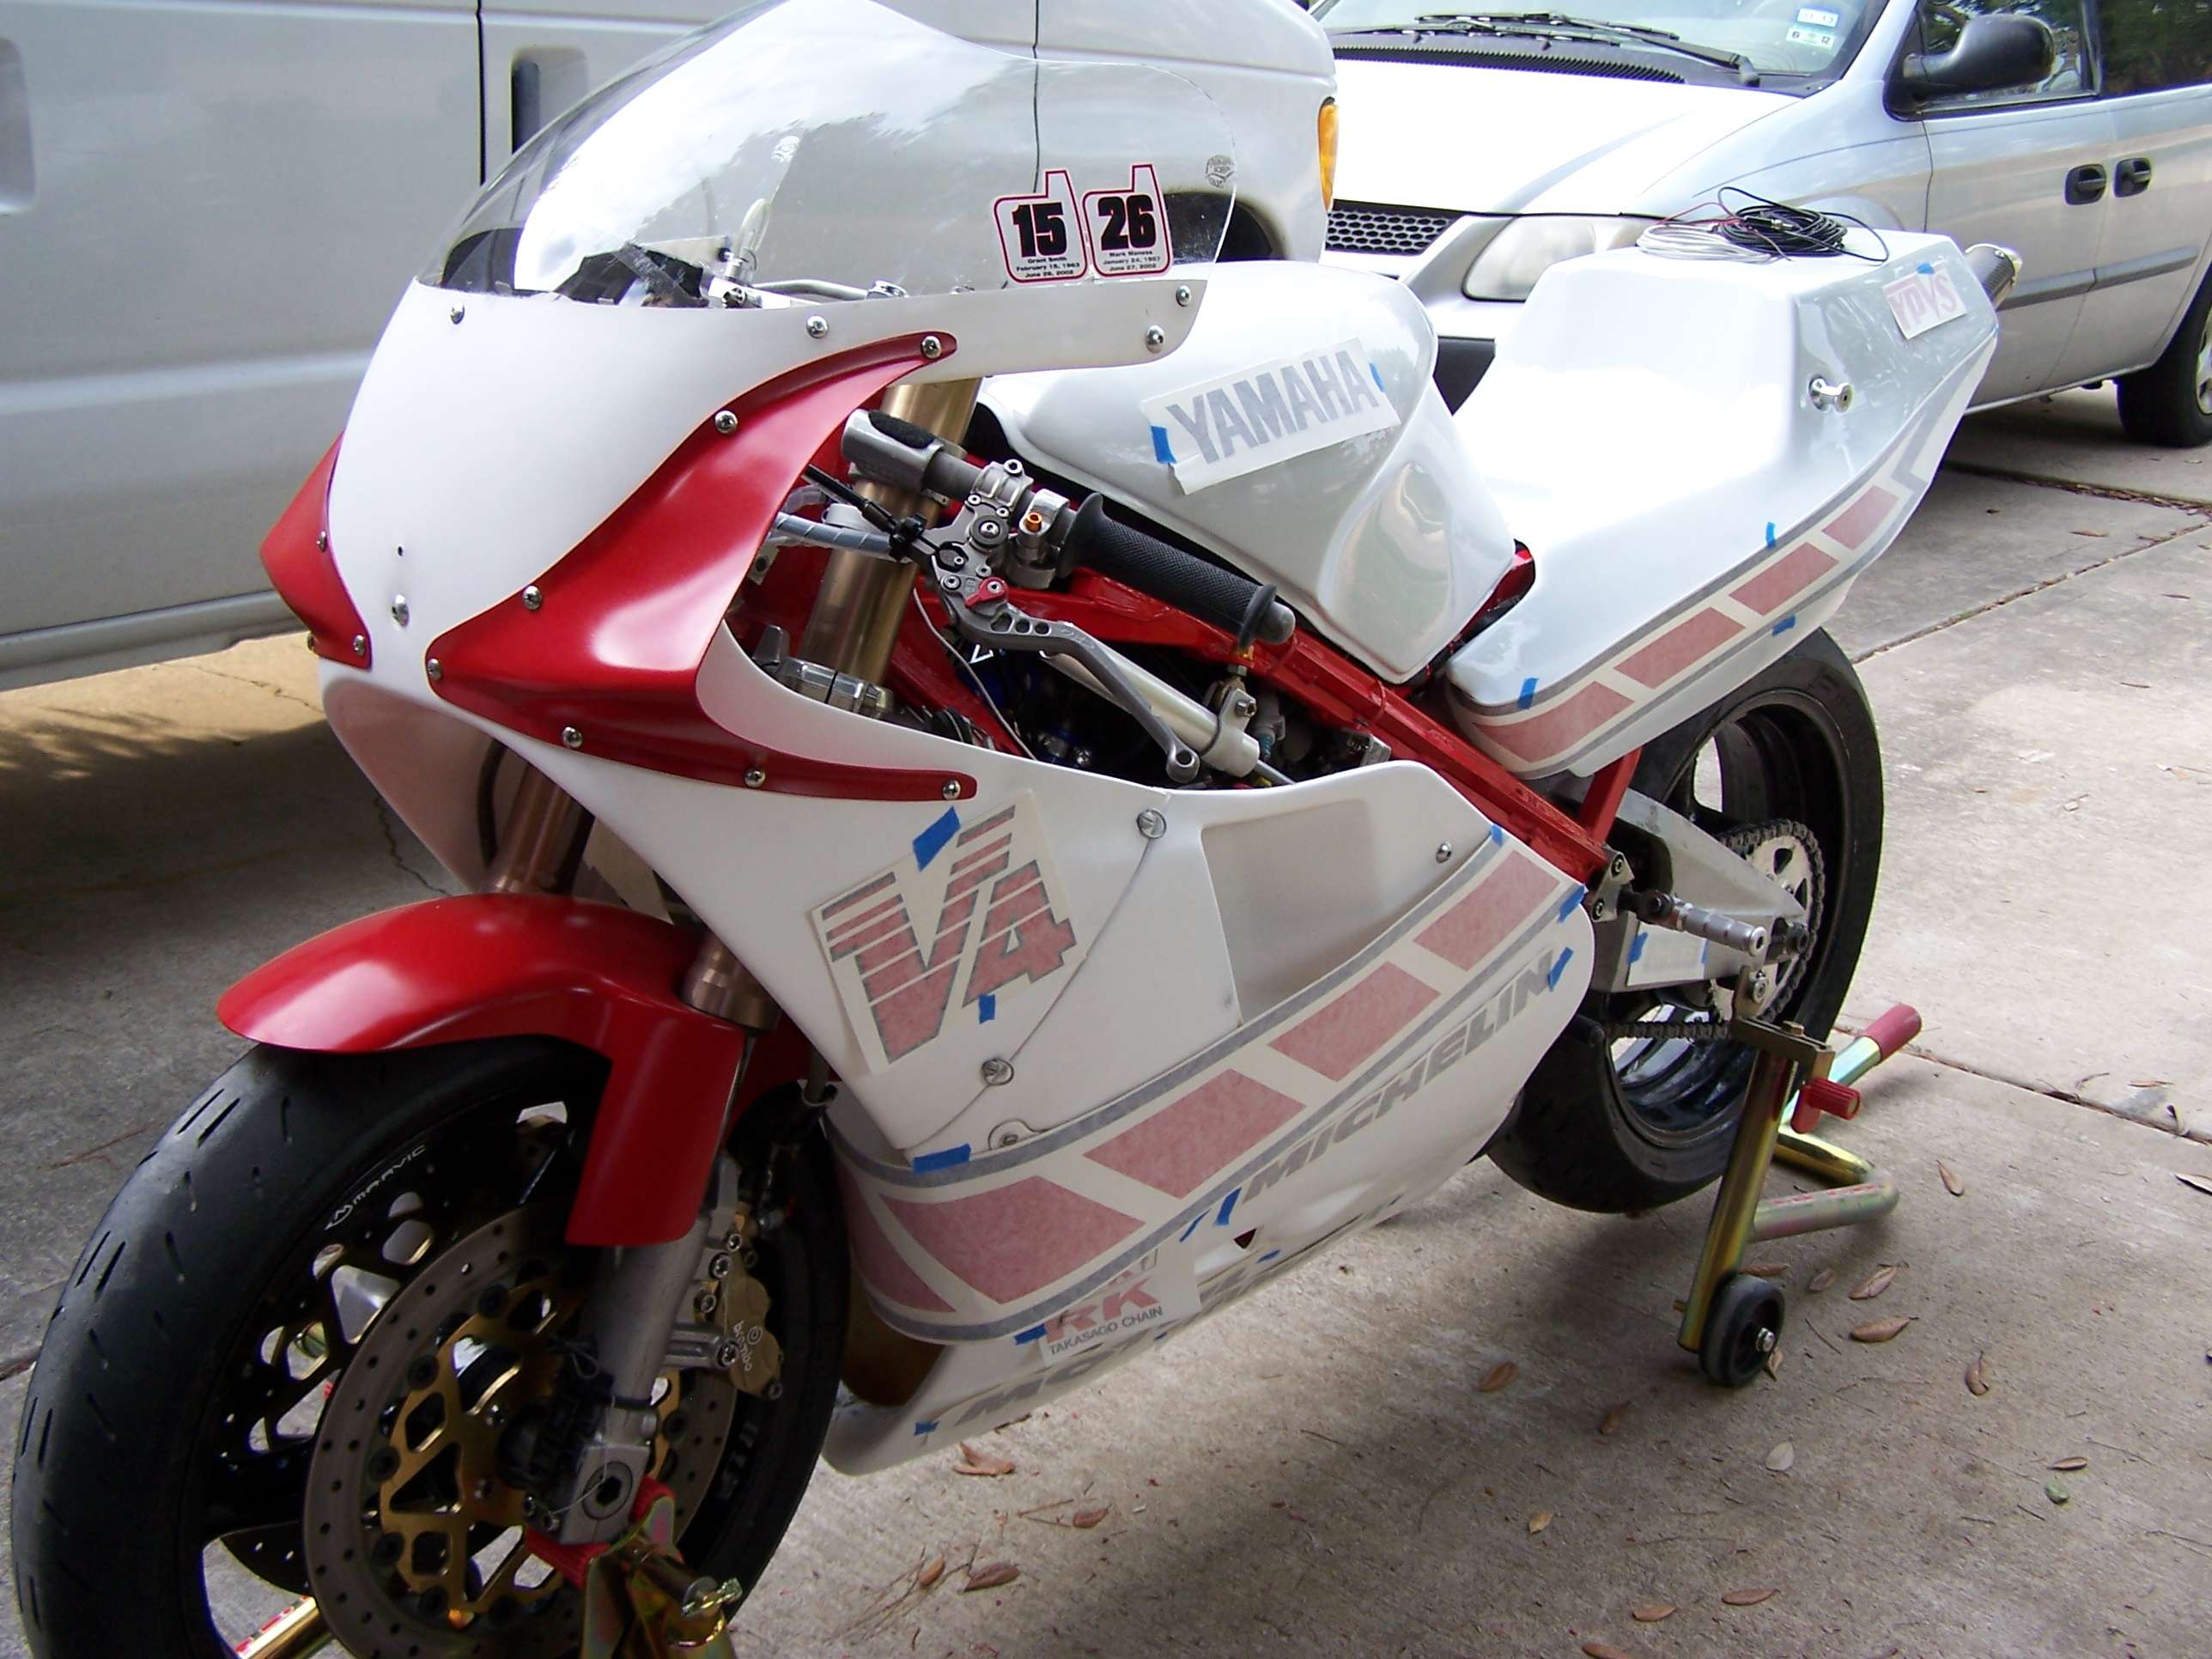
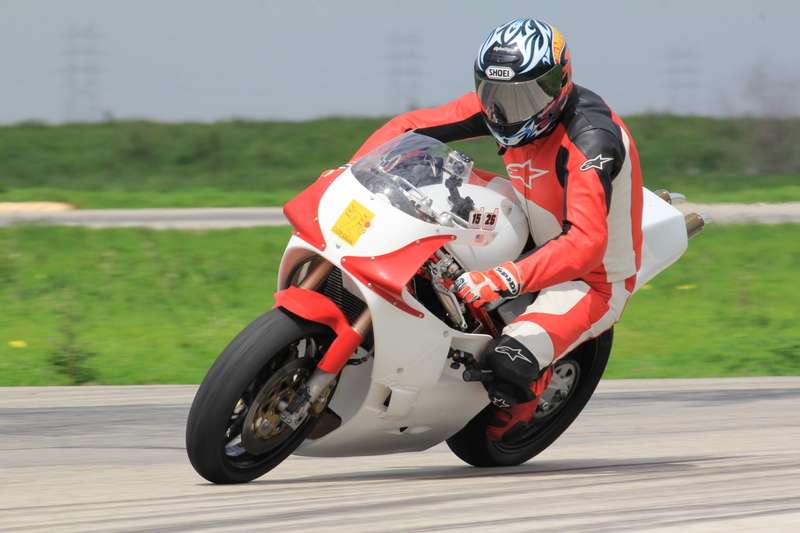
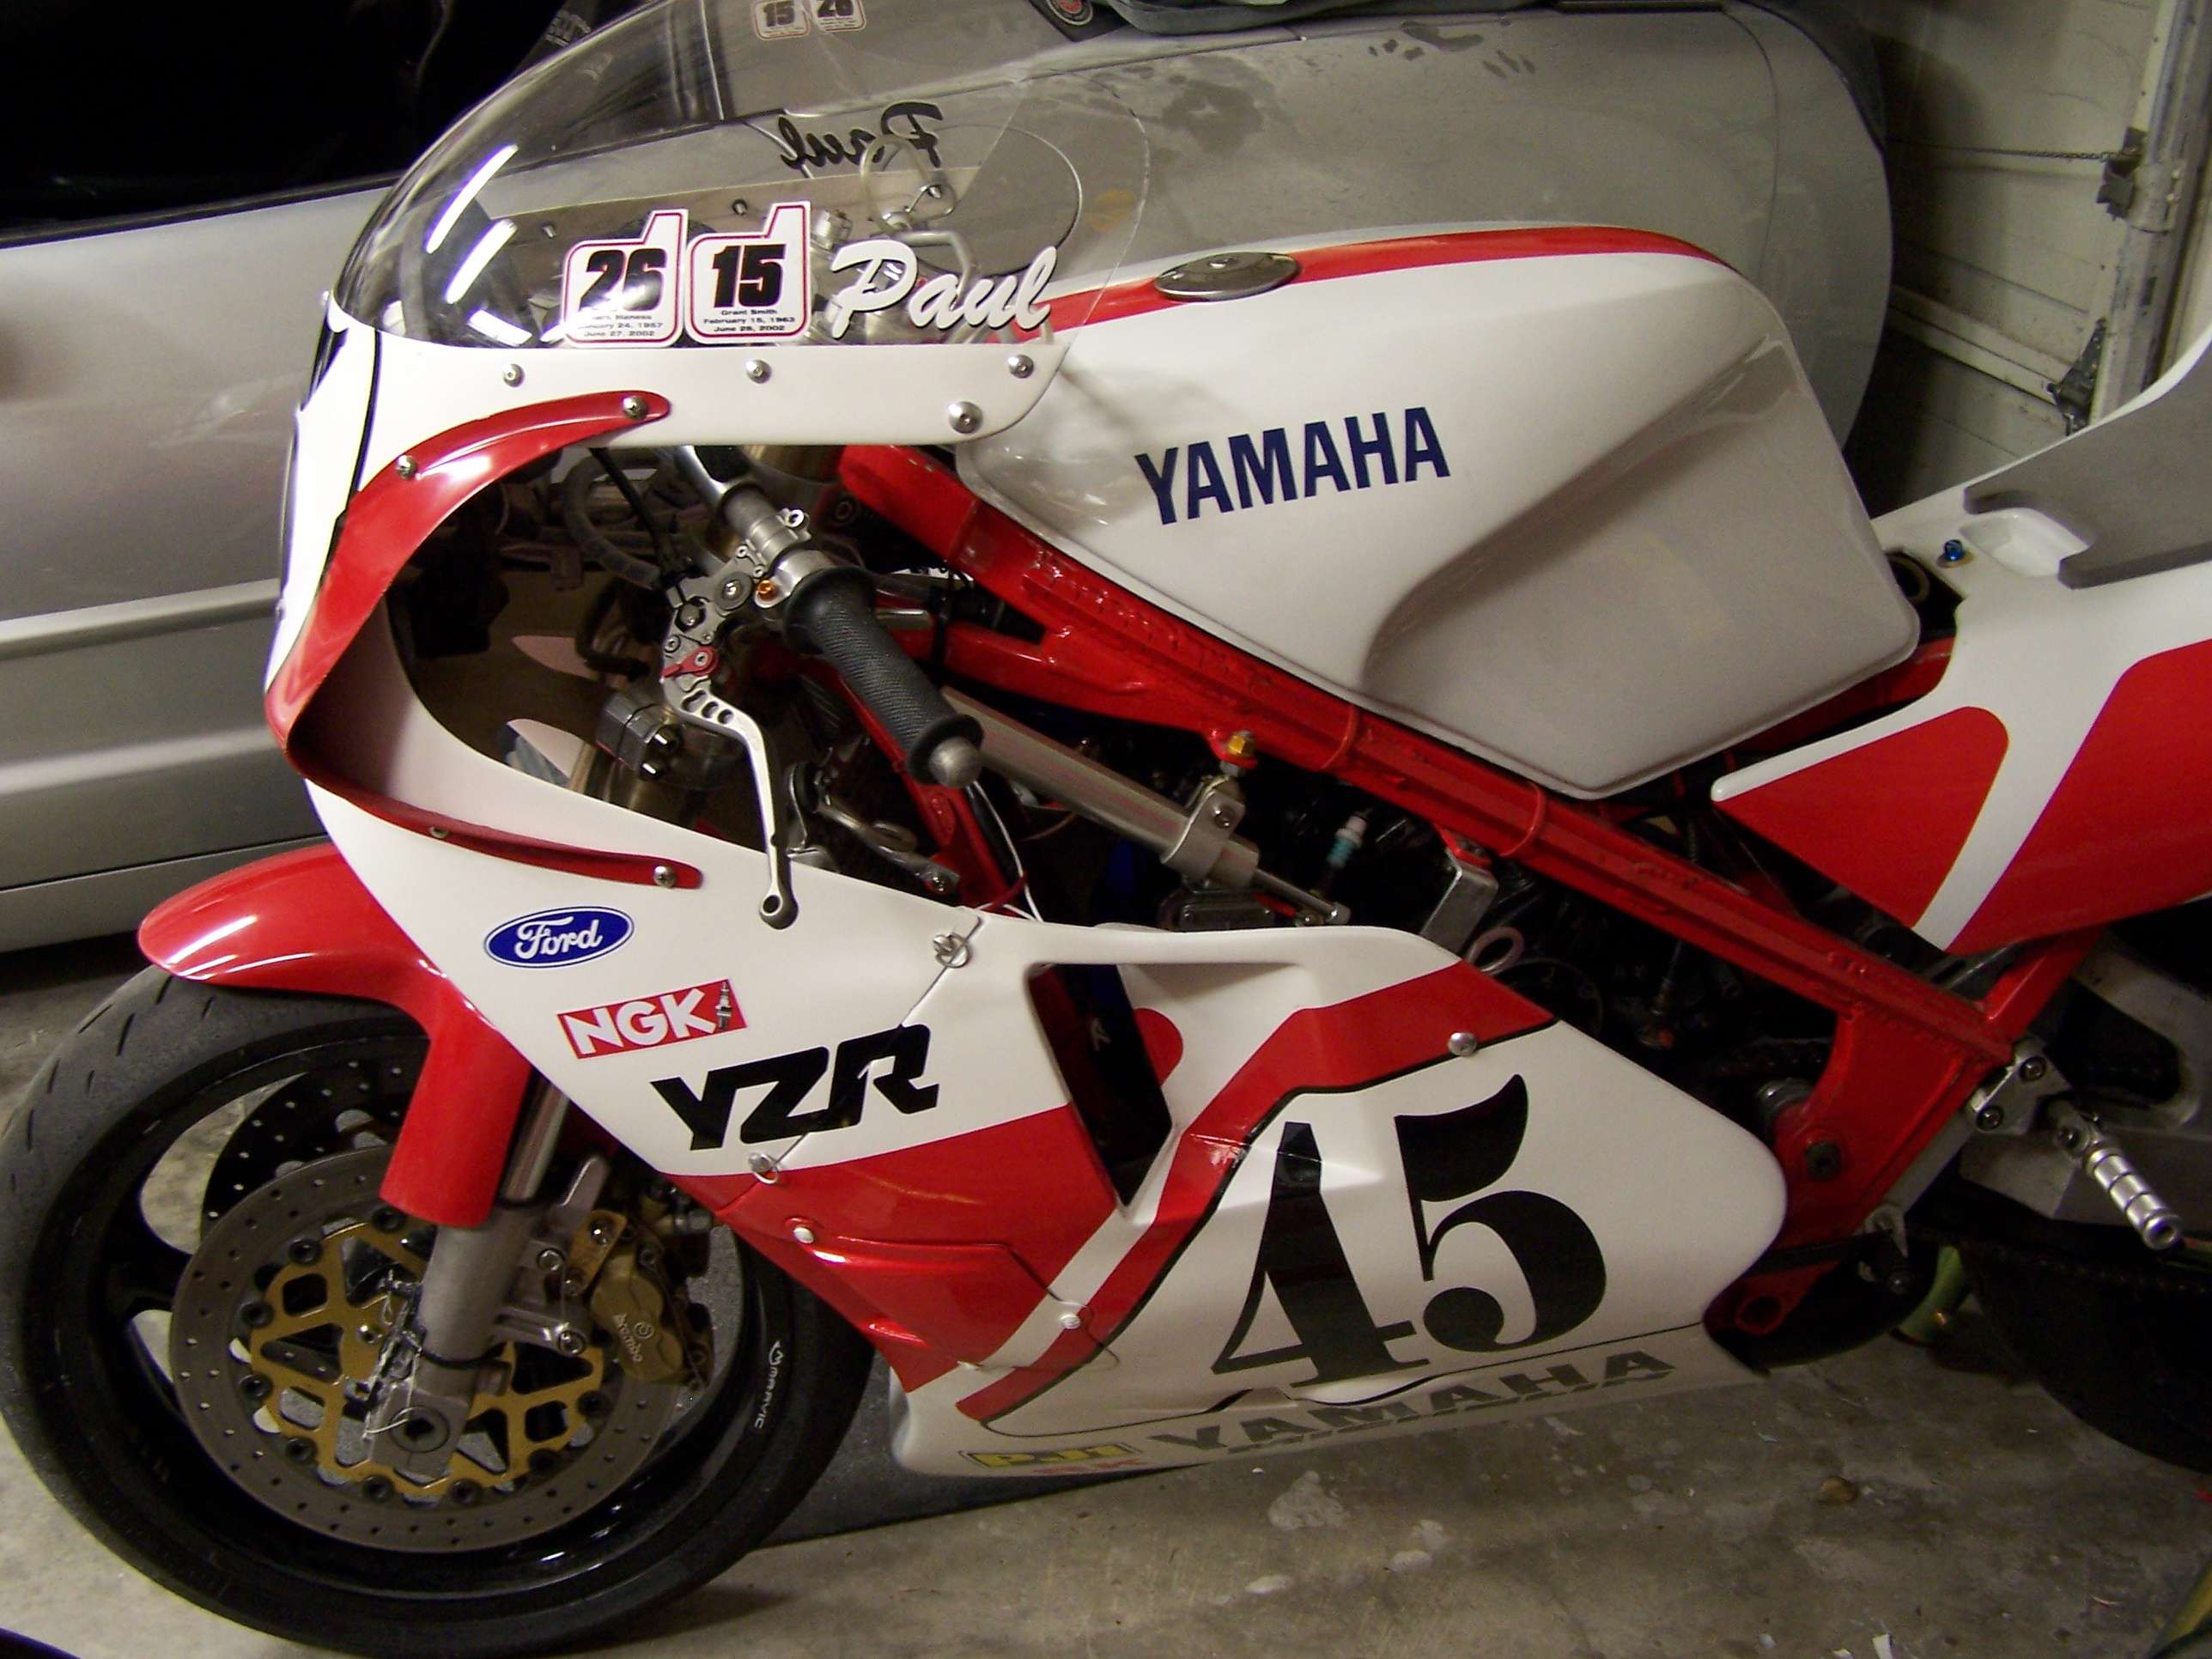
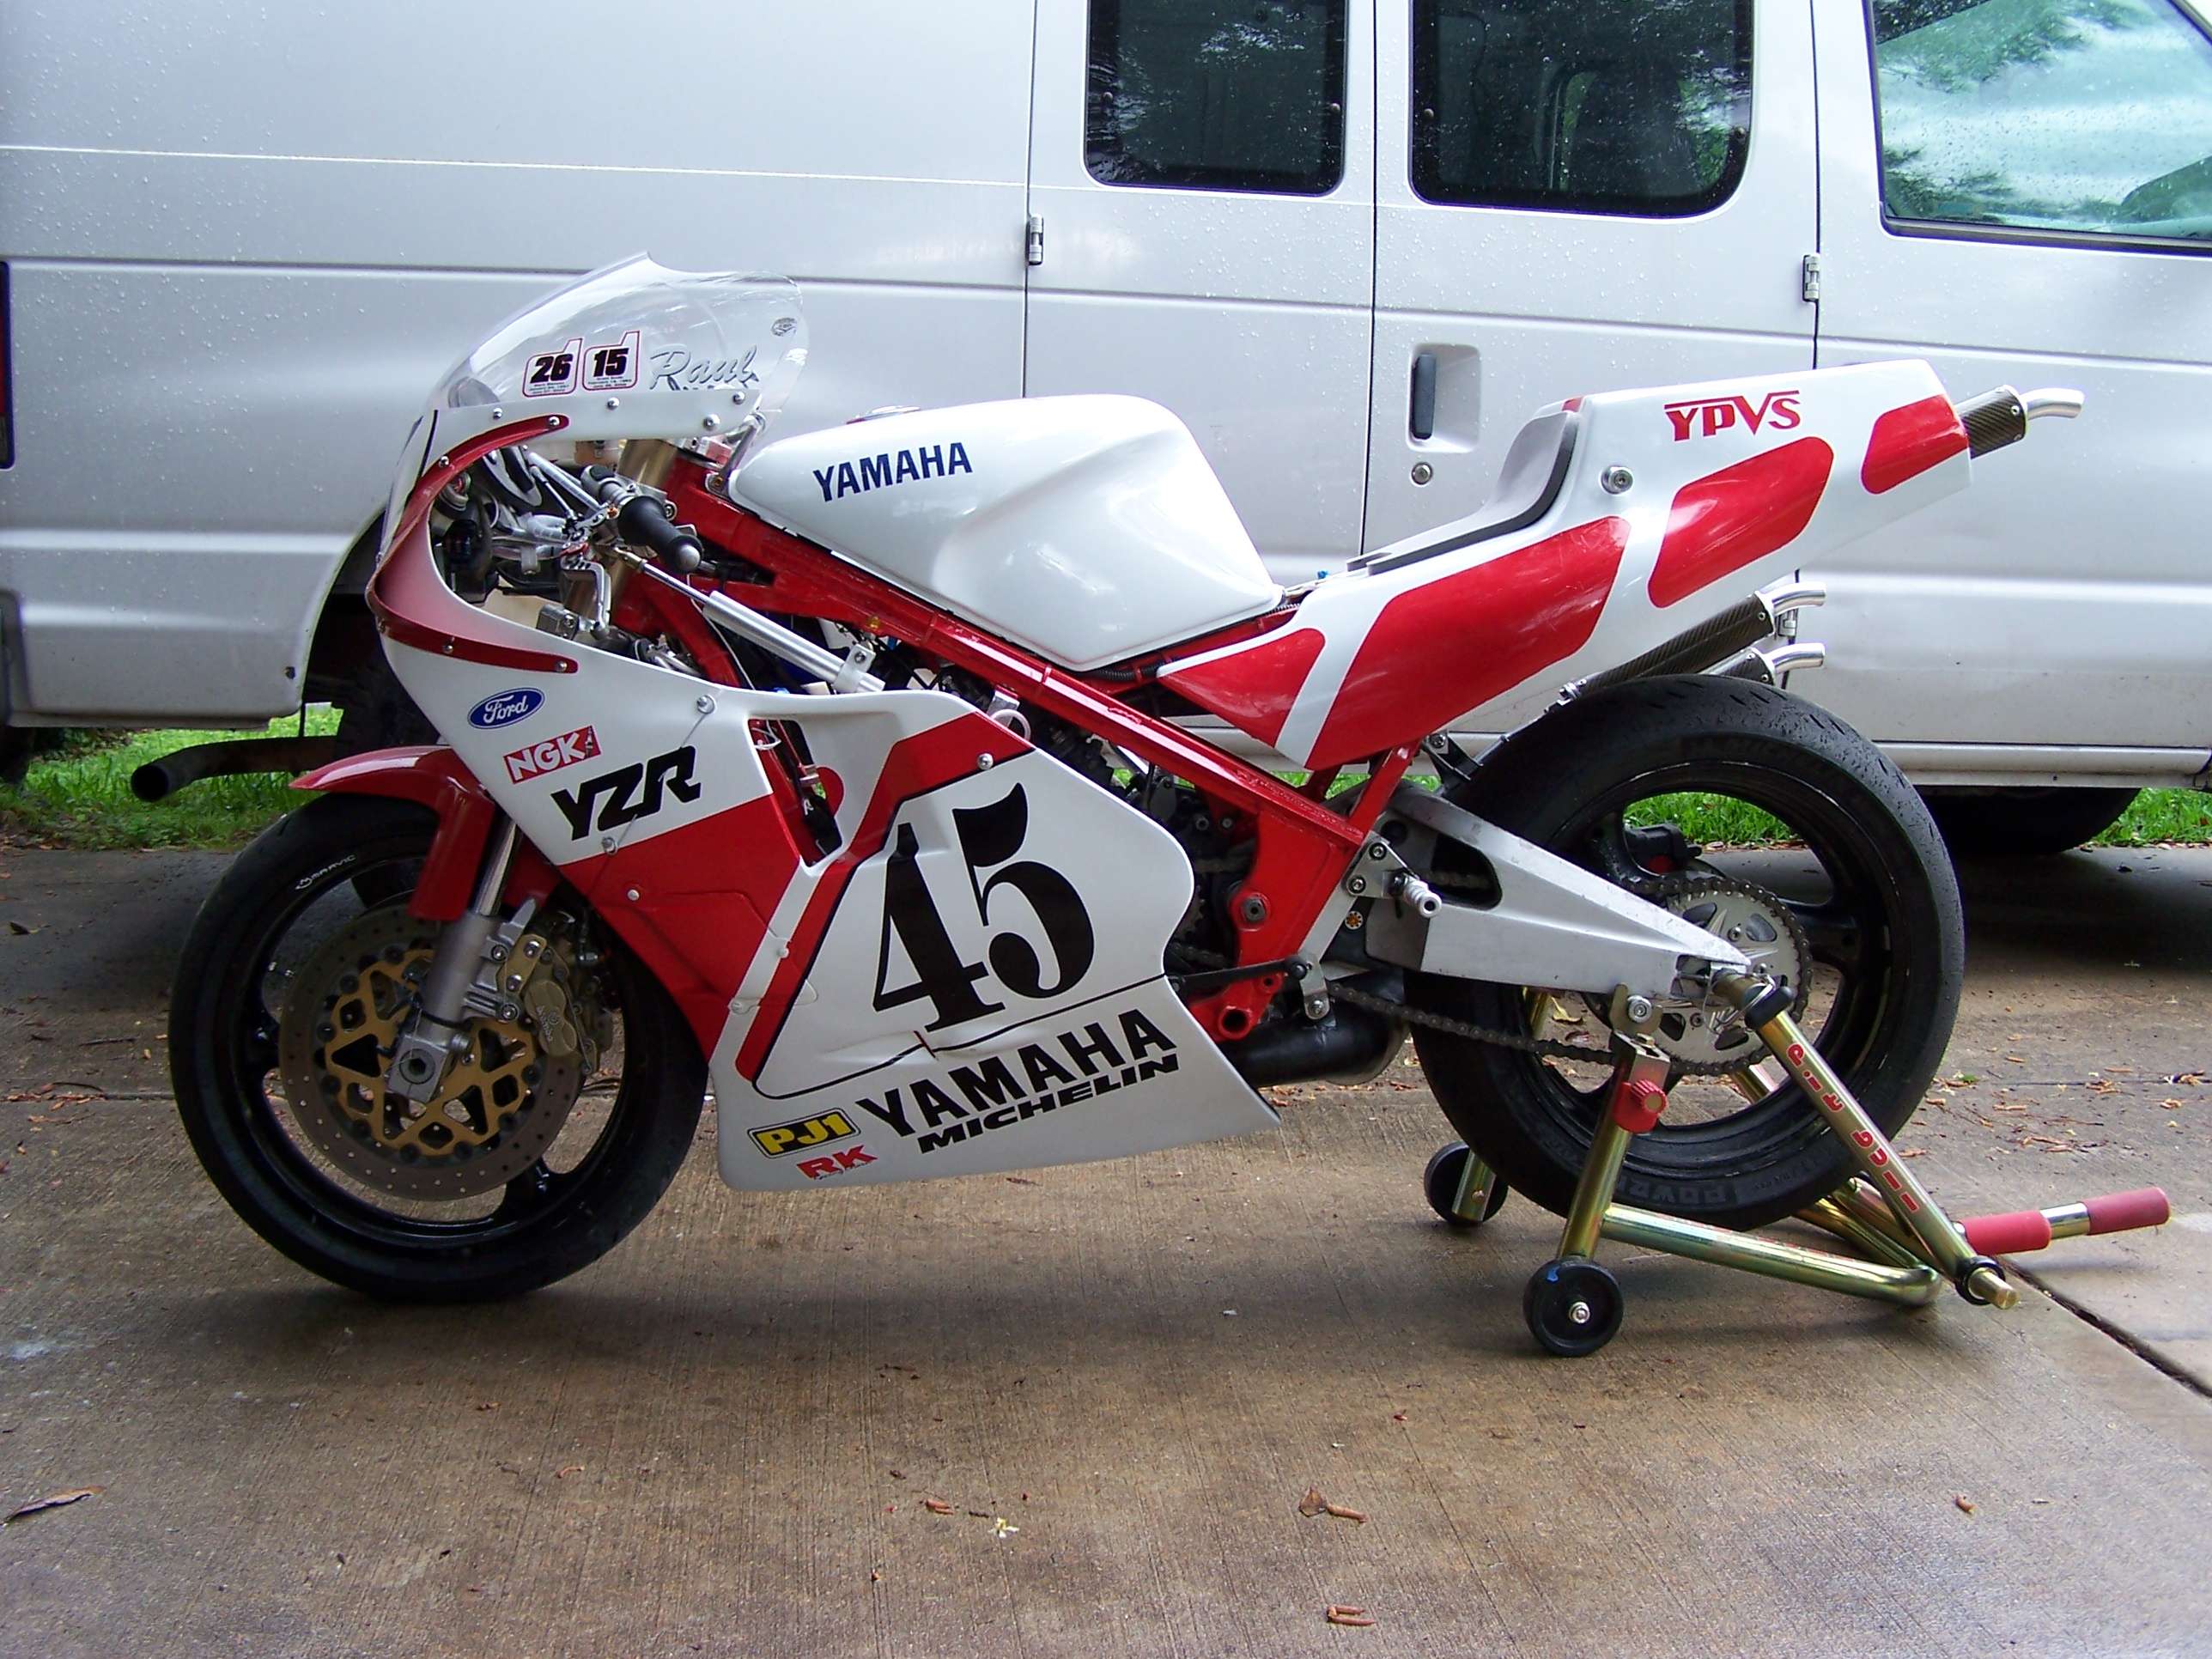
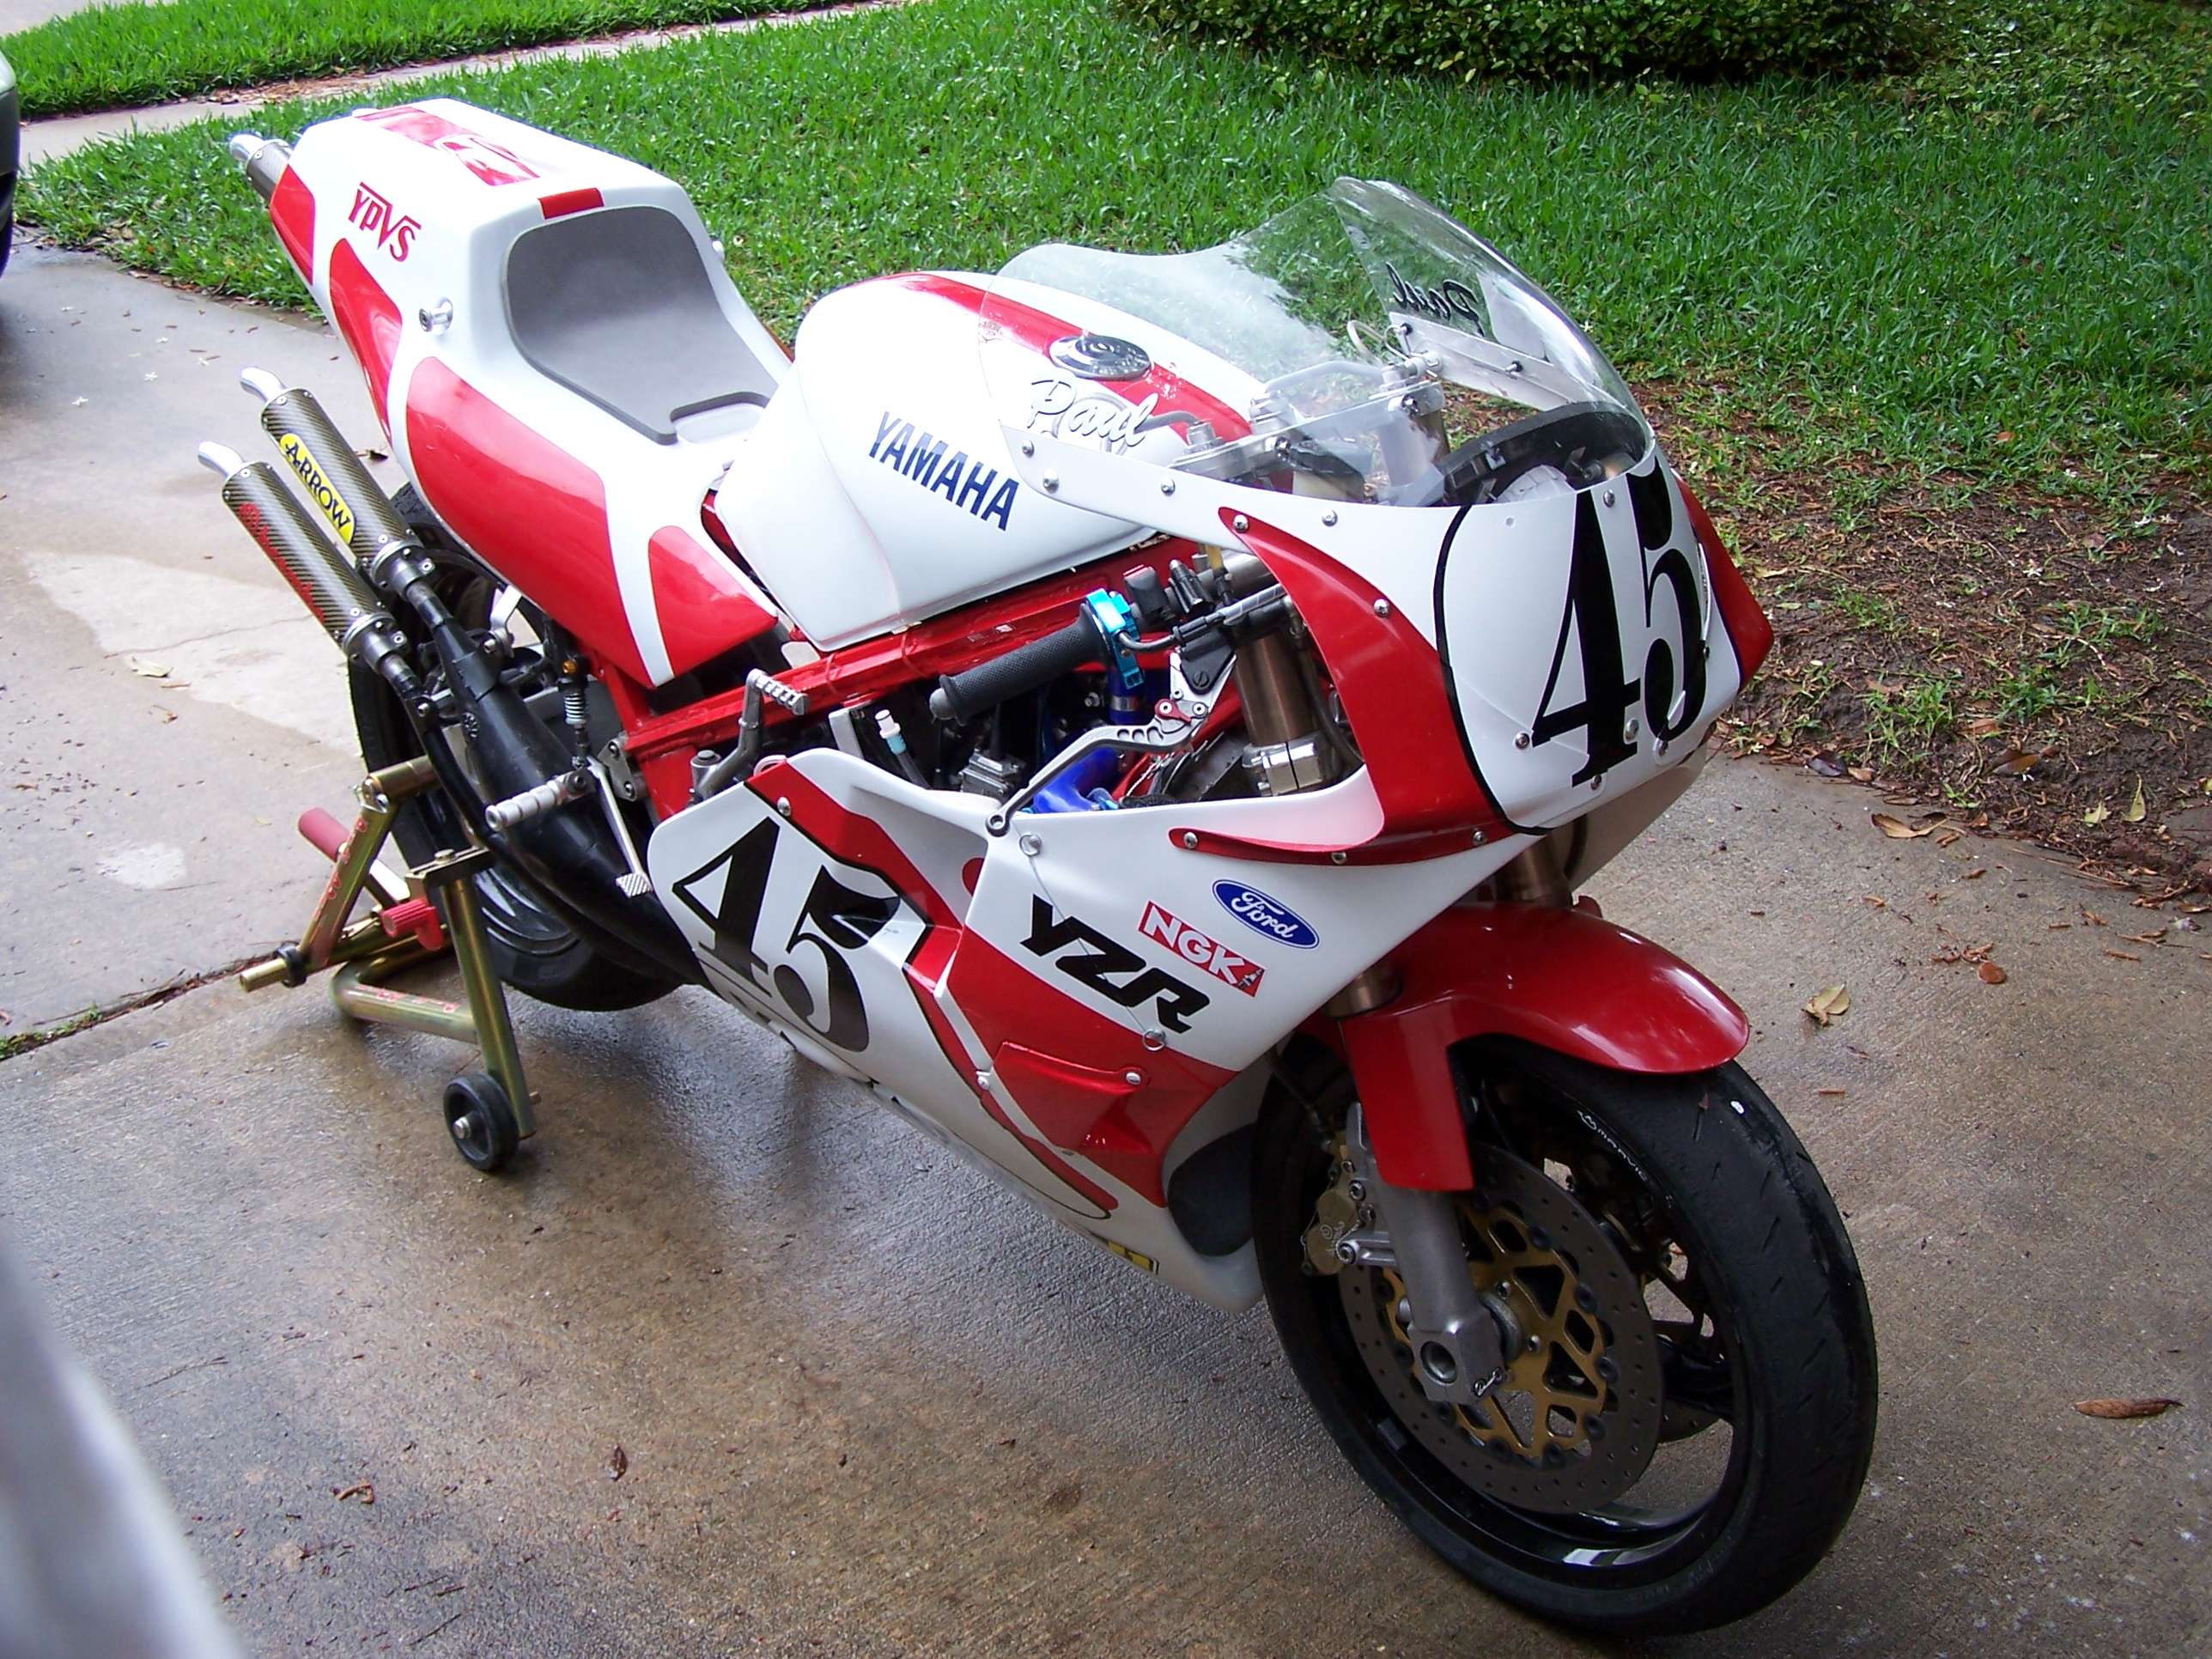
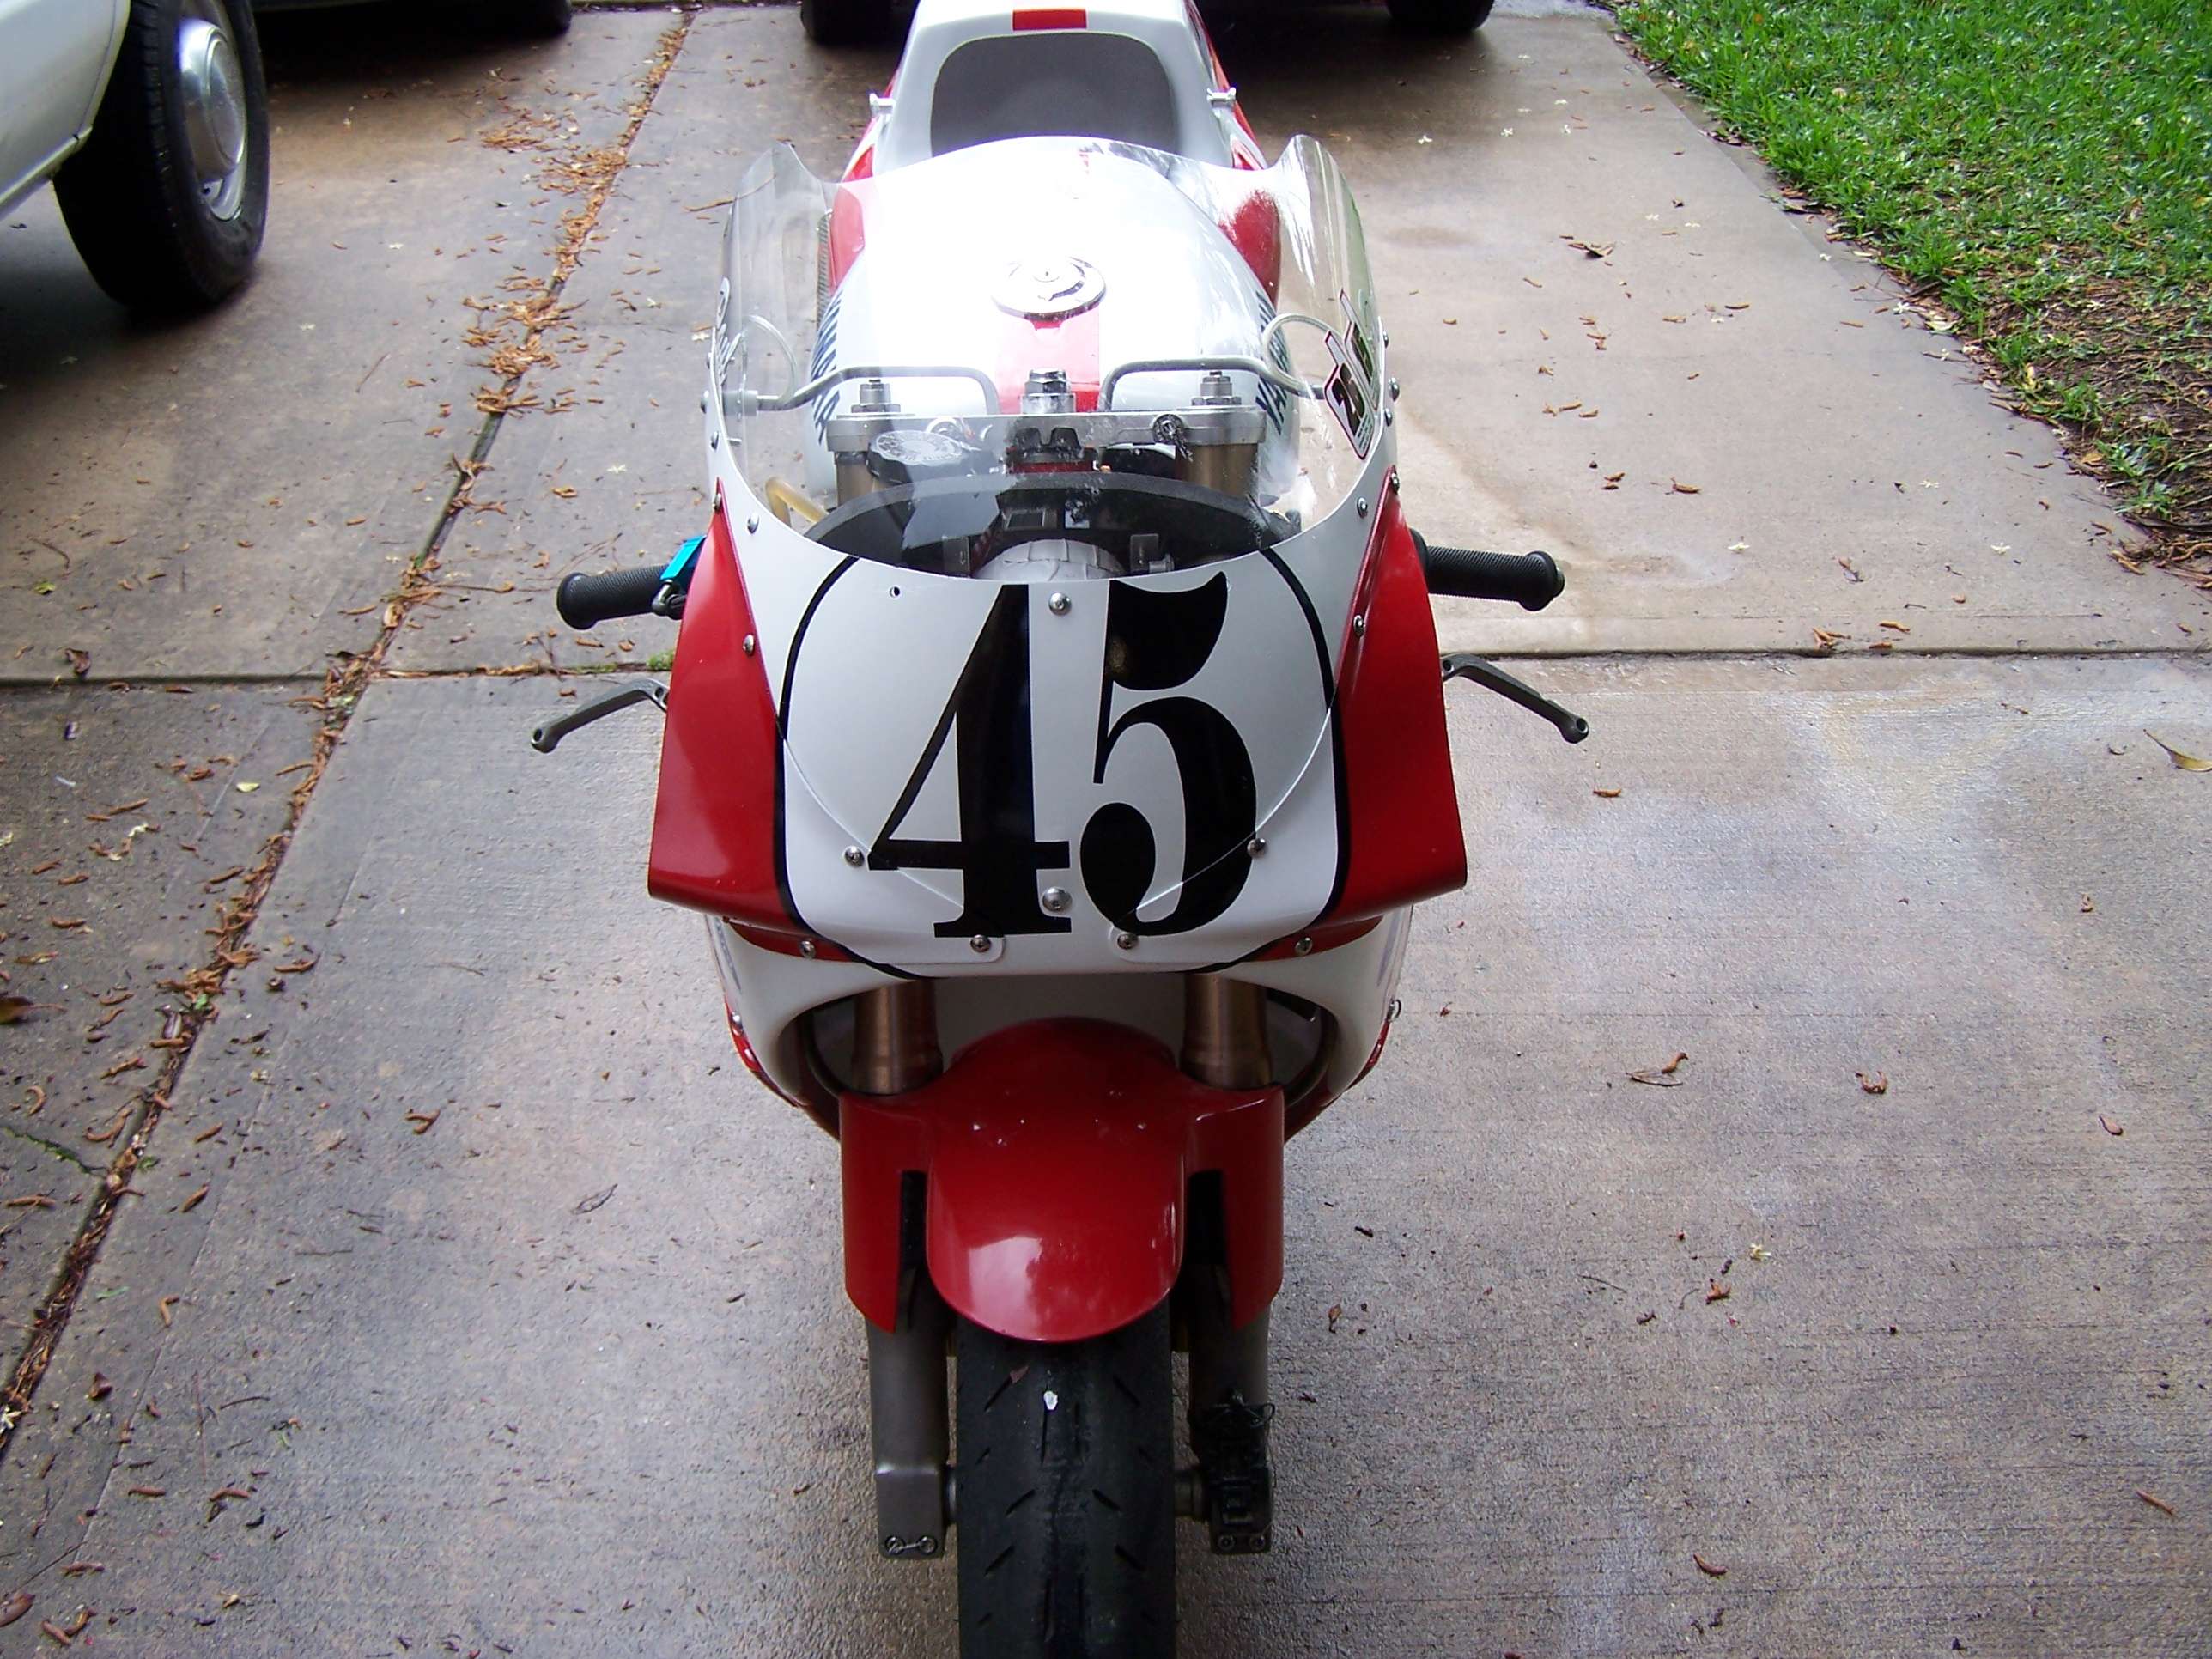
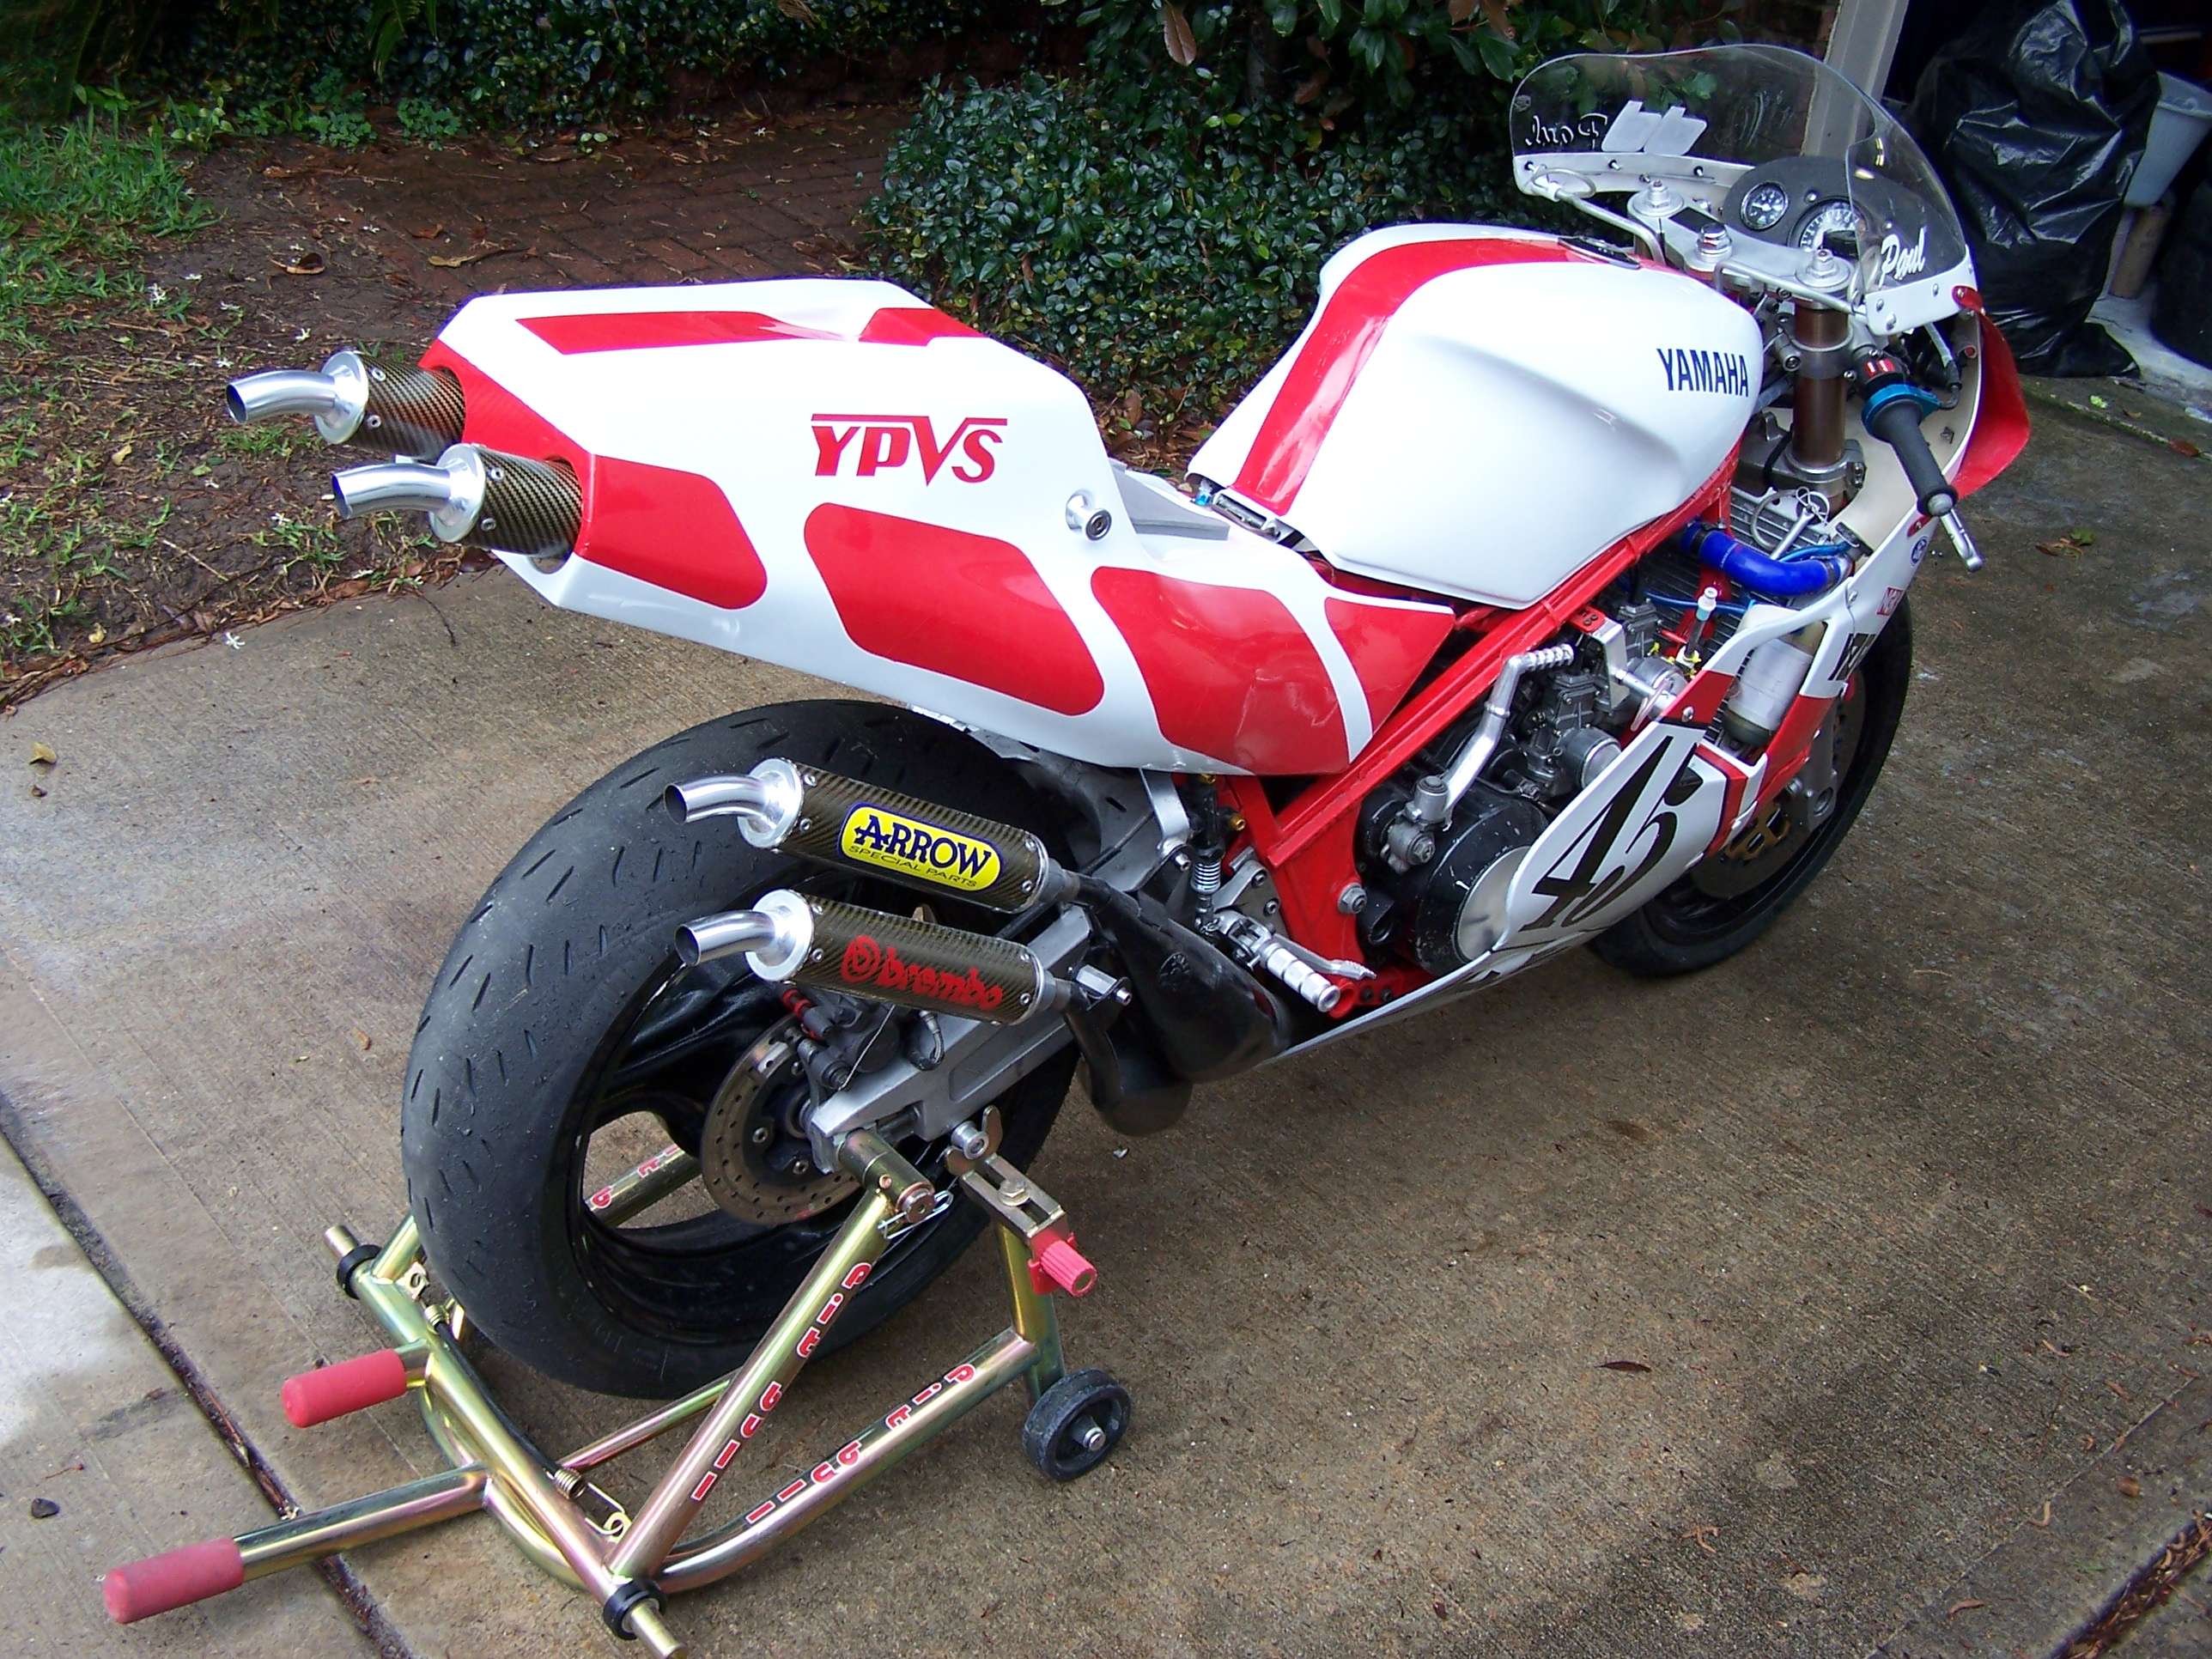
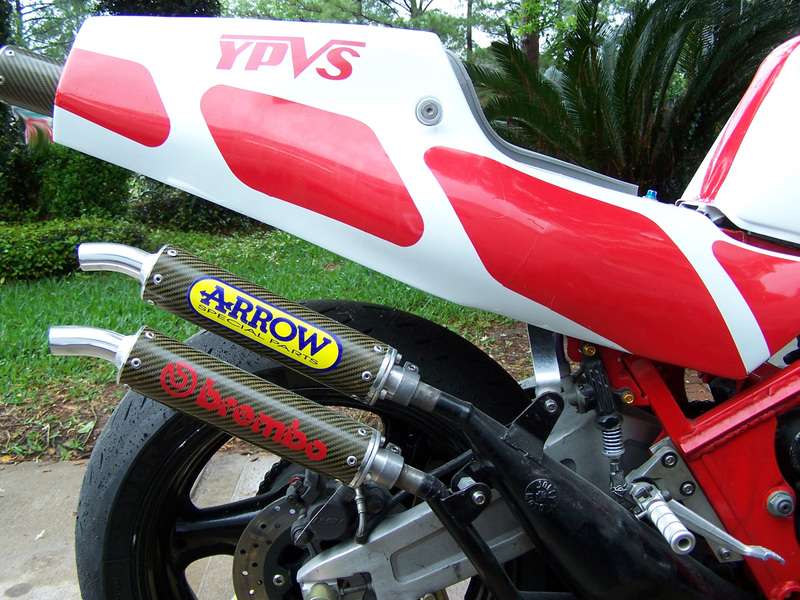
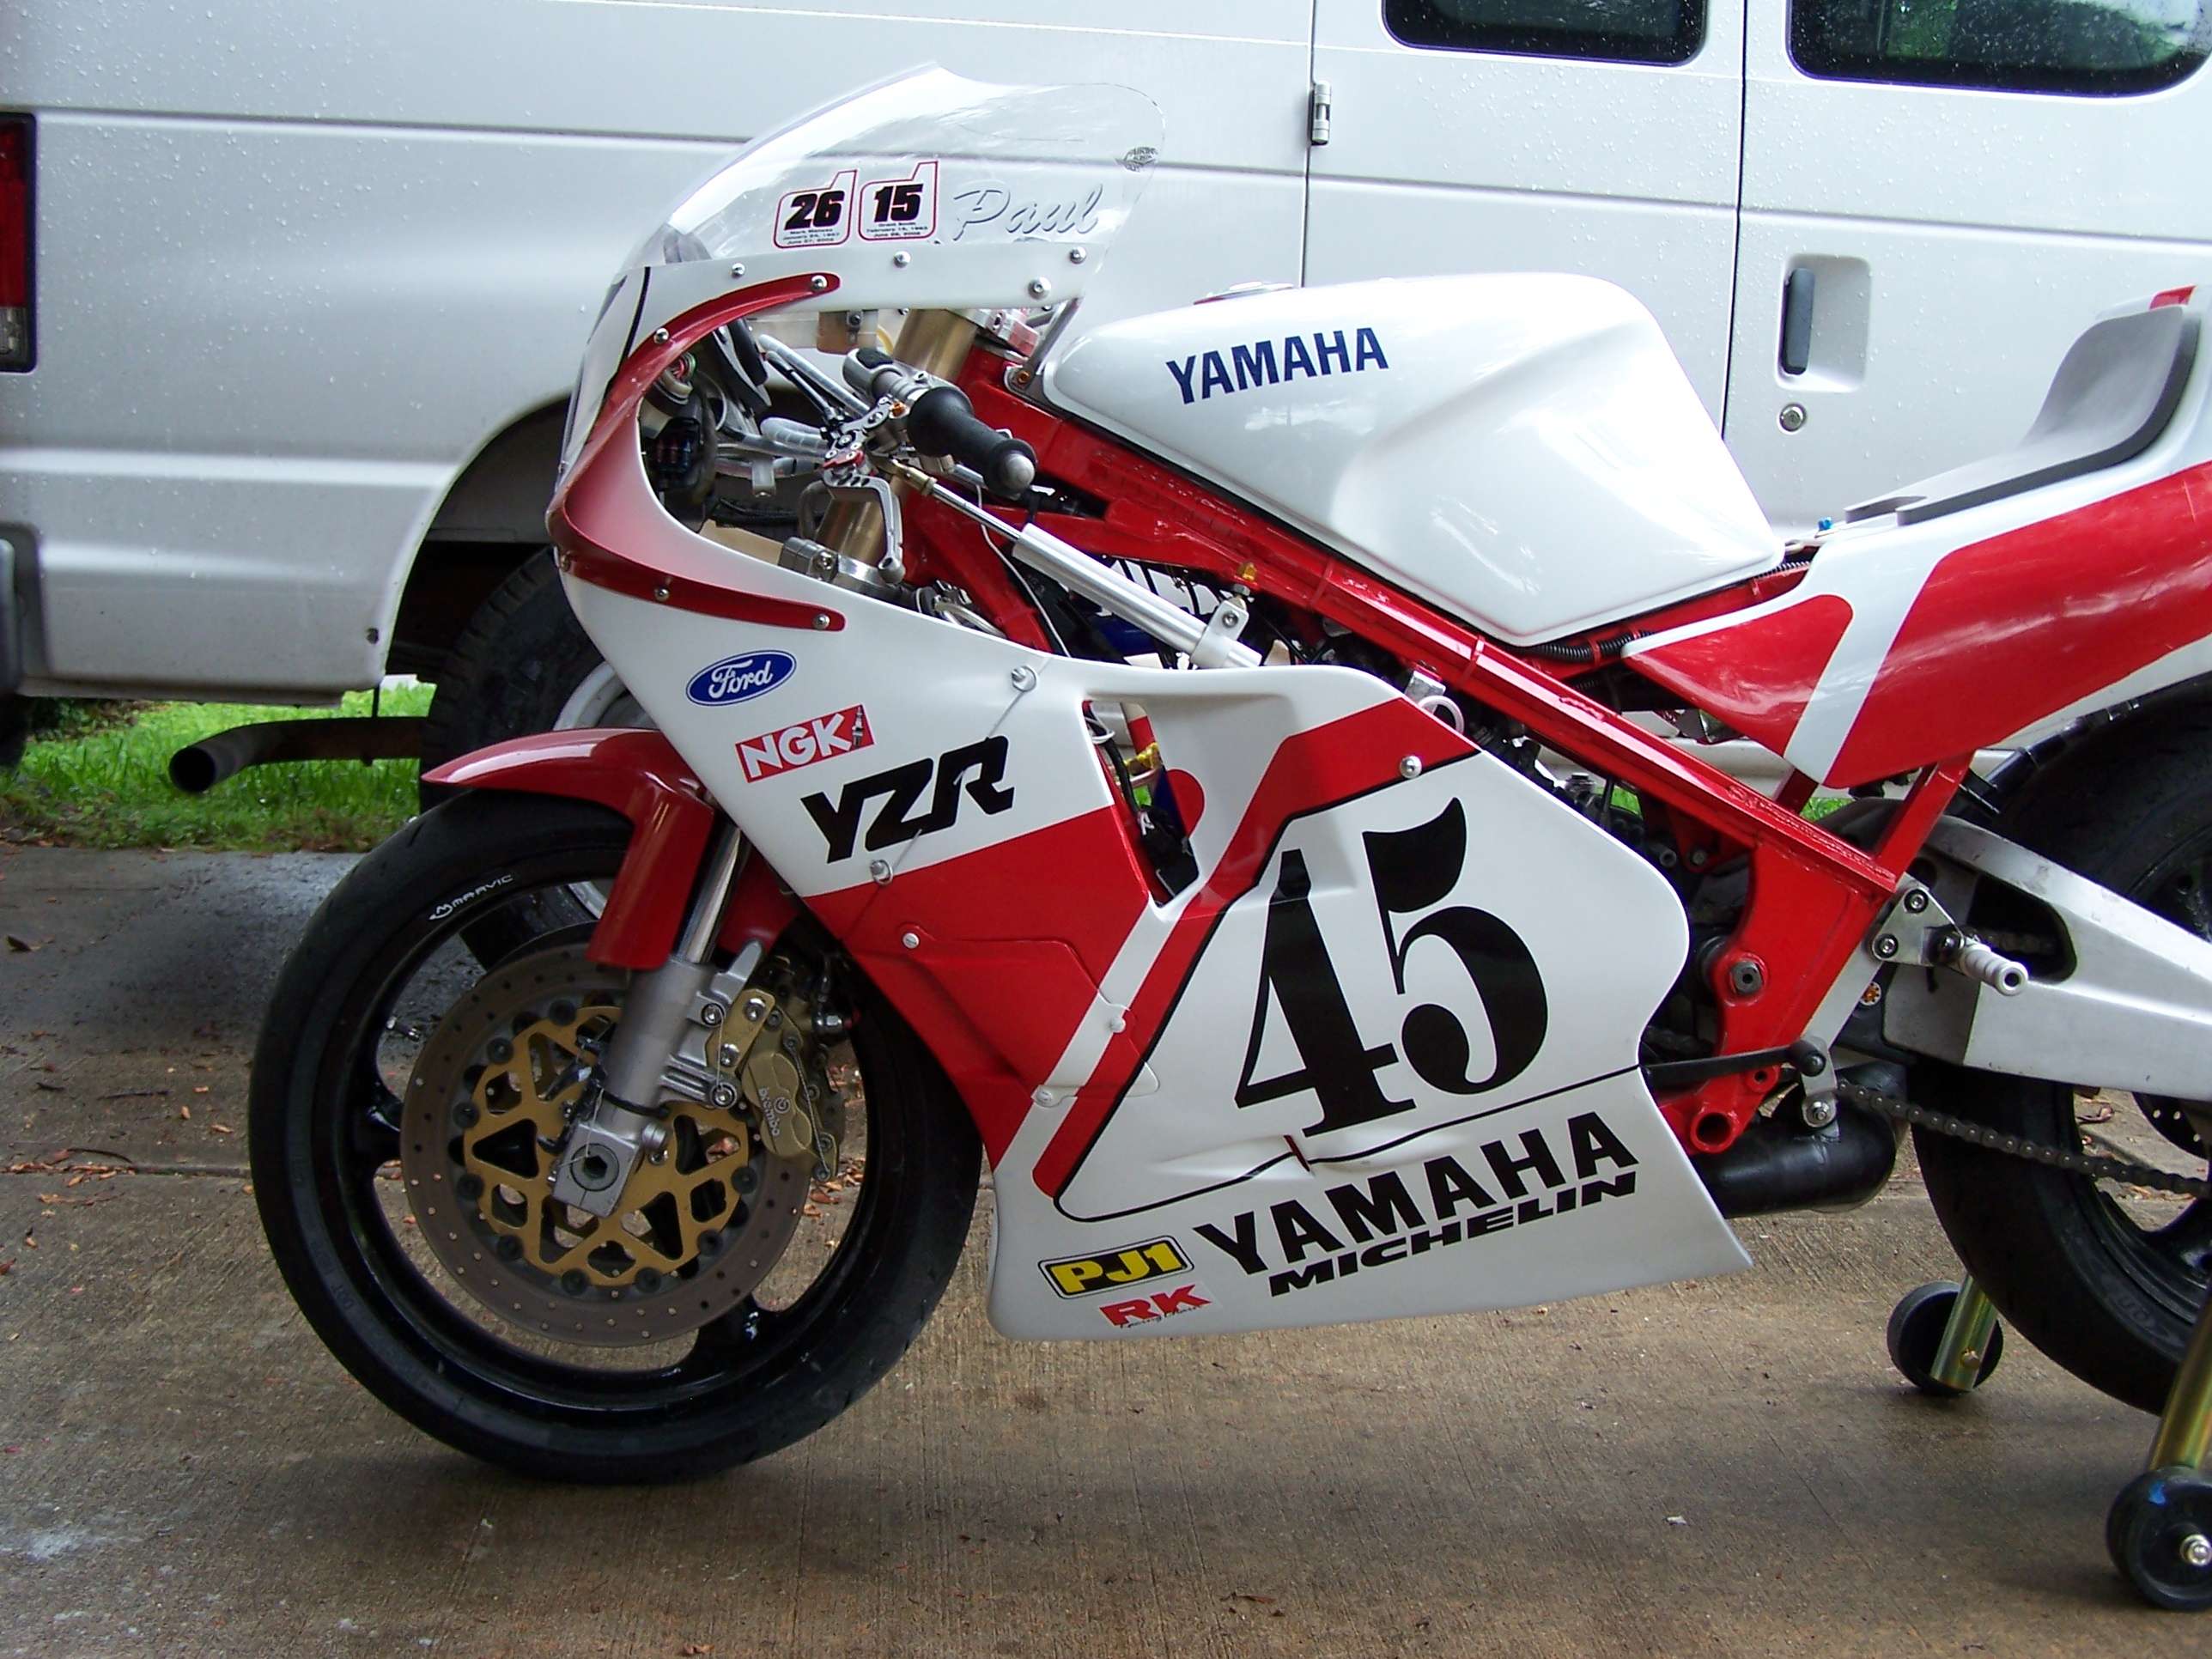
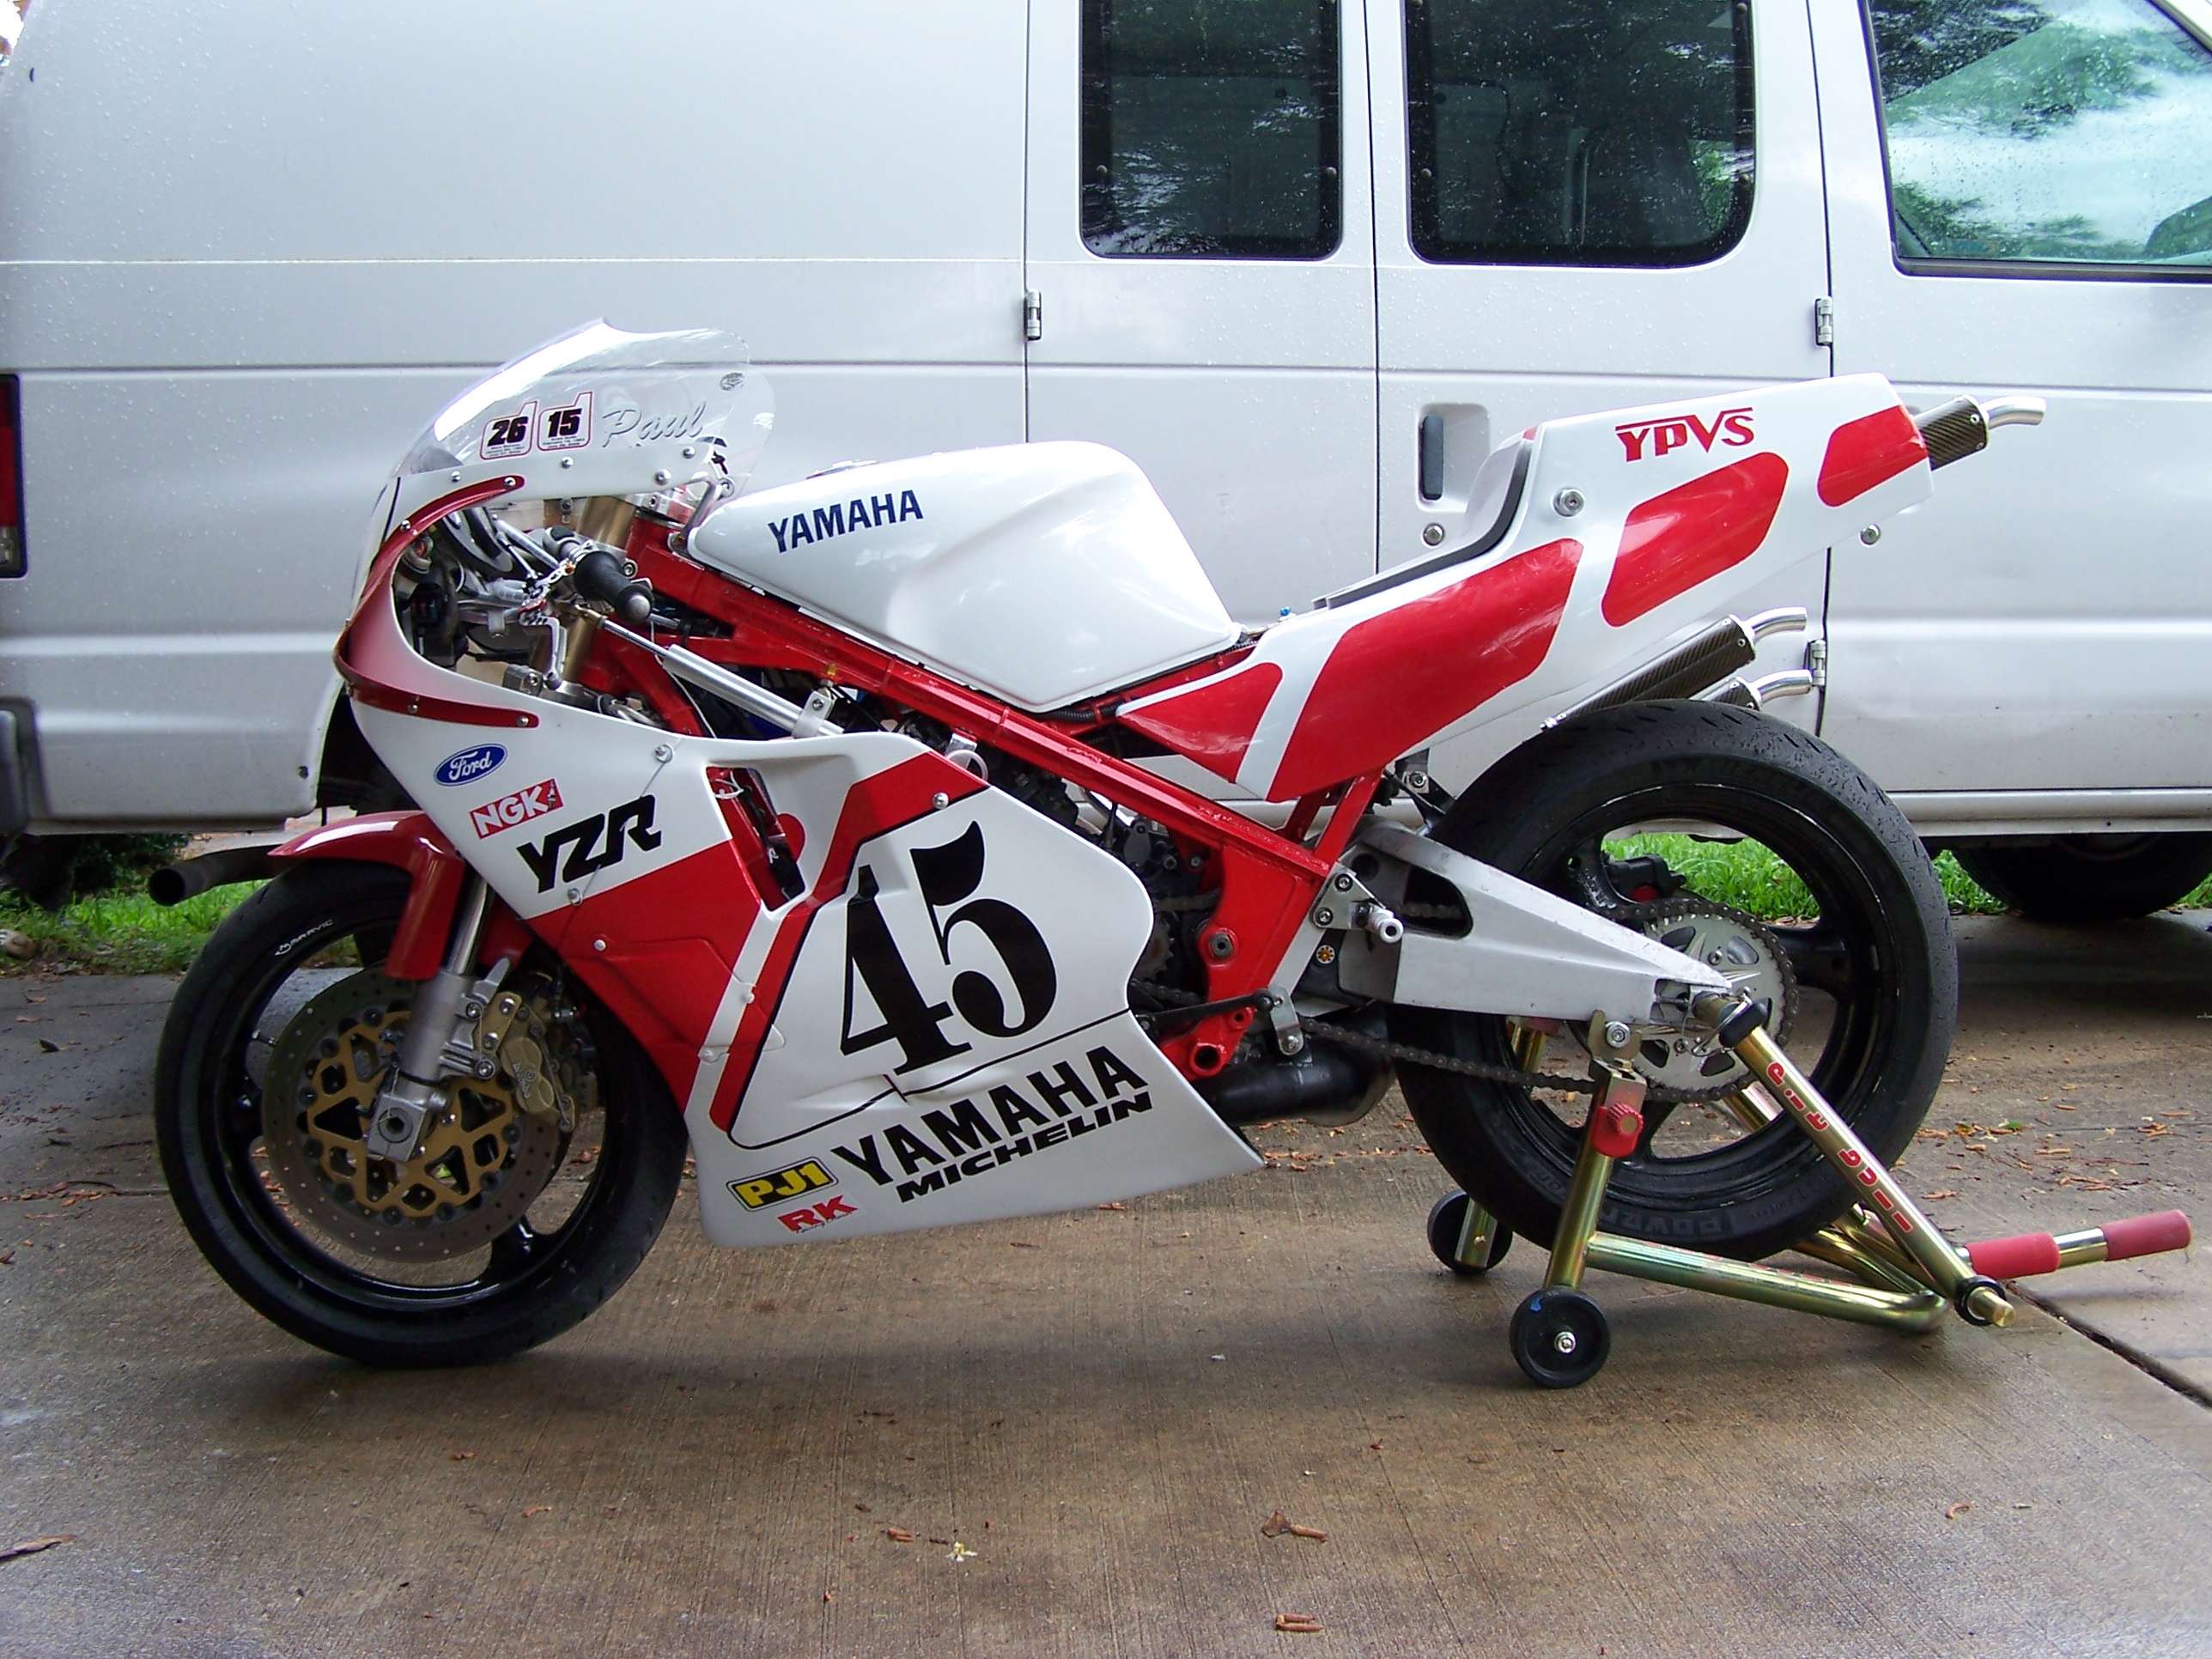
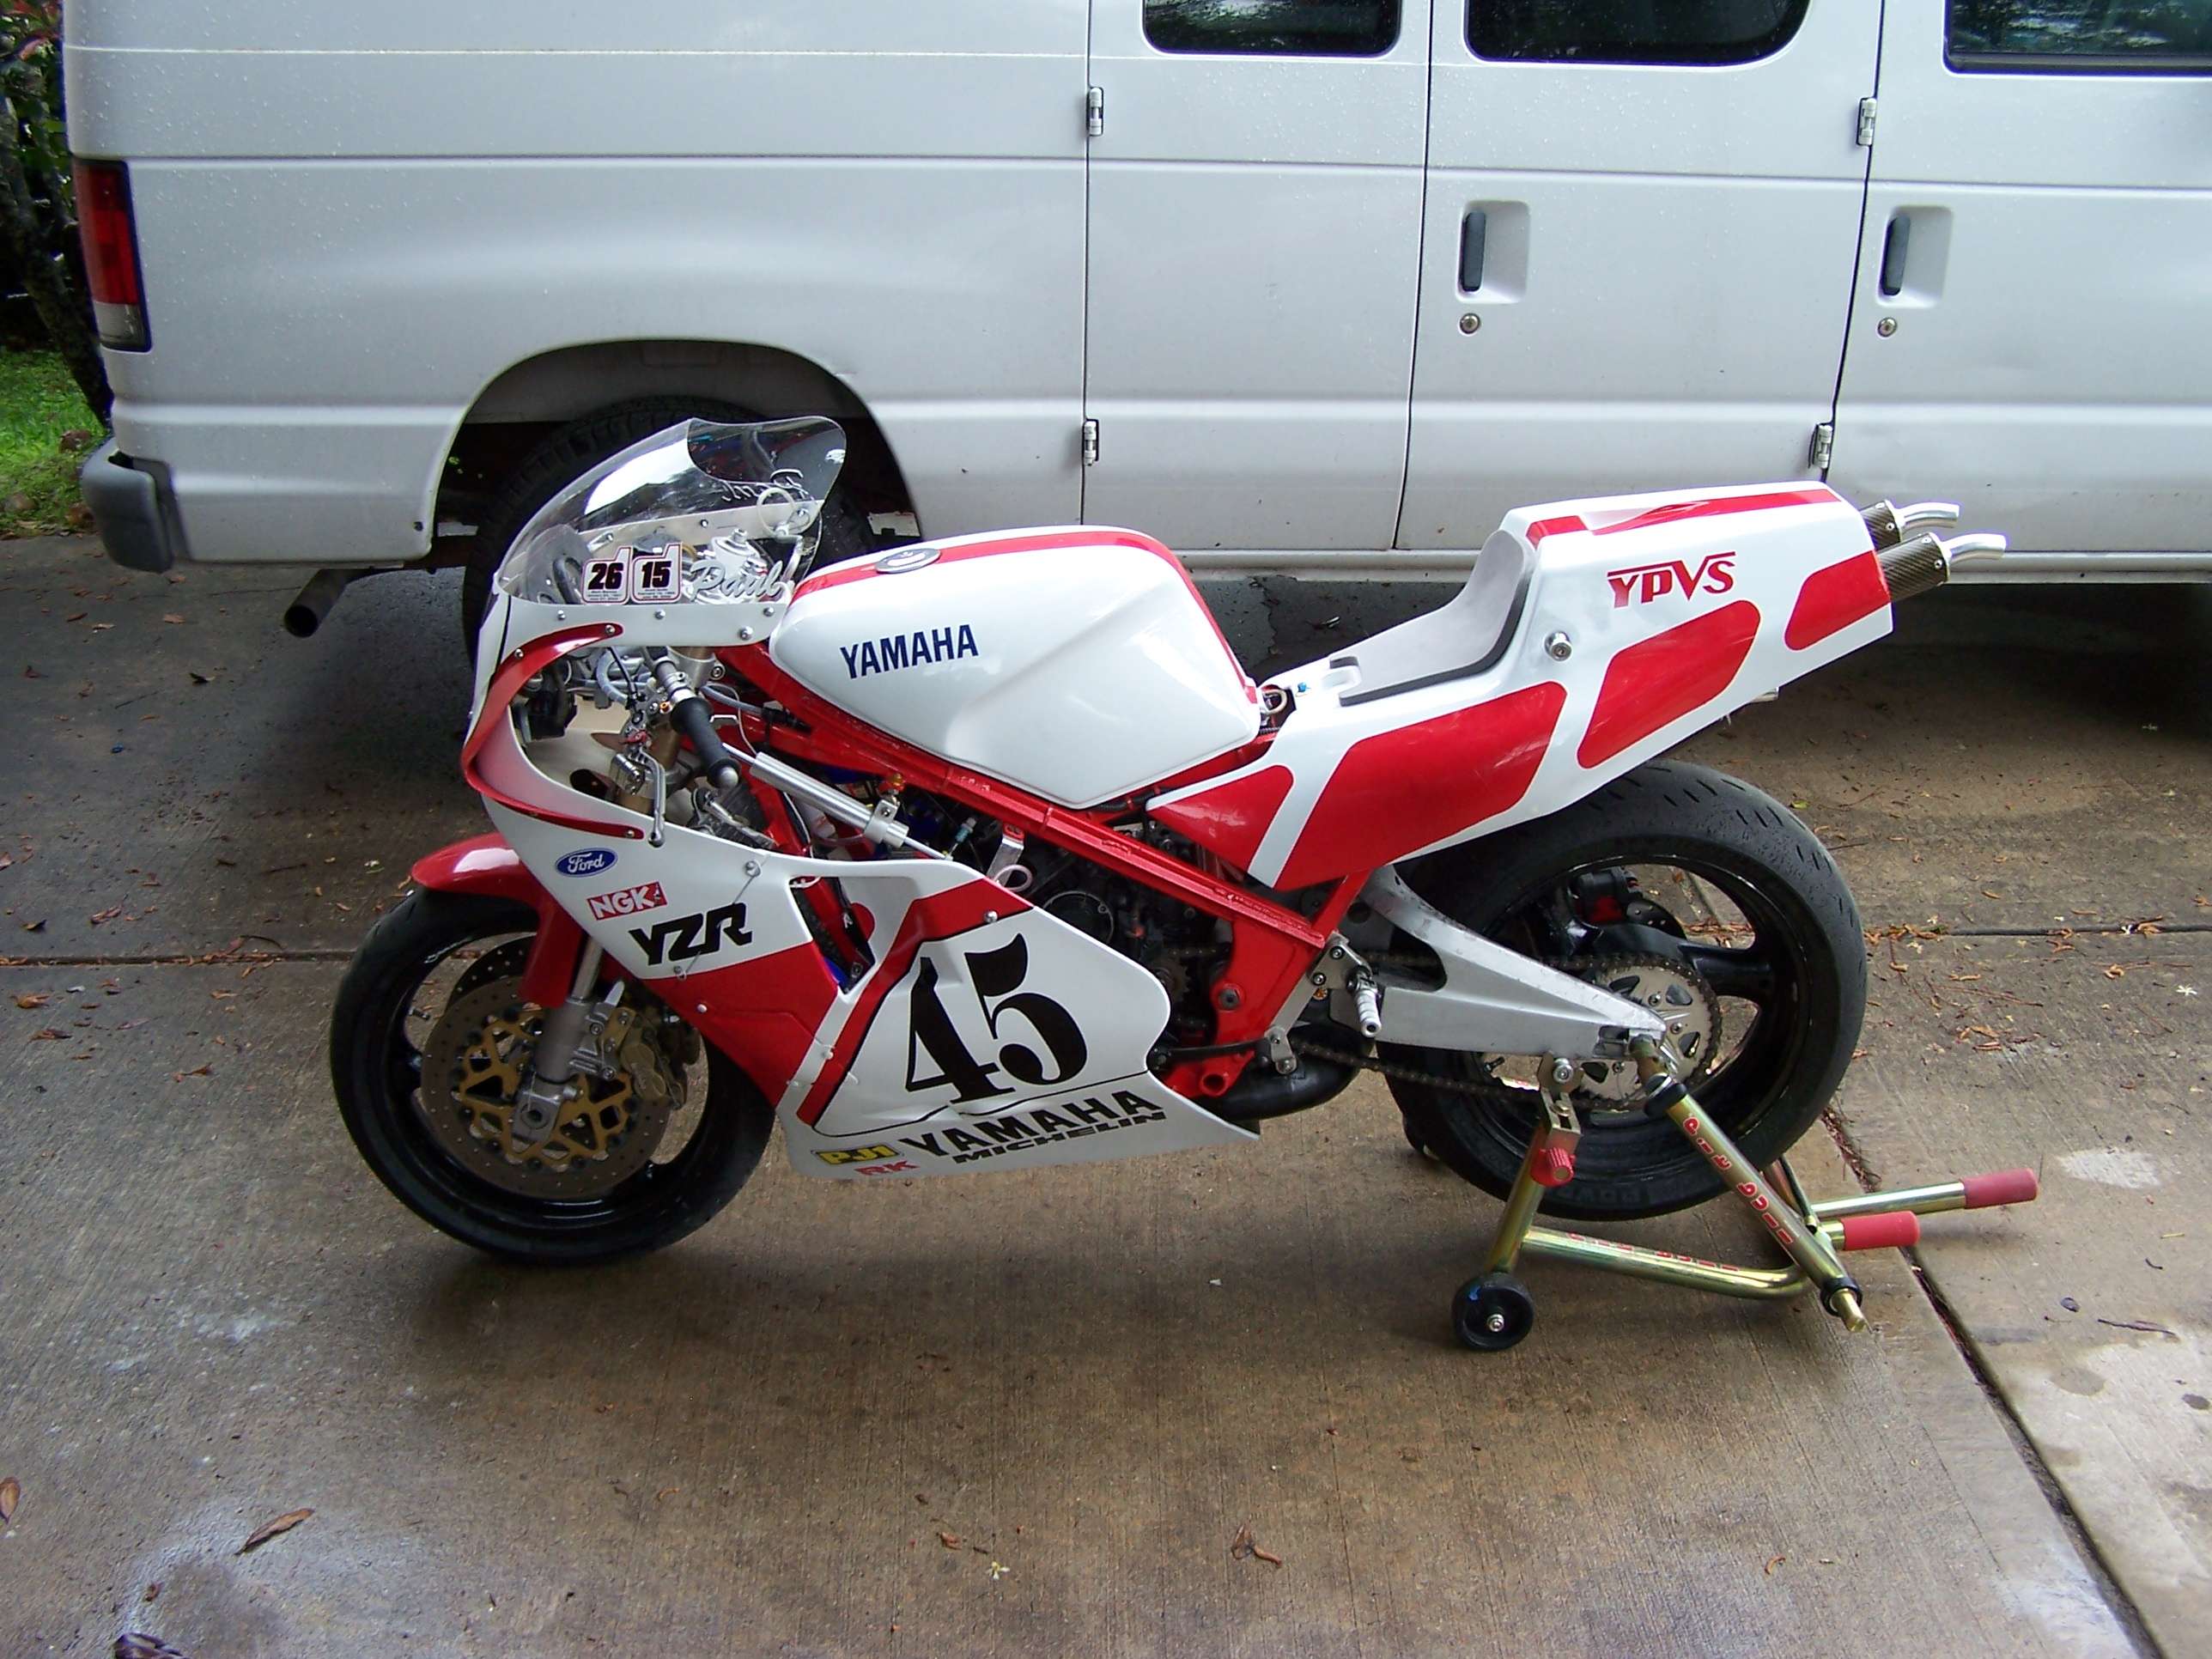
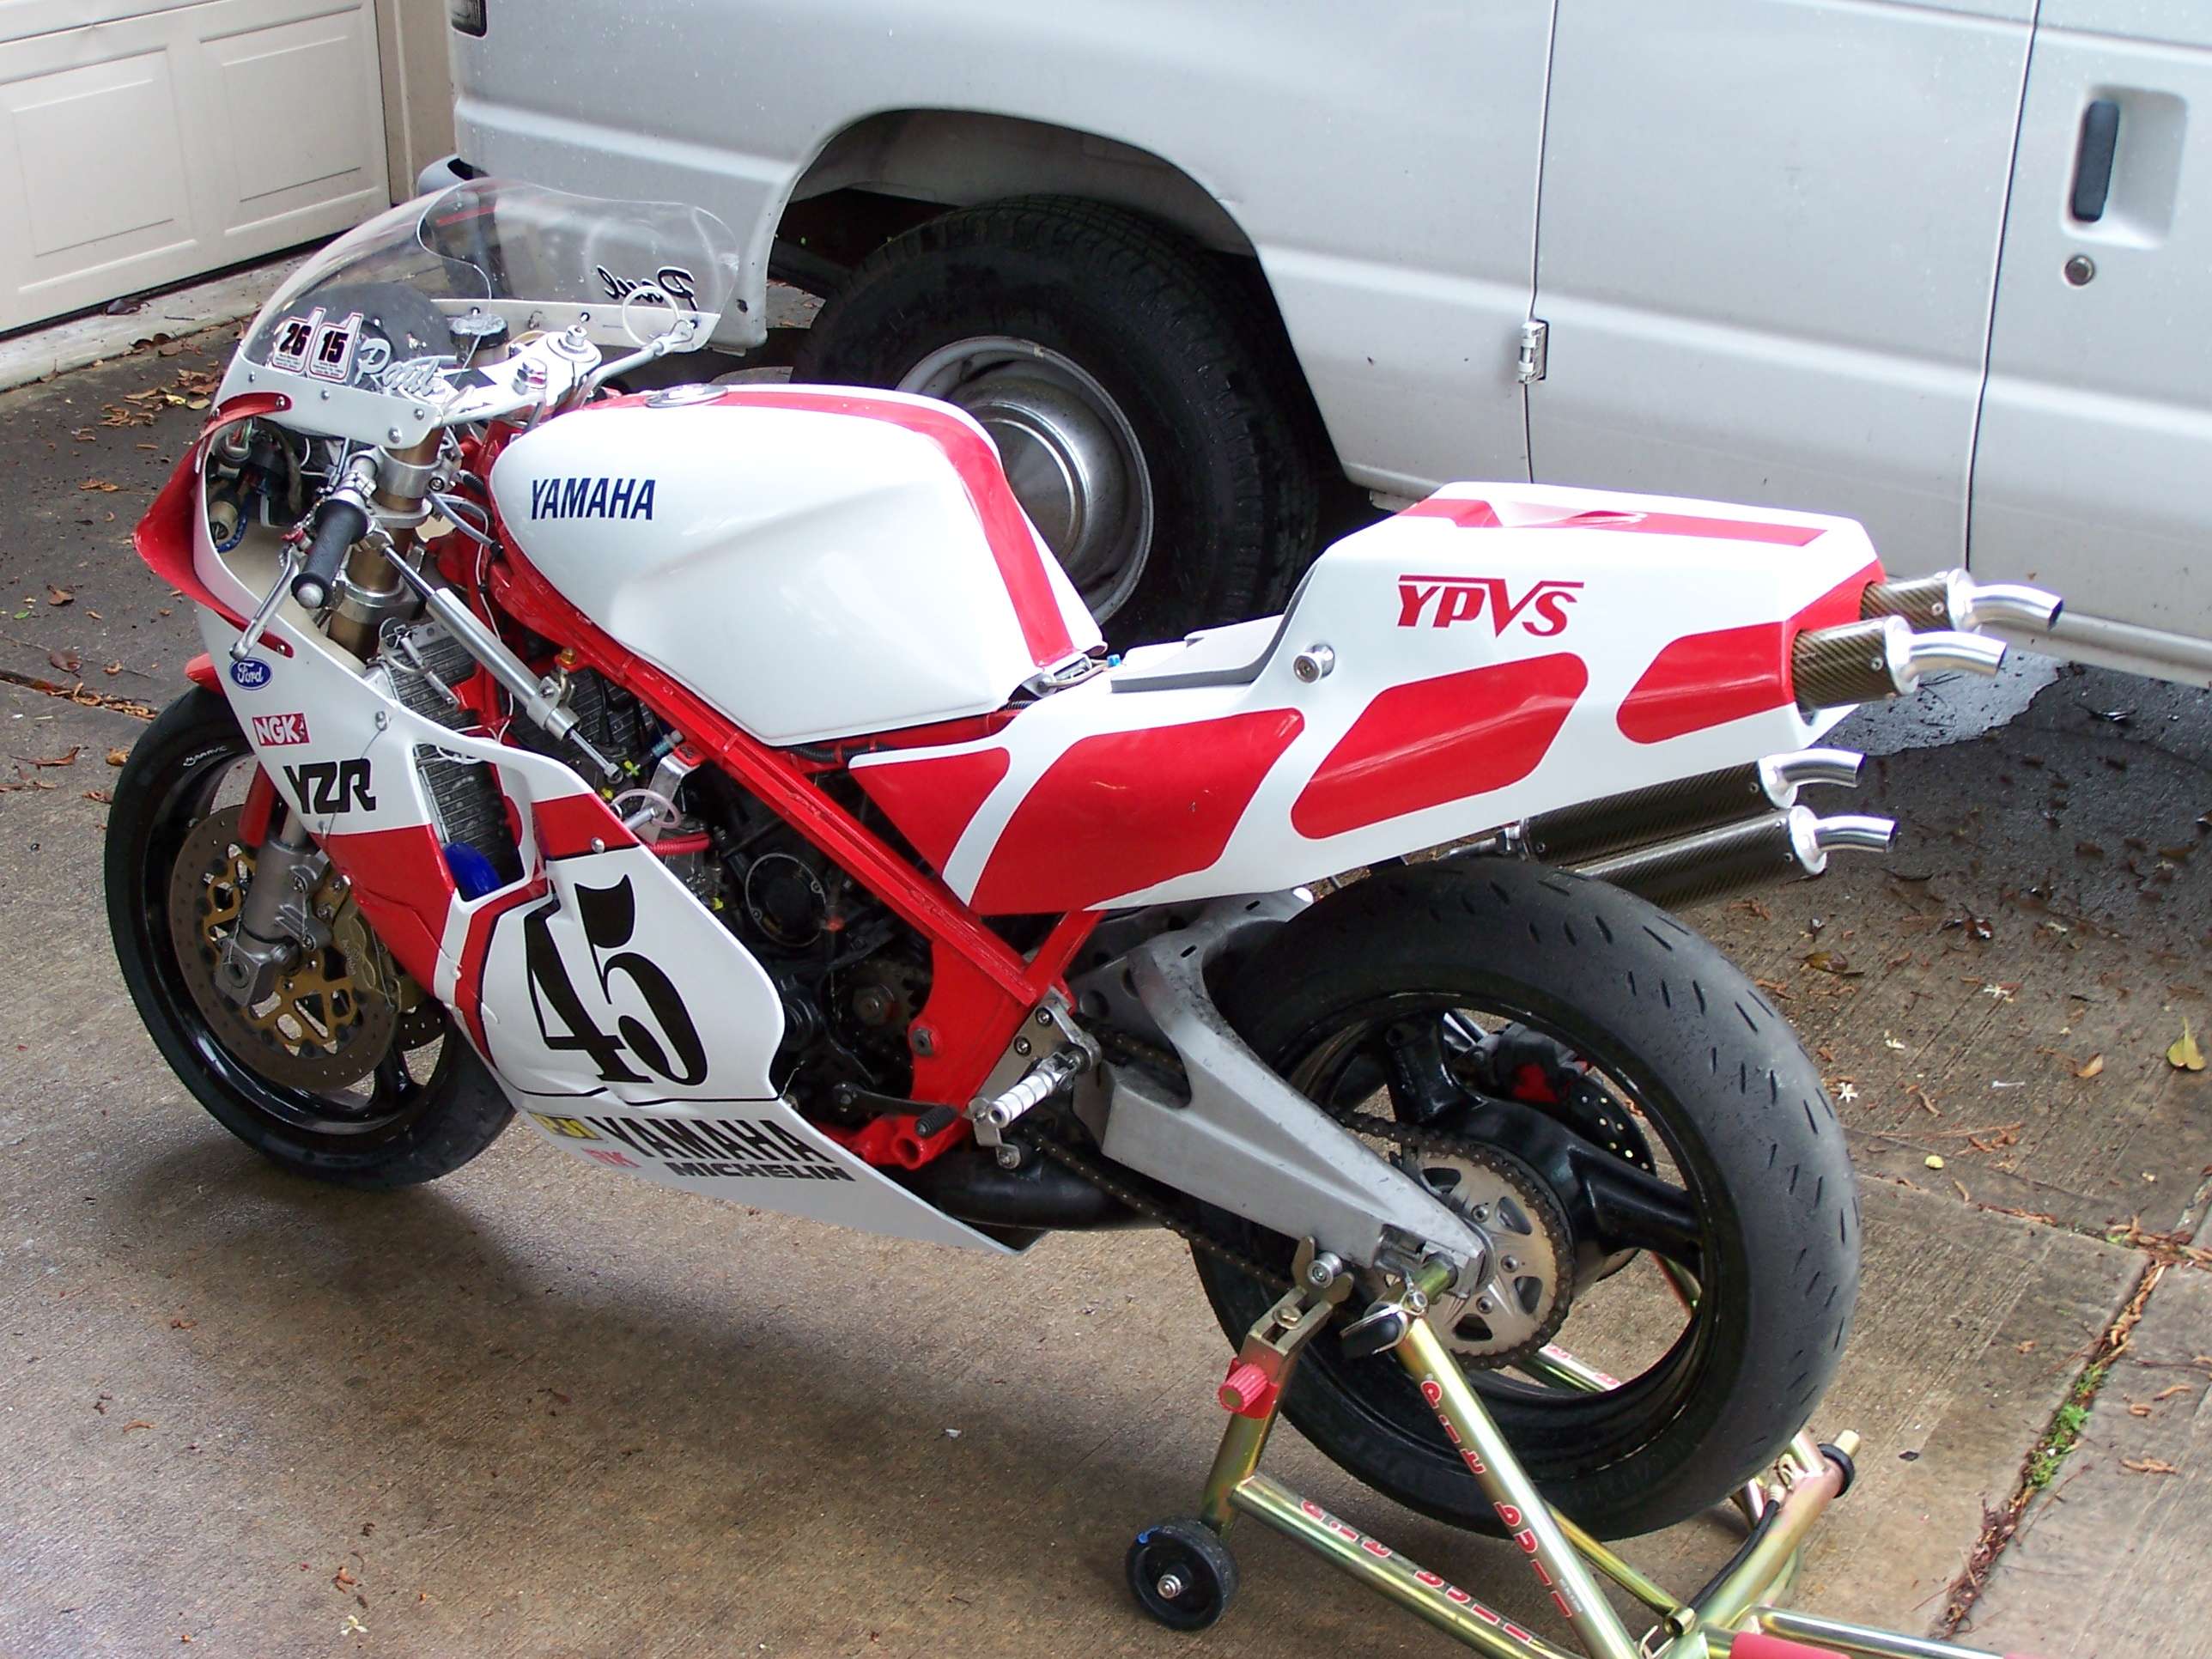
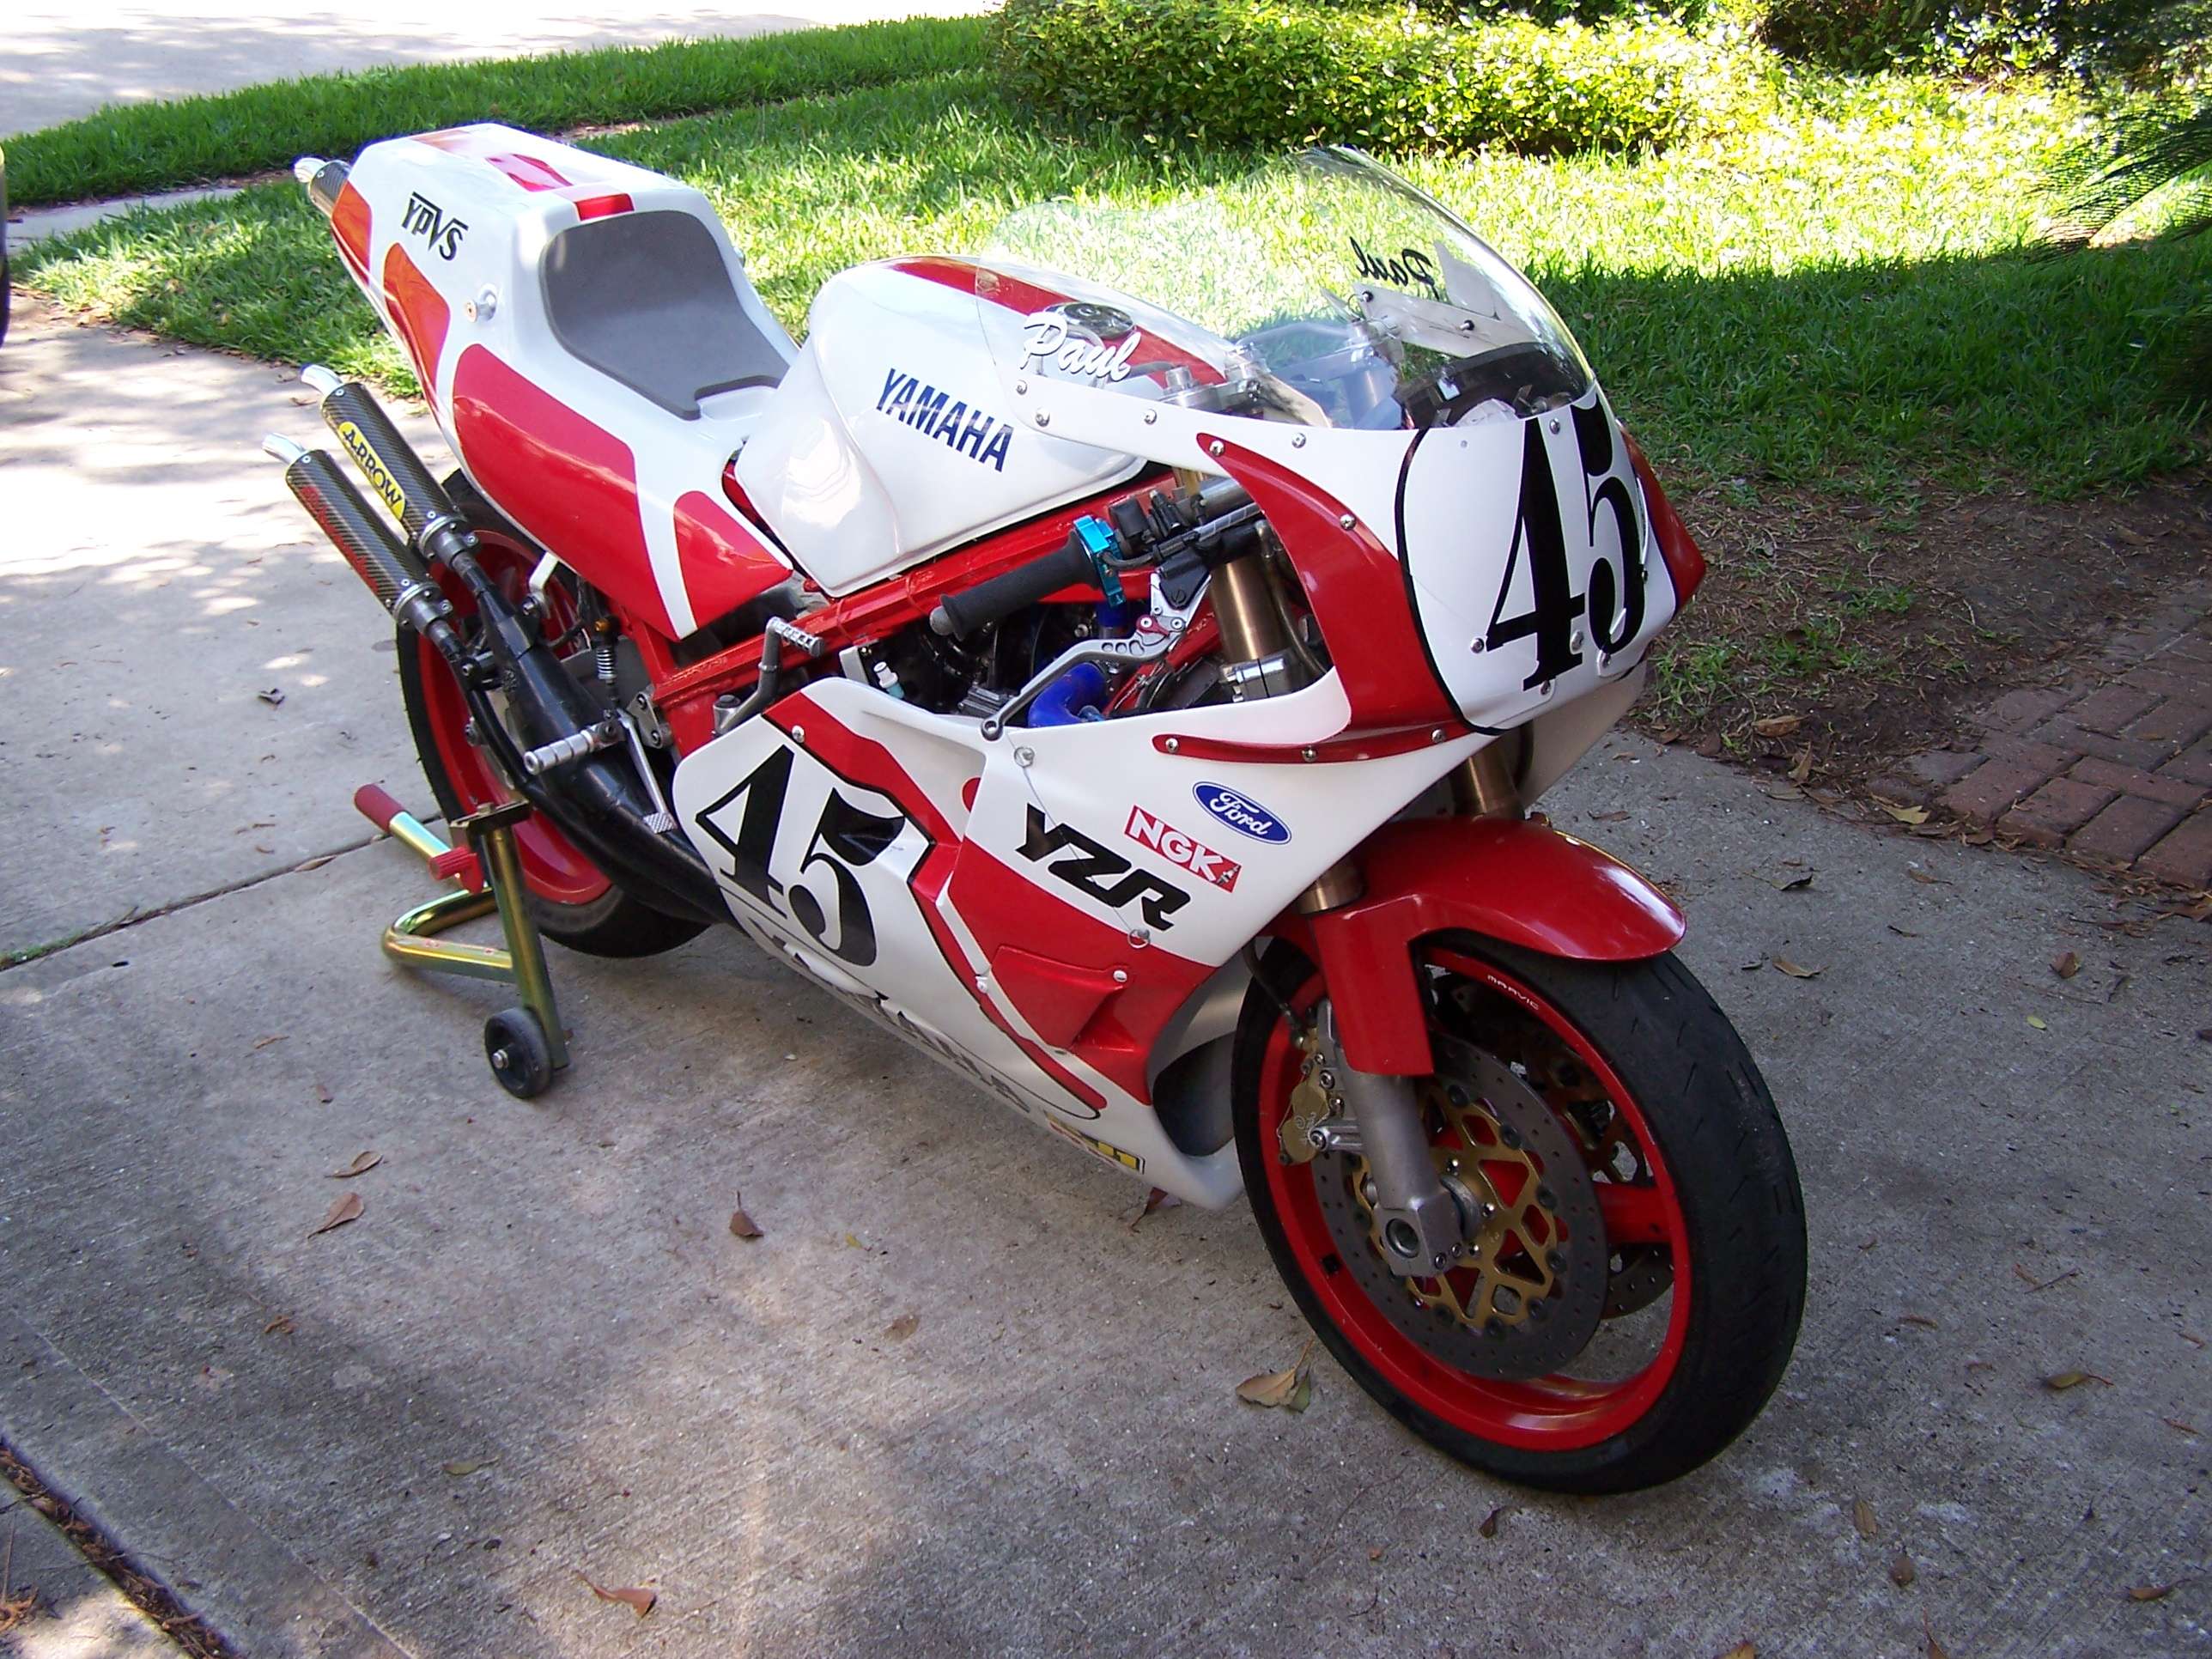
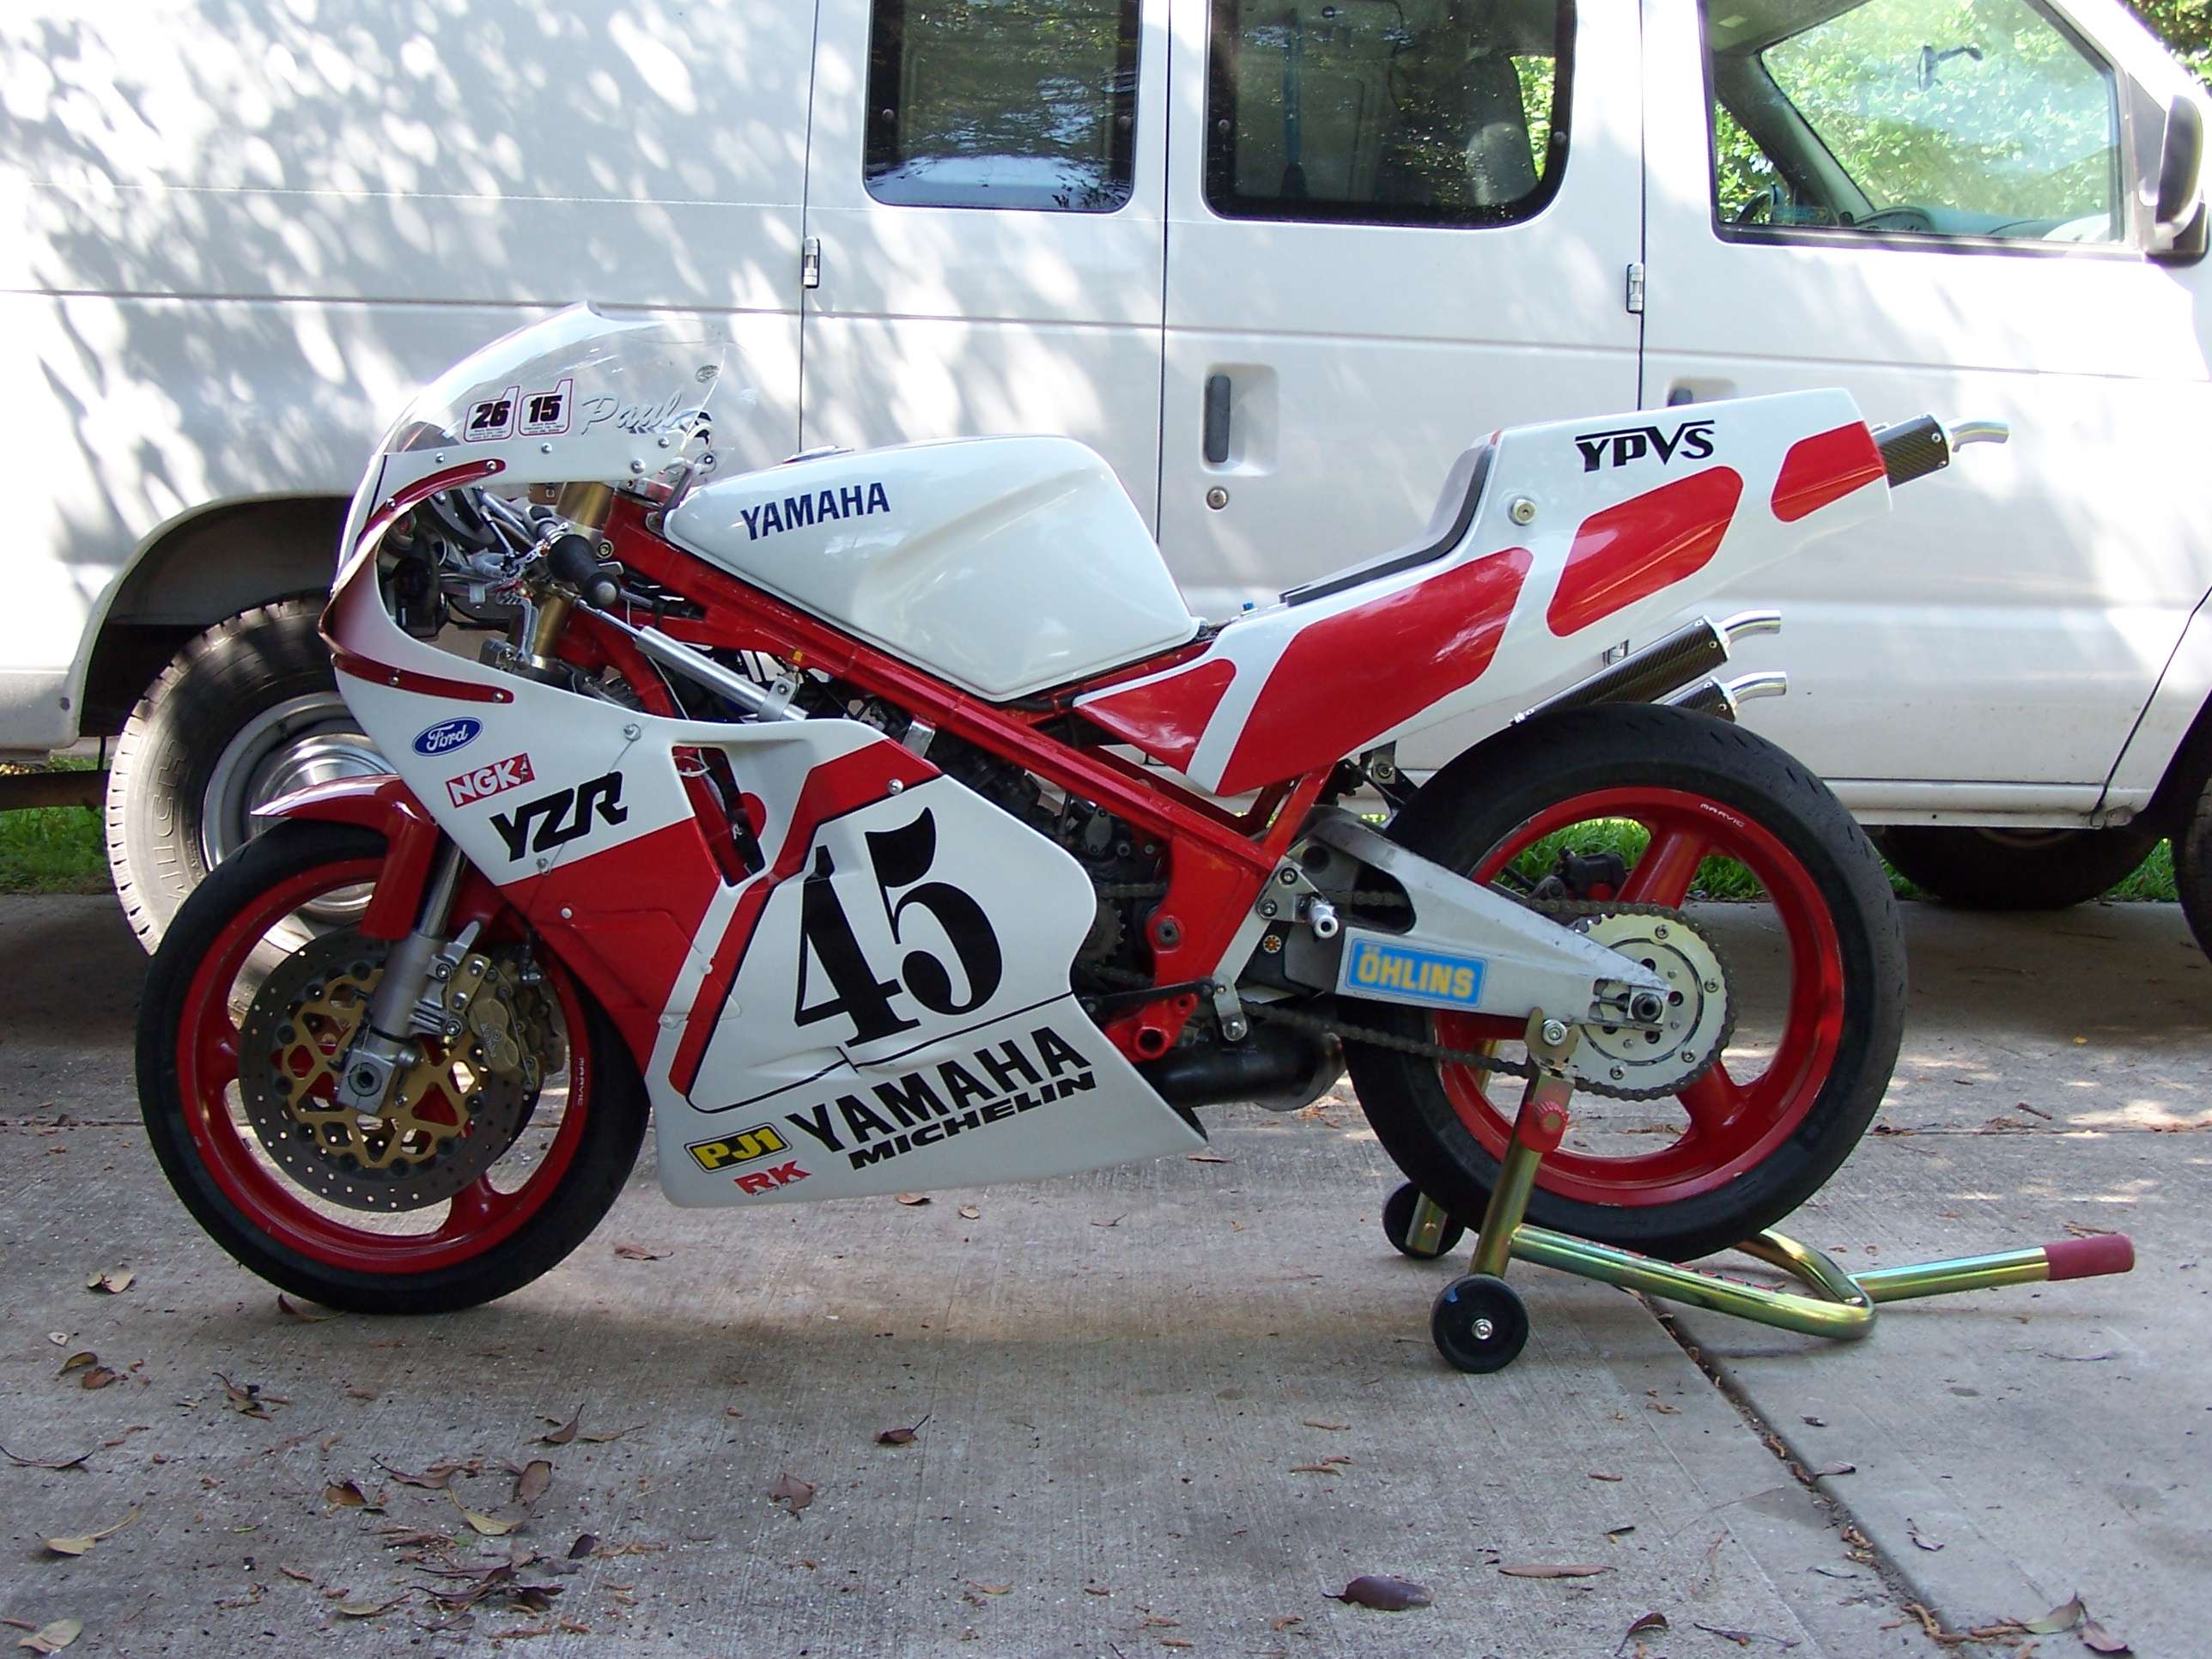
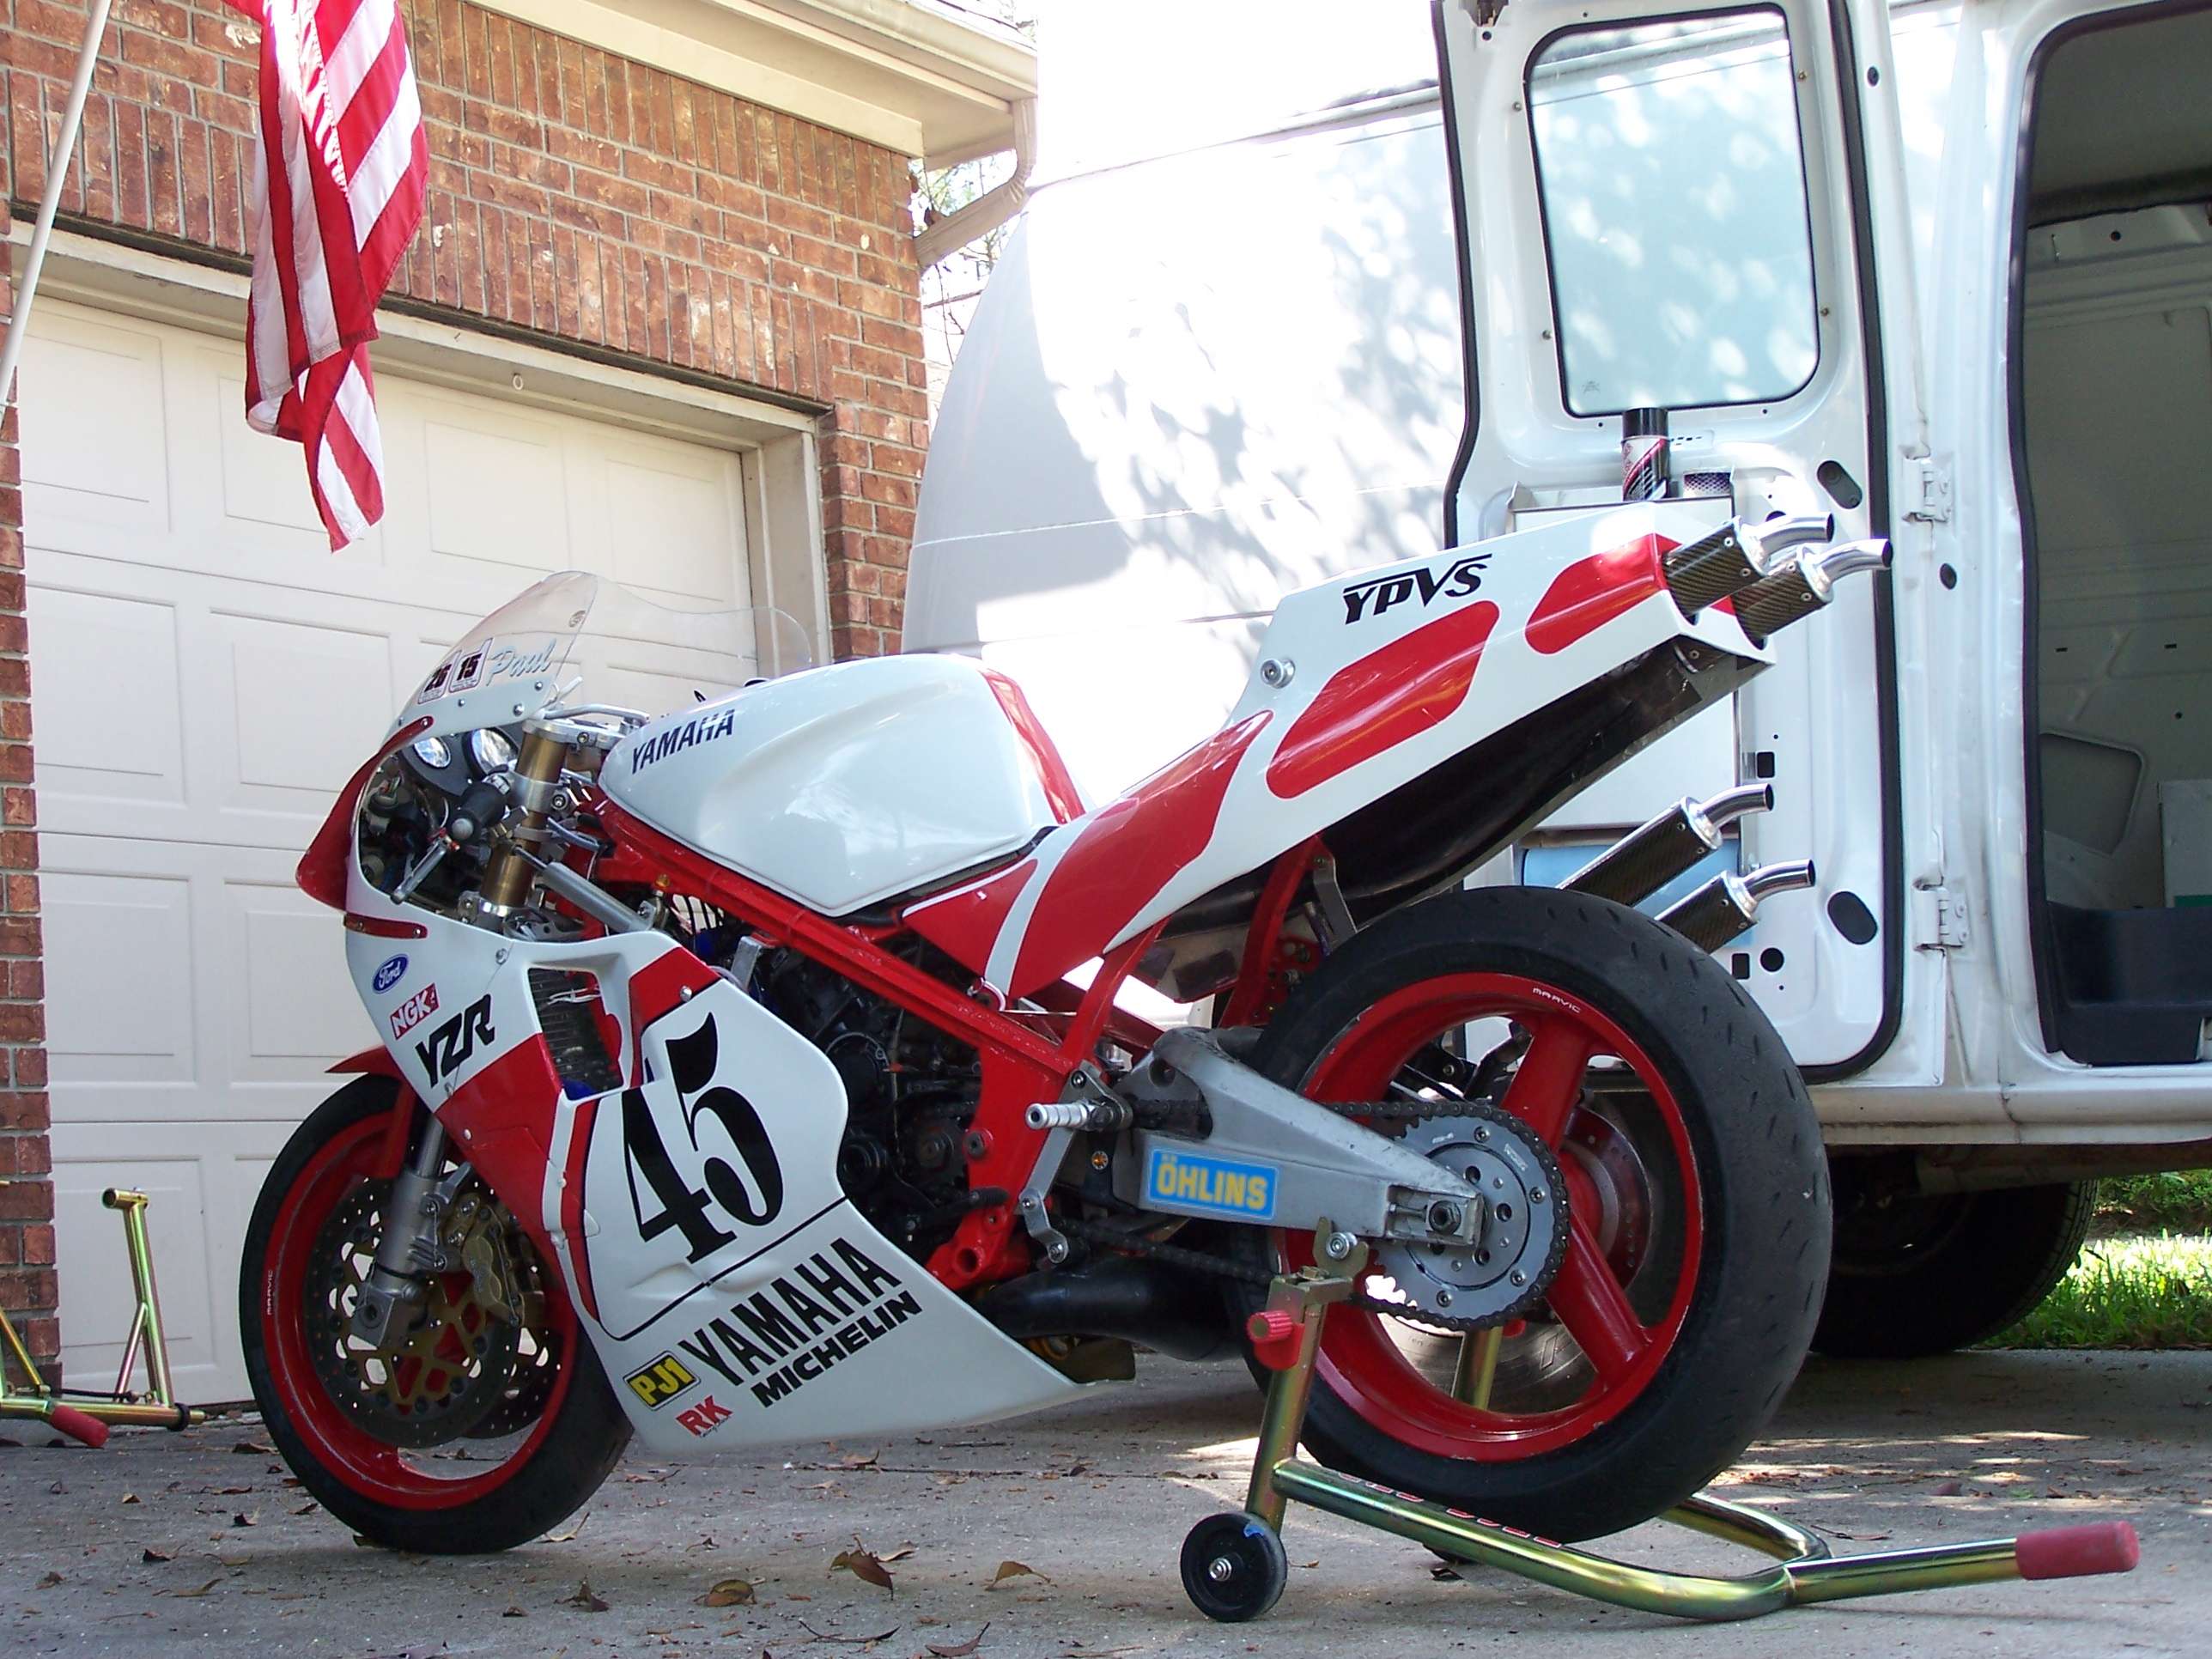
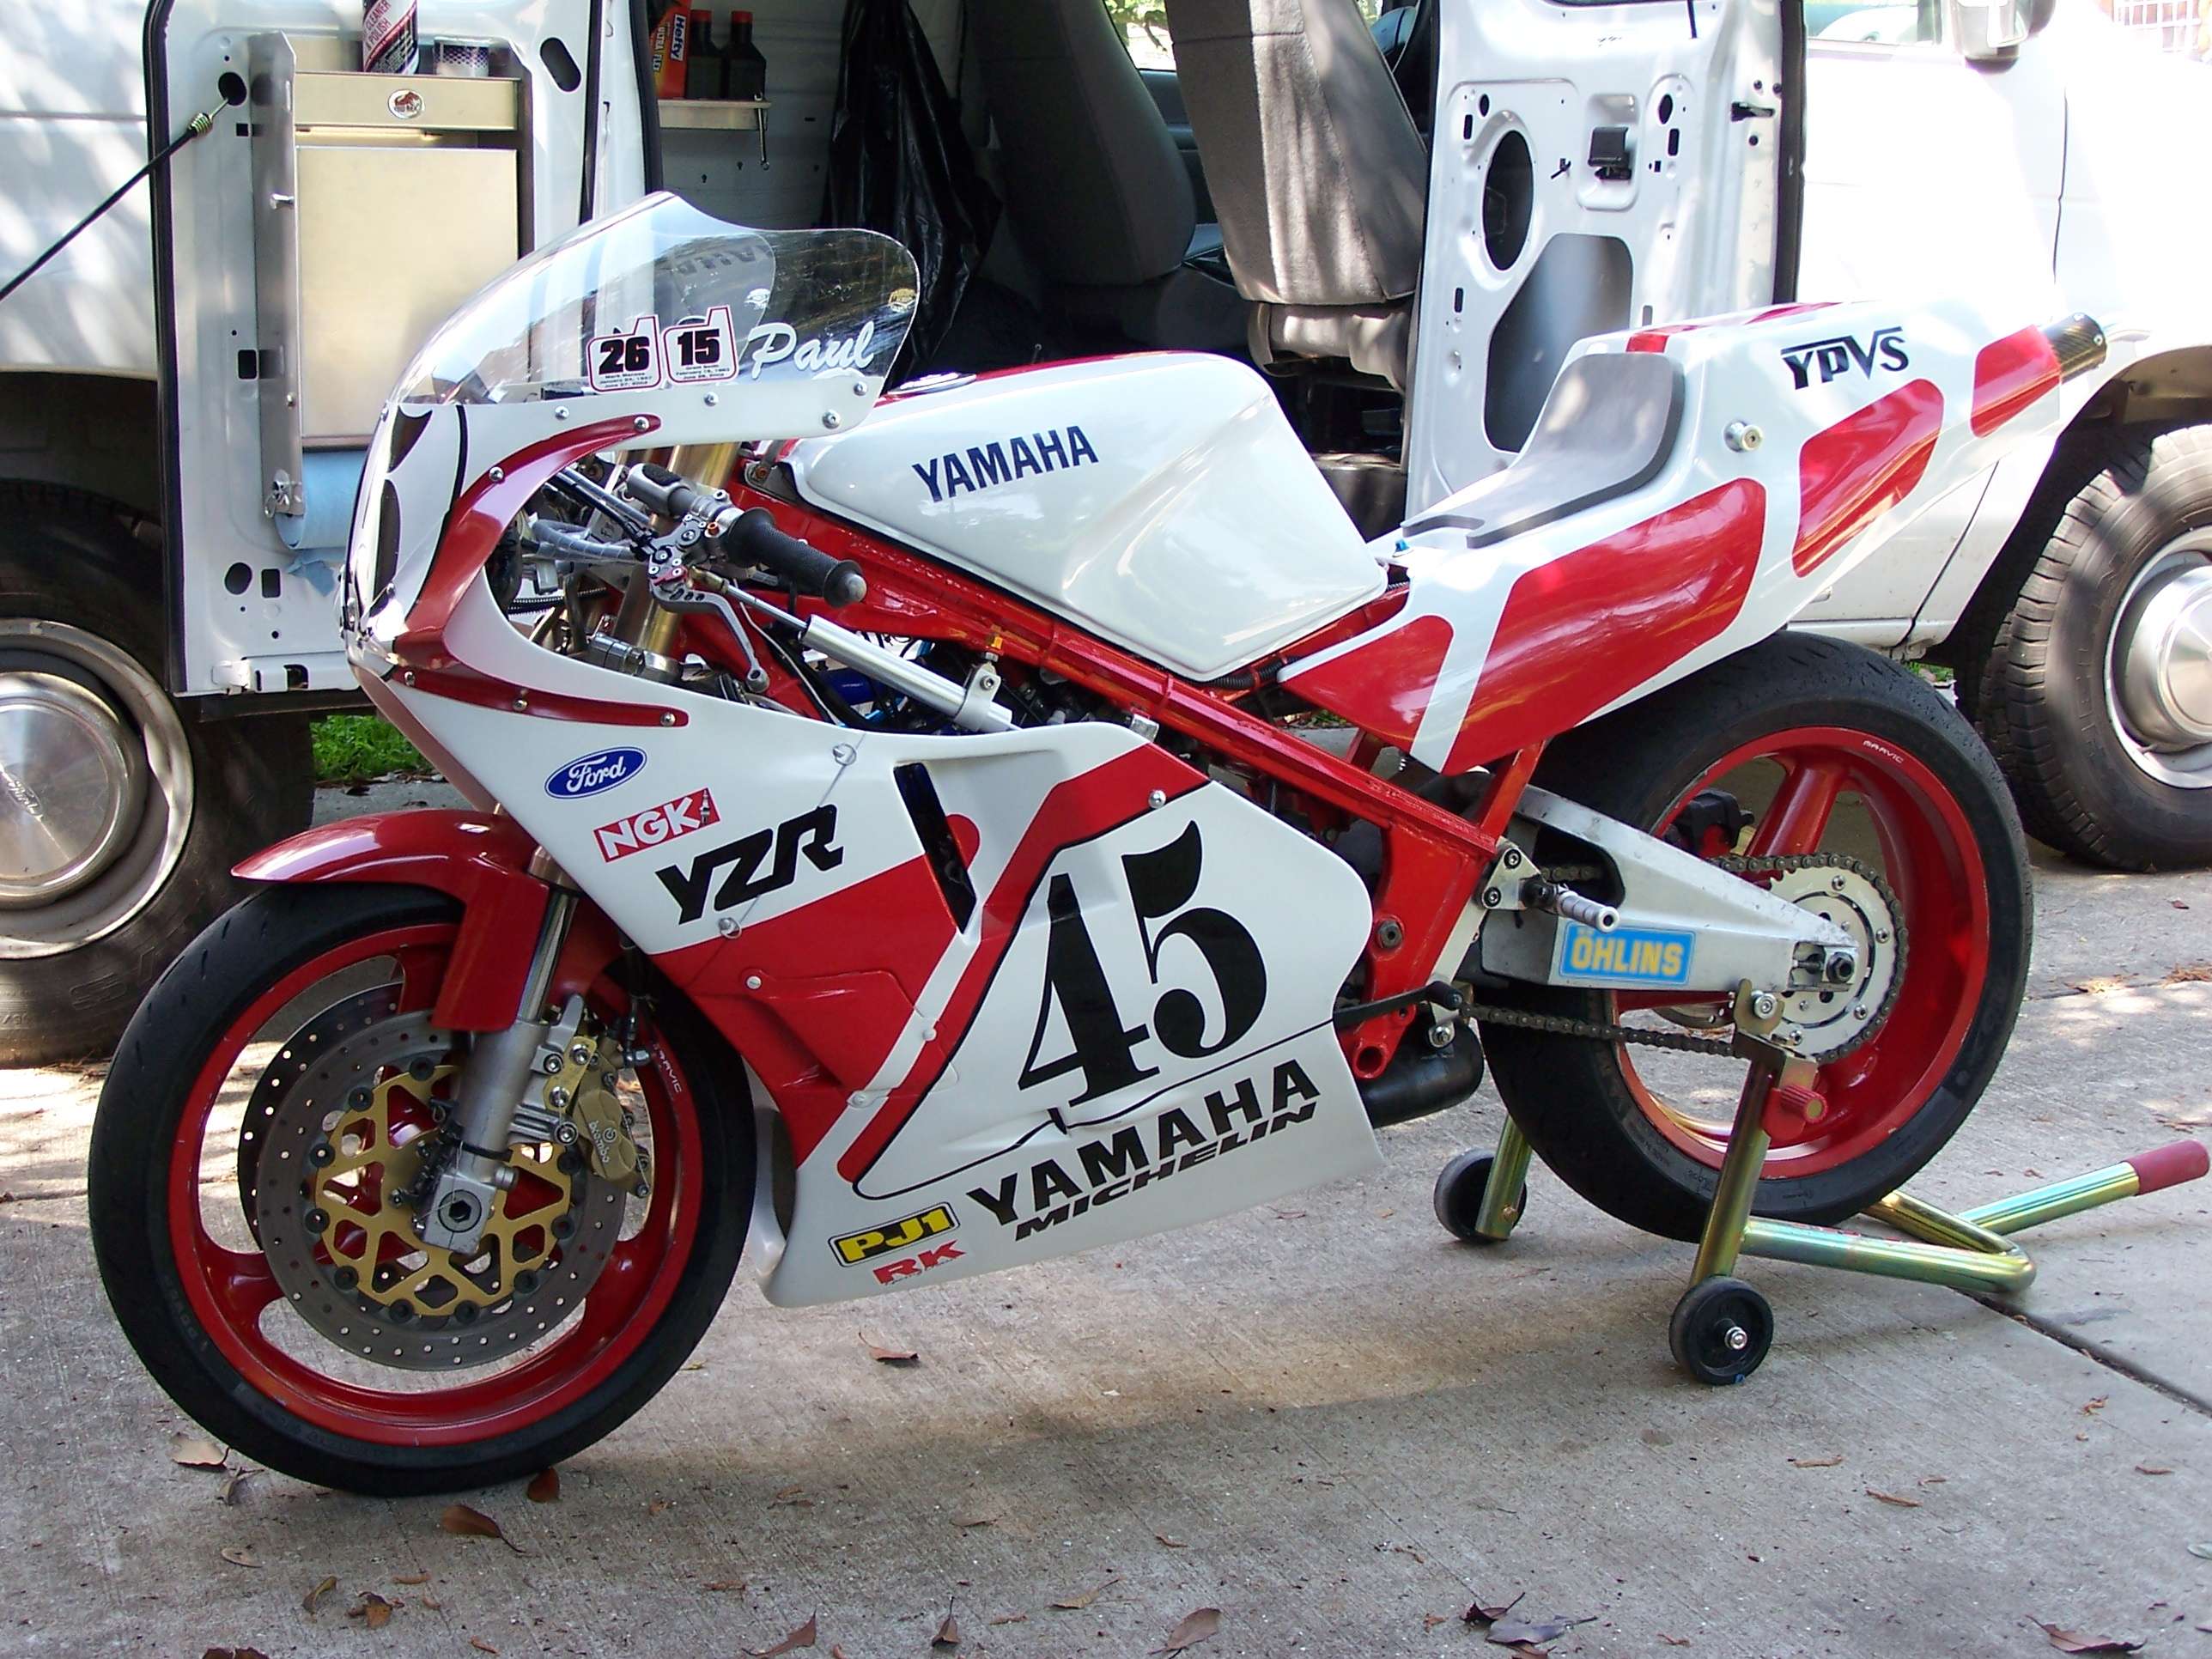
Current build


 [/img]
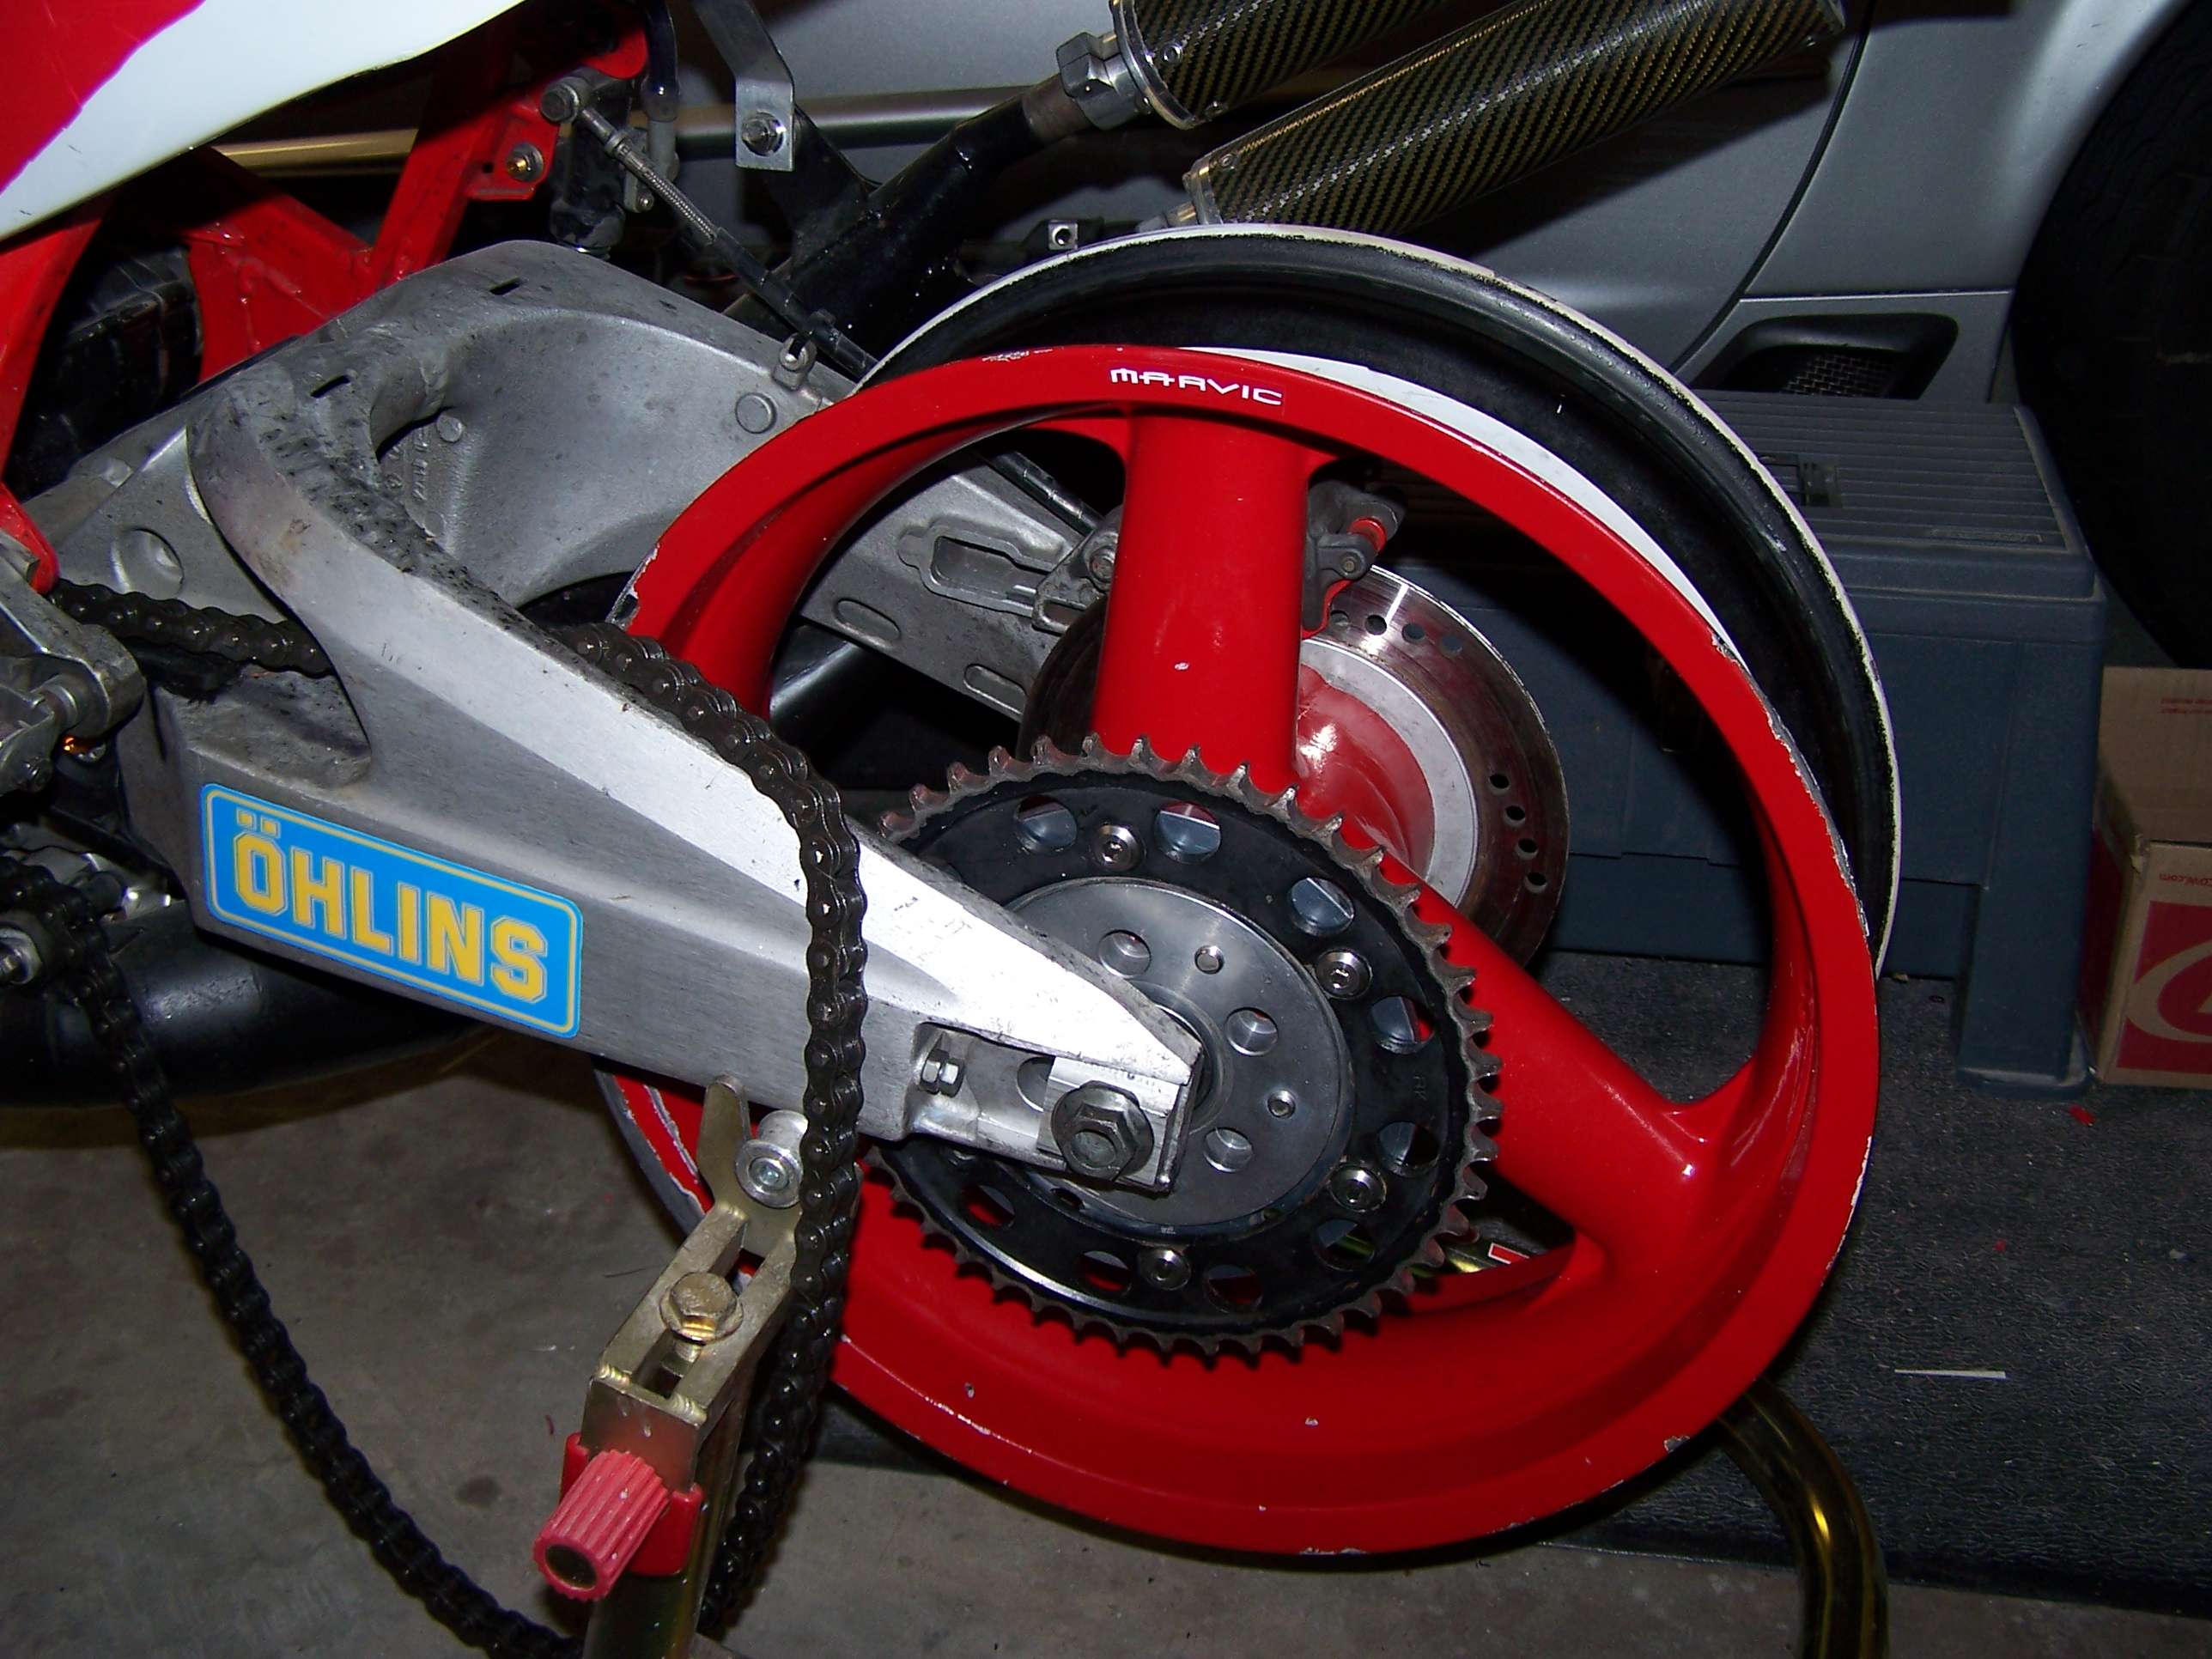

 [/img]